15+ Tiny House Bathroom Ideas That Feel Bigger Than They Are

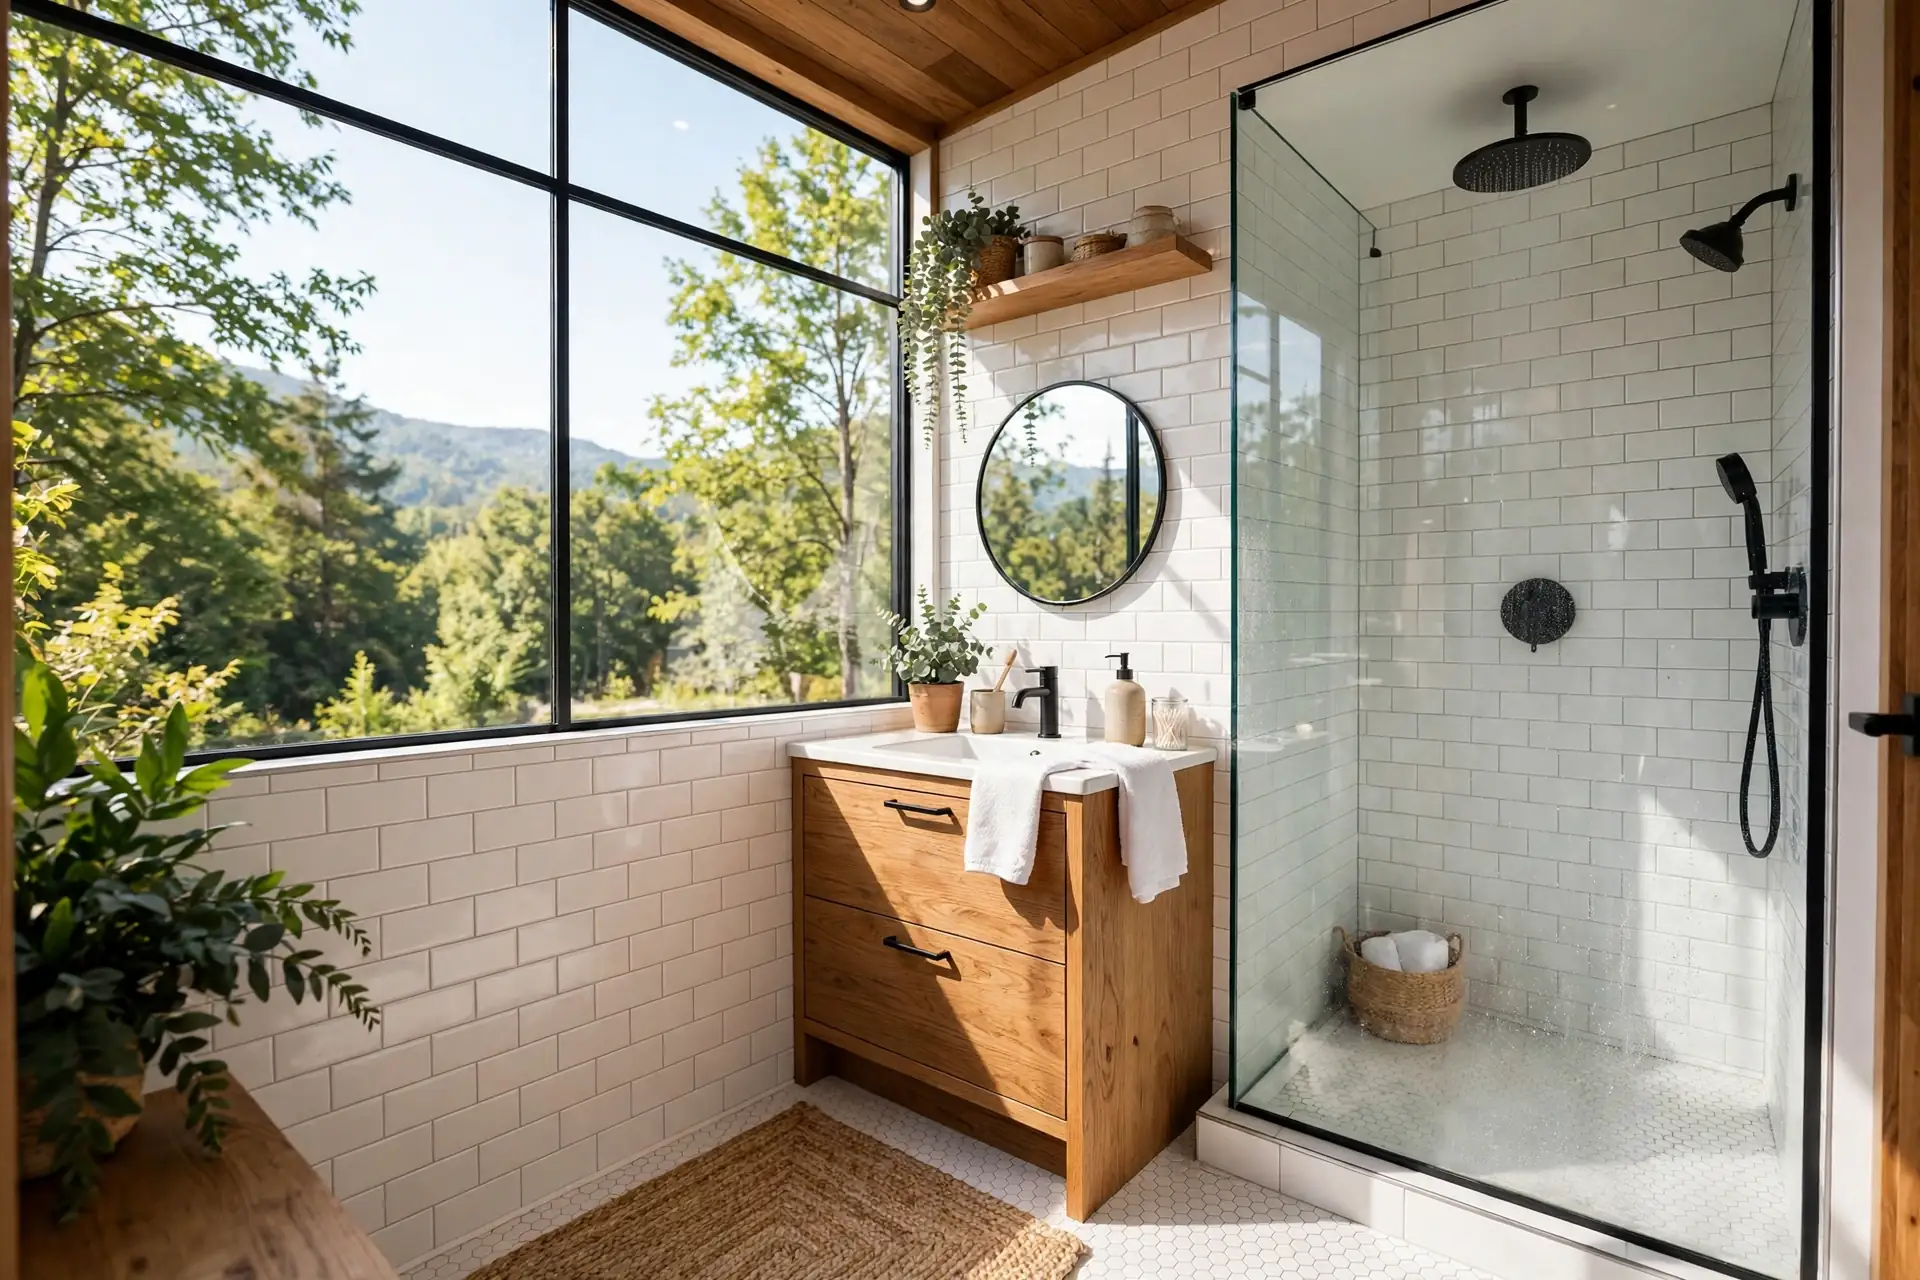
A tiny house bathroom can feel like a luxury spa or a cramped closet. The difference is rarely size. It is the choices you make inside those few square feet.
Every bathroom in this list sits in a real tiny house footprint. No sprawling master suites. No tricks that only work in a big house.
What you will find instead are smart layouts, honest materials, and small moves that add light, storage, and breathing room. Pick one idea, or mix a few. Your morning routine will thank you.
Before you start, measure twice. A vanity that is two inches too wide can block a door. A shower that is two inches too short can ruin every morning. The ideas below are built around those real limits.
1. Walk-In Shower With a Glass Wall
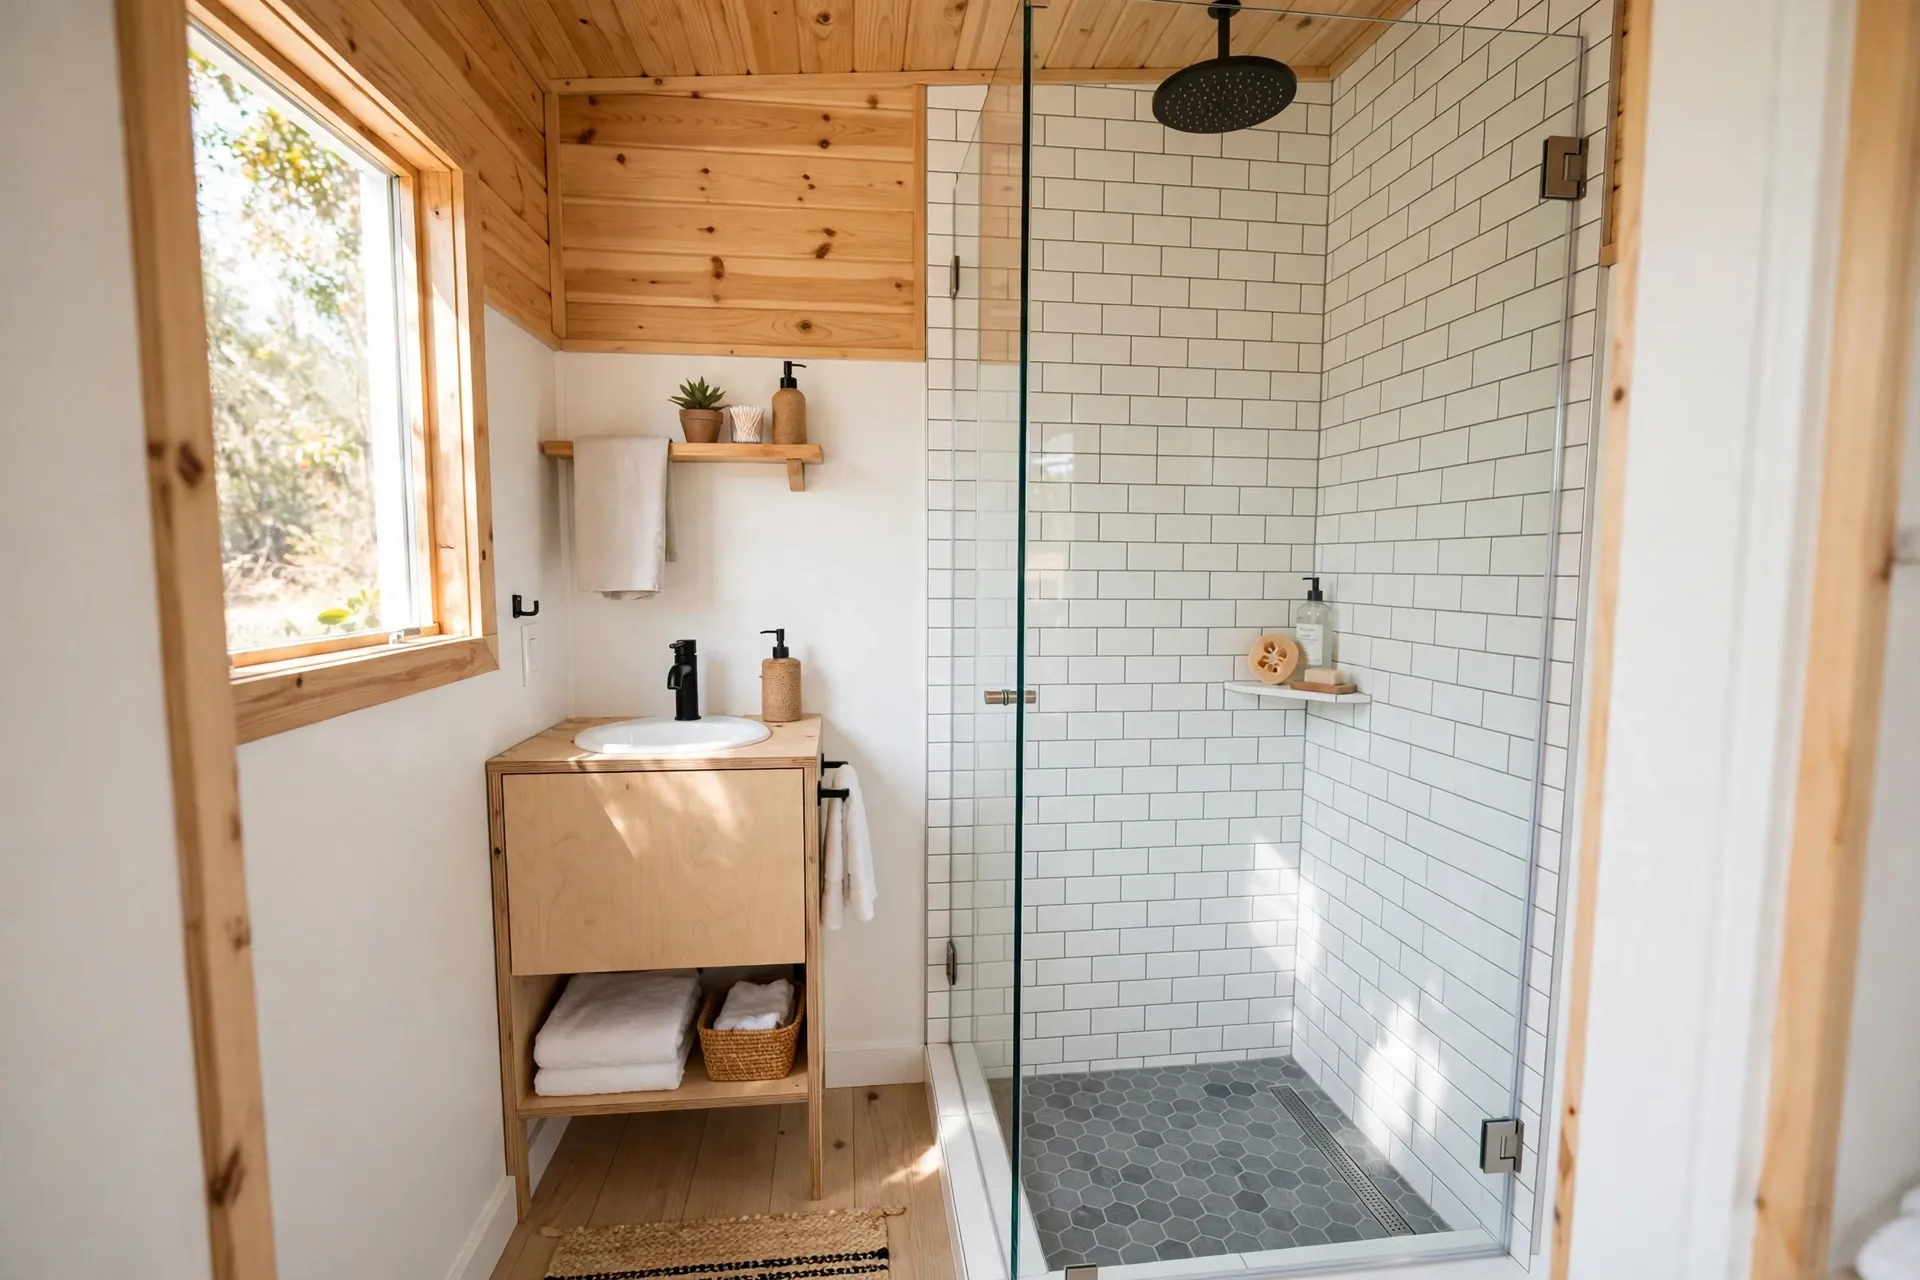
A shower curtain chops a tiny bathroom in half. You see fabric, not space. A clear glass wall changes that in one move.
With glass, your eye travels from the door all the way to the back tile. The room reads as one open space, even when the shower takes up a third of it. Light passes through too, so the shower corner never turns into a dark cave.
Choose a single fixed panel if you want the simplest build. It has no door to swing and no track to clean. A small gap at the end lets steam escape and keeps the floor mostly dry.
Keep the glass clean with a quick squeegee after each shower. It takes ten seconds and stops water spots from building up. In a tiny house, that tiny habit keeps the whole room looking new.
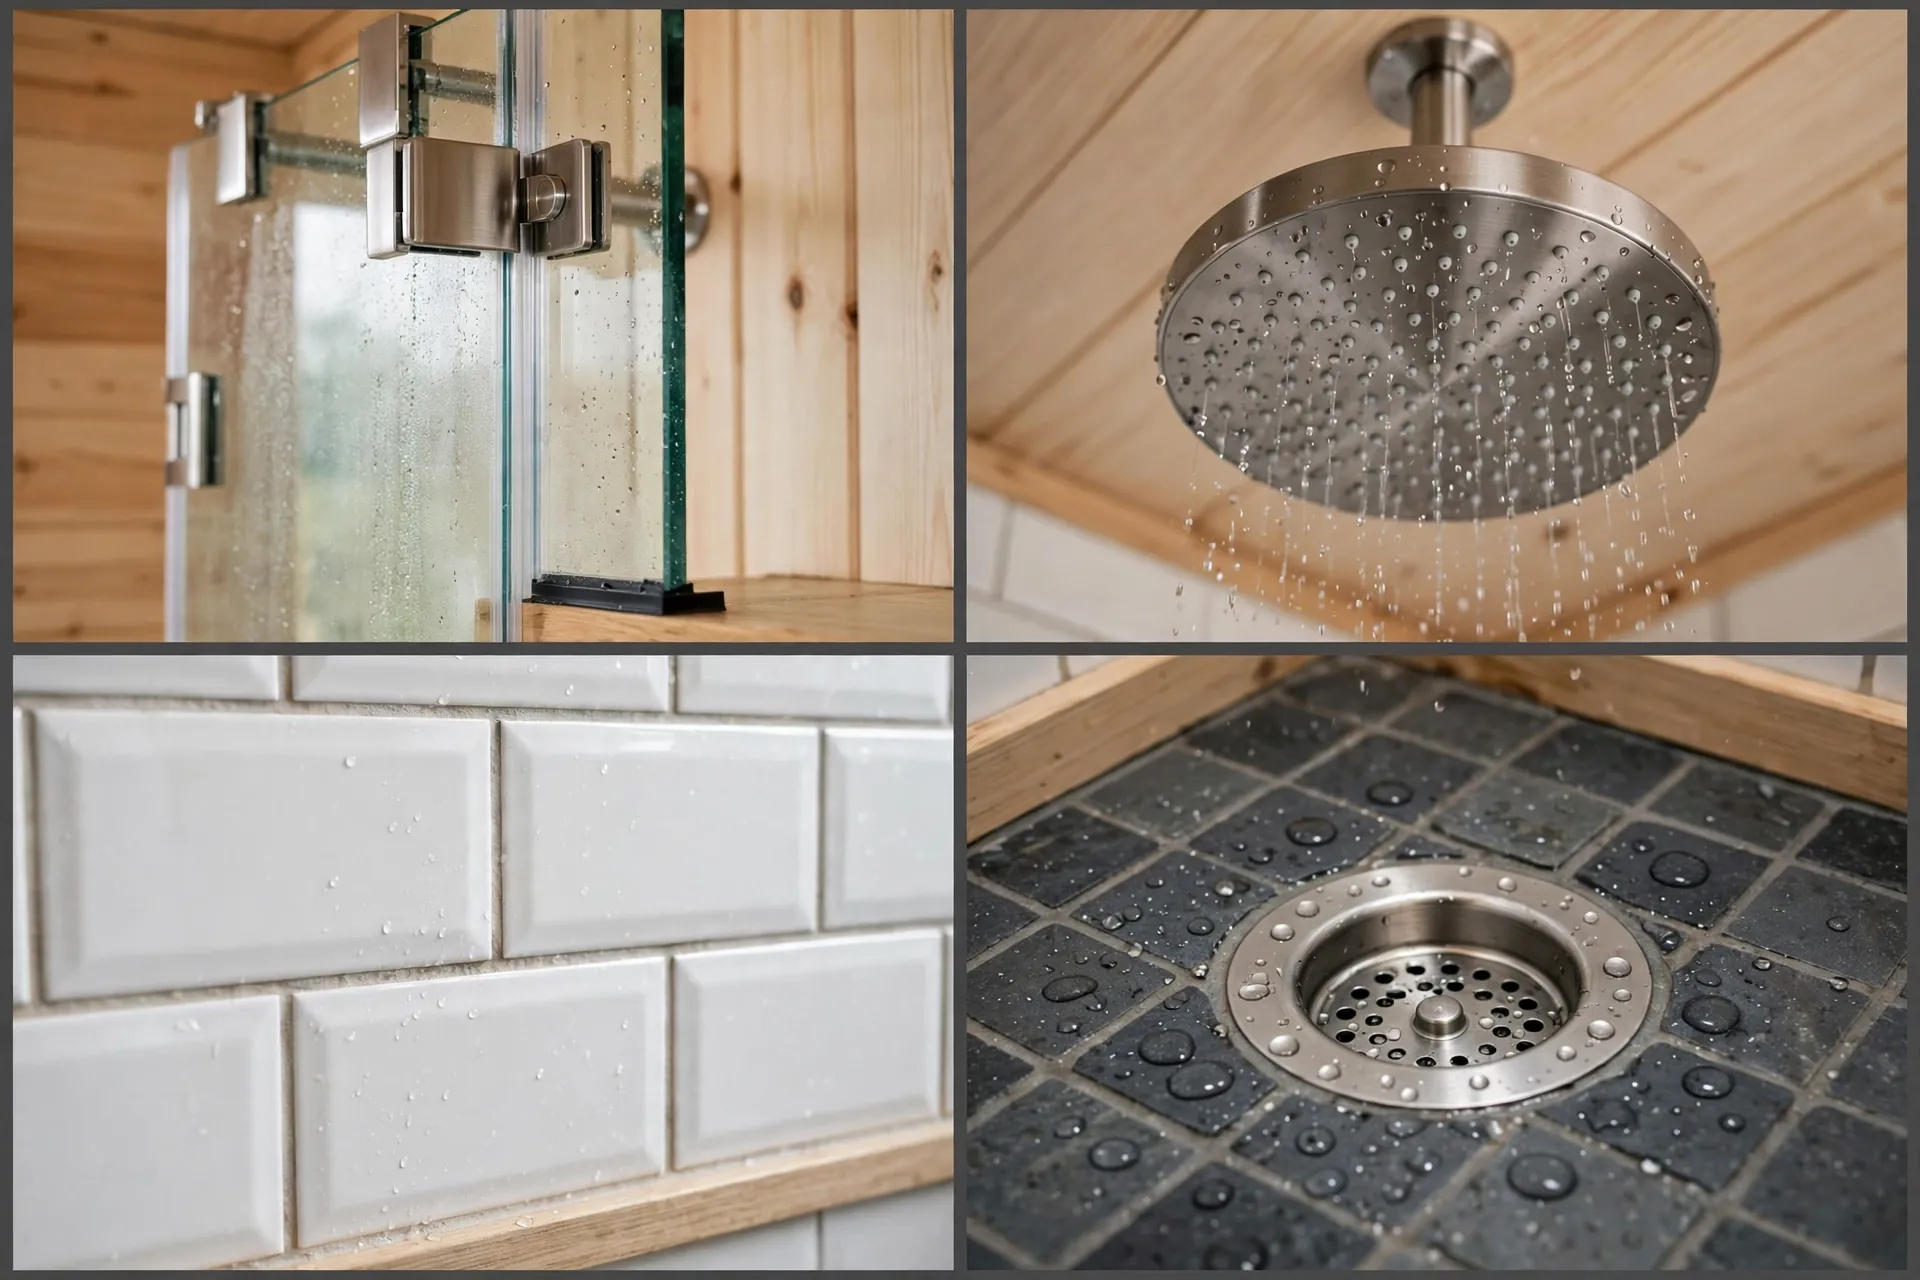
Use tempered glass, the safety glass made to break into small dull pieces instead of sharp shards. Your builder or glass supplier will know the right thickness, usually around 8 to 10 millimeters.
Pair the glass with light tile and a simple rainfall head. The result feels calm, open, and far bigger than the tape measure says.
2. Floating Vanity With Open Shelving Below

A vanity that touches the floor looks heavy in a small room. A floating vanity does the opposite. It lifts off the floor and leaves a strip of visible tile underneath.
That strip matters more than you would think. Your brain reads the open floor as extra space. The room feels lighter, and cleaning gets easier too. You can mop right under it without moving anything.
Open shelving below the counter holds rolled towels, baskets, and everyday items where you can see them. Keep it tidy on purpose. Two or three neat stacks look intentional. A jumble of bottles does not.
Mount the vanity into solid blocking in the wall, not just drywall. A floating unit carries weight every day, and good blocking keeps it rock solid for years.
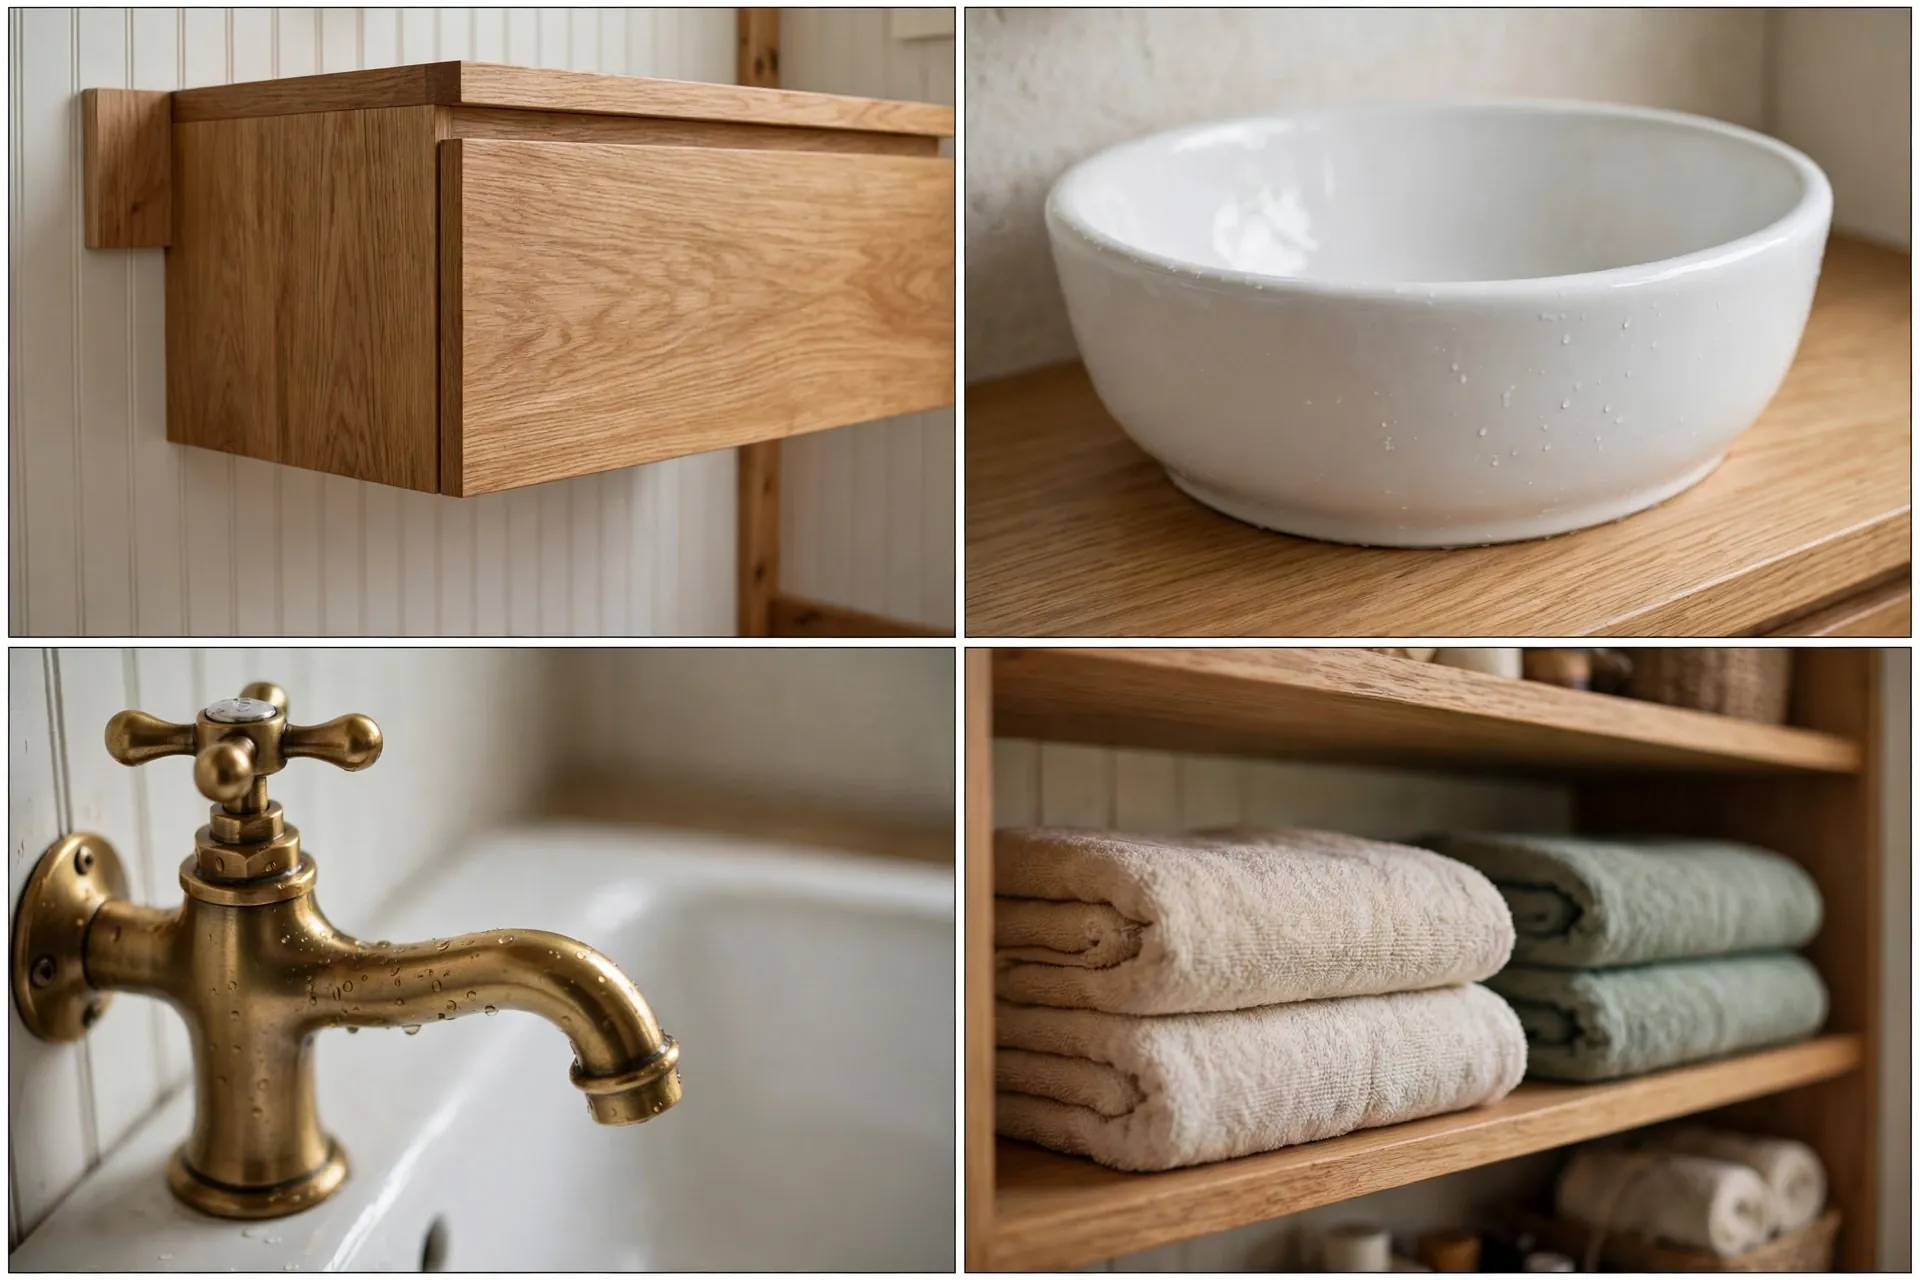
Pick a wood tone that matches your kitchen or loft. That repeat of material ties the whole tiny house together. A white vessel sink on top keeps the look fresh and gives you a little extra counter height.
This is one of the easiest upgrades to add during a build, and one of the hardest to add later. Plan it early.
3. Large Mirror That Doubles the Room
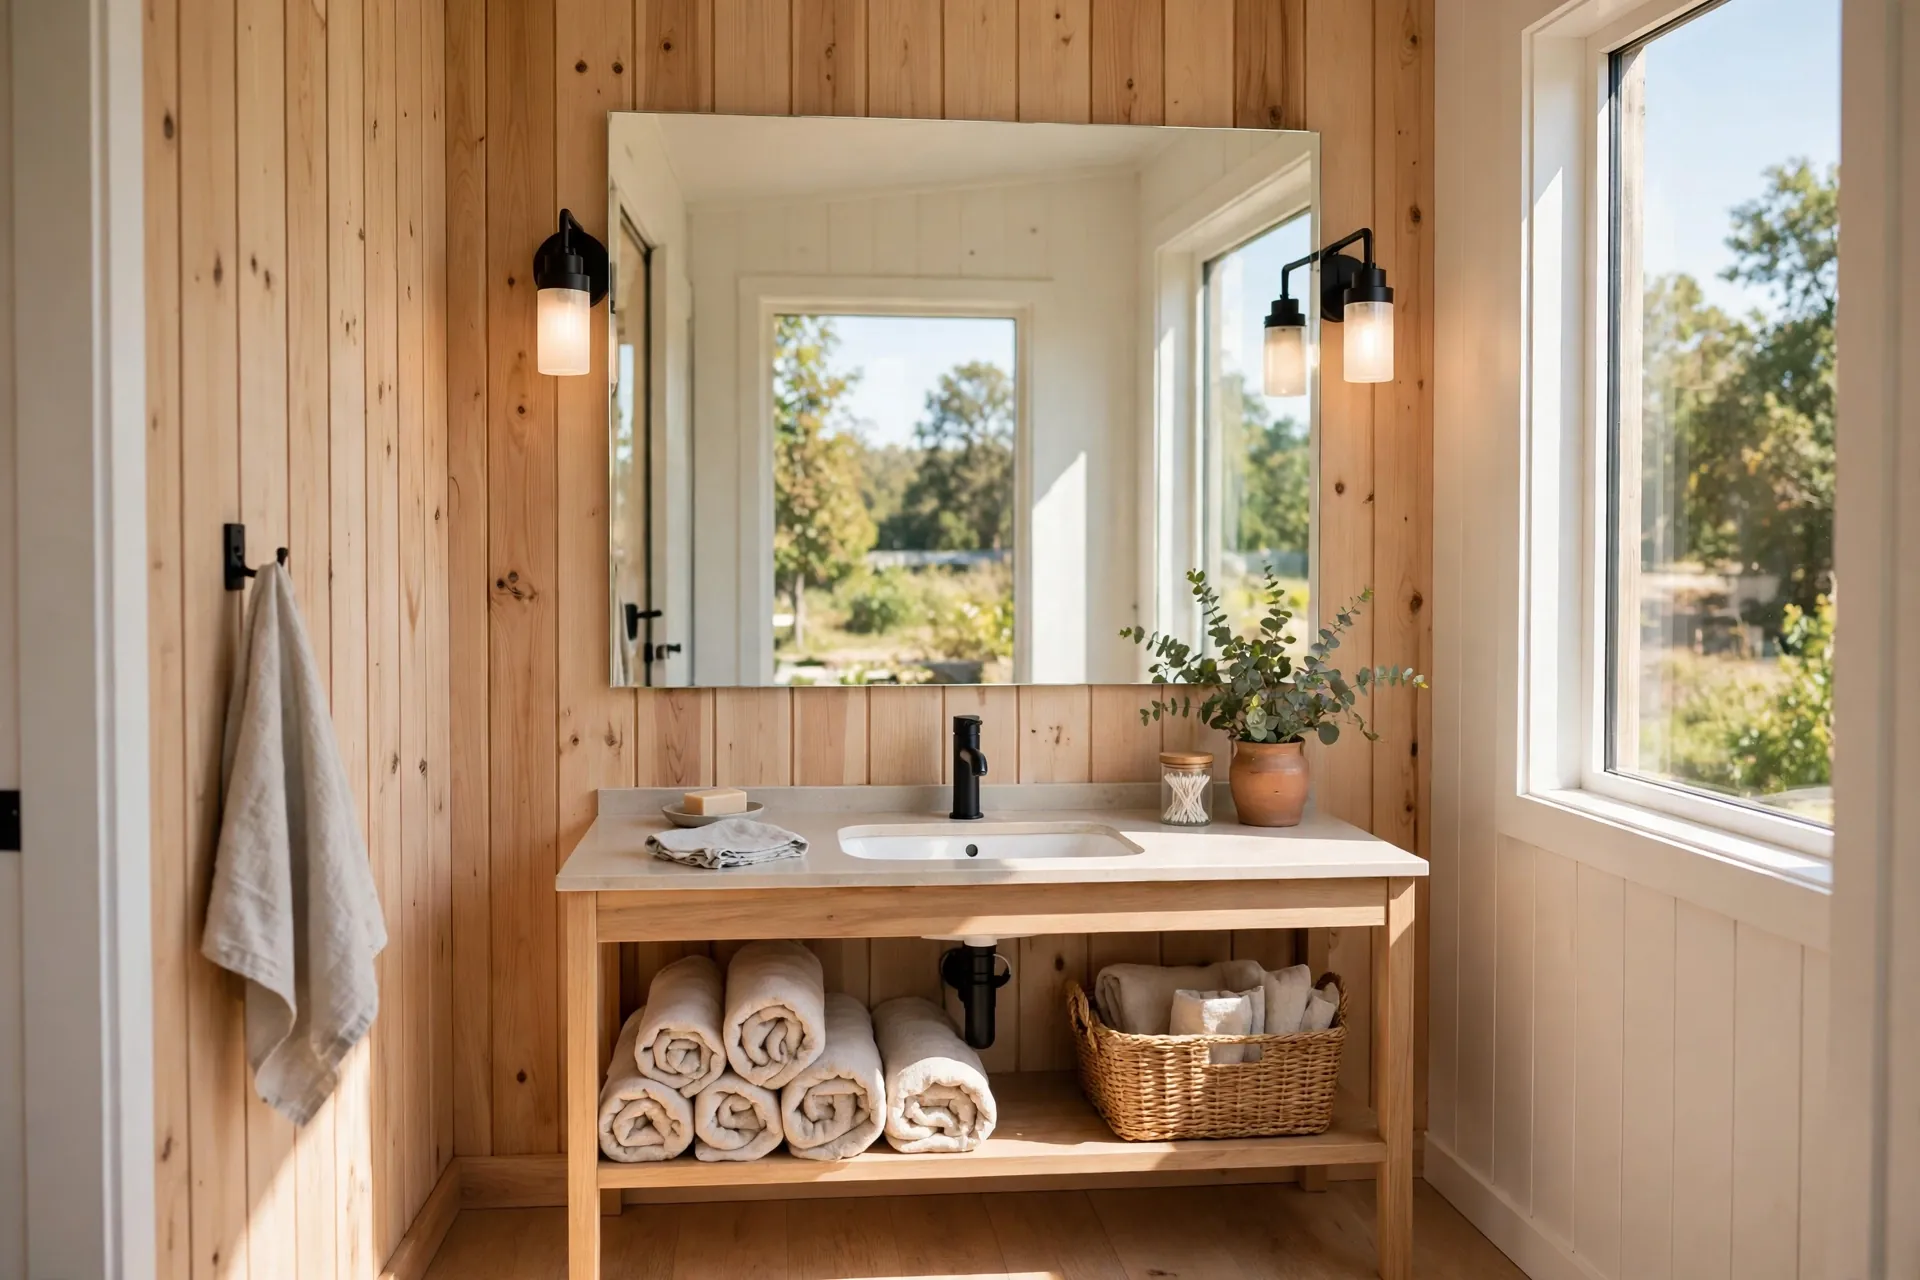
A small mirror shows your face. A large mirror shows the whole room, twice. In a tiny bathroom, that second view is free square footage for your eyes.
Run the mirror almost to the ceiling and as wide as the vanity allows. The reflection pulls light from the window across the room and bounces it into the darkest corner. Mornings feel brighter, and the space feels less boxed in.
Skip the heavy frame. A frameless mirror with a clean polished edge looks built in and modern. It also wipes clean in seconds, with no grooves to collect dust.
Add a sconce on each side instead of one light above. Side light flatters your face and removes the shadows that a single overhead bulb creates.
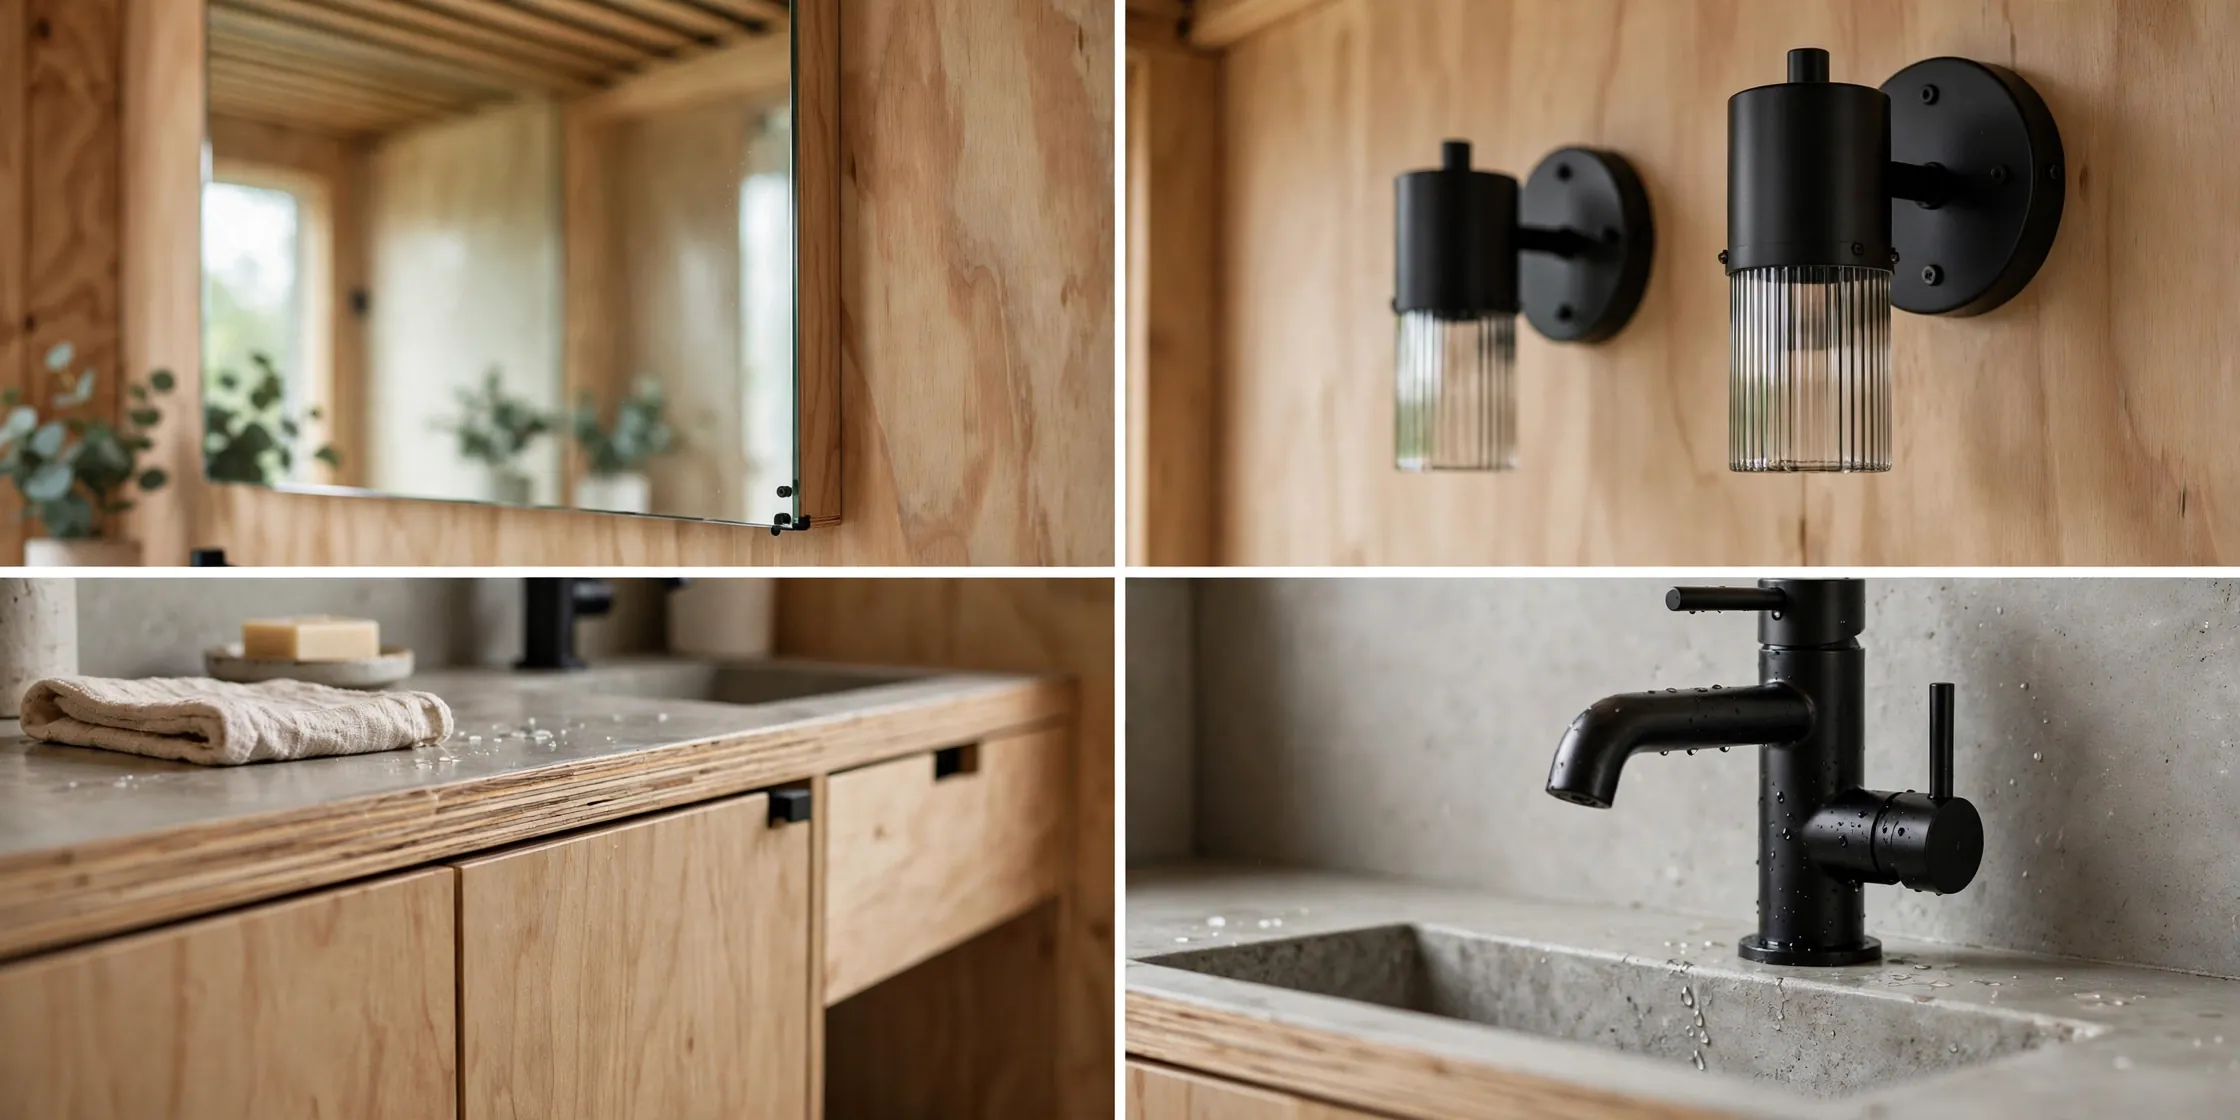
One warning: a huge mirror shows everything, including clutter. Keep the counter clear and the mirror becomes your best feature. Let bottles pile up and it doubles the mess too.
Hang it with proper mirror clips or adhesive rated for its weight. A mirror this size is not a job for a single small screw.
4. Wet Room With a Single Drain

A wet room removes the shower tray, the curb, and the threshold. The whole bathroom floor becomes the shower floor, gently sloped to one drain.
That single change frees up surprising room. There is no step to climb over, no tray edge to stub a toe on, and no separate shower box eating up wall space. The floor runs in one smooth sheet from door to drain.
Waterproofing is the whole job here. Every wall and the full floor need a proper membrane under the tile, sealed at every seam. This is not a corner to cut. A good installer will talk you through the layers before a single tile goes down.
Choose a large format tile with a matte finish. Fewer grout lines mean fewer places for grime to hide, and matte tile grips better under wet feet.

A wet room suits tiny houses well because it is simple to clean. One squeegee pass and the whole floor is done. Add a small wall hung toilet and a floating vanity, and almost nothing touches the floor at all.
Keep towels and toilet paper away from the splash zone, or give them a small covered niche. A wet room is generous with water, and your dry goods need a dry home.
5. Pocket Door That Frees Up Floor Space
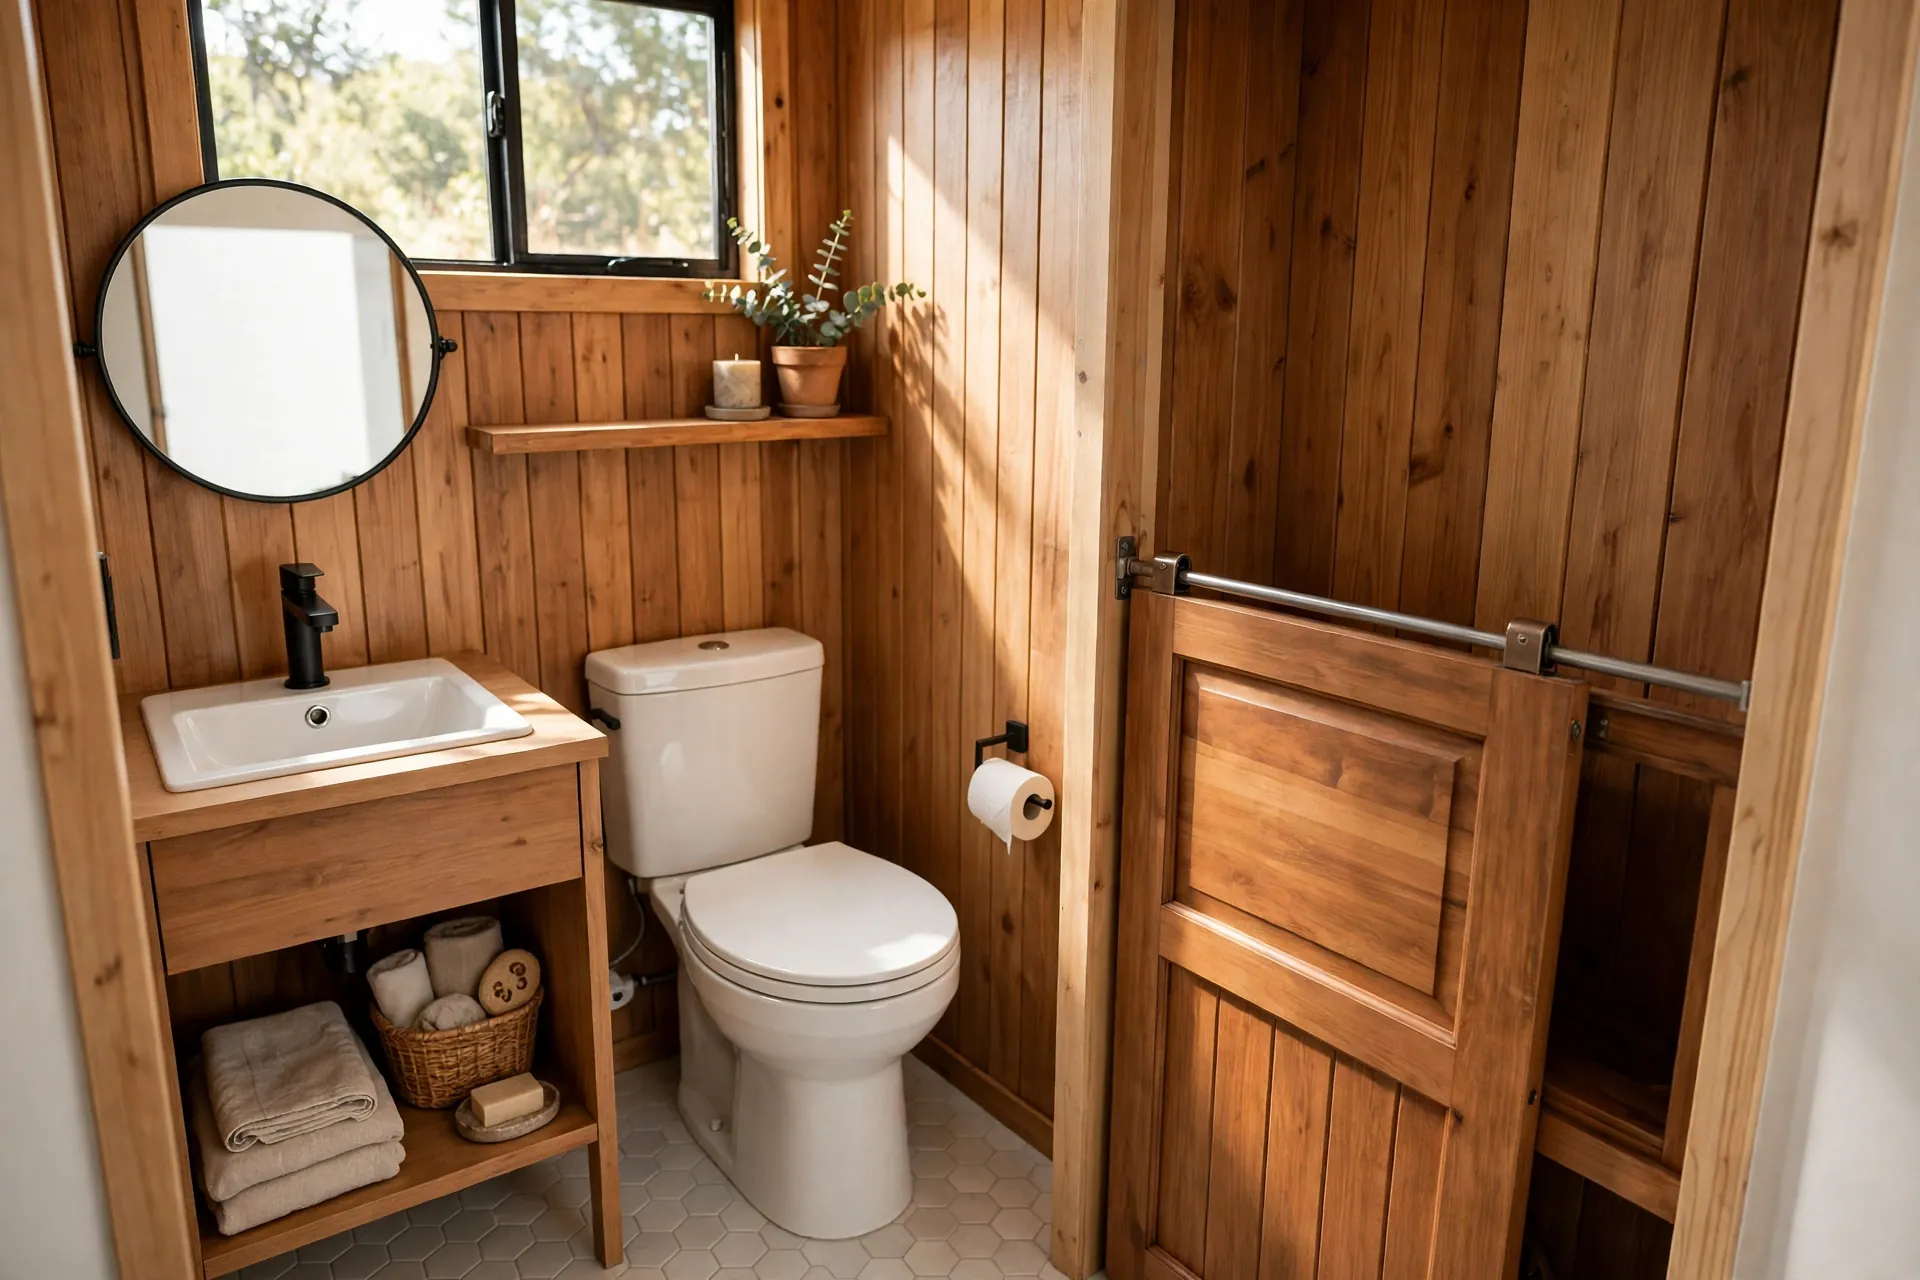
A swinging door needs a clear arc of floor to open. In a tiny bathroom, that arc can be a quarter of the whole room. A pocket door gives it back.
The door slides into the wall cavity instead of swinging out. You gain floor space for a bigger vanity, a laundry basket, or simply room to turn around without backing into the sink.
Pocket doors also feel calmer. There is no door sweeping toward you when someone opens it from the hall. In a house where every inch is shared, that small courtesy matters.
Plan the pocket during framing, because the wall needs a hollow cavity and a proper track. Retrofitting one later means opening the wall, so decide early if you can.
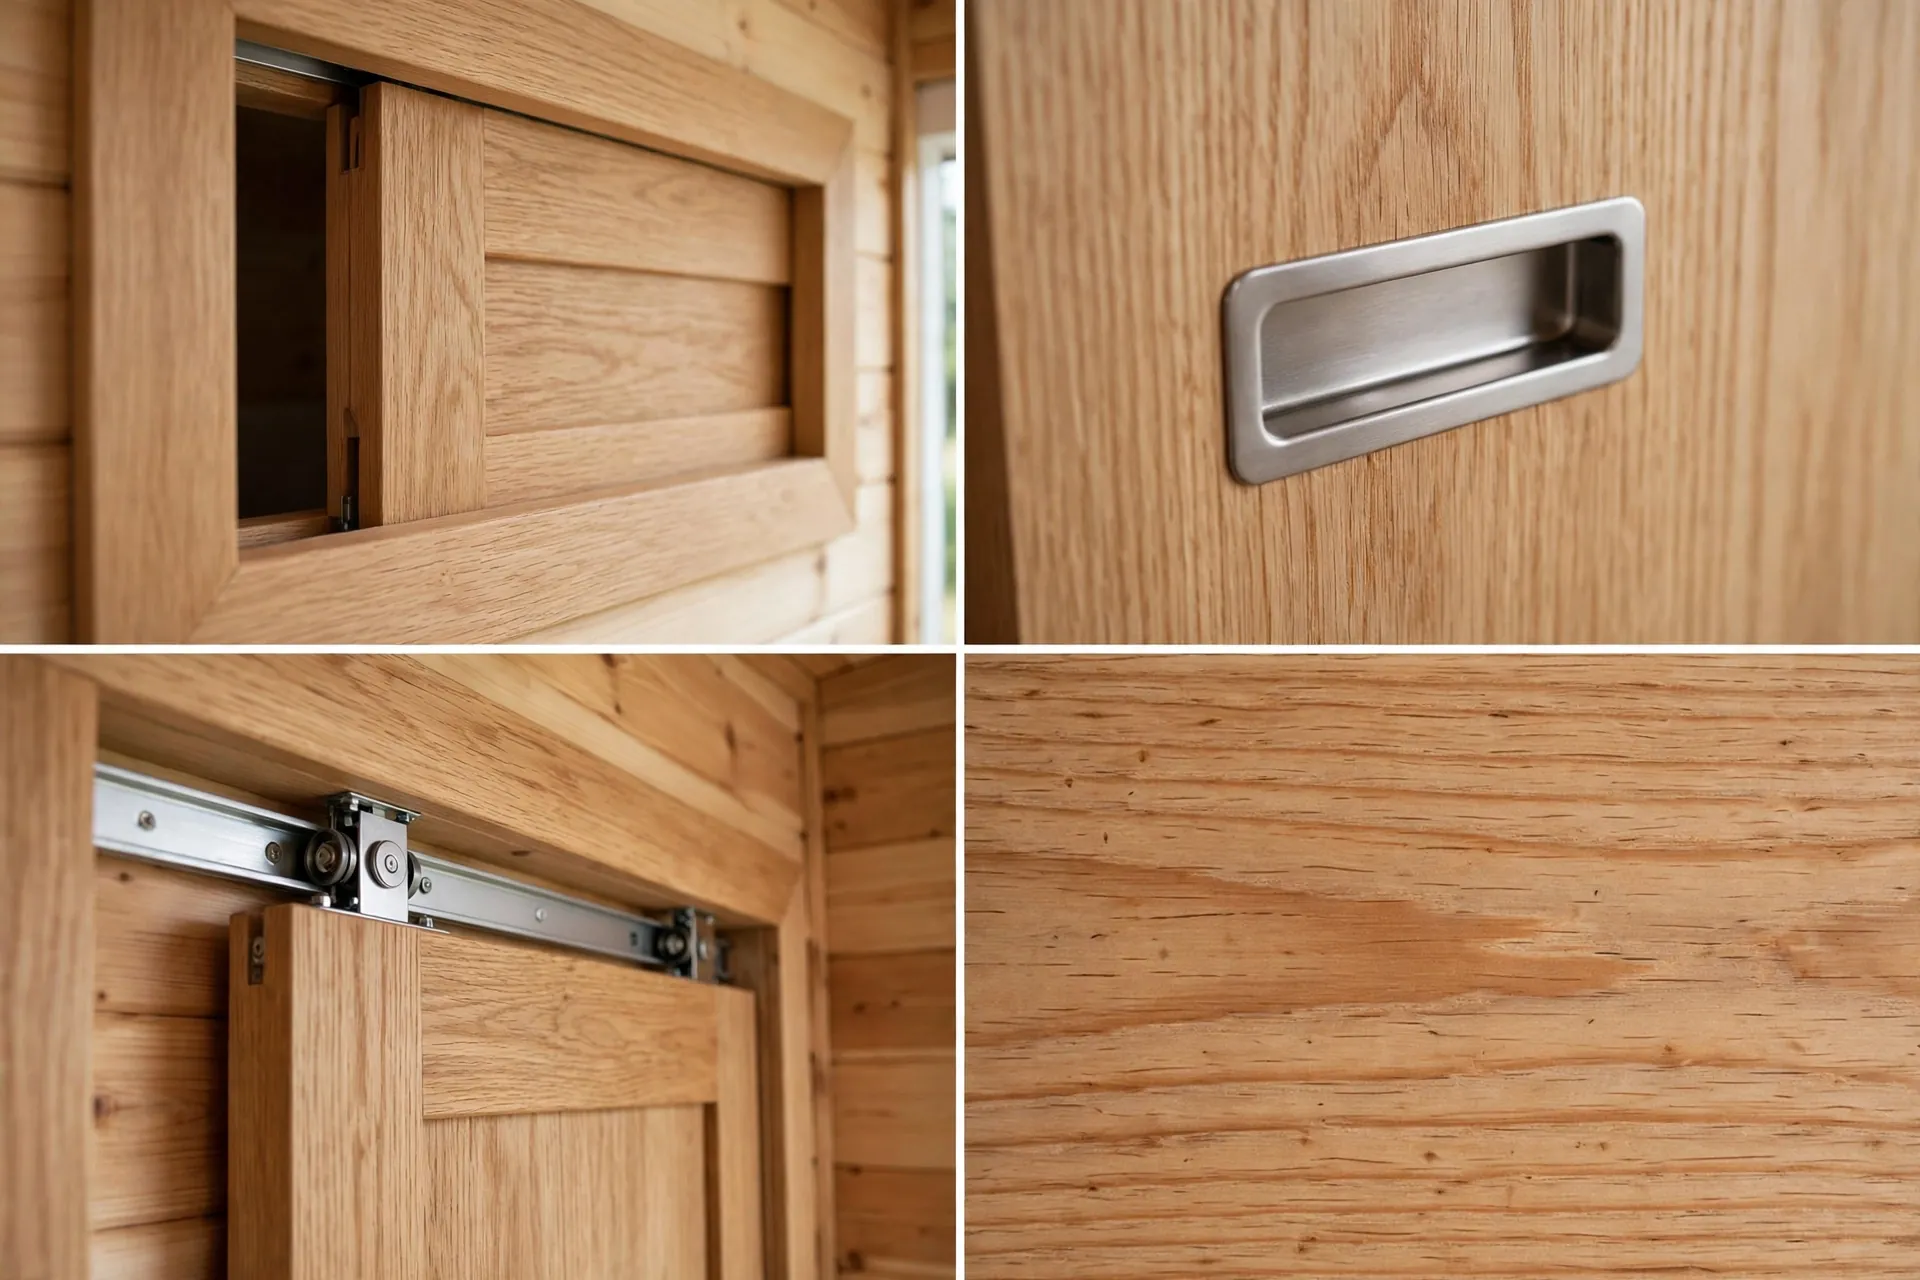
Pick a solid core door for sound privacy, not a hollow one. Add a simple recessed pull that is easy to grab with wet hands. A soft close track keeps it from slamming at night.
One trade off to know: you cannot hang heavy items on the pocket wall, since the door lives inside it. Keep towel hooks on the opposite wall and you will never miss the space.
6. Corner Sink With a Round Basin
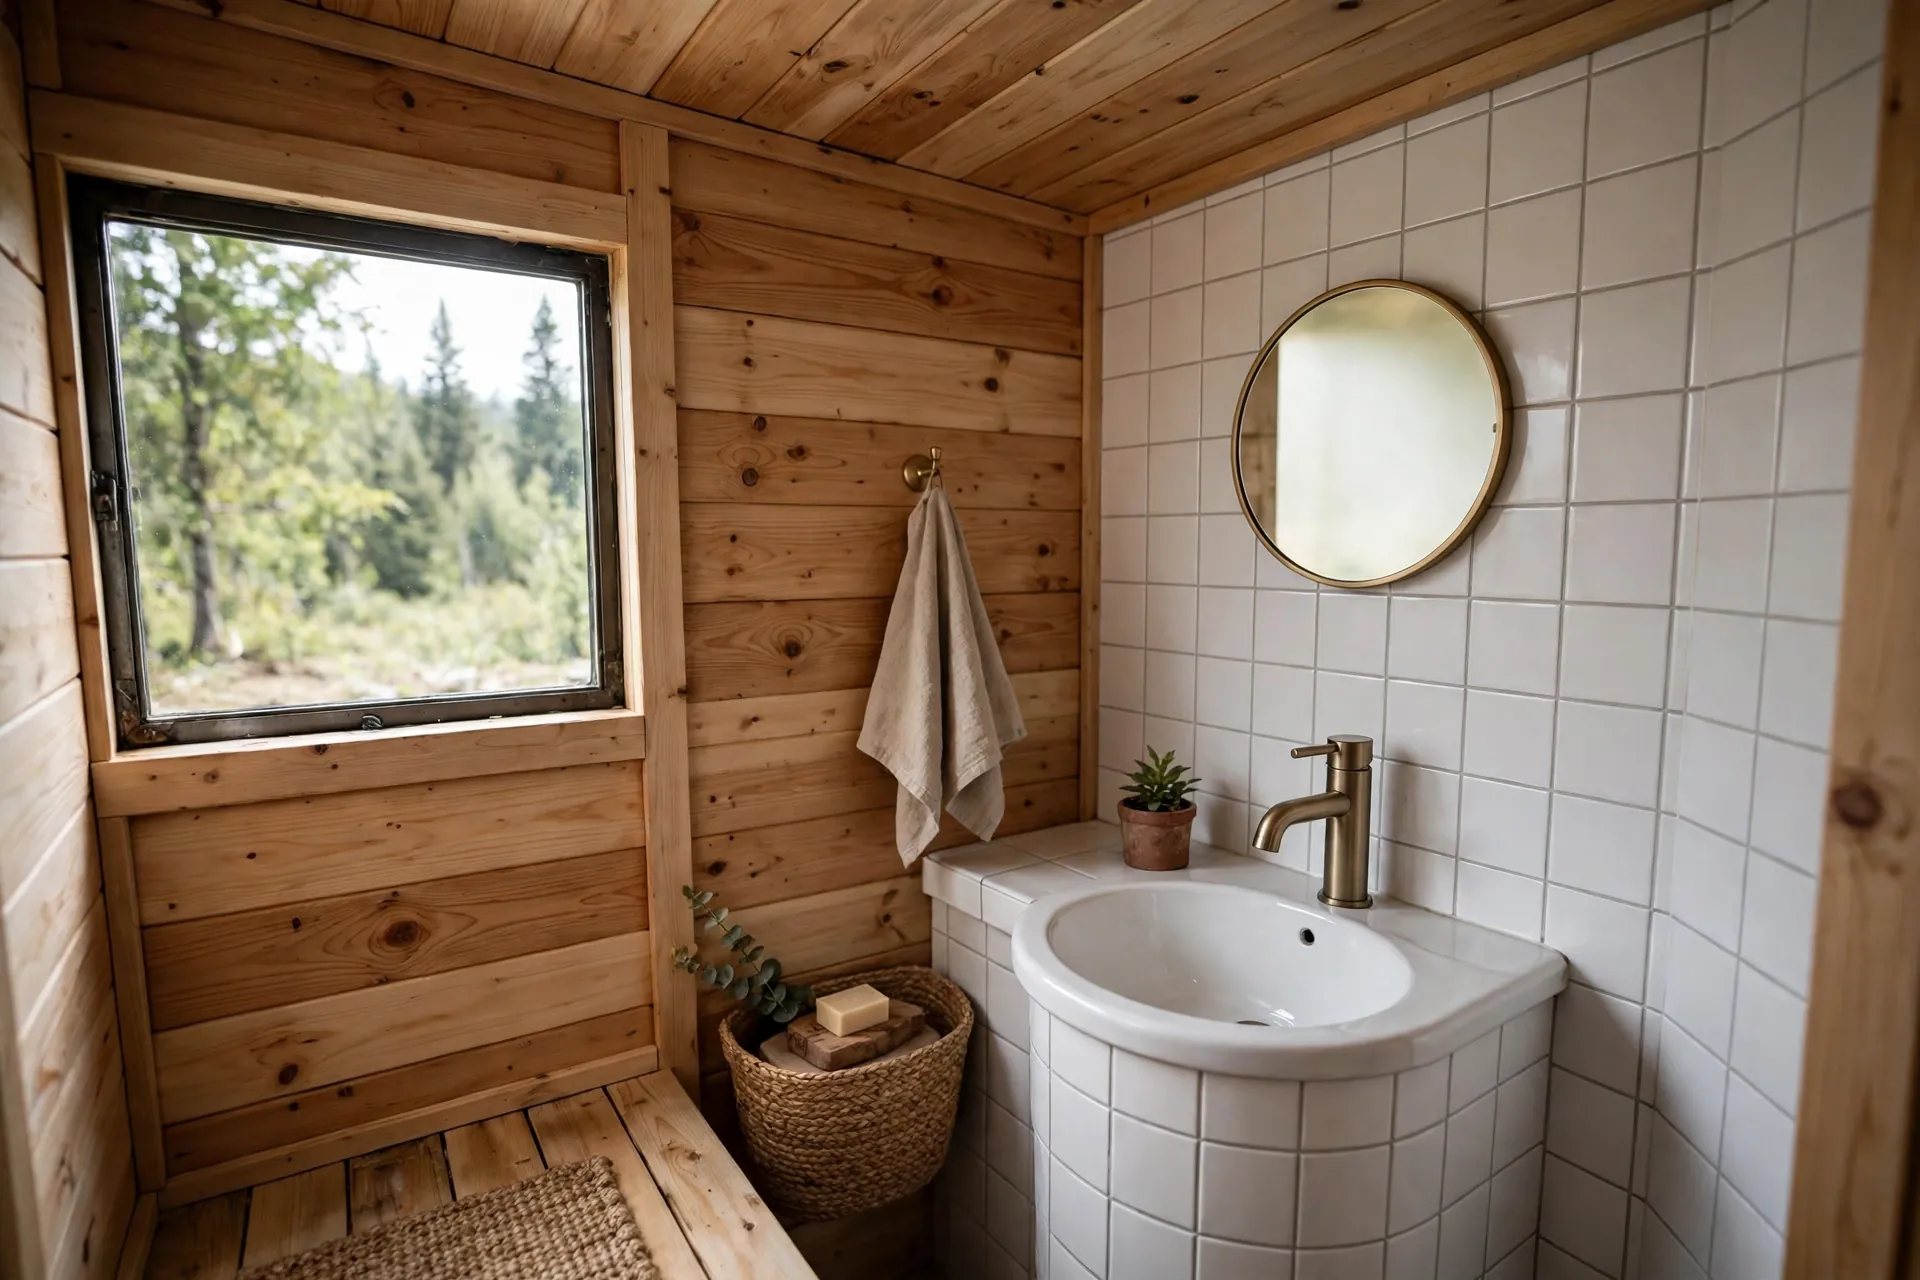
Some tiny bathrooms have an awkward corner that fits nothing. A corner sink turns that dead space into the most used spot in the room.
A small triangular or wall hung corner unit tucks the basin into the angle, leaving the center of the room open. A round basin softens the look and leaves more counter on each side than a square one would.
This setup works best in a bathroom where the toilet and shower already claim the long walls. The sink slides into the leftover corner instead of fighting them for space.
Keep the faucet short and centered. A tall faucet in a small round basin splashes everywhere. A low, neat spout keeps water where it belongs.
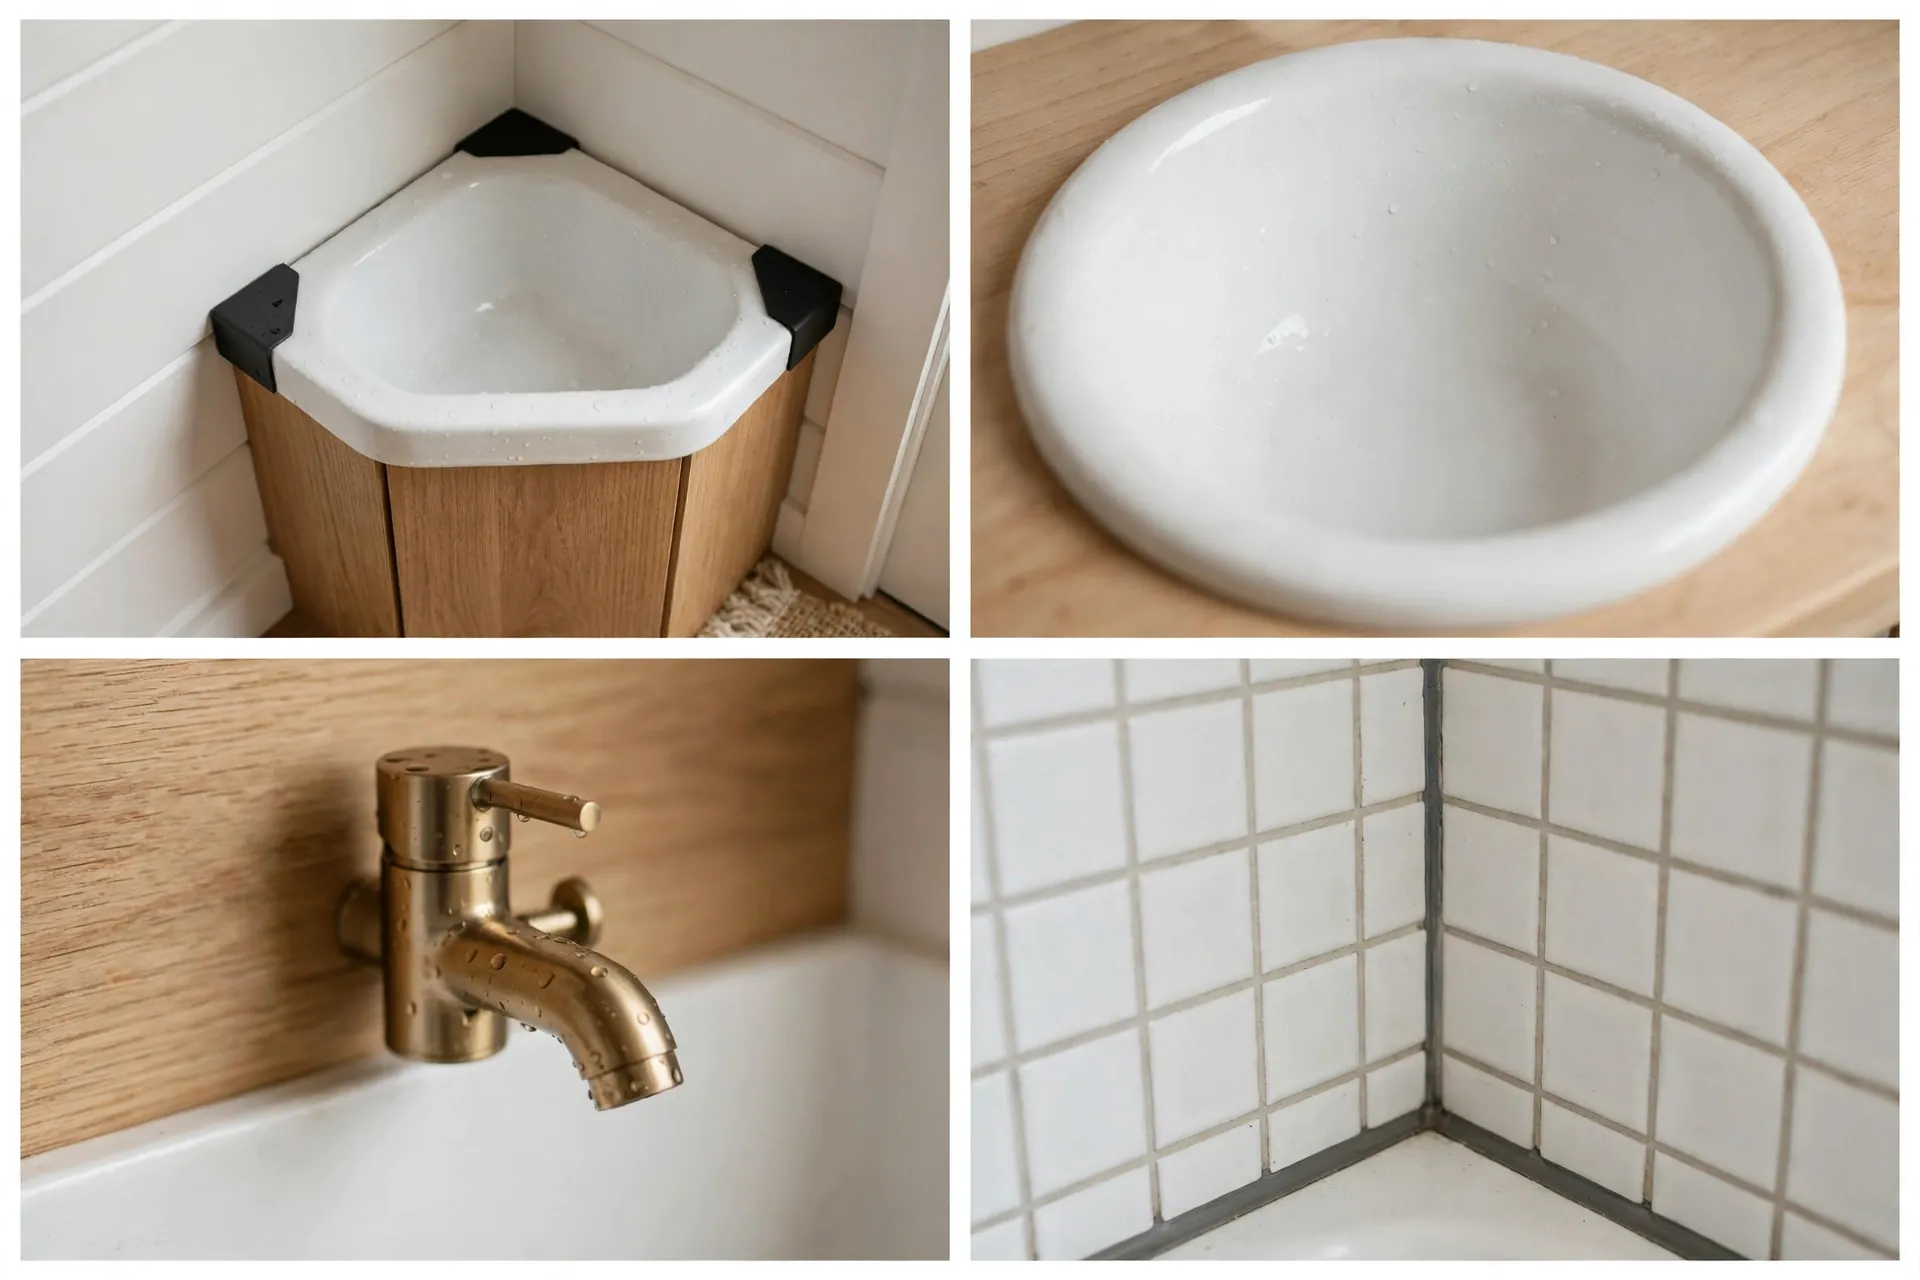
Add a small round mirror above the basin and a single shelf for soap and a toothbrush cup. That is all the storage this sink needs, because the rest of your toiletries can live in a cabinet nearby.
Corner sinks are not for everyone. If two people share the bathroom at once, a corner unit can feel tight. For one person or a guest bath, it is a clever use of space that would otherwise go to waste.
7. Vertical Shiplap That Lifts the Ceiling
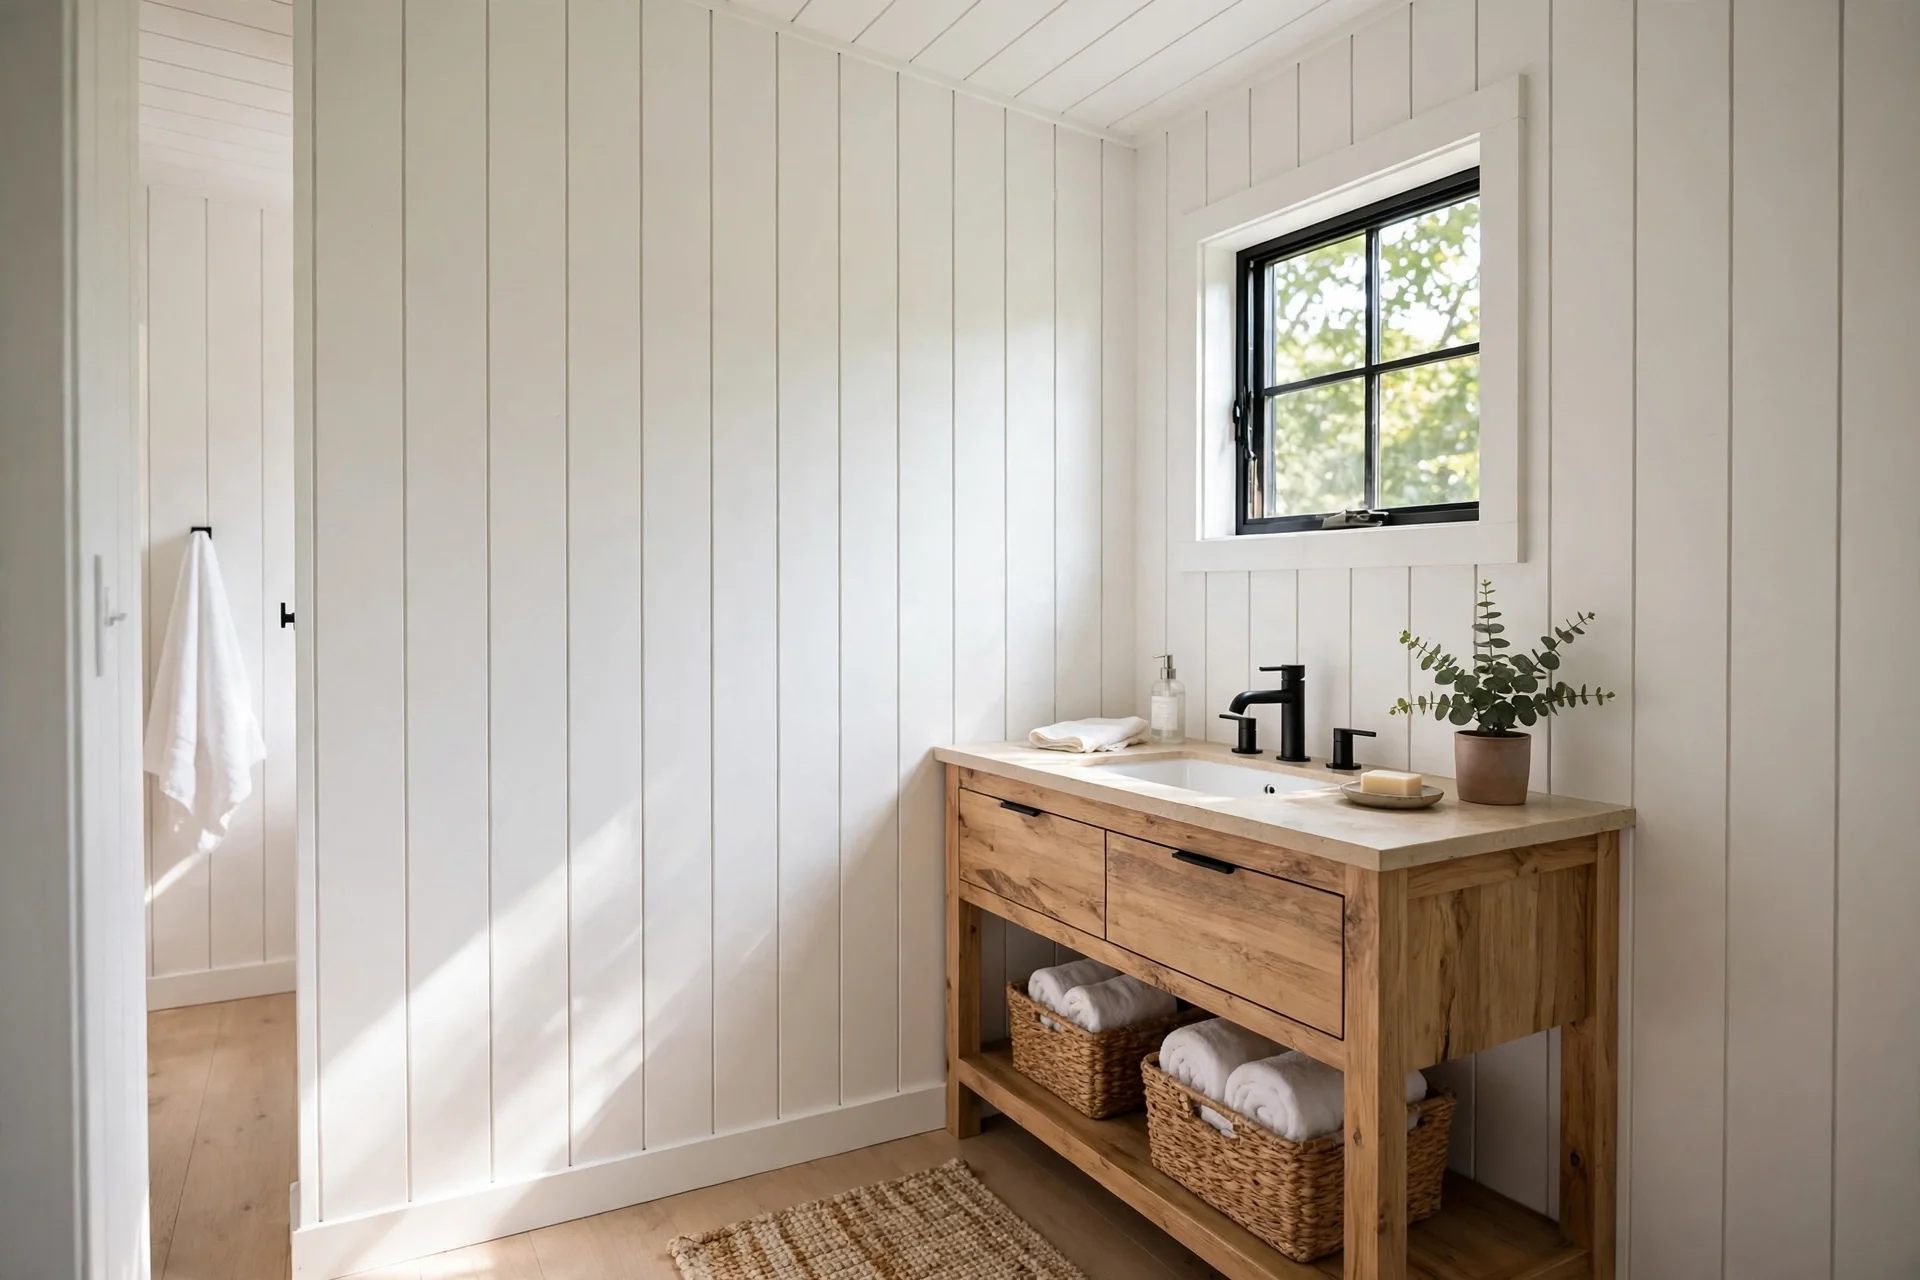
Horizontal lines make a room feel wider. Vertical lines make it feel taller. In a tiny bathroom with a low ceiling, taller wins.
Vertical shiplap boards draw the eye upward from floor to ceiling. The room feels less like a box and more like a small chapel of calm. Paint the boards white or a pale warm tone to keep the lift.
Shiplap also hides small imperfections in the wall underneath, which is handy in a house that moves down the road. Boards flex a little with the structure instead of cracking like a flat plaster finish can.
Seal the boards well, especially near the shower. Use a moisture resistant paint and caulk the seams at the floor. Wood and water can live together, but only if the finish is done right.
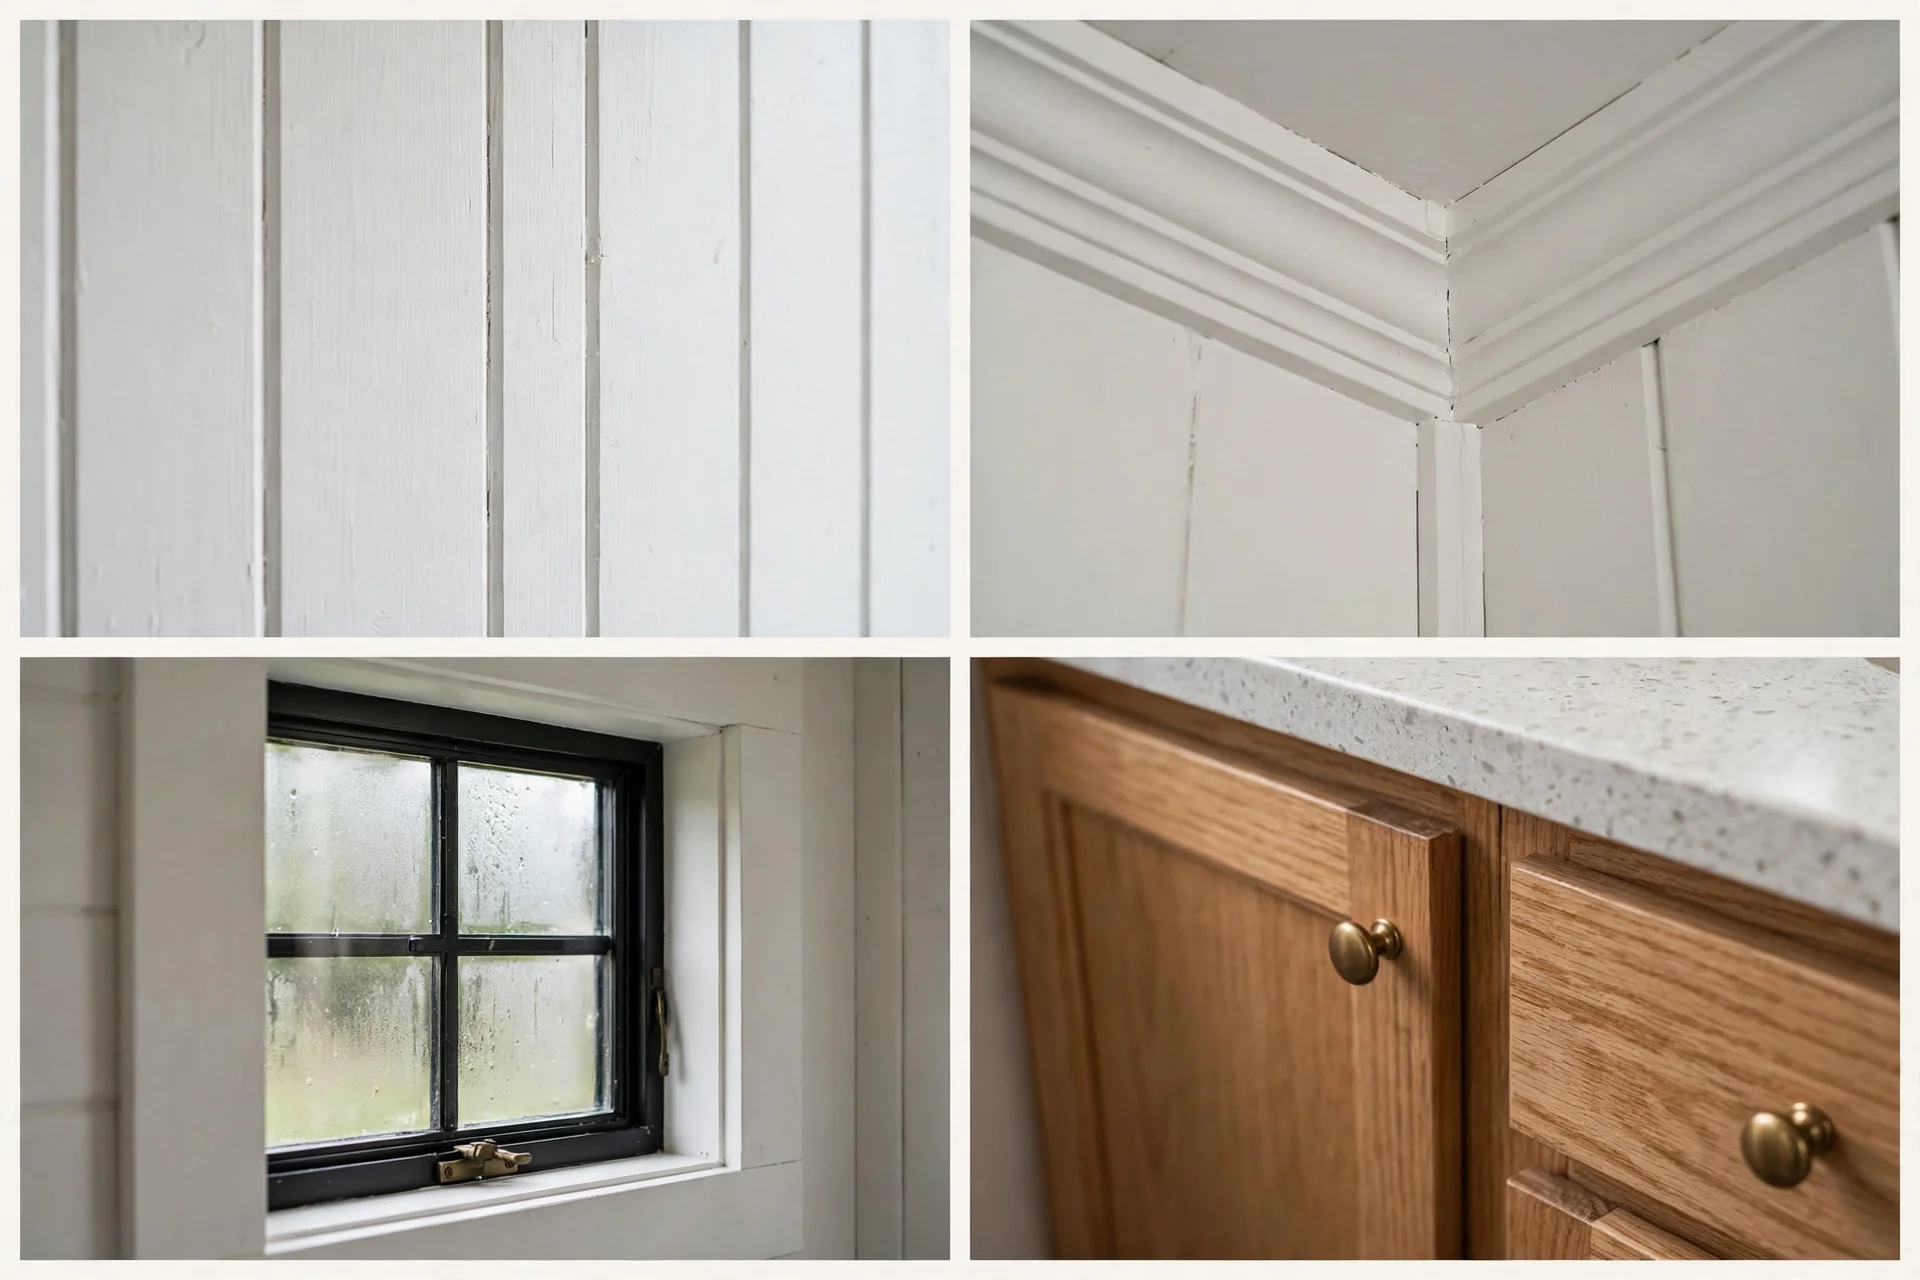
Run the shiplap all the way to the ceiling, not just to chair rail height. Stopping halfway chops the wall in two and loses the tall effect you are after.
Pair it with a simple wood vanity and black hardware for a modern farmhouse feel, or keep everything white for a clean coastal look. The boards work with both.
8. Skylight Over the Shower
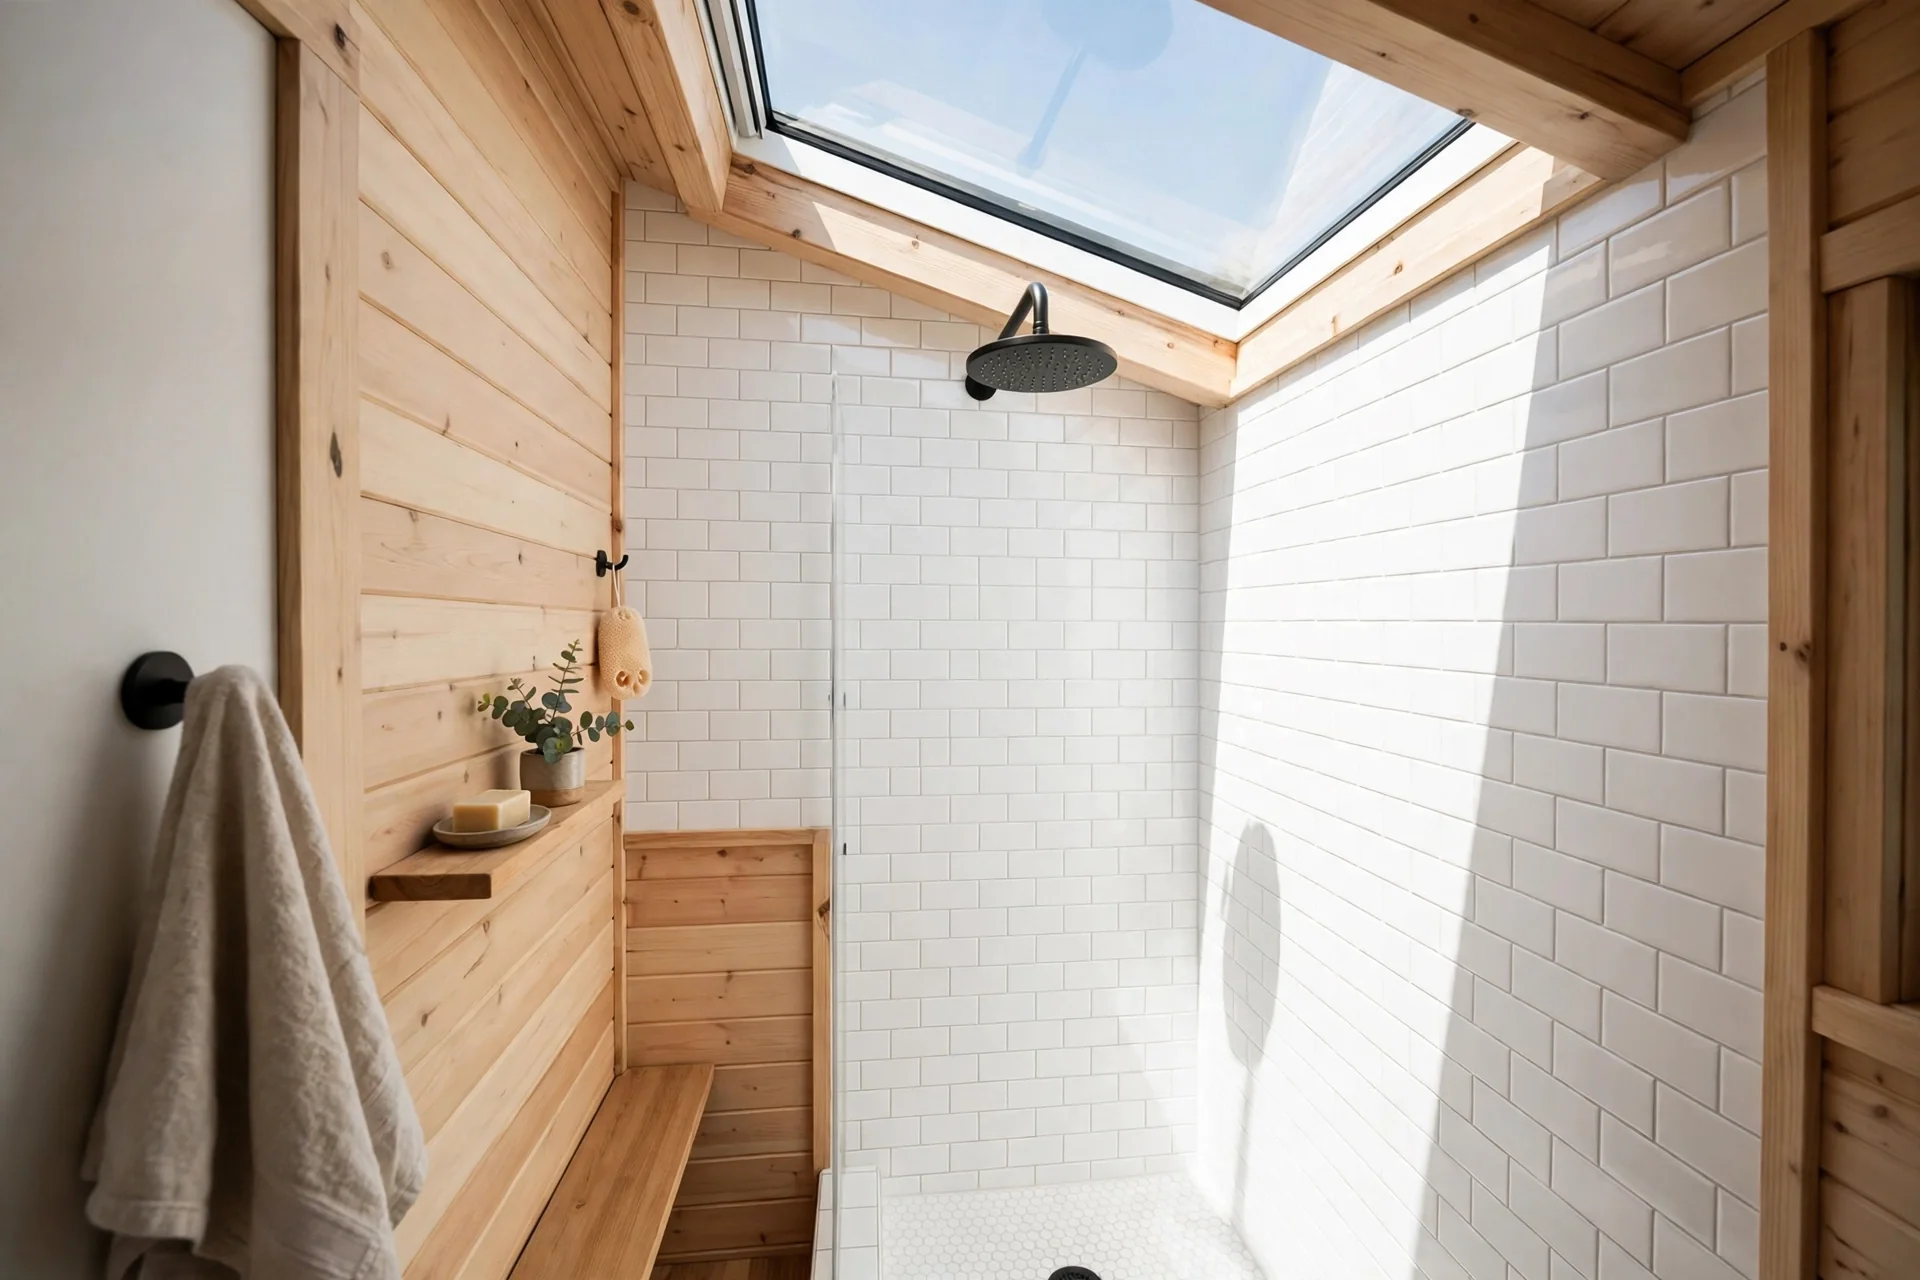
Most tiny bathrooms have one small window, if they have one at all. A skylight over the shower adds daylight from above, where no wall space is wasted.
Morning showers under open sky feel completely different. You get real sunlight on your shoulders, and the tile glows in a way no bulb can copy. On a cloudy day, the soft grey light still beats a dark ceiling.
A skylight also vents steam. Open it a crack after a shower and the moisture clears fast. That matters in a tiny house, where damp air has nowhere to go and mold finds a home quickly.
Choose a skylight with a built in blind for privacy and for hot summer afternoons. You want the light, not the heat of a midday sun beating straight down.
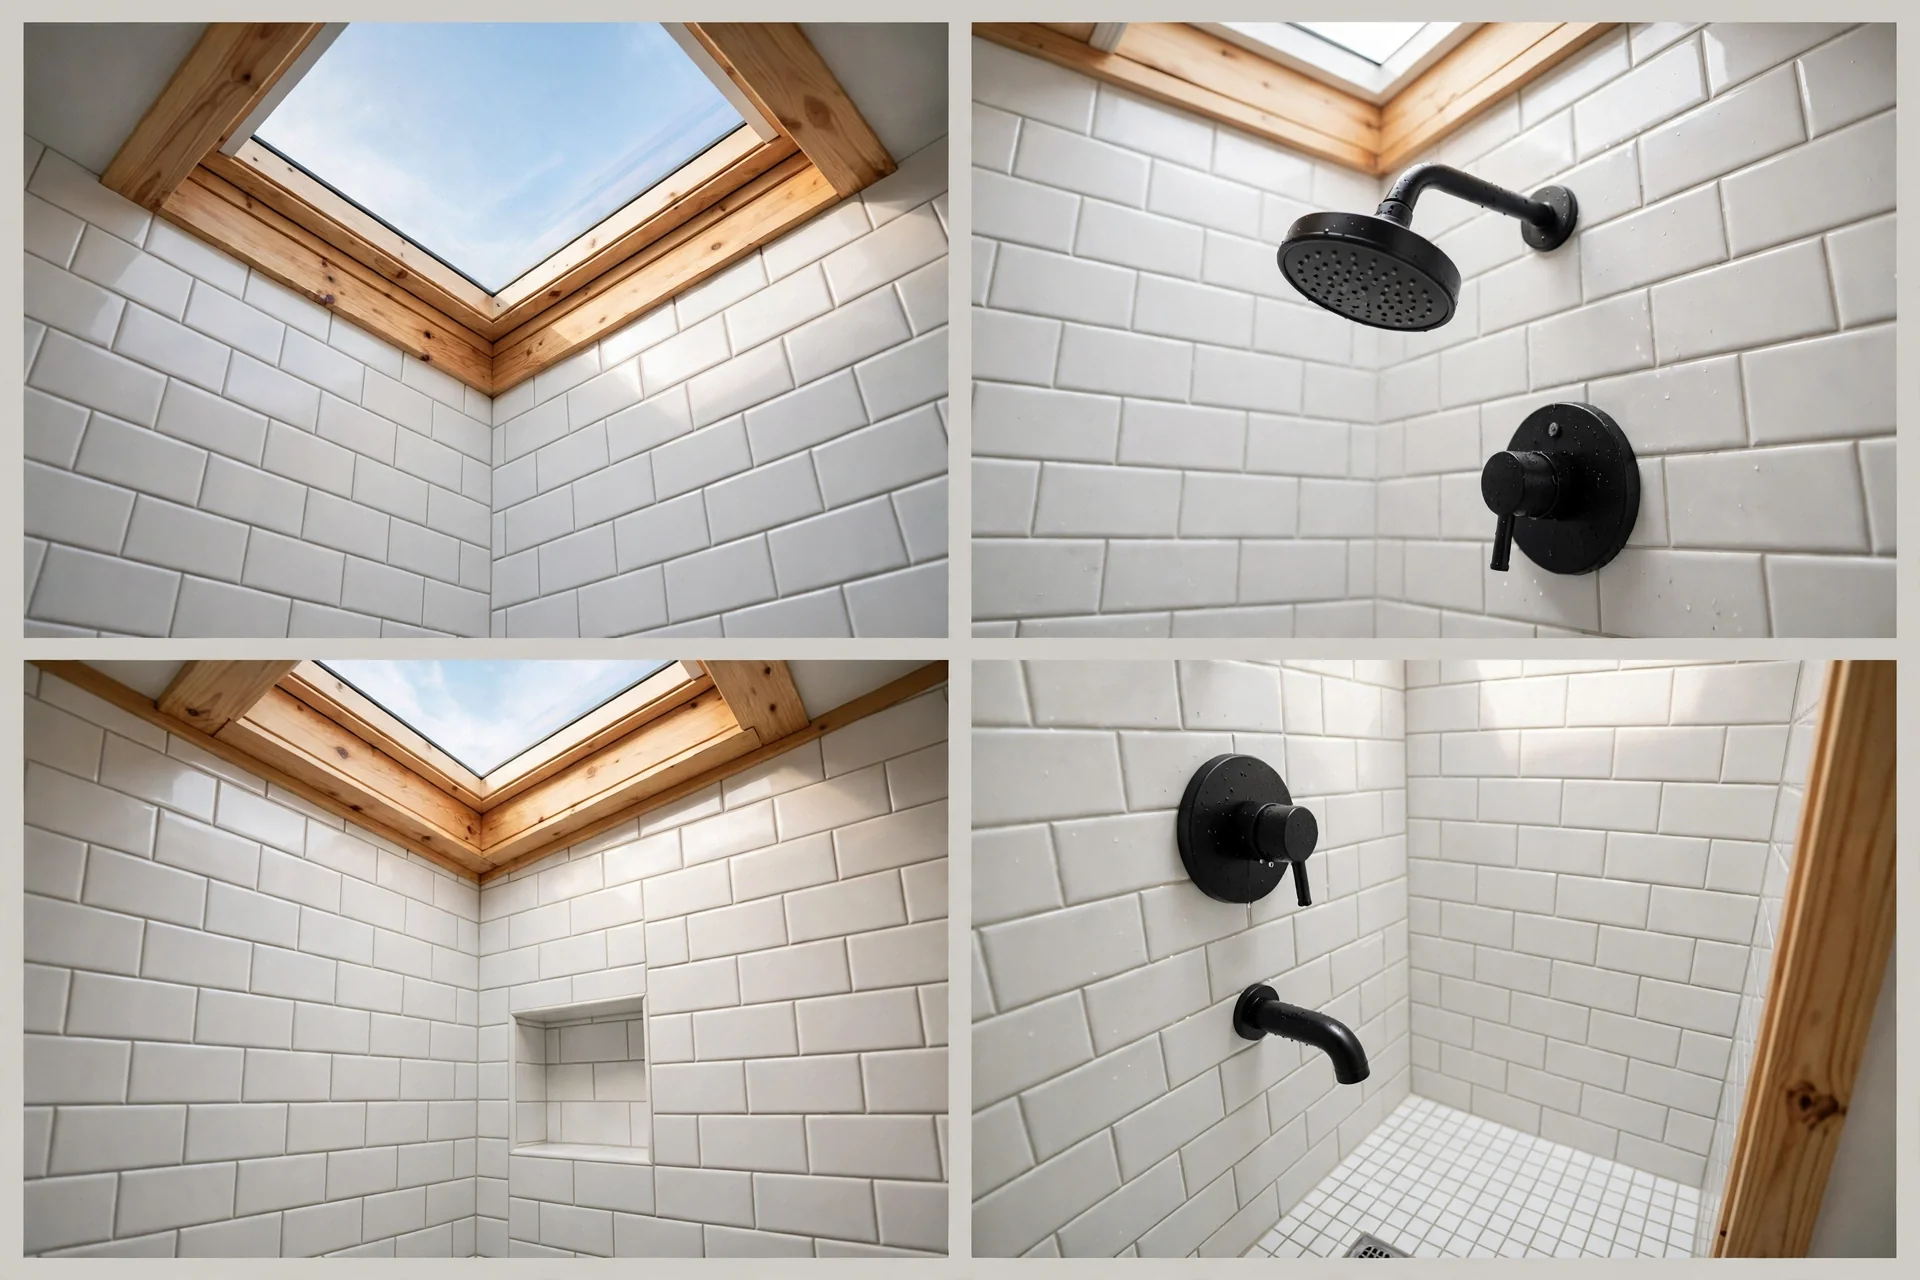
Flashing is the critical detail. A skylight is a hole in your roof, so the flashing and seal must be perfect. Have your roofer install it, not just your interior builder, and check it after the first heavy rain.
If a full skylight is out of budget, a smaller fixed unit still changes the room. Even a little sky makes a tiny bathroom feel connected to the outdoors.
9. Built-In Niches Instead of a Shower Caddy

A hanging shower caddy rattles, rusts, and crowds a small shower. A built-in niche does the same job quietly, inside the wall.
A niche is a recessed shelf tiled to match the shower. Bottles sit flush with the wall instead of sticking out into your elbow space. The shower feels wider, and nothing dangles at face height.
Plan two niches if you can. One at shoulder height for shampoo and soap, and one lower for shaving or foot care. Each one only needs to be as deep as a bottle, so they fit inside a standard stud wall.
Tile the niche with the same tile as the shower, and slope the bottom shelf slightly toward the shower. Water drains out instead of pooling around your bottles.
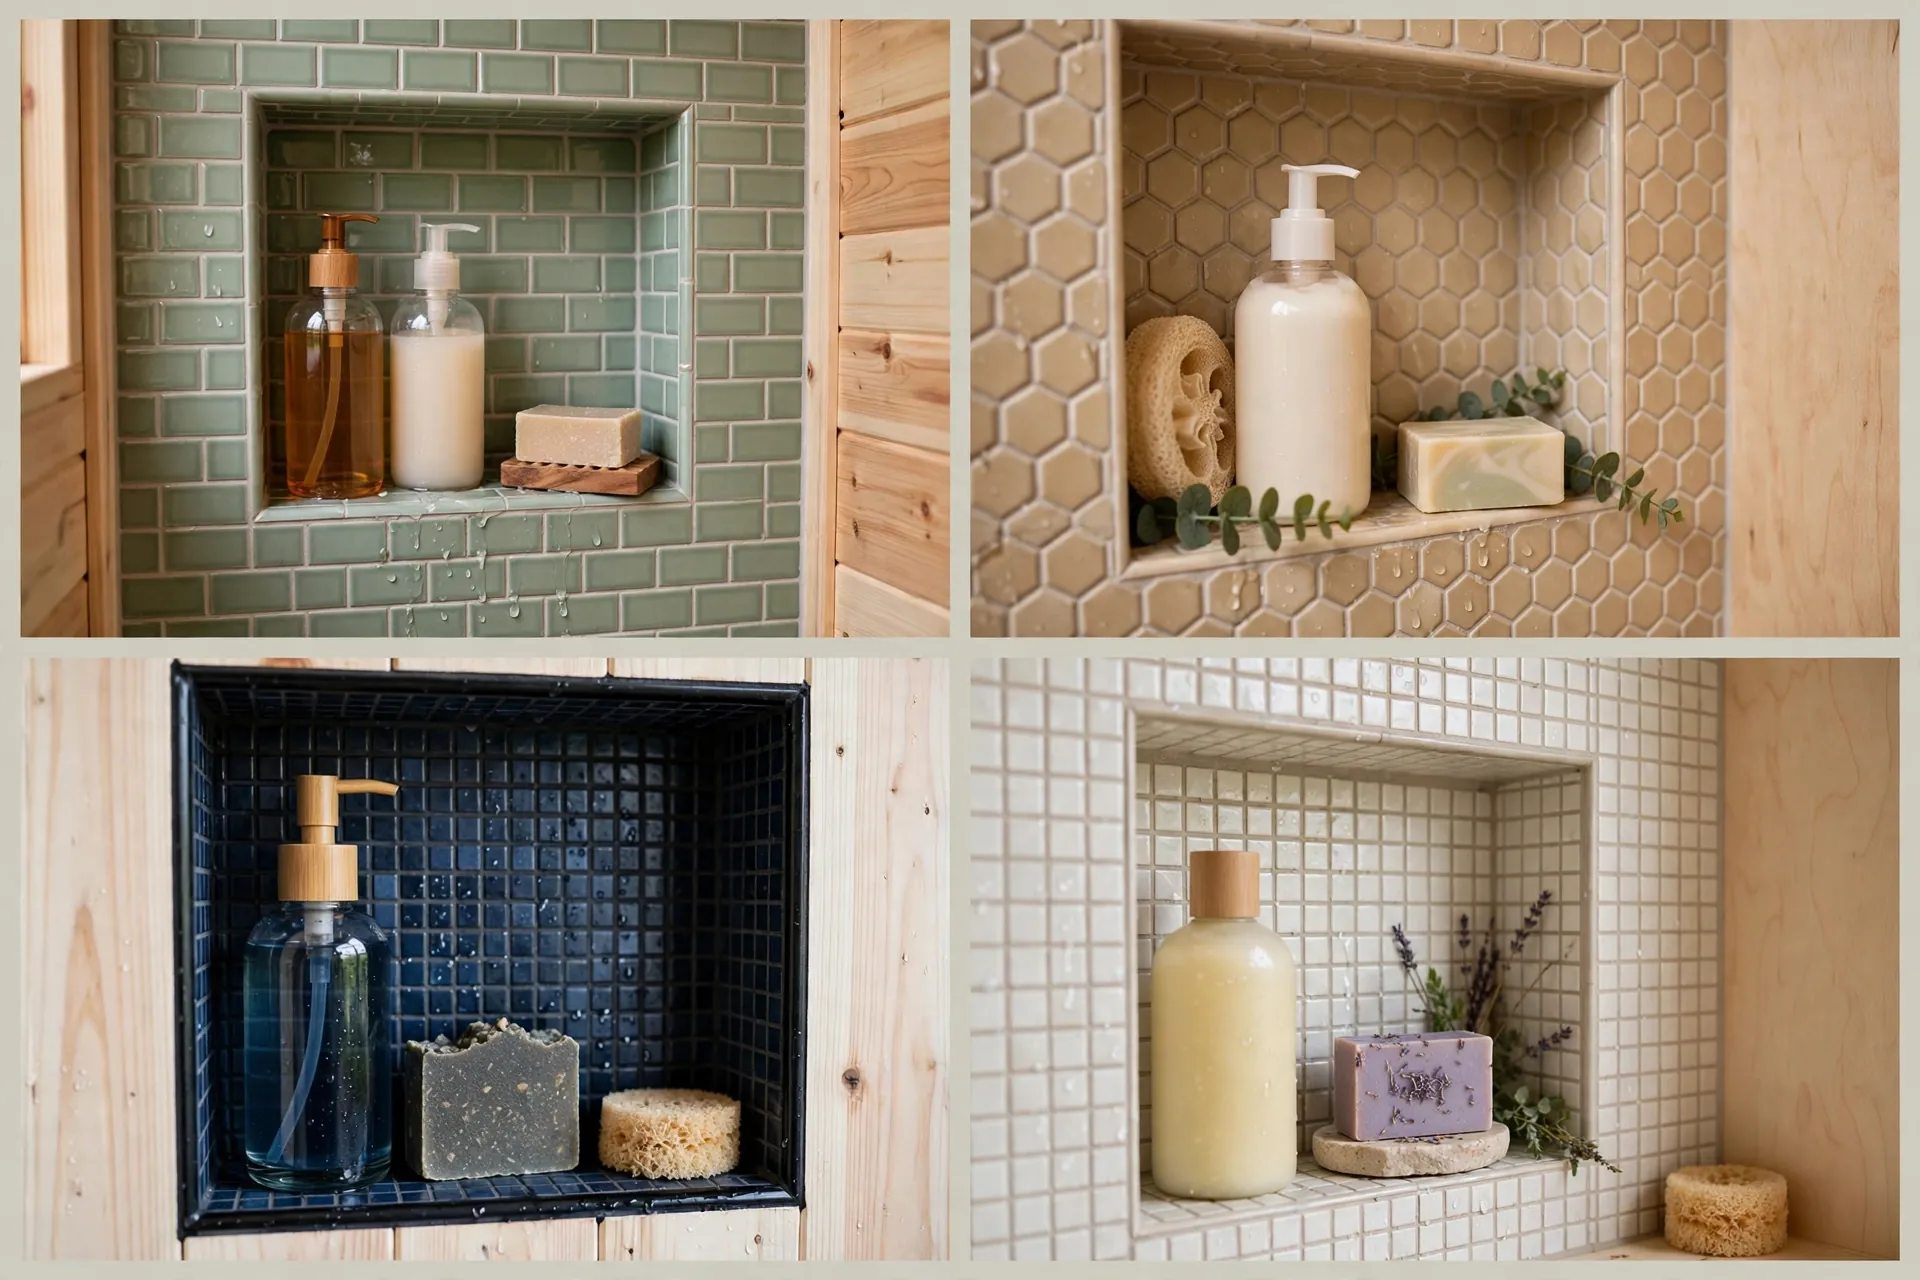
Keep the bottle count low on purpose. Three or four everyday products look calm. Ten half empty bottles look like a store shelf, niche or not.
Niches are easiest to add during the build, when the wall is open. If your shower is already finished, a corner shelf in matching tile is the next best thing.
10. Compact Composting Toilet Done Right
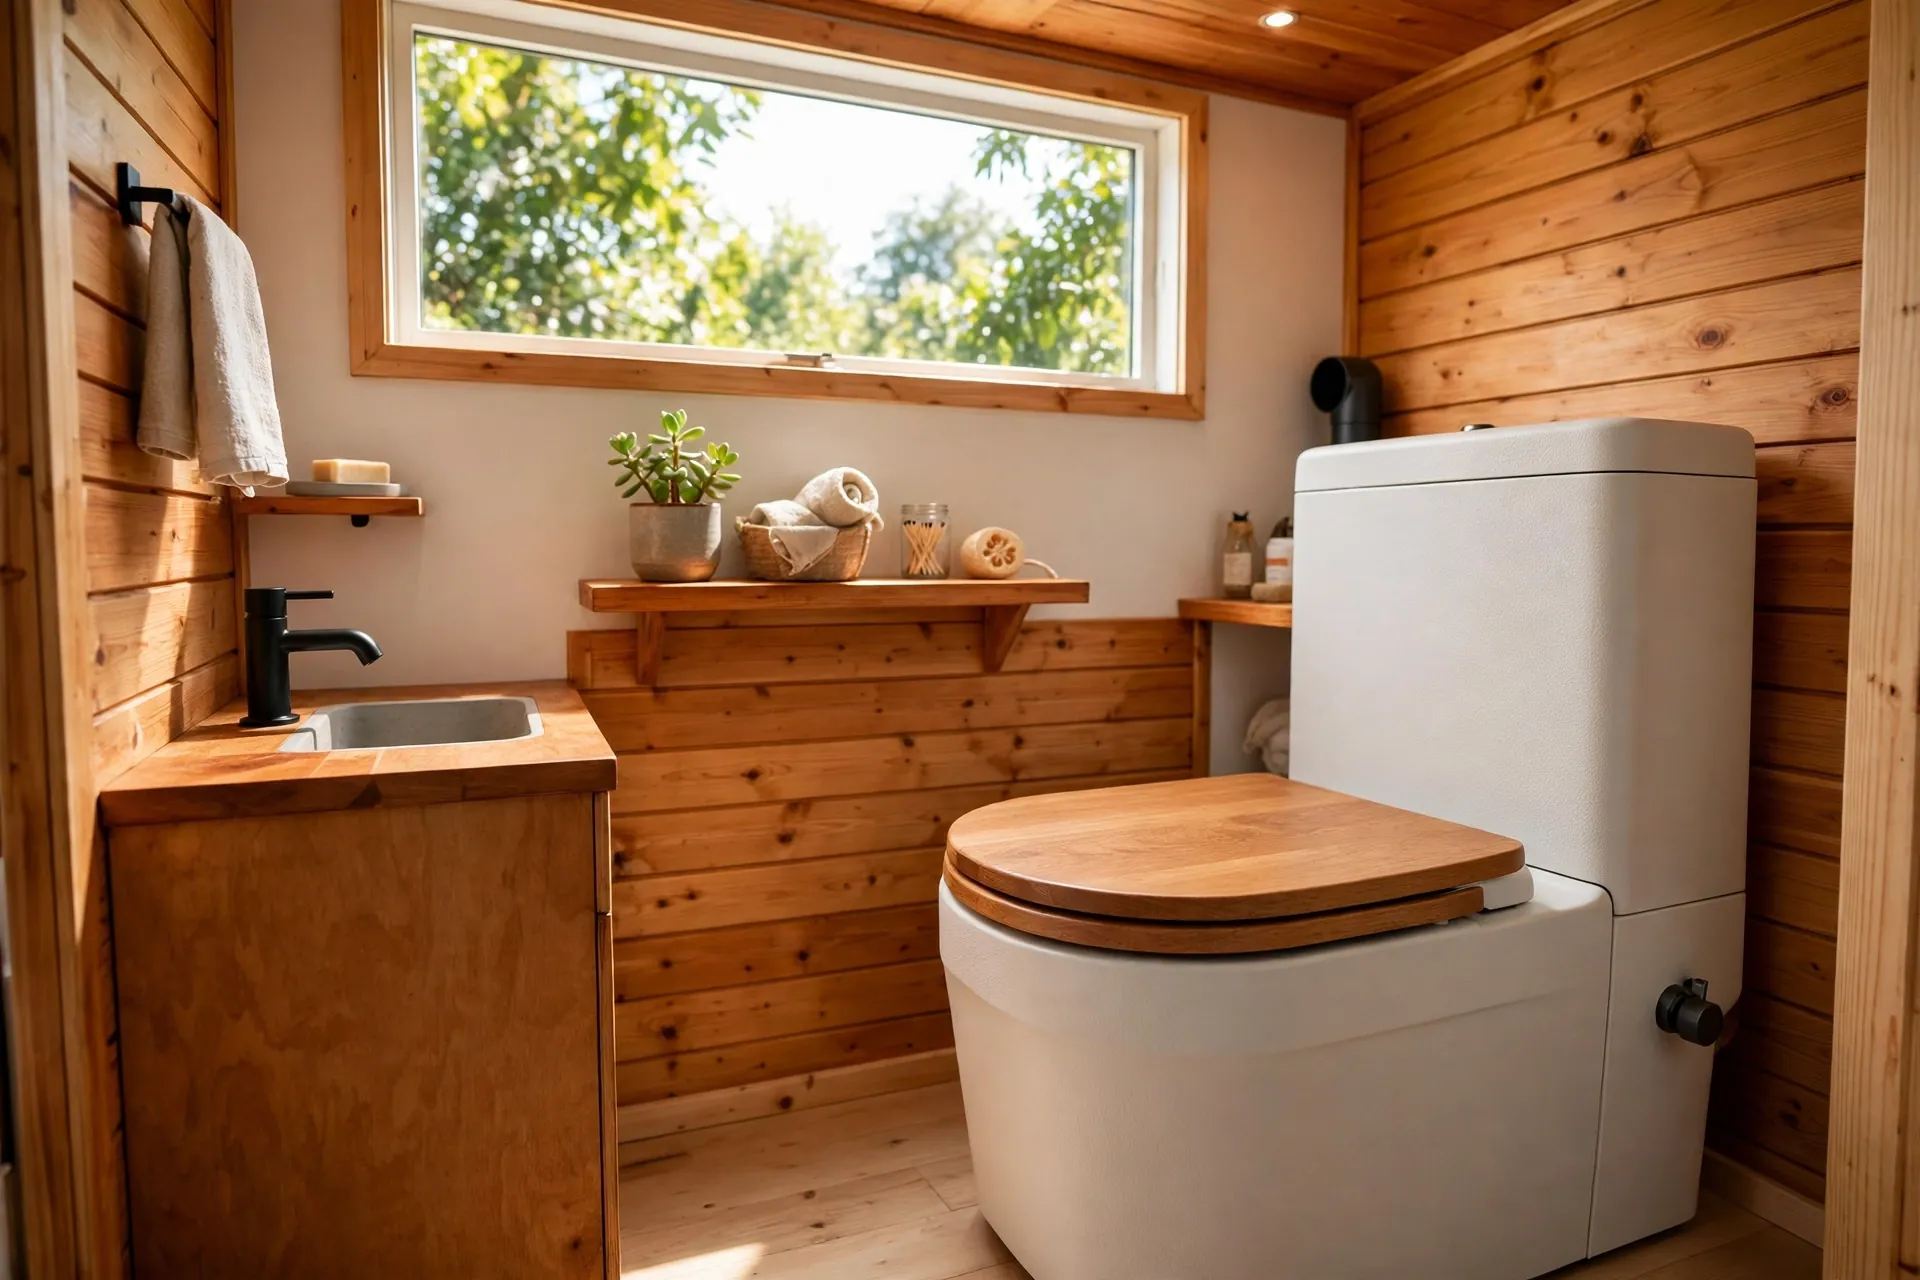
A composting toilet scares some people off tiny living. Done right, it is clean, odor free, and far simpler than a black water tank.
The trick is separation. Liquids and solids go into different chambers, which is what stops odor before it starts. A small fan vents the unit outside, and a scoop of cover material after each use keeps everything dry and neutral.
Choose a model sized for your household, not the smallest one on the shelf. A unit that is too small needs emptying too often, and that is when people give up. The right size makes the routine easy.
Give it a proper vent run to the outside with as few bends as possible. Good airflow is the difference between a toilet you forget about and one you notice every day.
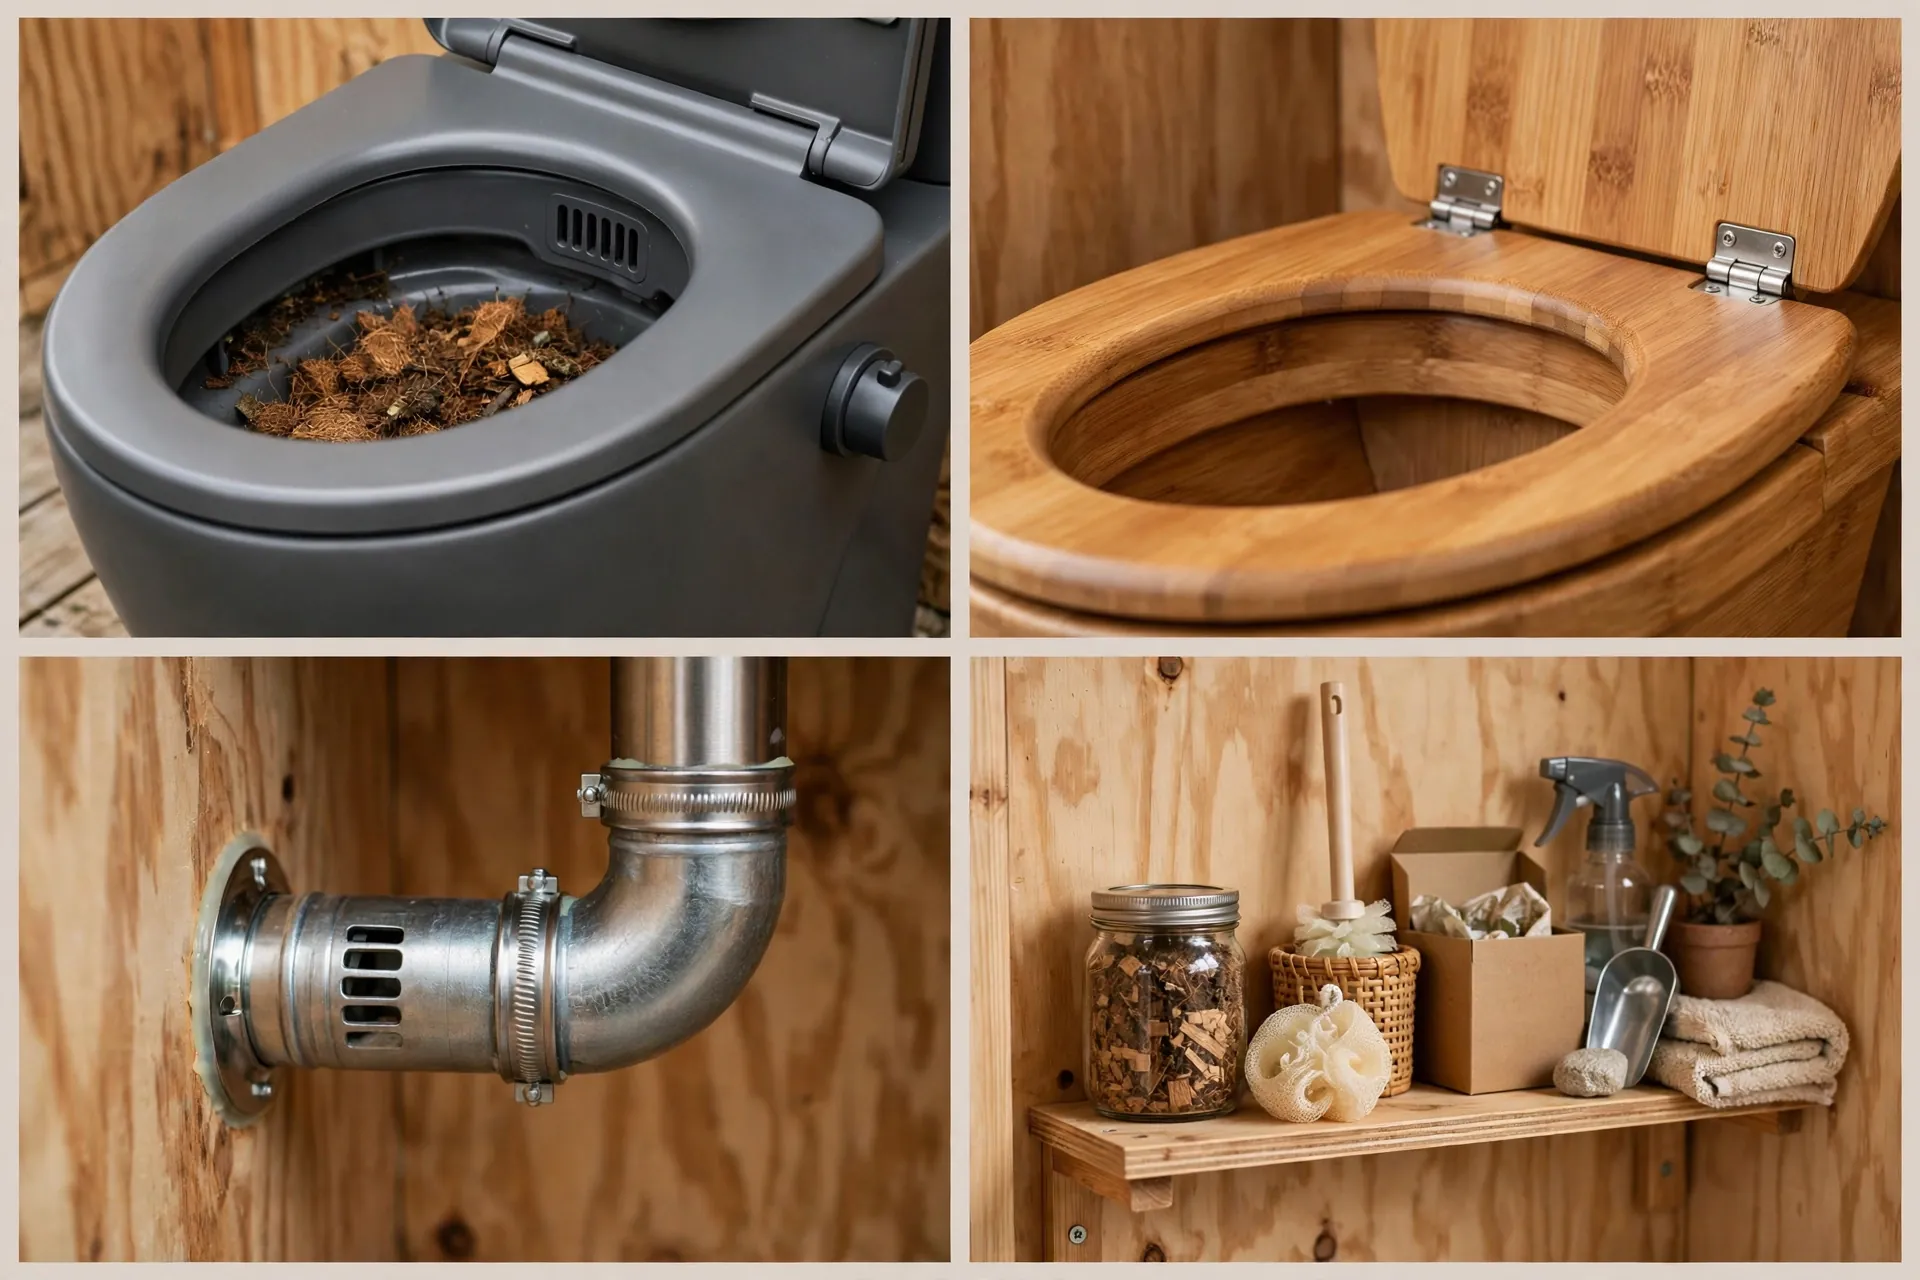
Build a small shelf beside it for cover material, compostable bags, and a spray bottle. Keeping supplies within reach makes the routine quick and tidy.
Check local rules before you commit. Some areas welcome composting toilets, others want a specific approved model. A quick call to your local authority saves a costly surprise later.
11. Warm Wood and White Tile Mix
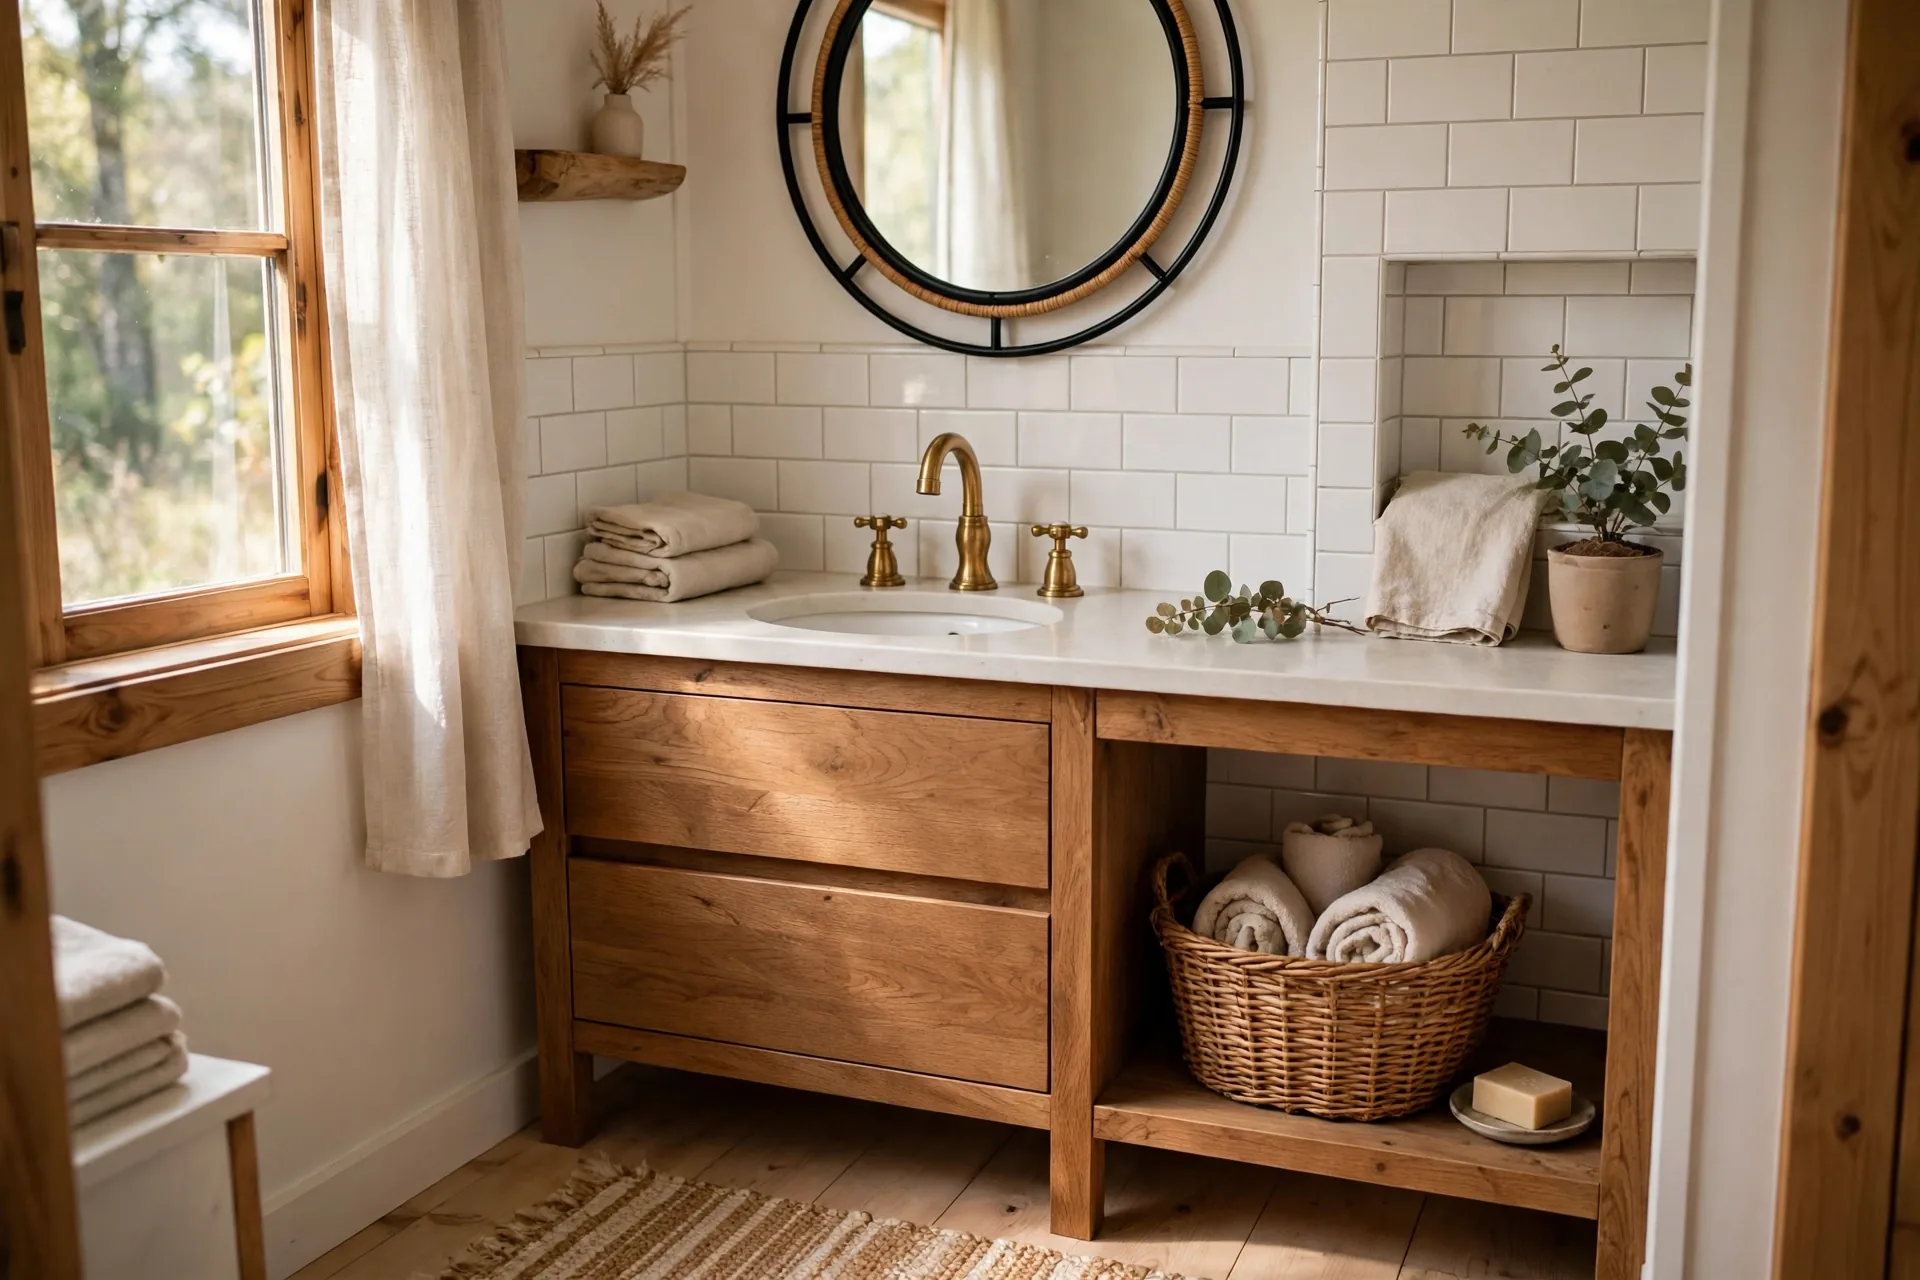
An all white bathroom can feel cold and clinical. An all wood bathroom can feel dark and heavy. Mix the two and you get warmth with light.
White tile on the shower walls bounces light around the room. Warm wood on the vanity, a shelf, or a mirror frame adds the cozy feeling that makes a tiny house feel like a home.
Keep the wood to two or three touches, not every surface. A vanity plus one shelf is enough. Too much wood in a wet room also means more sealing and more upkeep.
Seal every wood surface with a water resistant finish, and wipe up splashes when you see them. Wood in a bathroom lasts for years when it is finished well and cared for simply.
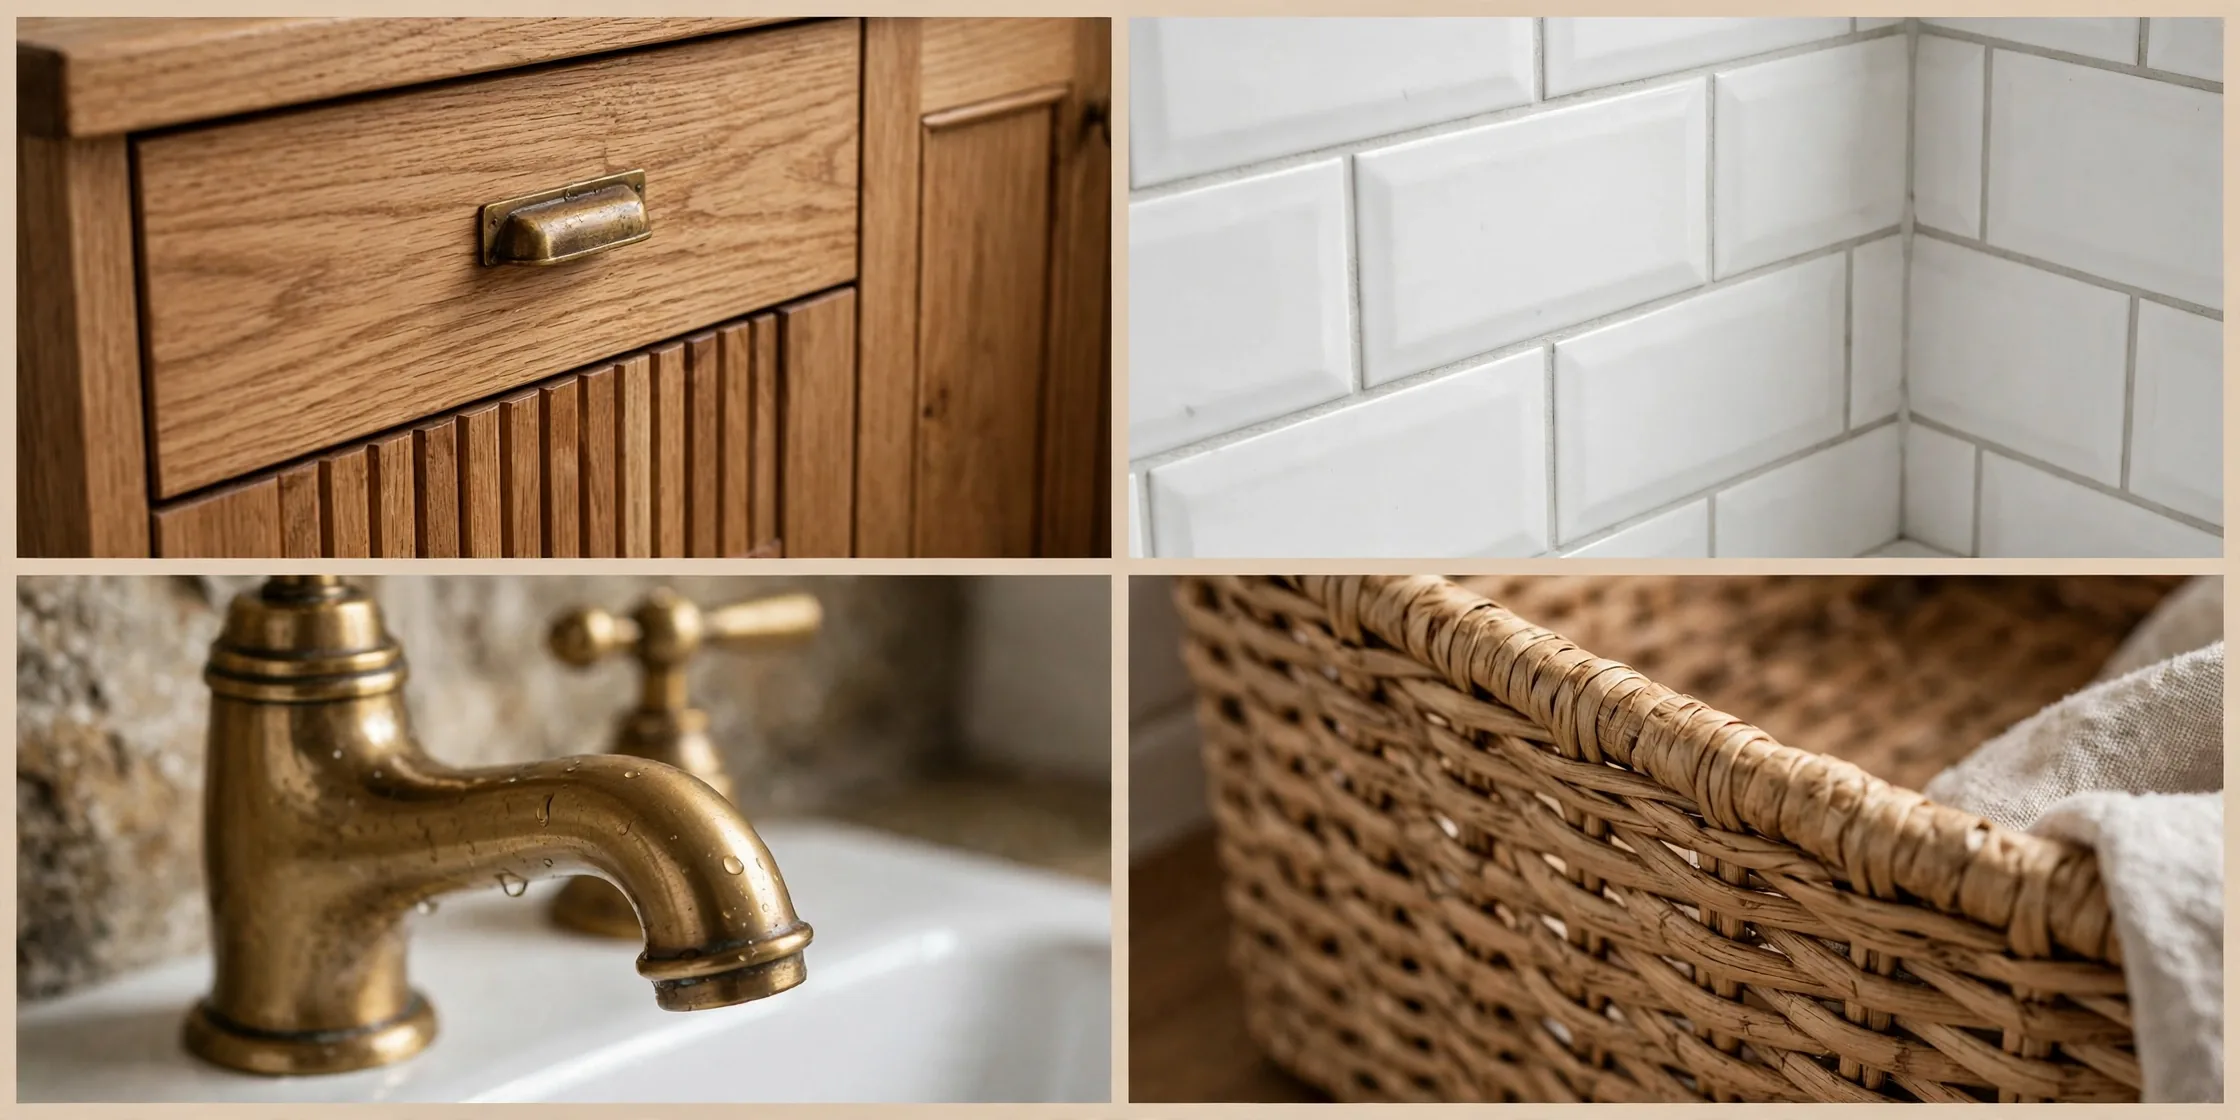
Add texture with a woven basket for towels and a cotton bath mat. Soft textures stop the tile and wood from feeling hard and echoey underfoot.
Brass or warm black hardware ties the mix together. Pick one metal and use it for the faucet, the towel hooks, and the cabinet pulls so the room feels planned, not patched together.
12. Fold-Down Teak Shower Seat
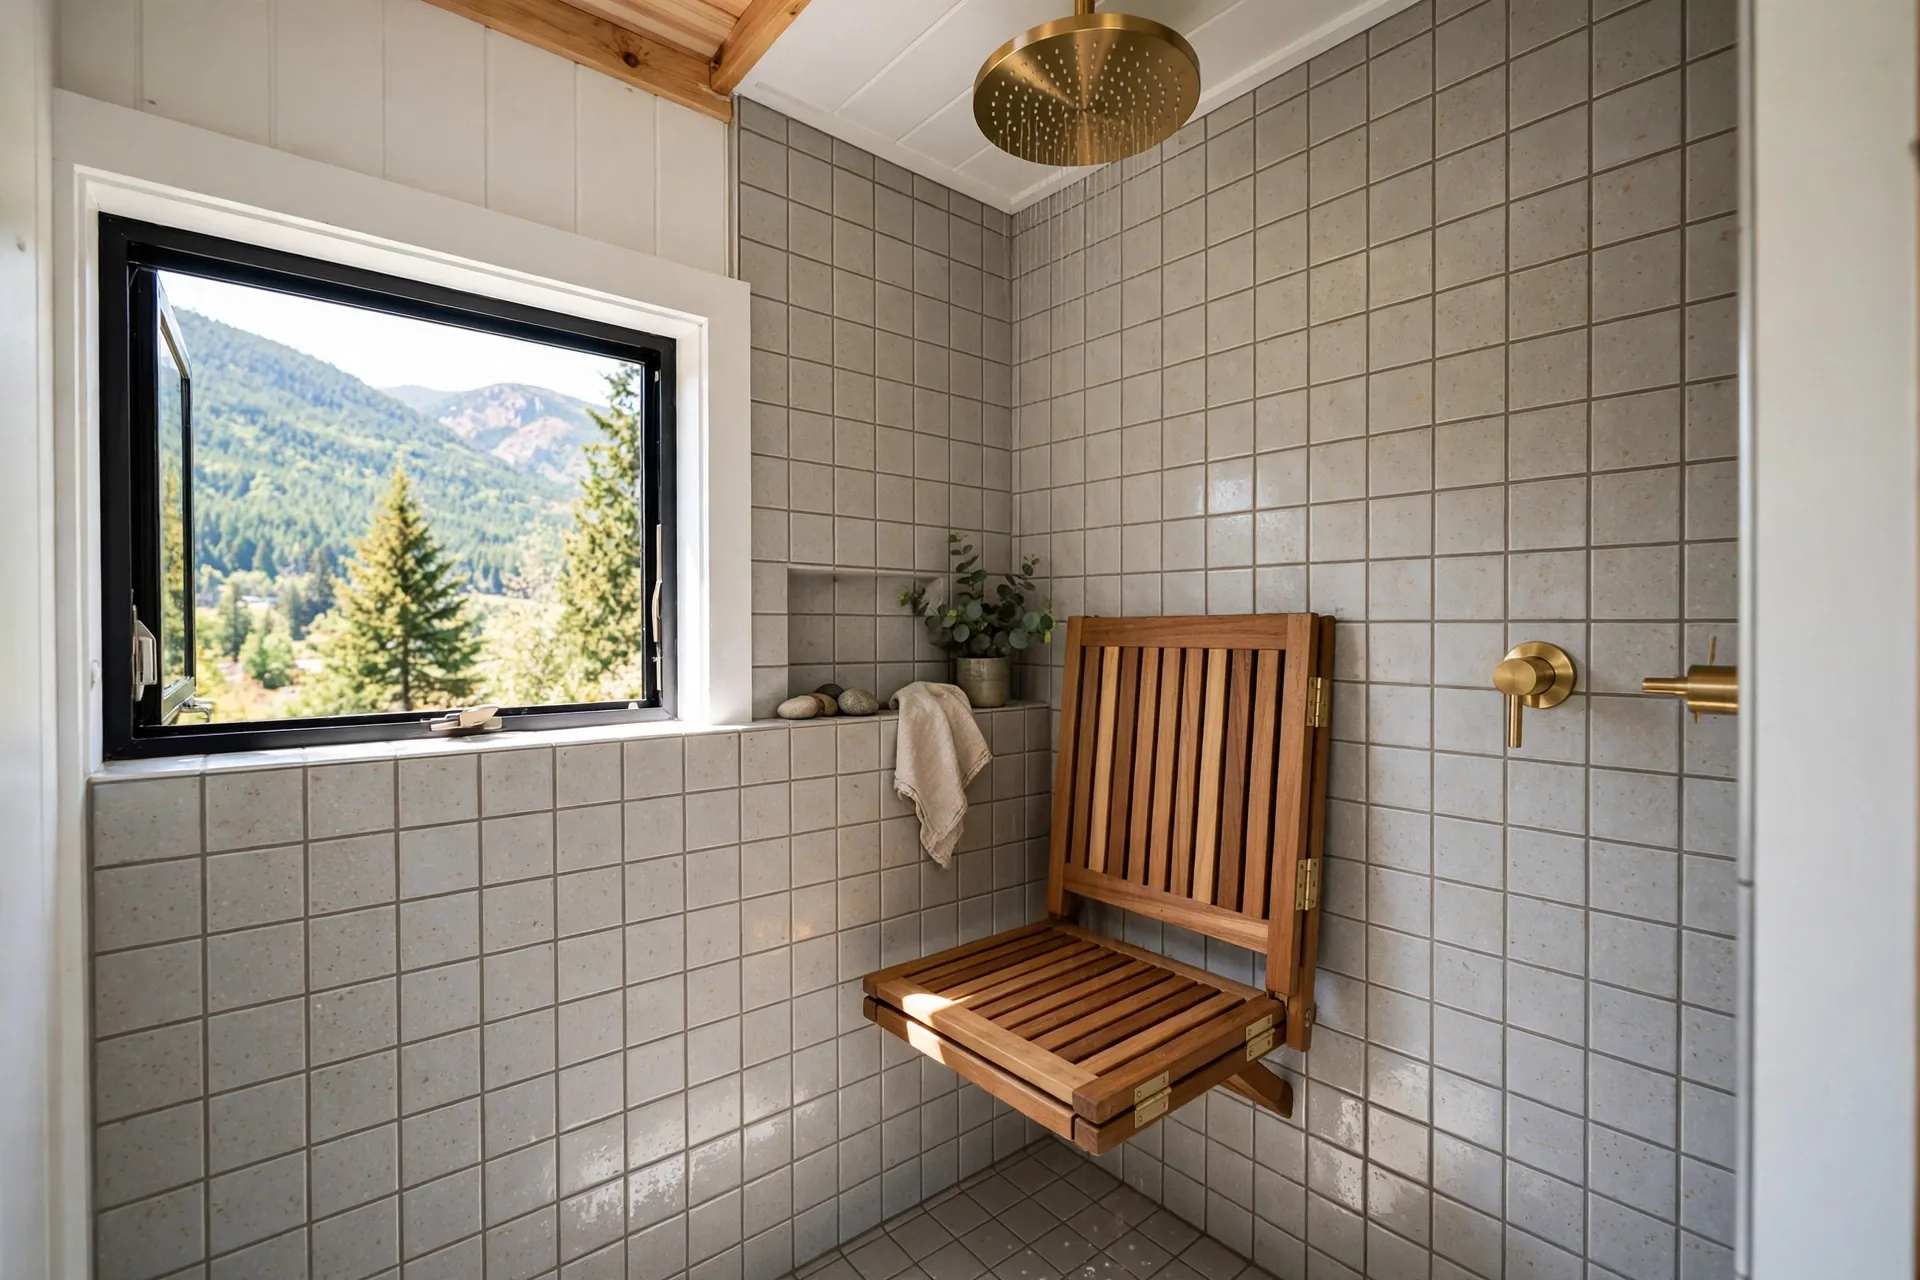
A shower seat sounds like a luxury until you try shaving your legs or washing a child in a tiny shower. Then it becomes the best seat in the house.
A fold-down teak seat mounts to the wall and drops down when you need it. When you do not, it folds flat against the tile and the shower is full size again. Nothing is lost.
Teak is the right wood for this job. It handles water and steam better than most woods, and it looks better with age. A good teak seat feels warm underfoot, not cold like tile or plastic.
Mount it into solid blocking in the wall, at a height that lets your feet rest flat on the floor. Test the height by sitting on a chair of the same height before your builder fixes it in place.
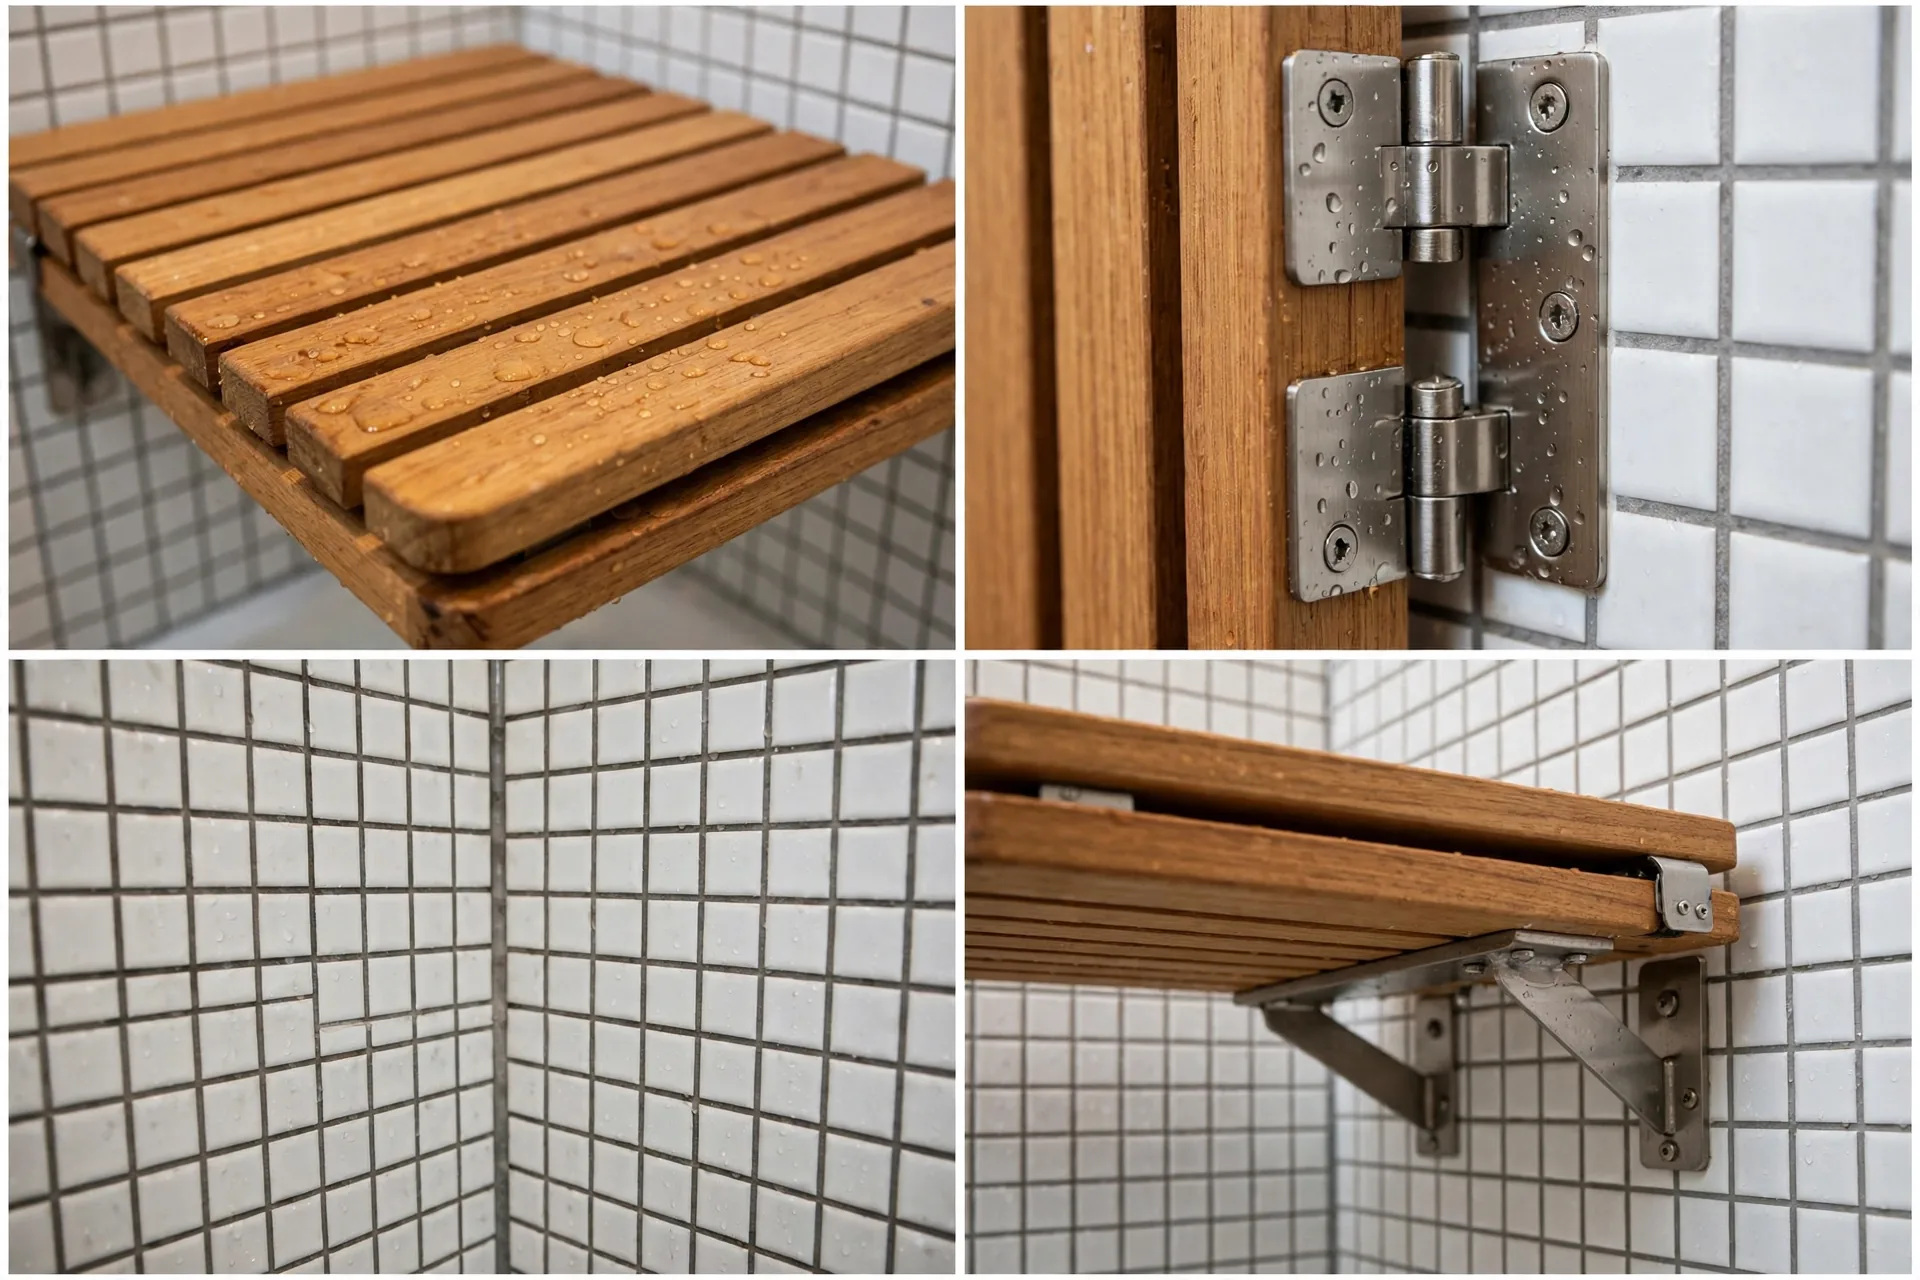
Keep the seat oiled once or twice a year with teak oil. It takes five minutes and keeps the wood from drying out or greying too fast.
This small addition also helps older guests and anyone with sore knees. A bathroom that works for every body is a bathroom that works for real life.
13. Slim Tall Cabinet for Towels and Toiletries
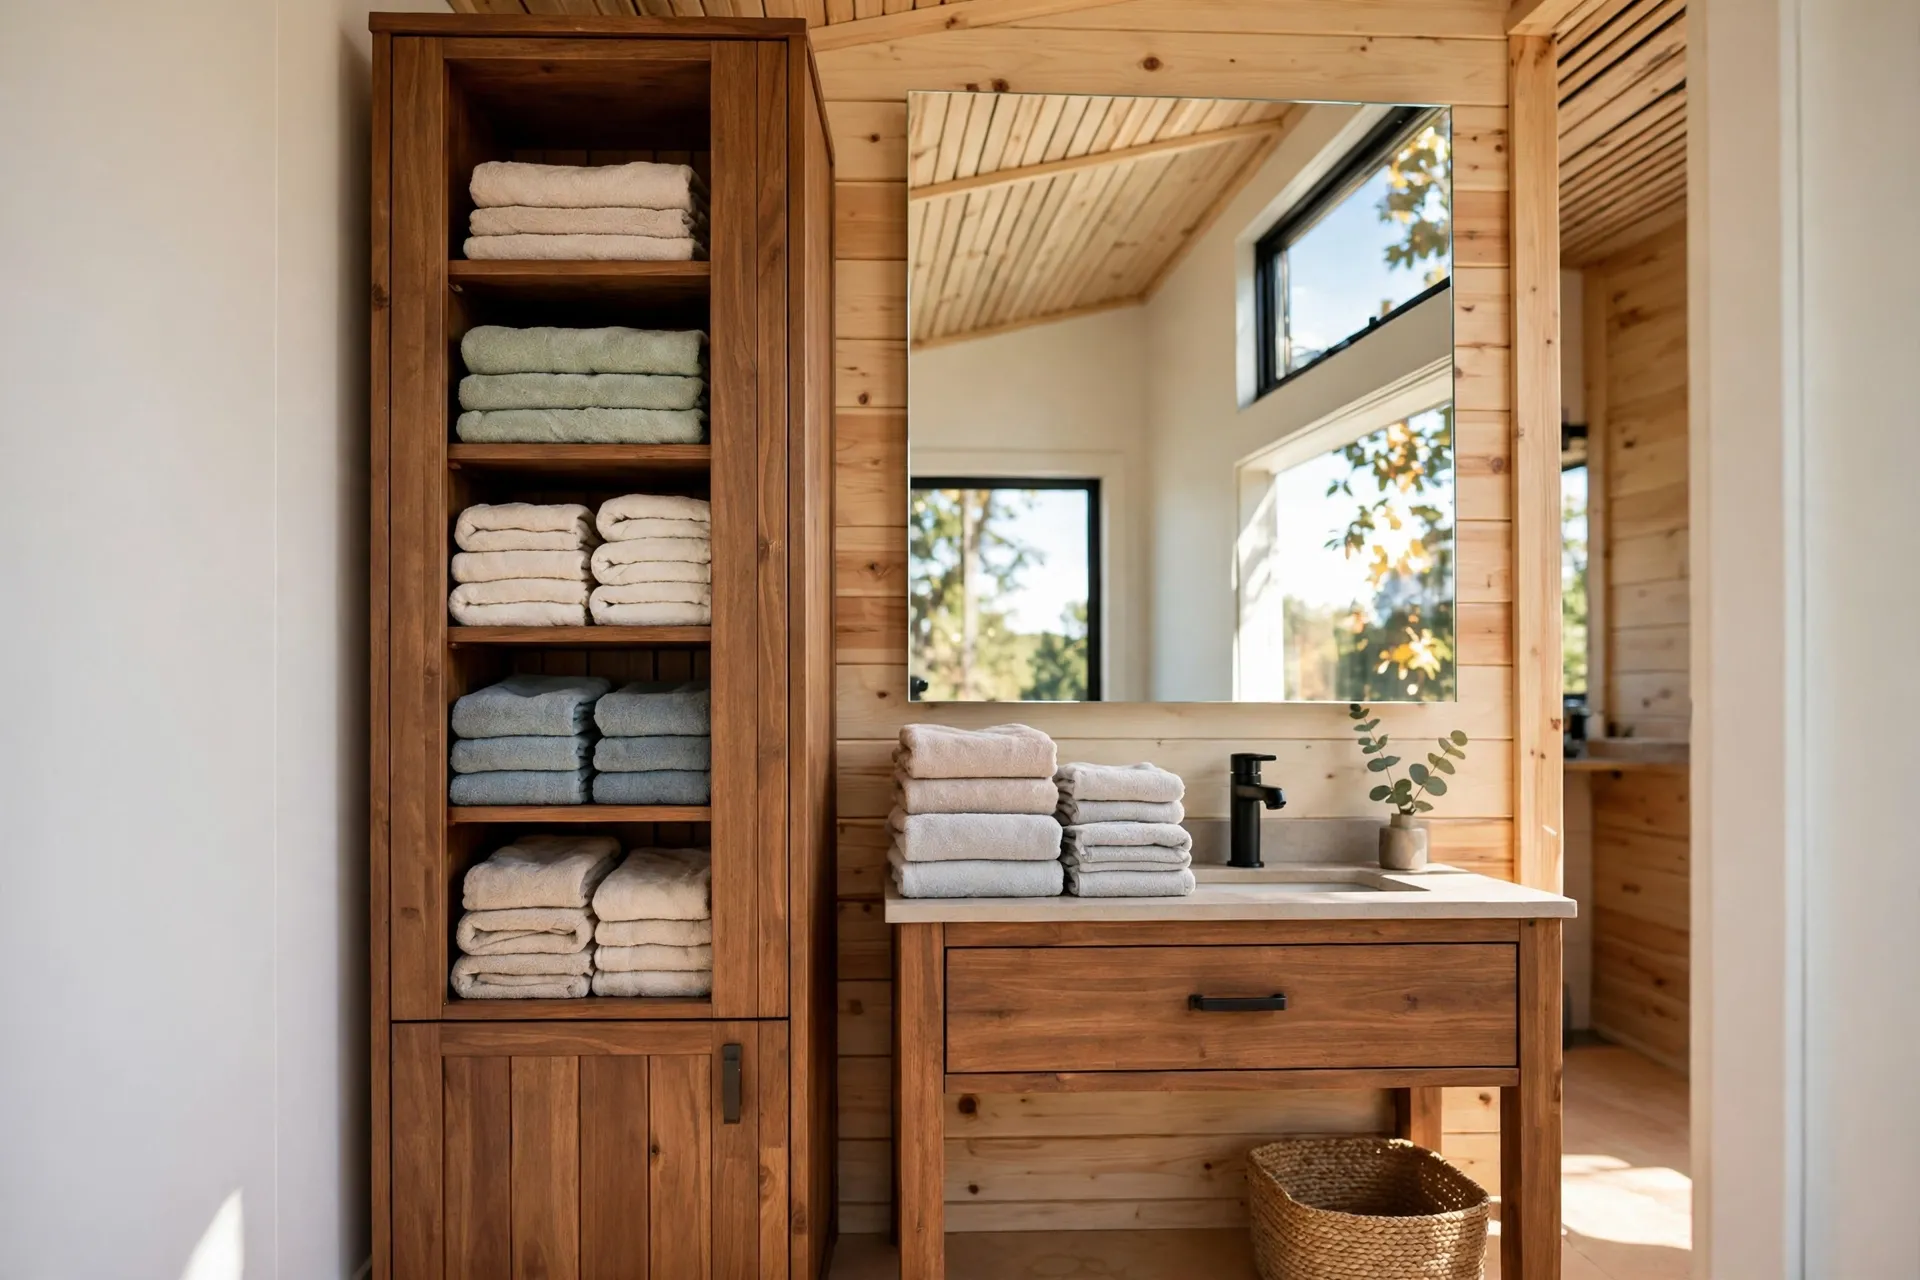
Every tiny bathroom has one narrow gap that fits nothing useful. A slim tall cabinet turns that gap into the hardest working storage in the room.
These cabinets are often only eight to twelve inches wide, but they run from floor to ceiling. That height holds folded towels, toiletries, cleaning supplies, and spare toilet paper in one neat column.
Put the everyday items at eye level and the spares up high. Towels go in the middle where hands reach them easily. The bottom shelf can hold a small basket for cleaning products.
Choose a cabinet with a door, not open shelves, if you want the room to look calm. Closed doors hide the jumble of bottles and boxes that every real bathroom collects.
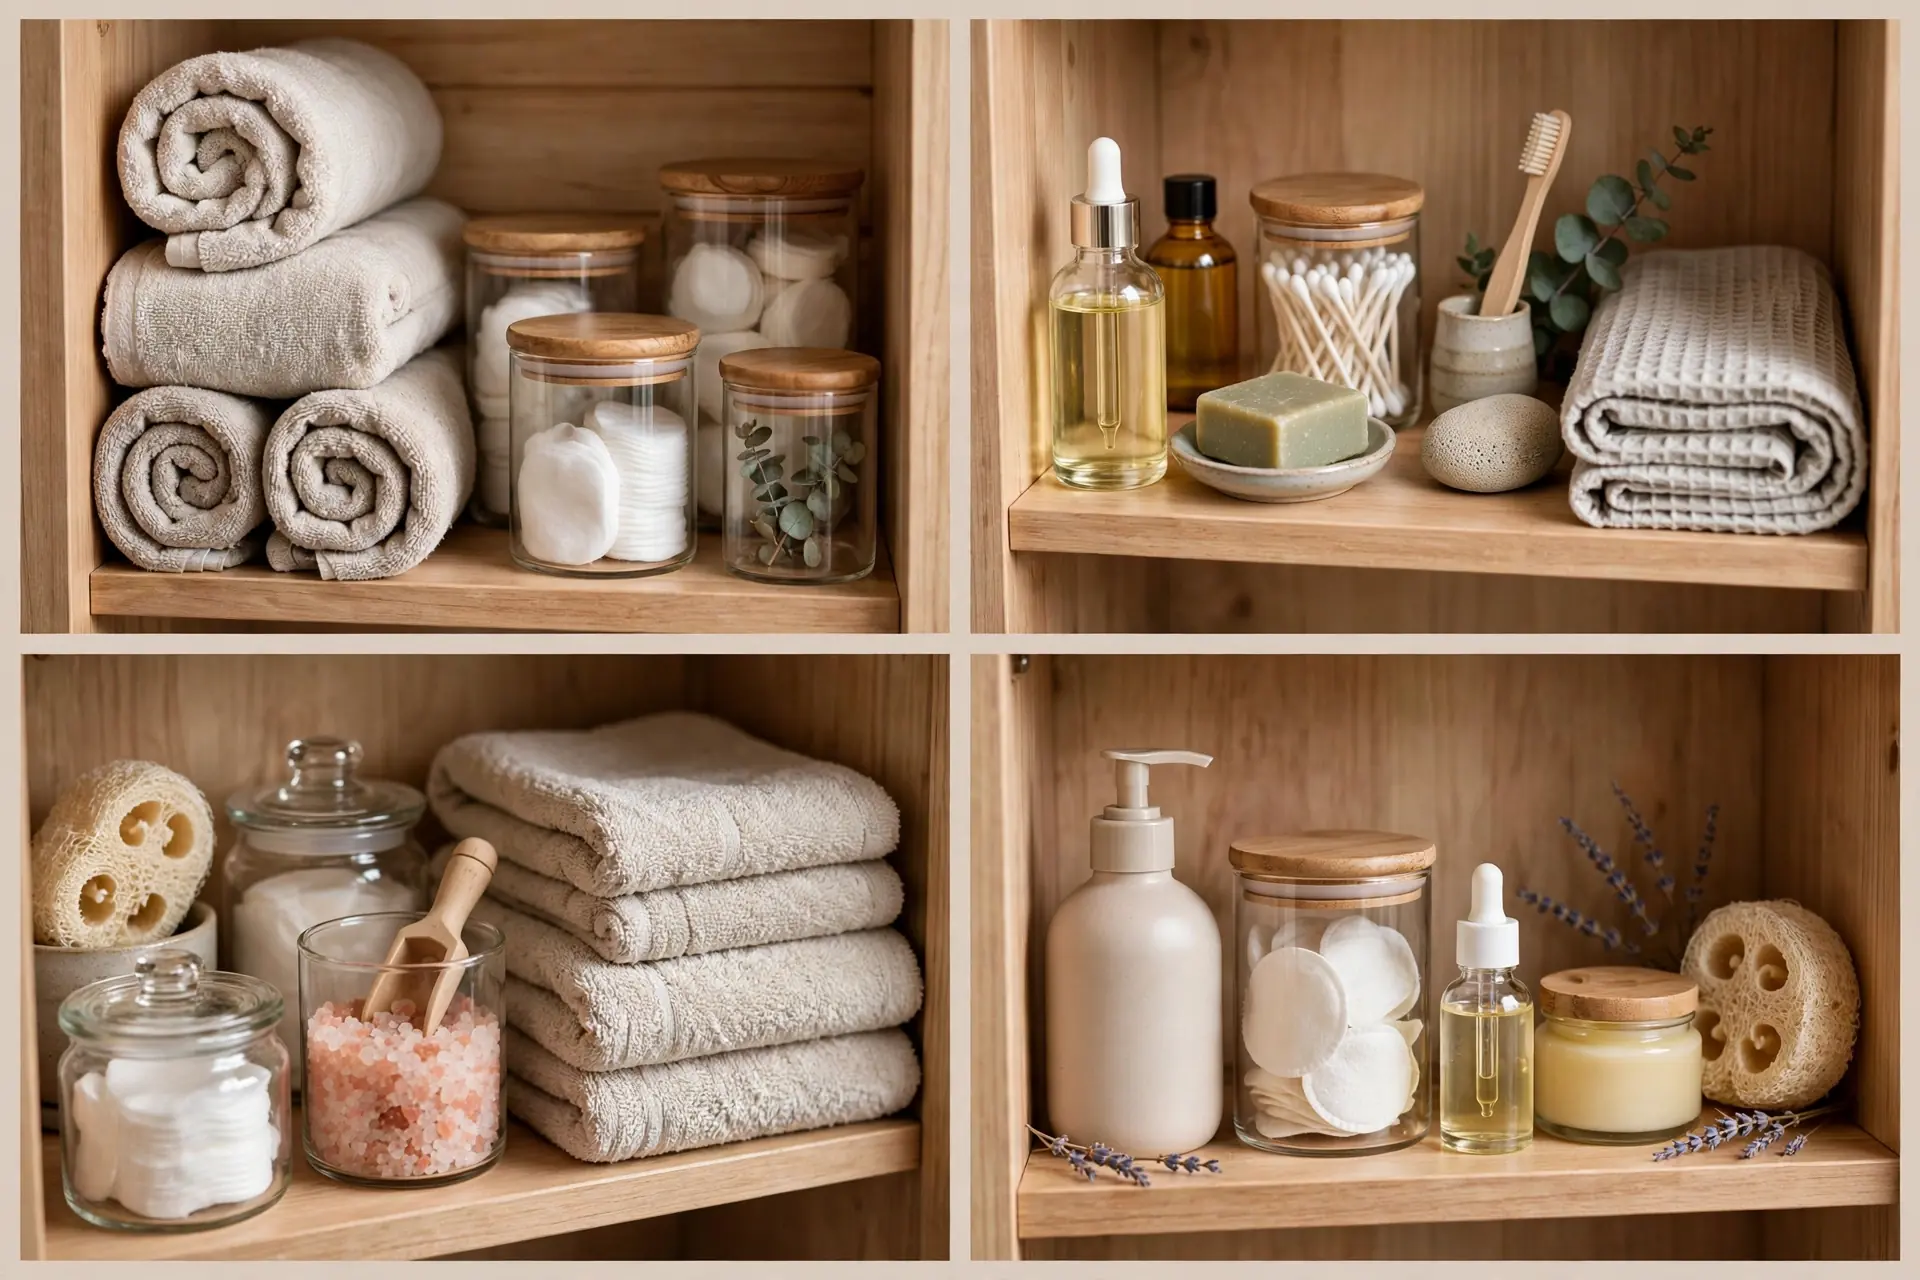
Anchor the cabinet to the wall so it cannot tip. In a house on wheels, that step is not optional. A tall narrow unit is top heavy by nature.
Paint it the same color as the walls so it blends in, or pick a wood tone to match the vanity. Either way, measure the gap twice. A cabinet that is a half inch too wide simply will not fit.
14. Black Fixtures on a Bright White Base

White tile and white walls give a tiny bathroom its light. Matte black fixtures give it its character. Together they make a look that feels modern without trying too hard.
Black faucets, shower heads, towel hooks, and cabinet pulls stand out crisply against white. Your eye notices the details instead of the small size of the room. The contrast does the decorating for you.
Matte black is the finish to choose, not glossy. Matte hides water spots and fingerprints far better, which matters when the faucet is two feet from your face every morning.
Keep the black to the fixtures and hardware. Black tile or a black vanity can shrink the room visually. A white base with black accents keeps the light while adding the edge.

Clean black fixtures with a soft cloth and mild soap. Harsh cleaners can dull the finish over time. A quick wipe after use keeps them looking new.
This look also ages well. White and black never go out of style, and if you want a change later, swapping a few hooks or a faucet is a small job, not a remodel.
15. Window Over the Vanity for Real Daylight

Most bathroom windows sit high and small, more for venting than for light. A window over the vanity changes the whole morning routine.
You get daylight on your face while you brush your teeth. You can see real colors instead of guessing under a yellow bulb. The room feels connected to the world outside, not sealed off from it.
Use frosted glass or a bottom-up blind for privacy. You keep the light and the view of the sky while no one sees in. A small operable window also vents steam fast after a shower.
Place a narrow shelf under the window for a plant that loves humidity. A small fern or pothos thrives in bathroom steam and adds a living touch to the tile and wood.
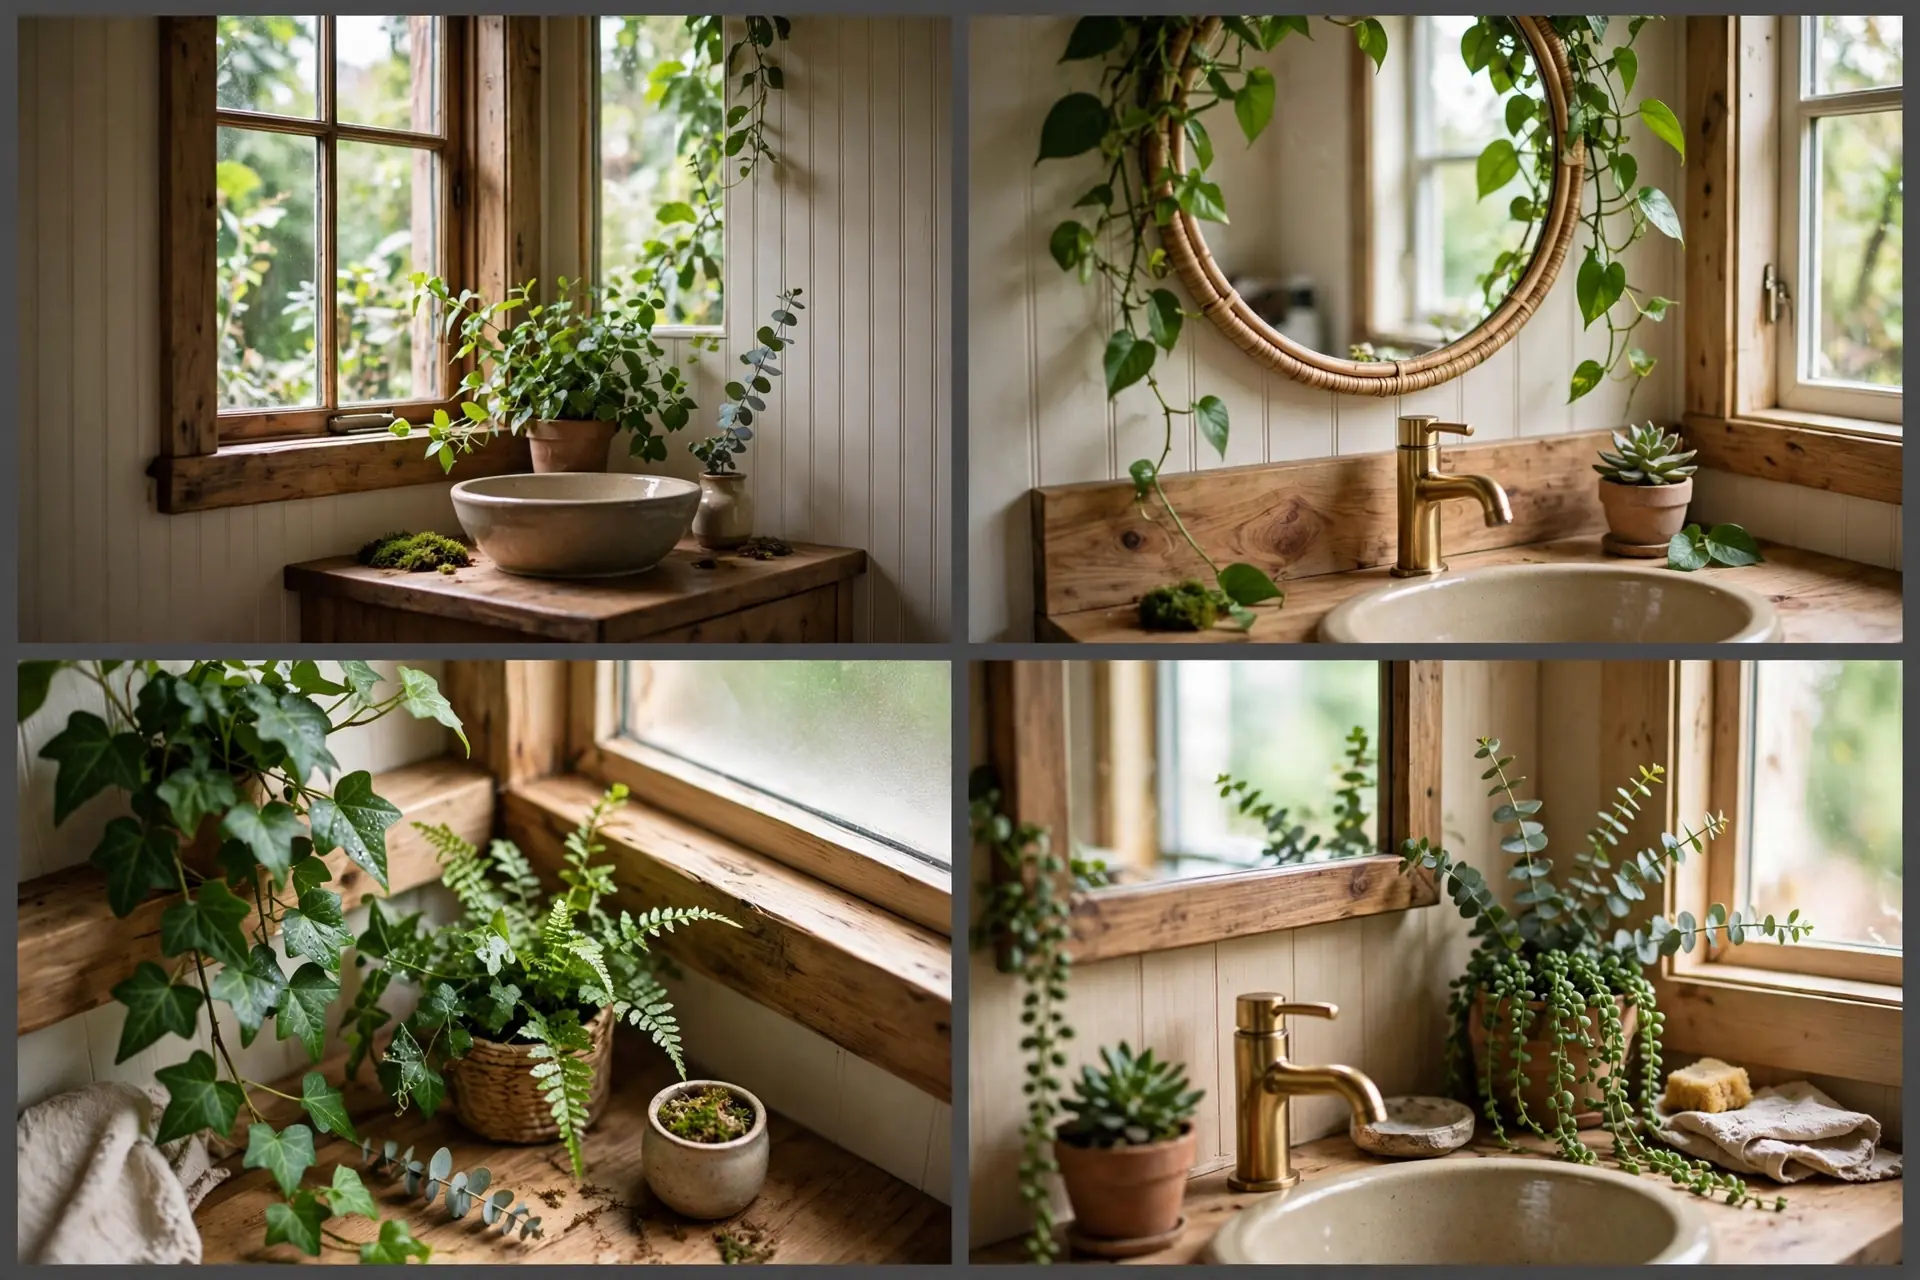
Watch the placement of the mirror with this layout. A mirror beside the window works better than one across from it, which can bounce glare straight into your eyes.
If your vanity wall has no room for a window, a smaller one high on the side wall still helps. Any real daylight beats a bigger light fixture in a tiny bathroom.
Small bathrooms reward planning more than spending. A glass wall costs less than a bigger house. A pocket door costs less than a remodel. A skylight costs less than regret.
Start with the one idea that fixes your biggest daily annoyance. If mornings feel dark, chase the light. If the room feels cramped, free the floor. If clutter wins every day, build the storage first.
Then live with it for a month before adding the next idea. Tiny houses teach you what you really need, and the best bathrooms grow one smart choice at a time.
Which idea would you steal first? Tell us in the comments, and share a photo of your own tiny bathroom if you have one. Real builds help the next reader more than any list can.