How to Winterize a Tiny House Before the First Freeze

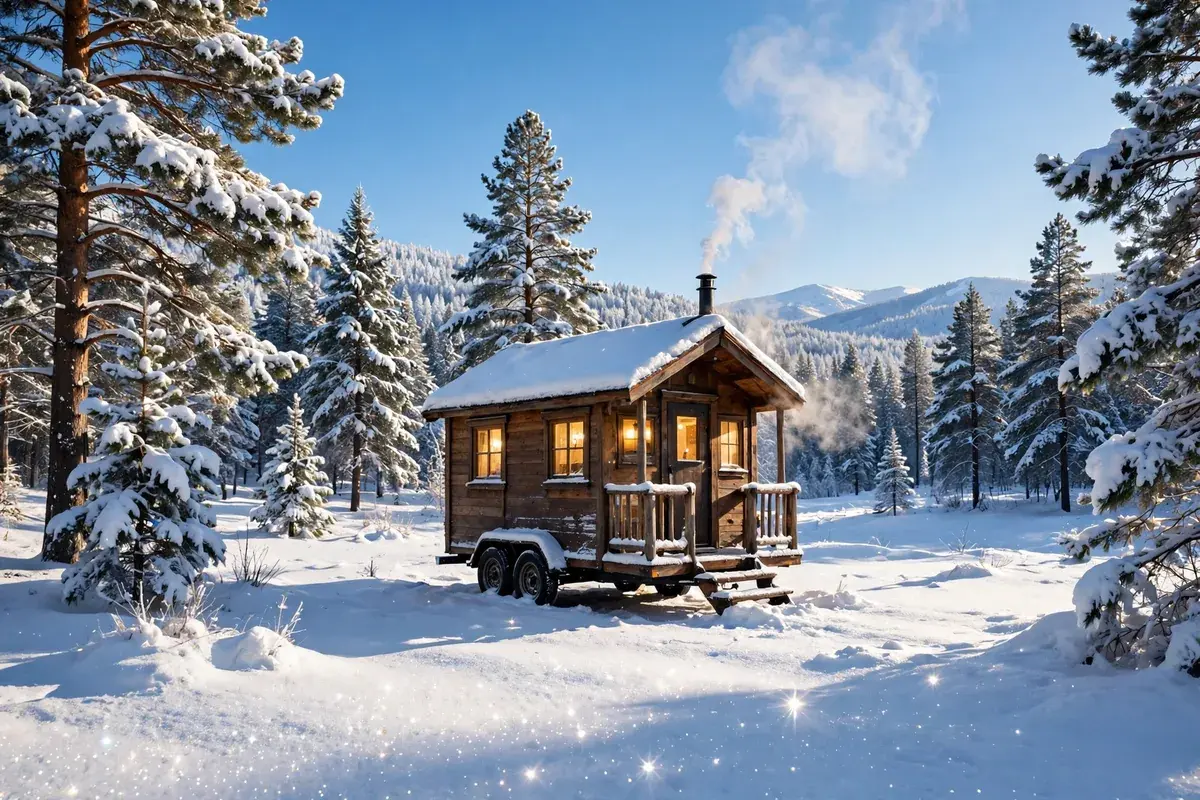
A tiny house freezes faster than a regular house. There is less air inside to hold heat, thinner walls, and the pipes often run under the floor where the wind hits them directly.
One cold night can do real damage. A burst pipe can flood a 200 square foot home in minutes, and a dead battery can leave you with no heat at 2 a.m. The good news is that most of it is preventable, and most of the fixes are cheap.
The trick is timing. Do the work before the first hard freeze, not after it. This guide walks through the whole job in order, so you can get it done over a couple of weekends and relax all winter.
At a Glance: Winterizing a Tiny House
- Start when: early fall, as soon as overnight lows start dropping toward 40°F, well before the first frost
- Freeze danger line: water freezes at 32°F, and pipes in unheated spaces can start freezing when it hits 20°F outside
- Thermostat floor: never set the heat below 55°F, even when you leave the house empty
- Biggest risk: pipes under the floor and in exterior walls, where cold air reaches them first
- Typical DIY budget: a few hundred dollars for the full job, with foam board skirting the biggest single cost
- Time needed: one or two weekends for most of it, if you start before the cold arrives
1. Start Early: Build Your Freeze Checklist

Winterizing is a fall job, not a winter job. Once the ground is frozen and the wind is howling, every task takes twice as long and costs twice as much. Start as soon as the leaves turn, while you can still work outside in a jacket.
Begin with a walk around the house. Look for gaps in the skirting, cracked caulk around windows, a loose roof vent, and any pipe you can see from outside. Write everything down. A short list on paper beats a long list in your head, because the small jobs are the ones that get forgotten.
Then gather your supplies in one trip. Foam pipe sleeves, heat tape, weatherstripping, caulk, foam board for skirting, and a roof rake. Buying it all at once saves repeated trips to the hardware store in bad weather. Test your heater now too. A furnace that will not start is a much smaller problem in October than in January. The guide to pipe freeze temperatures from My Rainy Day Plan explains why 20°F is the alert line to watch for, not 32°F.
2. Pipes and Water Lines: Heat Tape, Insulation, and Draining

Pipes are the first thing to fail in a freeze. In a tiny house they are almost all exposed. Any pipe under the floor or against an exterior wall needs protection. Wrap every reachable pipe in foam insulation sleeves. They slide on in seconds. Cover elbows and joints too, where cold air sneaks in.
For pipes that have frozen before, add heat tape. It is an electric cable that keeps the pipe just above freezing. Buy self-regulating cable rated for your pipe material, and plug it into a GFCI outlet. Constant wattage cable can melt plastic pipes, so check the label. The heat tape safety guide from IamHome notes that the Consumer Product Safety Commission links heat tape to roughly 2,000 fires a year, so only buy UL-listed cable.
Then drain what you will not use. Disconnect the garden hose, shut off the outdoor tap from inside, and leave the outside faucet open to drain. If you leave the house empty, set the thermostat no lower than 55°F and open the cabinet doors under the sinks so warm air reaches the pipes. On the coldest nights, let the farthest faucet drip. Moving water freezes far slower than still water.
3. Skirting and the Space Under Your Floor

The open space under a tiny house on wheels acts like a wind tunnel. Cold air rushes through it all winter, strips heat from your floor, and chills the pipes and tanks underneath. Skirting closes that tunnel off. It is the single most effective winterizing job you can do.
A plain vinyl or canvas skirt blocks the wind, but alone it offers almost no insulation. Back it with rigid foam board and the space underneath becomes a thermal envelope. XPS foam board gives about R-5 per inch, so aim for R-10 to R-20 around the base. Two inches of foam board gets you there. Engineer Fix notes a well sealed skirt can keep the space under the home 20 to 25°F warmer than the air outside.
Fit the panels tight, tape every seam, and anchor the bottom edge against the wind. Leave a small vent or two for airflow, because a fully sealed space traps moisture and invites mold. Lay thick plastic on the ground under the house as a vapor barrier first. A wireless temperature sensor under the floor lets you check the space from your phone, so you can skip crawling underneath in the snow.
Freeze Protection Checklist
- Outdoor taps: hose disconnected, inside valve shut, outside faucet left open to drain
- Pipes: foam sleeves on every exposed run, heat tape on the runs that have frozen before
- Skirting: panels fitted tight, seams taped, bottom edge anchored, one vent left open
- Heat: heater tested, chimney cleaned, carbon monoxide detector working
- Drafts: weatherstripping on every door and window, caulk where you feel cold air
- Roof: gutters clear, downspouts pointing away from the house
- Fuel and power: propane tank topped up, batteries fully charged and sheltered
- Thermostat: set no lower than 55°F when you leave, and steady day and night
4. Heating Systems and a Backup Plan

A tiny house is small enough that one good heater can keep the whole place warm. That is also the problem. If that one heater fails on a freezing night, there is nothing else. Winterizing means making sure the main heat works and having a backup ready.
Start by servicing whatever you use. A mini-split heat pump needs clean filters and a clear outdoor unit. A wood stove needs a swept chimney and dry, seasoned firewood stacked under cover. A propane furnace needs a full tank and a full test run. Do this in fall, while a repair visit is still easy to book.
Then plan for the night the heat stops. A second heat source does not need to be fancy. A small electric space heater with tip-over protection, kept away from bedding and curtains, can hold the house above freezing until morning. Keep extra blankets and a sleeping bag rated for cold weather in an easy to reach spot. Fit a carbon monoxide detector if you burn anything indoors, and test it monthly. Never use an unvented propane heater inside, and never run a generator indoors or in an attached shed. The exhaust is silent and deadly.
5. Windows, Doors, and Drafts

In a tiny house, one leaky window can chill a whole room. Drafts are easy to find and cheap to fix, which makes them the best value job here. On a windy day, hold a lit incense stick or a thin strip of tissue near each window and door frame. If it flutters, air is getting in.
Replace worn weatherstripping on doors first, because doors leak more than windows. The foam tape kind costs a few dollars and sticks on in minutes. Check the door sweep at the bottom too. If you can see daylight under the door, cold air is pouring in. A draft snake, a fabric tube filled with sand or rice, seals the gap for the whole winter.
For windows, run a bead of caulk around any frame where the old seal has cracked. Shrink film kits are worth it for single pane windows. You stick the clear film over the frame and shrink it tight with a hair dryer. It adds an invisible extra layer of air and cuts the chill near the glass. Heavy curtains help at night. Close them after dark and open them on sunny days to let free heat in.
6. Roof and Gutters

Snow is heavy, and a tiny house roof was not built to hold a winter of it. A foot of wet snow can weigh more than you expect, and the damage shows up slowly as a sagging roof or a leak that appears in spring. Clear the gutters before the first freeze so melting snow has somewhere to go.
Start on a dry fall day. Scoop out leaves and grit, flush the gutters with a hose, and check that downspouts carry water away from the house and the trailer. A downspout that dumps water at the skirting will freeze into an ice sheet under your home. Extend it if you need to.
After heavy snow, pull the snow off the roof with a roof rake from the ground. Never climb onto a snowy tiny house roof. It is slippery, and your weight plus the snow can overload the structure. Watch for icicles along the eaves. A few small ones are normal, but a thick row of them means warm air is escaping through the roof and melting snow from underneath. That points to missing insulation or an air leak in the ceiling, worth fixing before the next storm.
7. Propane and Batteries in the Cold

Cold weather changes how fuel and power behave. Propane and batteries both lose performance as the temperature drops.
Propane sits as a liquid in the tank and turns to gas on the way to your heater. In very cold weather the liquid evaporates more slowly, so a nearly empty tank can struggle to feed a furnace. Keep the tank topped up all winter. A larger tank performs better in the cold, with more surface area. Shelter the regulator from snow and ice. Never store a spare tank indoors or in a sealed compartment.
Batteries suffer too. Cold slows the chemistry inside them, so a battery charged in summer may deliver 20 to 30 percent less power in winter, according to Renogy. Lithium batteries have a harder limit. Charging a lithium battery below 32°F can cause permanent damage, so check that your system blocks cold charging. The winter camping power guide from Overland Setup explains the cells can still discharge in the cold, but they must not take charge current until they warm above freezing. Keep batteries in an insulated box or heated compartment, and keep lead-acid batteries charged, because a discharged one can freeze and crack.
What Winterizing Typically Costs
- Pipe insulation sleeves: a few dollars per length, the cheapest job on this list
- Heat tape kit: one kit per vulnerable pipe run, usually far less than a single emergency plumber visit
- Foam board skirting: about $600 to $1,800 in materials for a single-wide home
- Insulated vinyl skirting: about $1,500 to $3,000 installed, with a foam backing already built in
- Weatherstripping and caulk: usually under $50 for the whole house
- Roof rake: a one-time buy that pays for itself the first heavy snowfall
- What a burst pipe costs: a single burst pipe repair can easily run into thousands of dollars, before any water damage
8. The Weekly Winter Check

Winterizing is not a one time job. A storm can loosen a skirting panel, a cold snap can drain a battery, and a heat tape plug can work loose without you noticing. A short weekly walkaround catches it all before it becomes a repair.
Pick a calm day each week and circle the house. Check that the skirting is still tight and anchored. Look under the floor, or check the wireless sensor, to confirm the space is staying above freezing. Make sure the heat tape is still plugged in and the cable feels warm. Check the propane gauge and the battery charge, and glance at the roof for snow buildup and the gutters for icicles.
Inside, test the carbon monoxide detector once a month and replace its batteries when the seasons change. On nights when the forecast drops below 20°F, open the cabinet doors under the sinks and let the farthest faucet drip. It takes thirty seconds and it is the simplest freeze insurance there is. Keep a small notebook by the door and jot down what you checked. By February you will have a record of what worked, and next fall you will know exactly where to start.
Winter in a tiny house can be genuinely comfortable. The house is small, the heat is close, and the snow outside makes it feel like a cabin in the woods. Do the work in fall, keep up the weekly check, and the coldest months become the coziest ones.