The Complete Guide to Tiny House Water Systems: Tanks, Pumps, Filters and Hot Water

Turn on a tap in a normal house and water just appears. You never think about where it comes from, how it gets pressure, or what makes it safe to drink. Move into a tiny house and all of that becomes your job.
A tiny house water system is small, but it has the same parts as a big house system. A source fills a tank. A pump moves the water. Filters clean it. A heater warms it. Drains carry the used water away. When those parts fit together well, daily life feels normal. When they do not, you get weak showers, sputtering taps, and a tank that runs dry at the worst moment.
This guide walks through the whole system in order. You will learn how much water you really use, how to size a tank, how to pick a pump and a heater, how to filter rainwater or well water, and how to keep pipes from freezing in winter. No plumbing experience needed.
At a glance: the numbers that run a tiny house water system
Four numbers to remember before you buy a single part.
Sources: tiny house water guides and RV pump specs linked below. Daily use varies with showers, laundry, and habits.
1. How a Tiny House Water System Fits Together
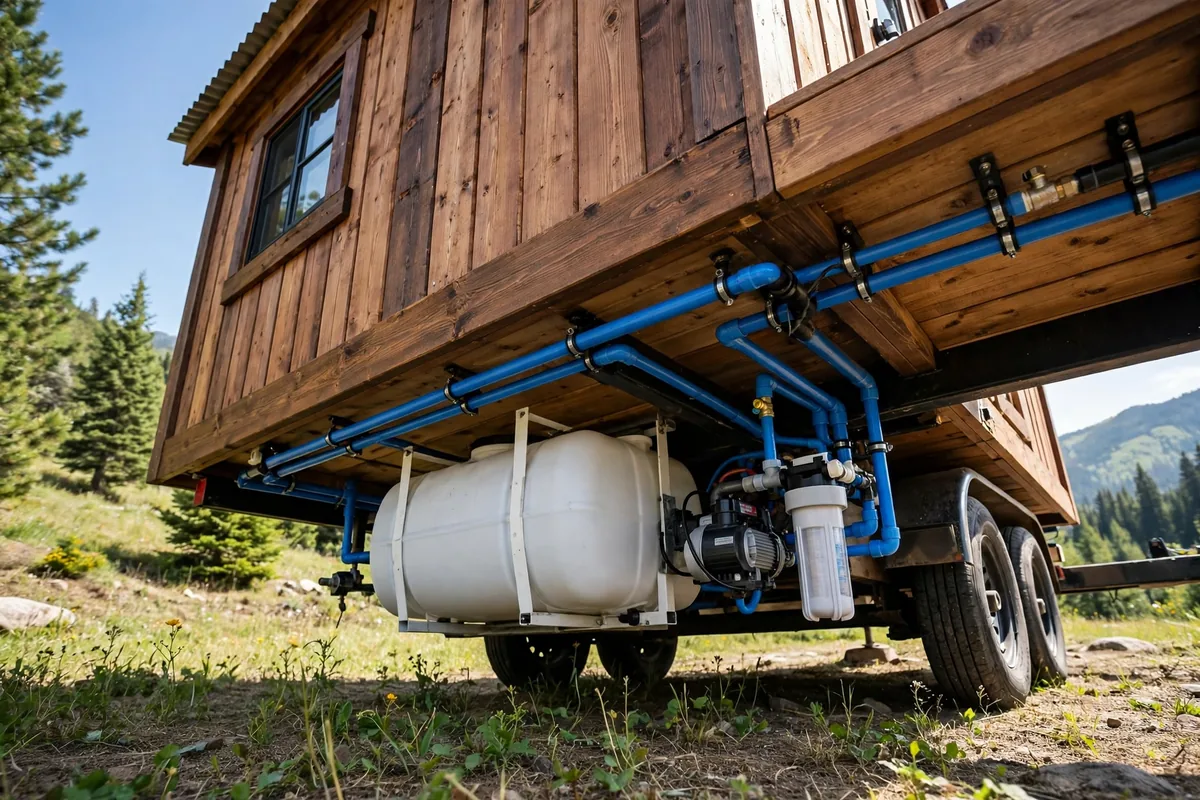
Every tiny house water system follows the same path. Water starts at a source, sits in a tank, gets pumped and filtered, then flows to the taps. Used water drains into a grey tank or a septic connection. Learn the path once.
On grid, the source is a city water hookup. A hose connects to an outside inlet, a pressure regulator protects your pipes from high street pressure, and water flows straight to the fixtures. City pressure usually runs 40 to 80 PSI, so the regulator matters.
Off grid, the source is a tank you fill yourself, a well, or rainwater. The tank feeds a 12 volt pump, the pump pressurizes the lines, and filters clean the water before it reaches a tap. A tiny house water systems guide puts the common onboard tank at 20 to 100 gallons for a house on wheels, with a 12 volt pump delivering 3 to 4 gallons per minute.
Plan the layout before you buy parts. Keep the tank low and near the center of the trailer, the pump close to the tank, and the filter and heater easy to reach. Short runs mean better pressure and faster hot water.
2. How Much Water You Actually Use
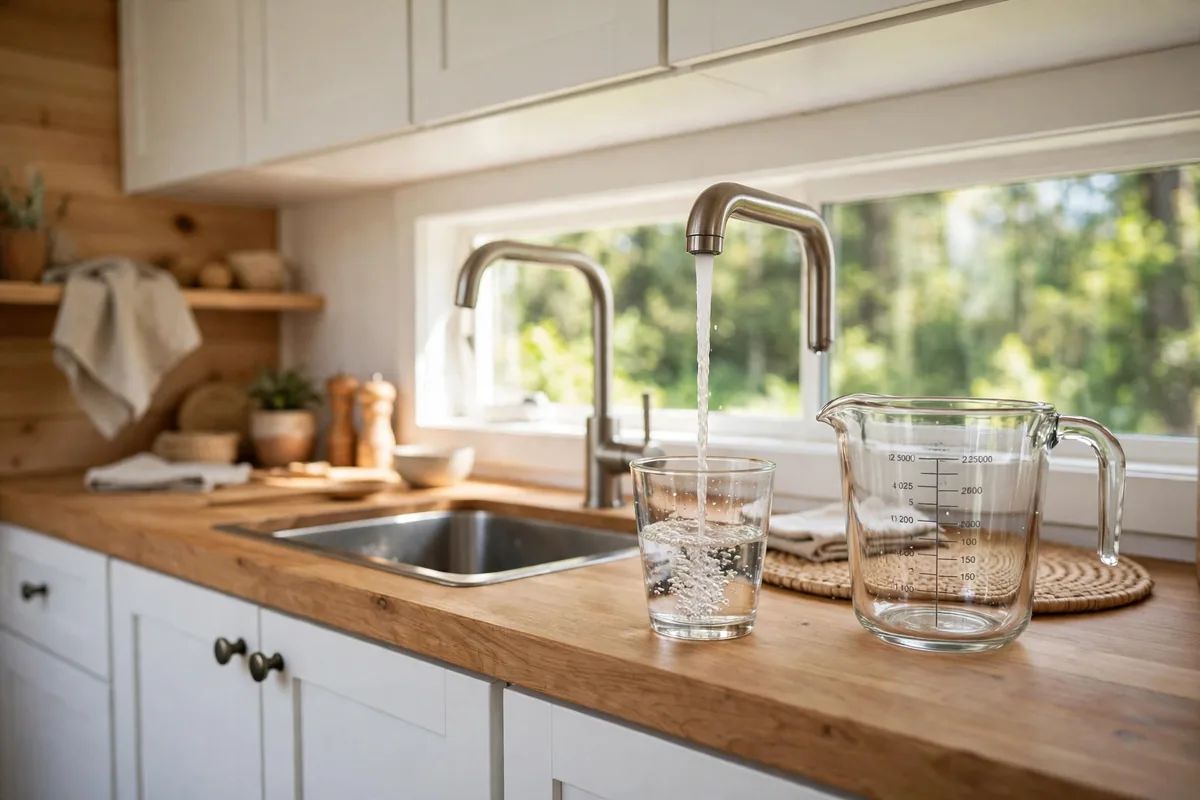
Guessing your water use is how tanks end up too small. Start with real numbers. A careful tiny house household uses roughly 20 to 30 gallons per person per day, according to an off grid water system comparison. A long shower or a load of laundry pushes that number up fast.
Break it down by habit. A five minute low flow shower uses about 10 gallons. A toilet flush uses 1 to 1.6 gallons. Washing dishes by hand uses 2 to 4 gallons if you fill a basin instead of running the tap. Drinking and cooking need only about 1 gallon per person per day, the emergency planning figure from FEMA and Ready.gov.
Track your real use for one normal week. Write down each tank fill and how long it lasted. That week of notes beats any online calculator, because your habits are the biggest variable.
Build in a buffer. Size the tank for your weekly use plus one extra day, and keep a few gallons of drinking water in separate jugs. Running dry mid shower is annoying. Running dry with no drinking water is worse.
3. Fresh Water Tanks: Size, Material and Placement
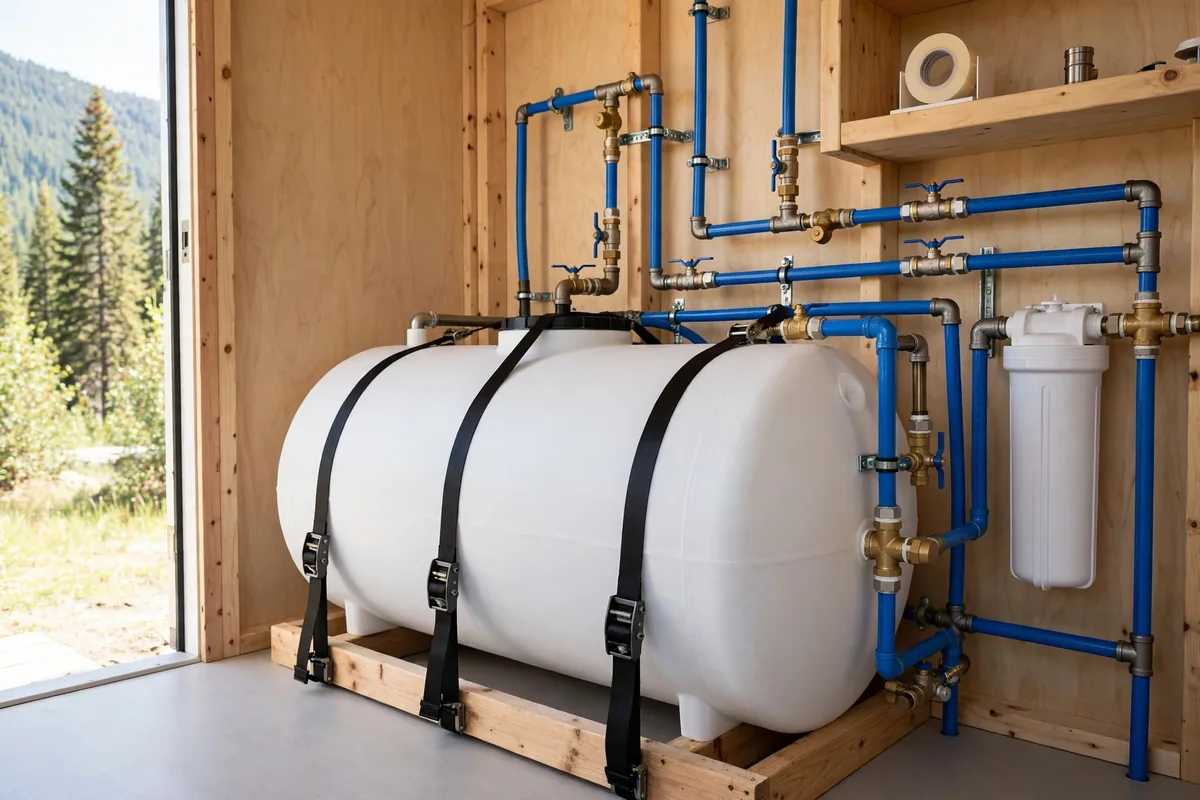
The tank is the heart of an off grid system, and its size is a trade off. A bigger tank means fewer refills. It also means more weight and a harder tow. Water weighs 8.34 pounds per gallon, so a full 50 gallon tank adds over 400 pounds.
For two people, 40 to 60 gallons is a practical sweet spot, about two to three days of use. Full time owners who haul water often go bigger, 80 to 100 gallons. Weekend owners can get by with 20 to 30 gallons and a jerry can in reserve.
Choose food grade plastic, marked HDPE, or stainless steel. Never store drinking water in a tank that held chemicals. A large inspection hatch is worth the cost, because you will need to clean inside it yearly. Fit a vent so the tank can breathe and a drain valve at the lowest point.
Place the tank low, over or just ahead of the trailer axles, and strap it down. A half full tank sloshes and can shift hundreds of pounds while you drive. Keep the tank inside the heated envelope in cold climates. A frozen tank can crack and flood the floor.
4. Pumps and Pressure: Getting Water to Every Tap
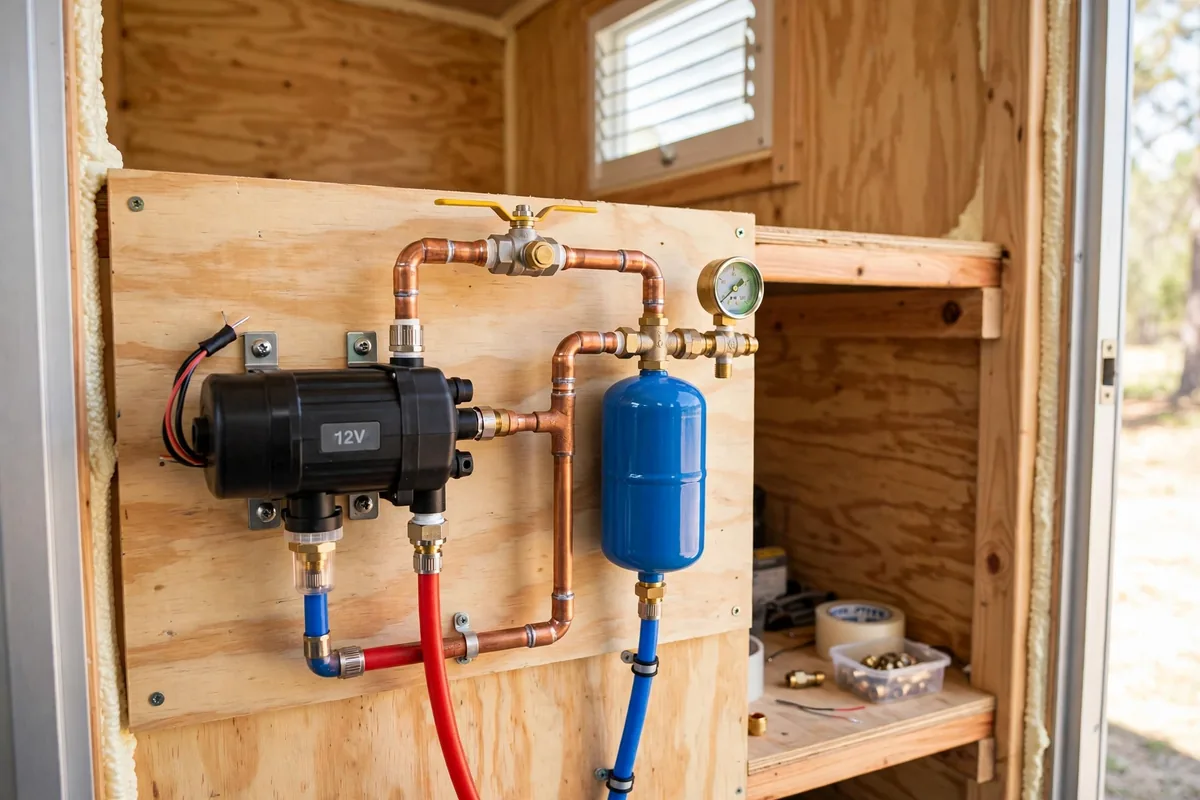
The pump turns stored water into a usable shower. Most tiny houses use a 12 volt RV diaphragm pump, the kind found in camper vans and boats. It runs off the house battery and switches on when a tap opens.
Look for 3 to 4 gallons per minute at 45 to 55 PSI. Most RV pumps come preset to 40 to 55 PSI, and 45 PSI is the sweet spot, per an RV pump guide. A popular 12 volt pump kit is rated 3.0 GPM and 45 PSI shut off, enough for three fixtures at once.
Without one, the pump fires in short bursts and the water pulses at low flow. A 1 to 2 gallon accumulator stores pressurized water, so the pump runs less often. Precharge it to about 2 PSI below the pump cut in pressure, as explained in an off grid pump setup guide.
Install the pump close to the tank, with a strainer on the inlet. Mount it on a rubber pad to cut vibration noise. Wire it through a fuse and a switch you can reach, so you can kill the pump when you hear it running dry.
Tank sizing cheat sheet for two people
Daily use of 20 to 30 gallons per person, with a one day buffer built in.
Check your real use for a week, then size up, never down.
5. Filtration and Safe Drinking Water
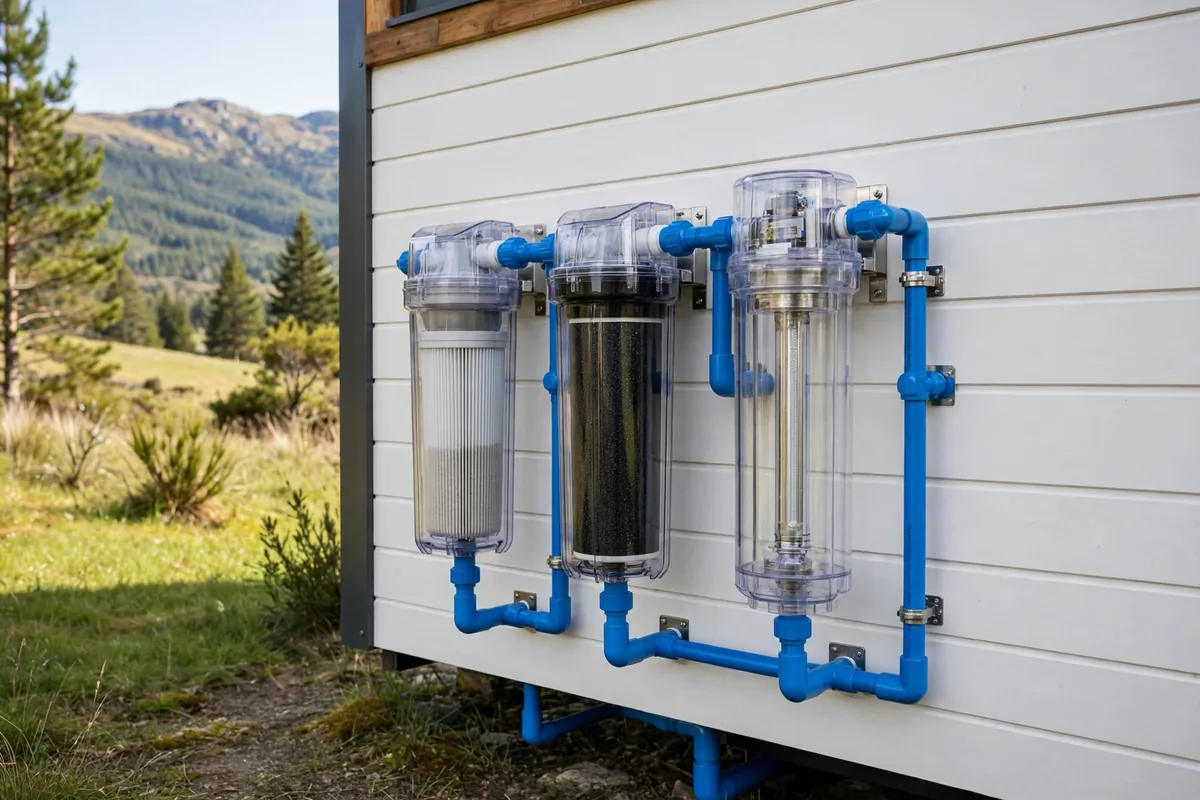
Clear water is not always safe water. Rainwater carries roof grit and bird droppings. Well water can carry iron, bacteria, and nitrates. Filtration is not optional.
Use a multi stage setup. First a sediment filter, 20 to 50 microns, catches sand and grit. Then a 5 micron filter catches finer particles. Then activated carbon improves taste and removes chlorine and organic chemicals. Replace carbon cartridges every 6 to 12 months.
For rainwater and surface water, add disinfection after the filters. A UV lamp kills bacteria and viruses as water flows past it, but only if the water is clear first, which is why sediment filters come before it. The lamp needs replacing about once a year. Chlorination is the low tech alternative, and it leaves a residual that keeps stored water safer.
Test your water before you design the system, and test again at least once a year. A lab test for bacteria, nitrates, and hardness tells you what to remove. A whole house off grid filtration guide recommends testing first, then matching treatment to the source, because each source needs a different chain. If a test comes back bad, fix the treatment before you drink from the tap.
6. Hot Water: Tankless vs Tank
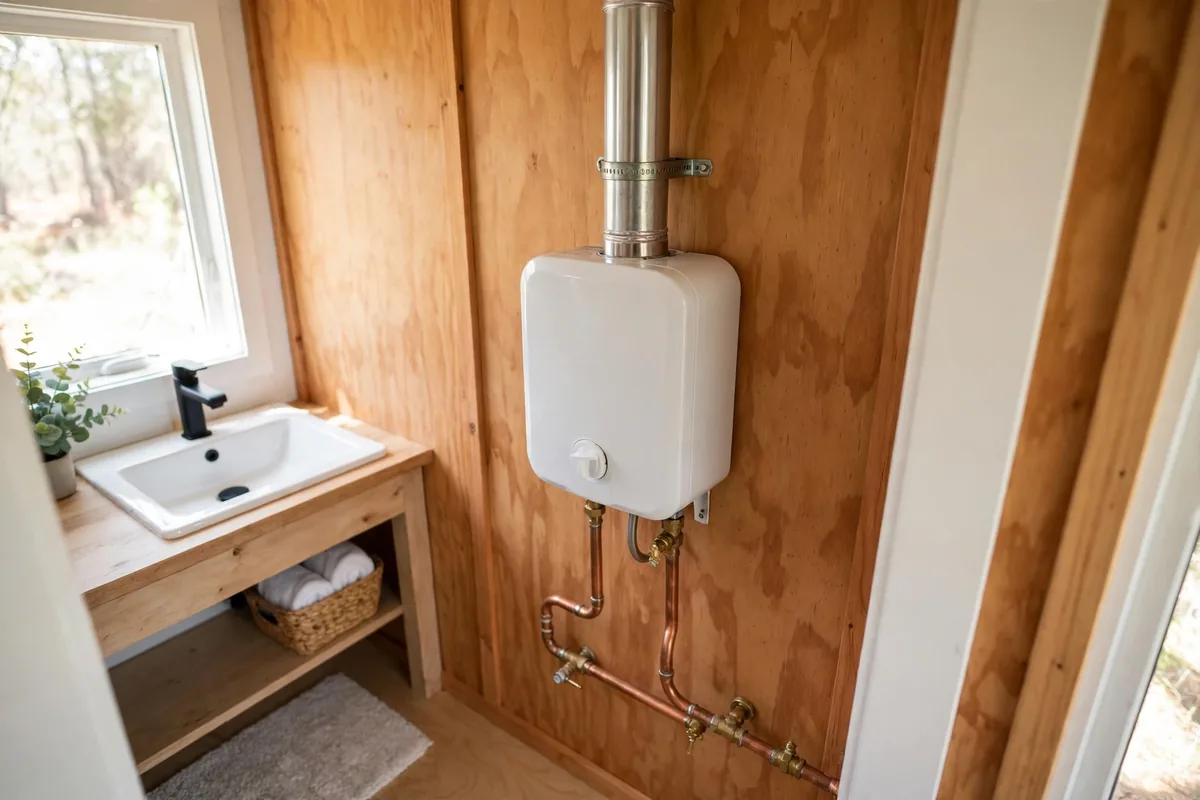
Hot water is where tiny house owners argue most. The choice is a small tank that keeps water hot, or a tankless heater that warms water only when a tap opens.
Propane tankless heaters are the off grid favorite. They need almost no electricity and never run out of hot water. They heat water only when a tap opens, so no fuel is wasted. The catch is cold inlet water. If water enters at 35 degrees and the heater raises it only 26 degrees, your shower tops out at 61 degrees.
Electric tank heaters are simple and cheap to buy. A 6 to 10 gallon mini tank fits in a closet. Electric tankless units are a different story. Most need a 50 amp, 240 volt supply, which many tiny houses cannot provide.
Install the heater inside the heated part of the house. Outdoor units are easier to vent, but they can freeze and crack in a hard cold snap. A tiny house hot water guide notes indoor units keep the whole heater, including its supply lines, inside the insulation. Confirm your heater is certified for tiny house or RV use, or the maker may not honor the warranty.
7. Grey Water and Drainage: Where Used Water Goes
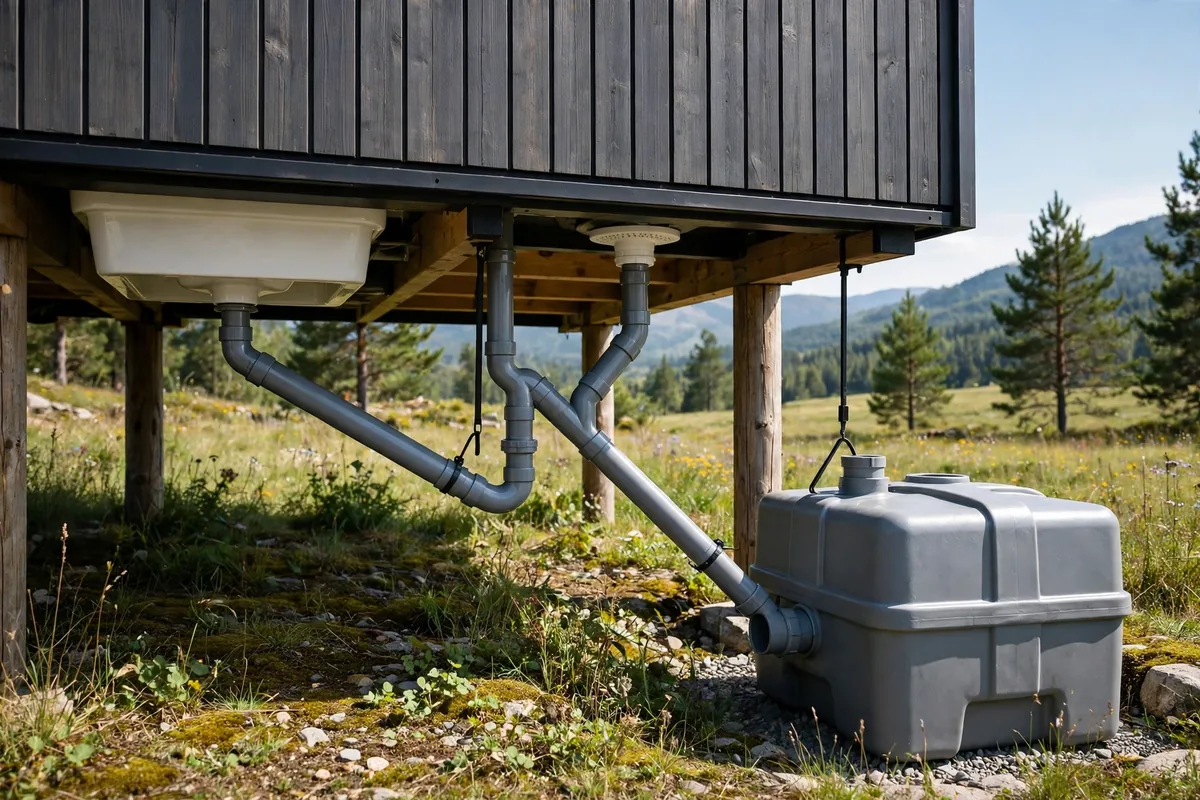
Every gallon that comes in must go somewhere. Grey water is the used water from sinks and showers. Black water is toilet waste. Tiny houses handle them very differently.
On grid, drains connect to the sewer or septic like any house. Off grid, grey water goes to a holding tank, a mulch basin, or a permitted grey water system. A 20 to 30 gallon grey tank fills fast, often in a day or two, so empty it as often as you fill the fresh tank. A composting toilet removes black water from the plumbing and leaves only grey water to manage.
Keep the drains simple and sloped. Every drain needs a trap, the U shaped bend that holds water and blocks sewer smells, and a vent to the roof so drains flow freely. Short, straight runs with a steady slope clog less and are easier to clear. Avoid long flat runs under the floor.
Check the rules before you build. Grey water laws vary widely by state and county, and some places ban ground discharge outright. A system that is legal at one parking spot can be illegal at the next. When in doubt, hold it in a tank.
8. Freeze Protection and Winterizing
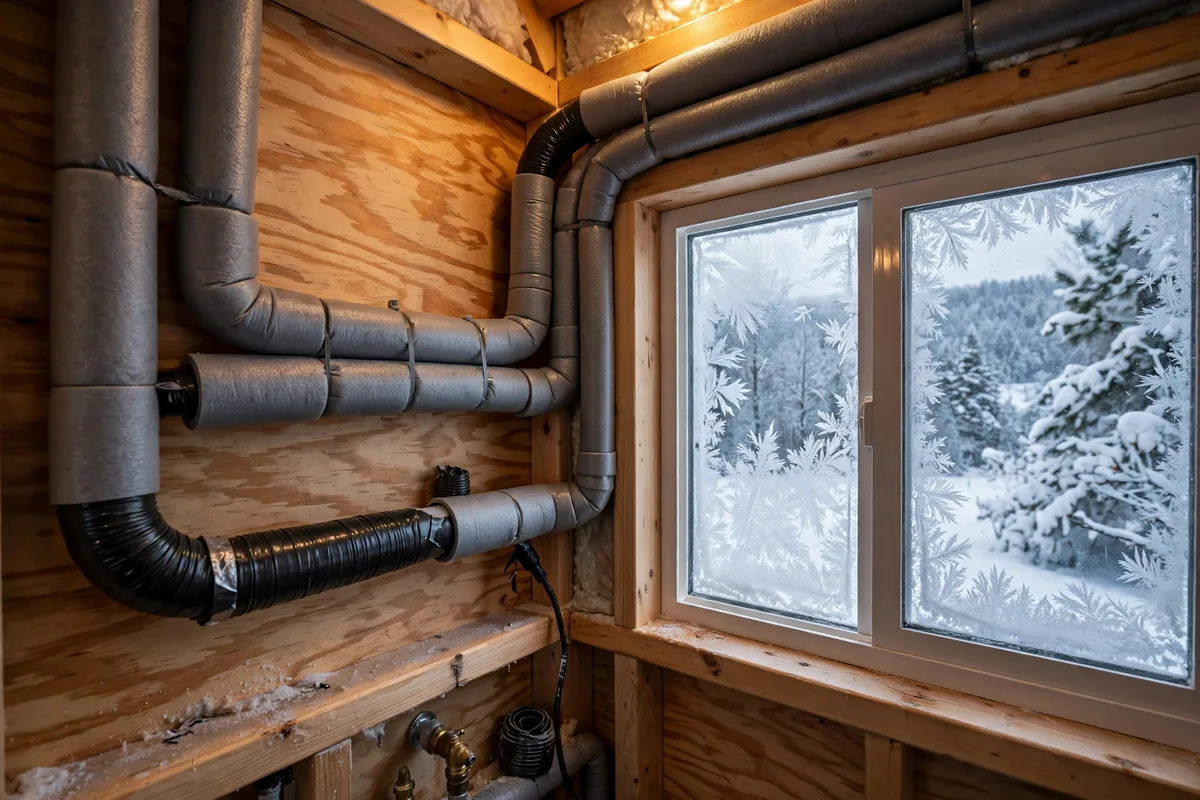
Water expands when it freezes, and pipes do not. One hard freeze can split a PEX line, crack a pump, and flood a tiny house. In cold climates, winter protection is part of the build.
Keep every water line inside the heated envelope. Run pipes through interior walls and above the floor insulation, never through an unheated crawl space or outside wall bay. Short runs freeze slower, and hot water arrives faster. Insulate any pipe that passes through a cold spot, and add heat tape on the most exposed runs.
Protect the tank and the heater the same way. An indoor tank stays warm with the house. An outdoor tank needs insulation, a heating pad, and a reachable drain valve. Propane tanks lose pressure in deep cold, so a tank heating blanket keeps gas flowing, as a tiny house water heater guide recommends.
Have a shutdown plan for any time you leave the house empty. Shut off the main valve, open the lowest taps, drain the tank and the heater, and blow out the lines with low pressure air. Do the shutdown before the first freeze, because the first freeze is the one that catches people out.
Winter ready checklist before the first freeze
Run through this list in autumn, while a fix is still a weekend job.
A frozen pipe is a flood waiting to thaw. Prevention is cheaper than repair.
A good tiny house water system is boring in the best way. The taps run strong, the shower stays hot, the water tastes clean, and nothing leaks or freezes. That takes a tank sized to your real use, a pump with an accumulator, filters matched to your source, a heater picked for your climate, and drains you can actually maintain.
Start with the numbers. Measure a week of use, pick the tank, then build outward from there. Buy the pump and the filters next, and test the whole system with the house parked and the taps open before your first trip. Fixing a leak in the driveway is a chore. Fixing one on the road is a crisis.