15+ RV Outdoor Kitchen Setups for Real Campsite Cooking

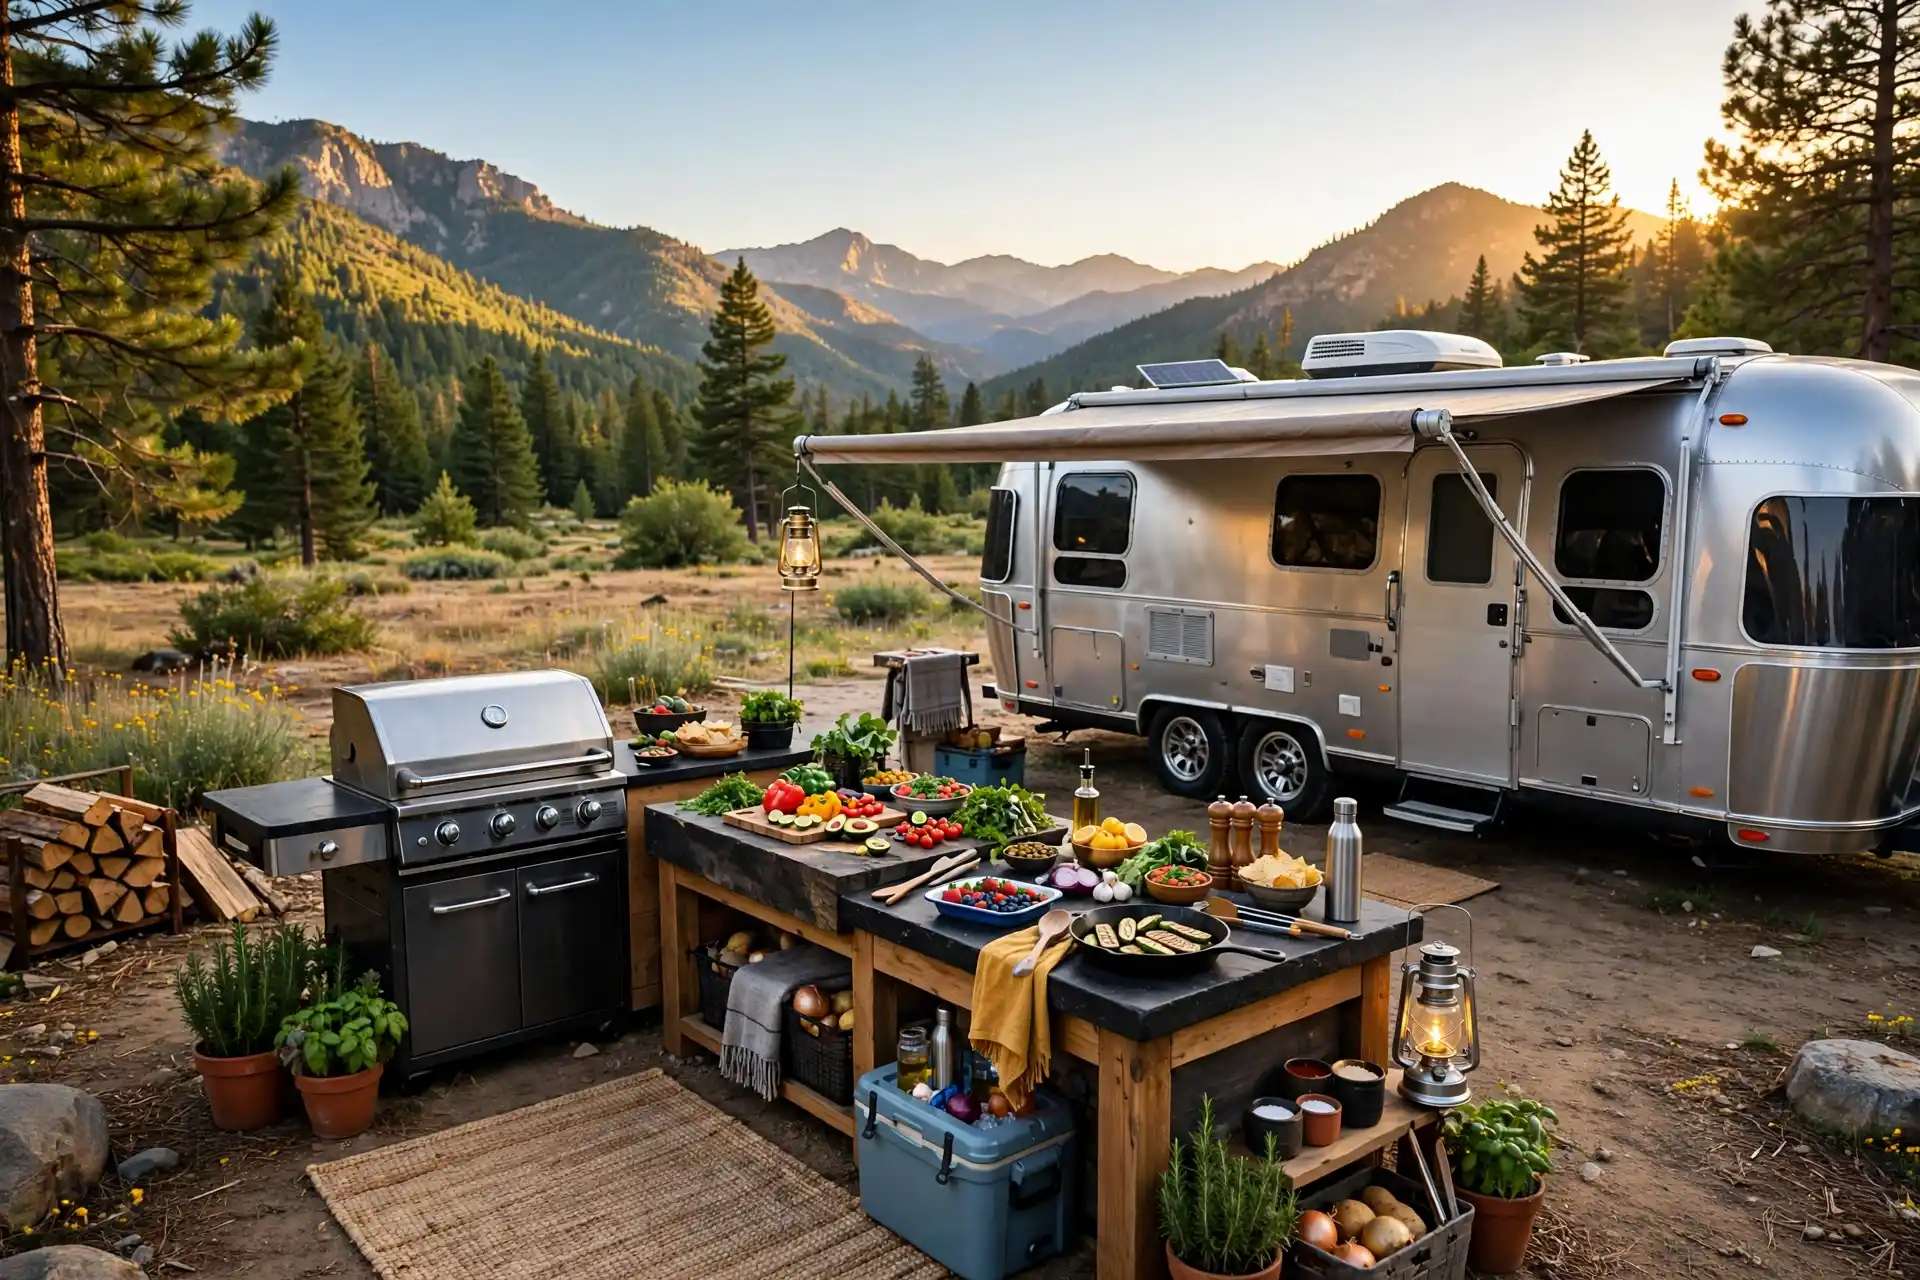
Cooking outside is the best part of RV life. The rig gives you a bed and a roof. The campsite gives you fresh air, open sky, and room to spread out.
An outdoor kitchen does not need to be fancy. It needs a flat surface, a heat source, and a place to keep food safe. Everything else is a bonus.
The fifteen setups below cover real campsite cooking. Some are simple. Some are built for big group meals. All of them can be packed up and moved to the next site.
Start with the setup that fits how you actually cook. If you grill most nights, build around a grill. If you love slow mornings, build around coffee and breakfast. Your kitchen should serve your habits, not the other way around.
1. Slide-Out Chuck Wagon Kitchen
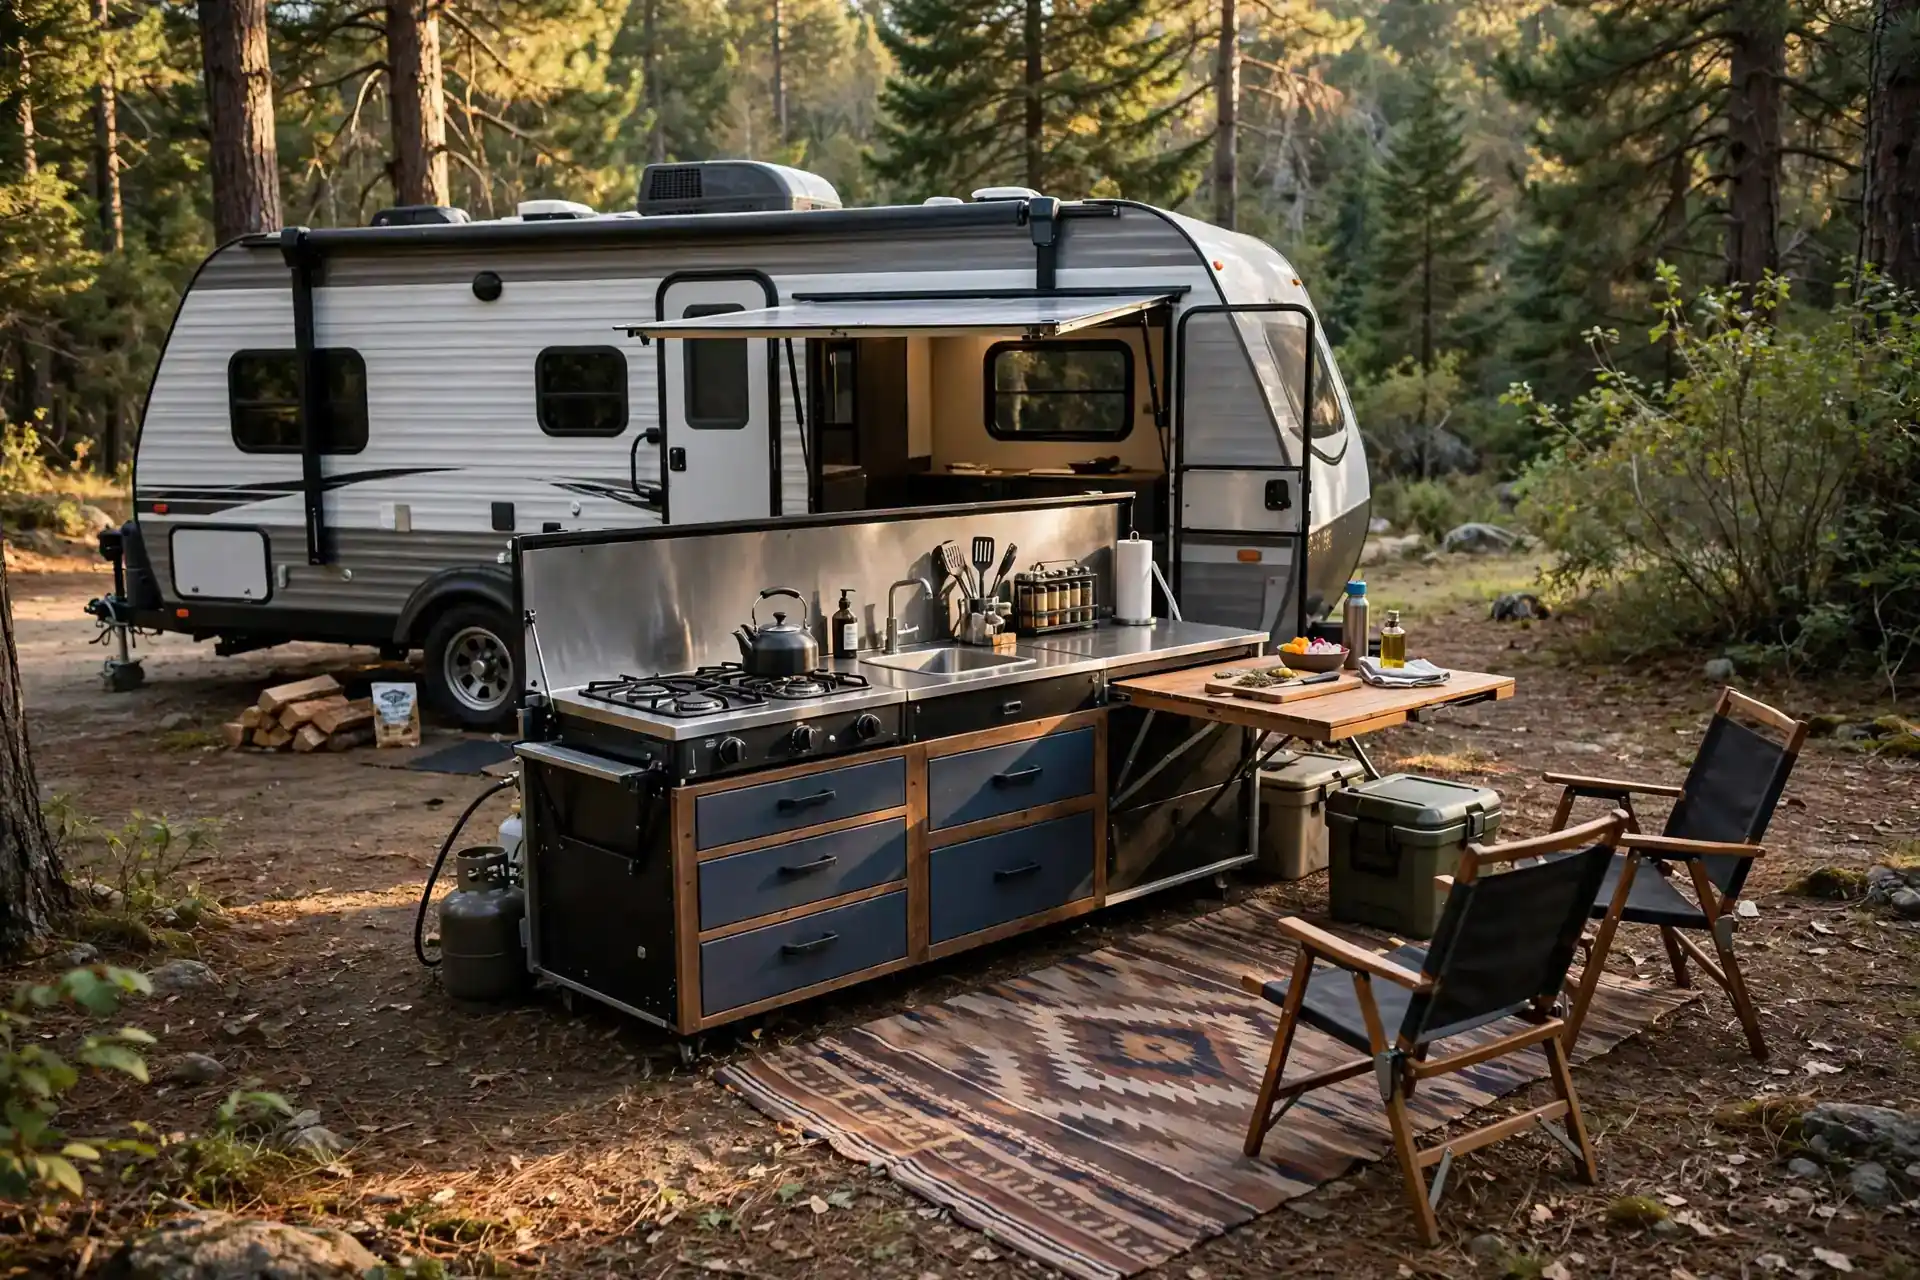
A slide-out kitchen pulls straight out of a storage bay and locks into place. You get a stove, a counter, and drawers without building anything at the site. Setup takes minutes. Packing up takes even less.
This is a great choice if you move often. Nothing stays loose in the rig while you drive. The unit slides back in, latches shut, and rides safely to the next campground.
Keep the heavy pots in the lowest drawer. That keeps the unit stable when it is pulled out. Put your everyday tools on top so you can reach them fast.
A small folding table beside the slide-out doubles your prep space. It also gives you a spot for plates while food comes off the stove.
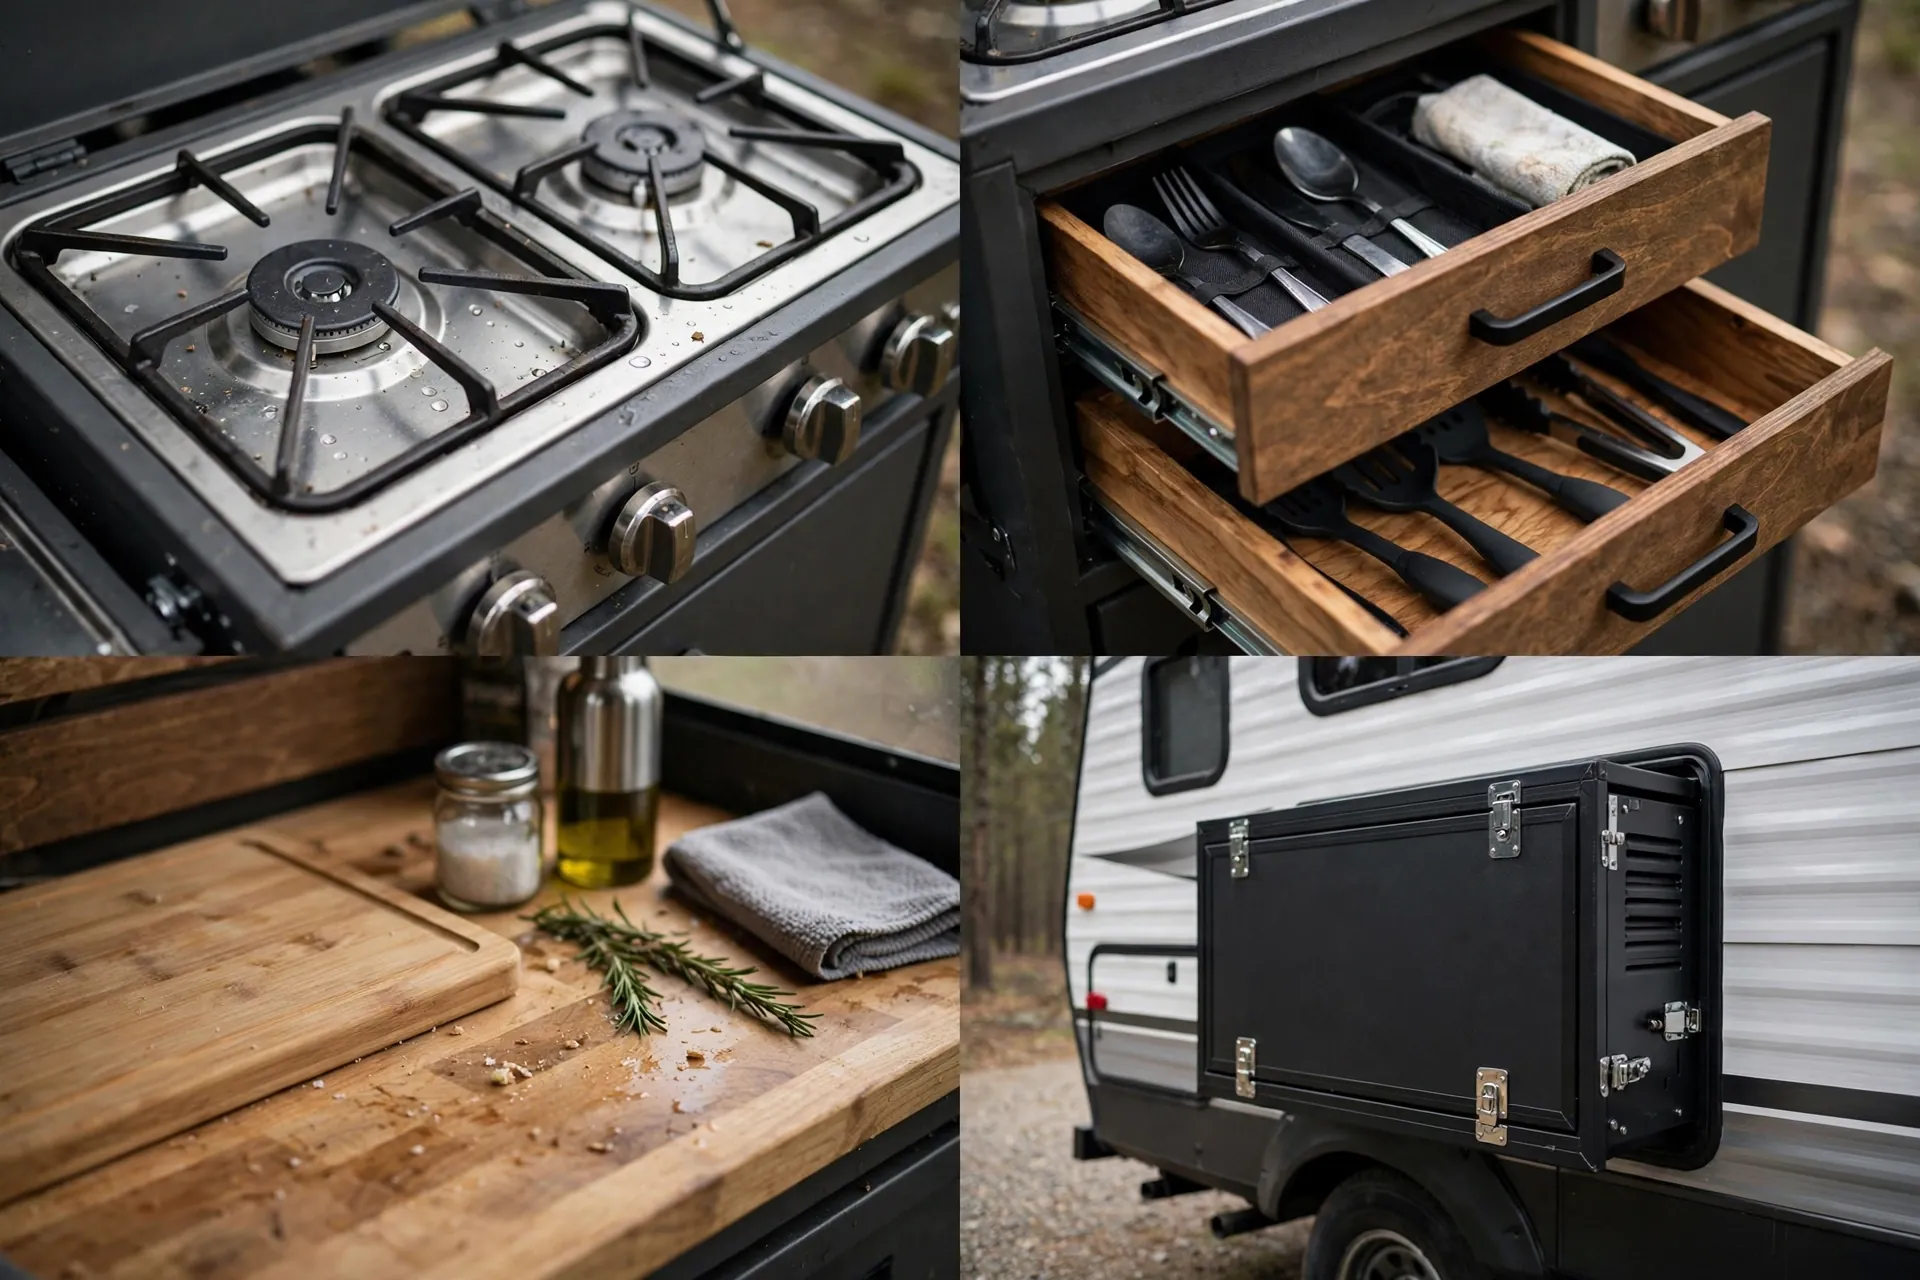
Check the slide rails now and then. A little cleaning keeps them moving smoothly. Wipe up spills right away so the drawers stay clean on the road.
If your rig does not have a slide-out, a rolling camp kitchen cart gives you much of the same ease.
2. Awning-Side Grill Station
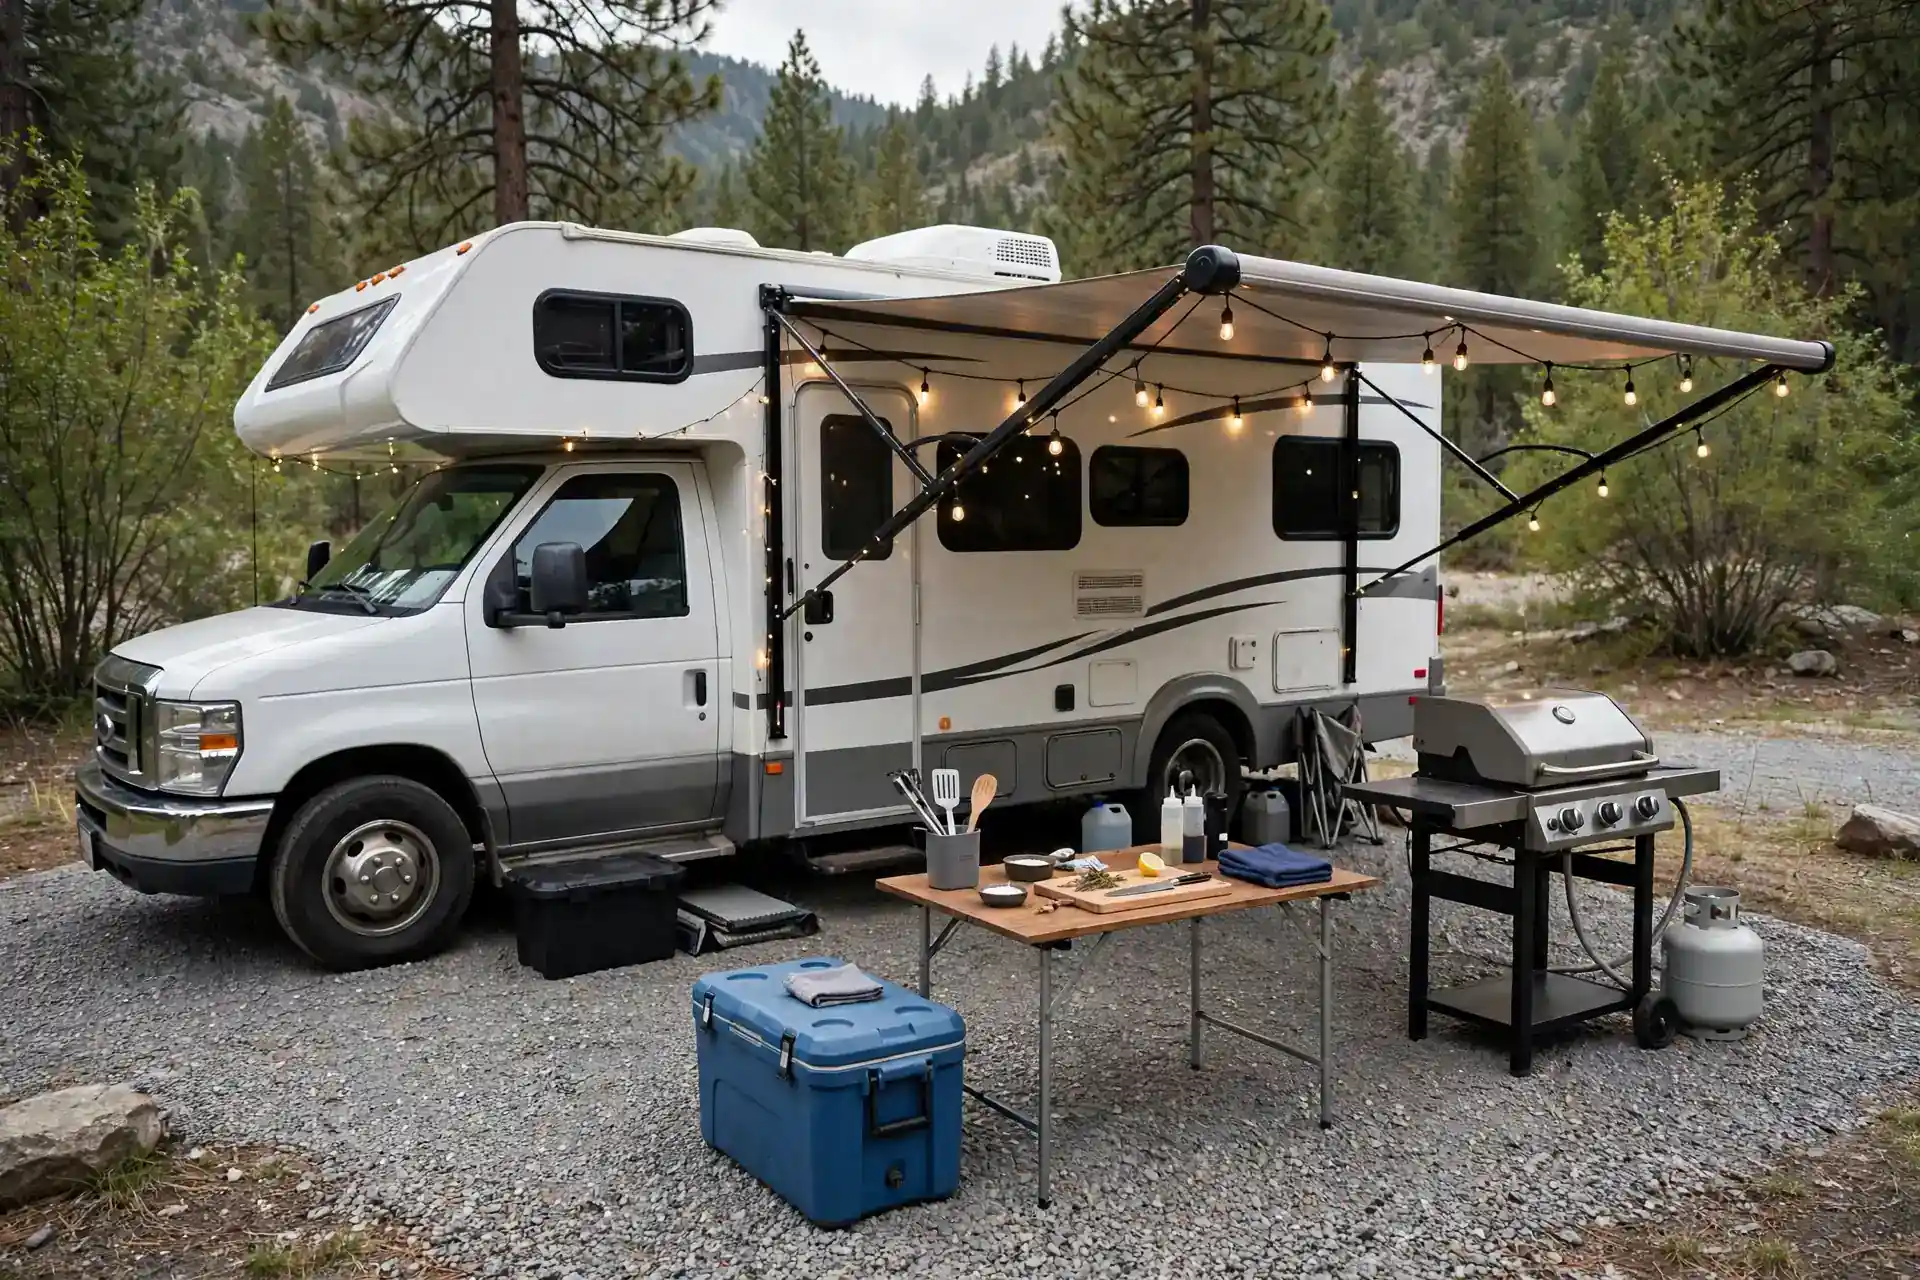
Your RV awning is free shade, so use it. A grill station under the awning keeps the cook out of the sun and close to the rig. The grill sits on a stand, with a prep table beside it.
An awning is a roof, not a wall. Wind can still push smoke toward the rig. Set the grill near the outer edge of the awning so smoke drifts away.
Keep a small side table for raw meat and another for cooked food. Never mix the two. This one habit keeps camp meals safe and simple.
String lights make evening grilling much nicer. They also help you see what you are doing after sunset, which matters more than most people admit.
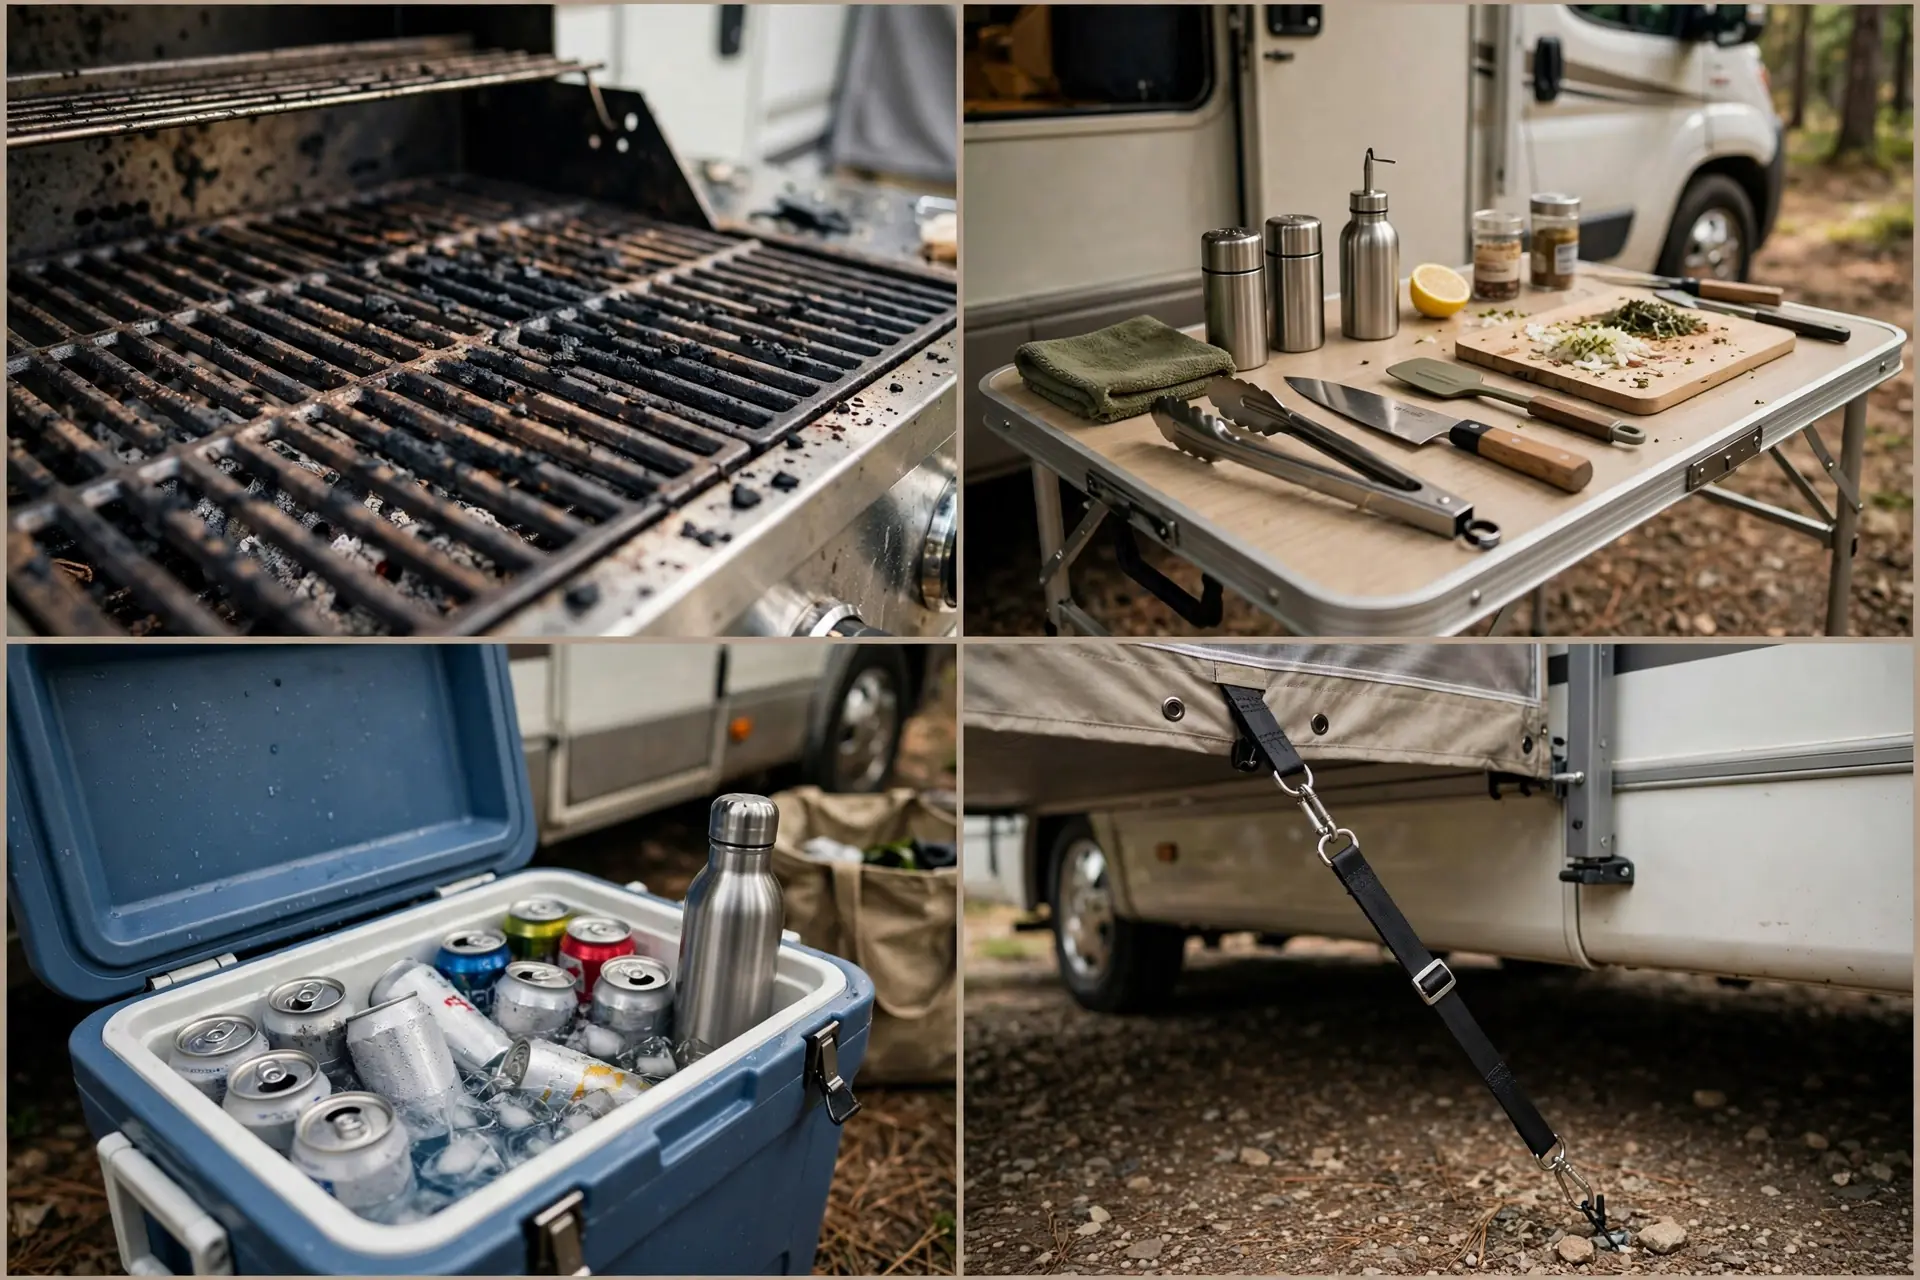
Always check the awning arms before you light the grill. A loose arm can shift in wind. Tie the awning down on breezy days, or skip grilling under it until the wind drops.
This setup shines on short stays. You can be cooking within twenty minutes of parking.
3. Fold-Down Tailgate Table Kitchen
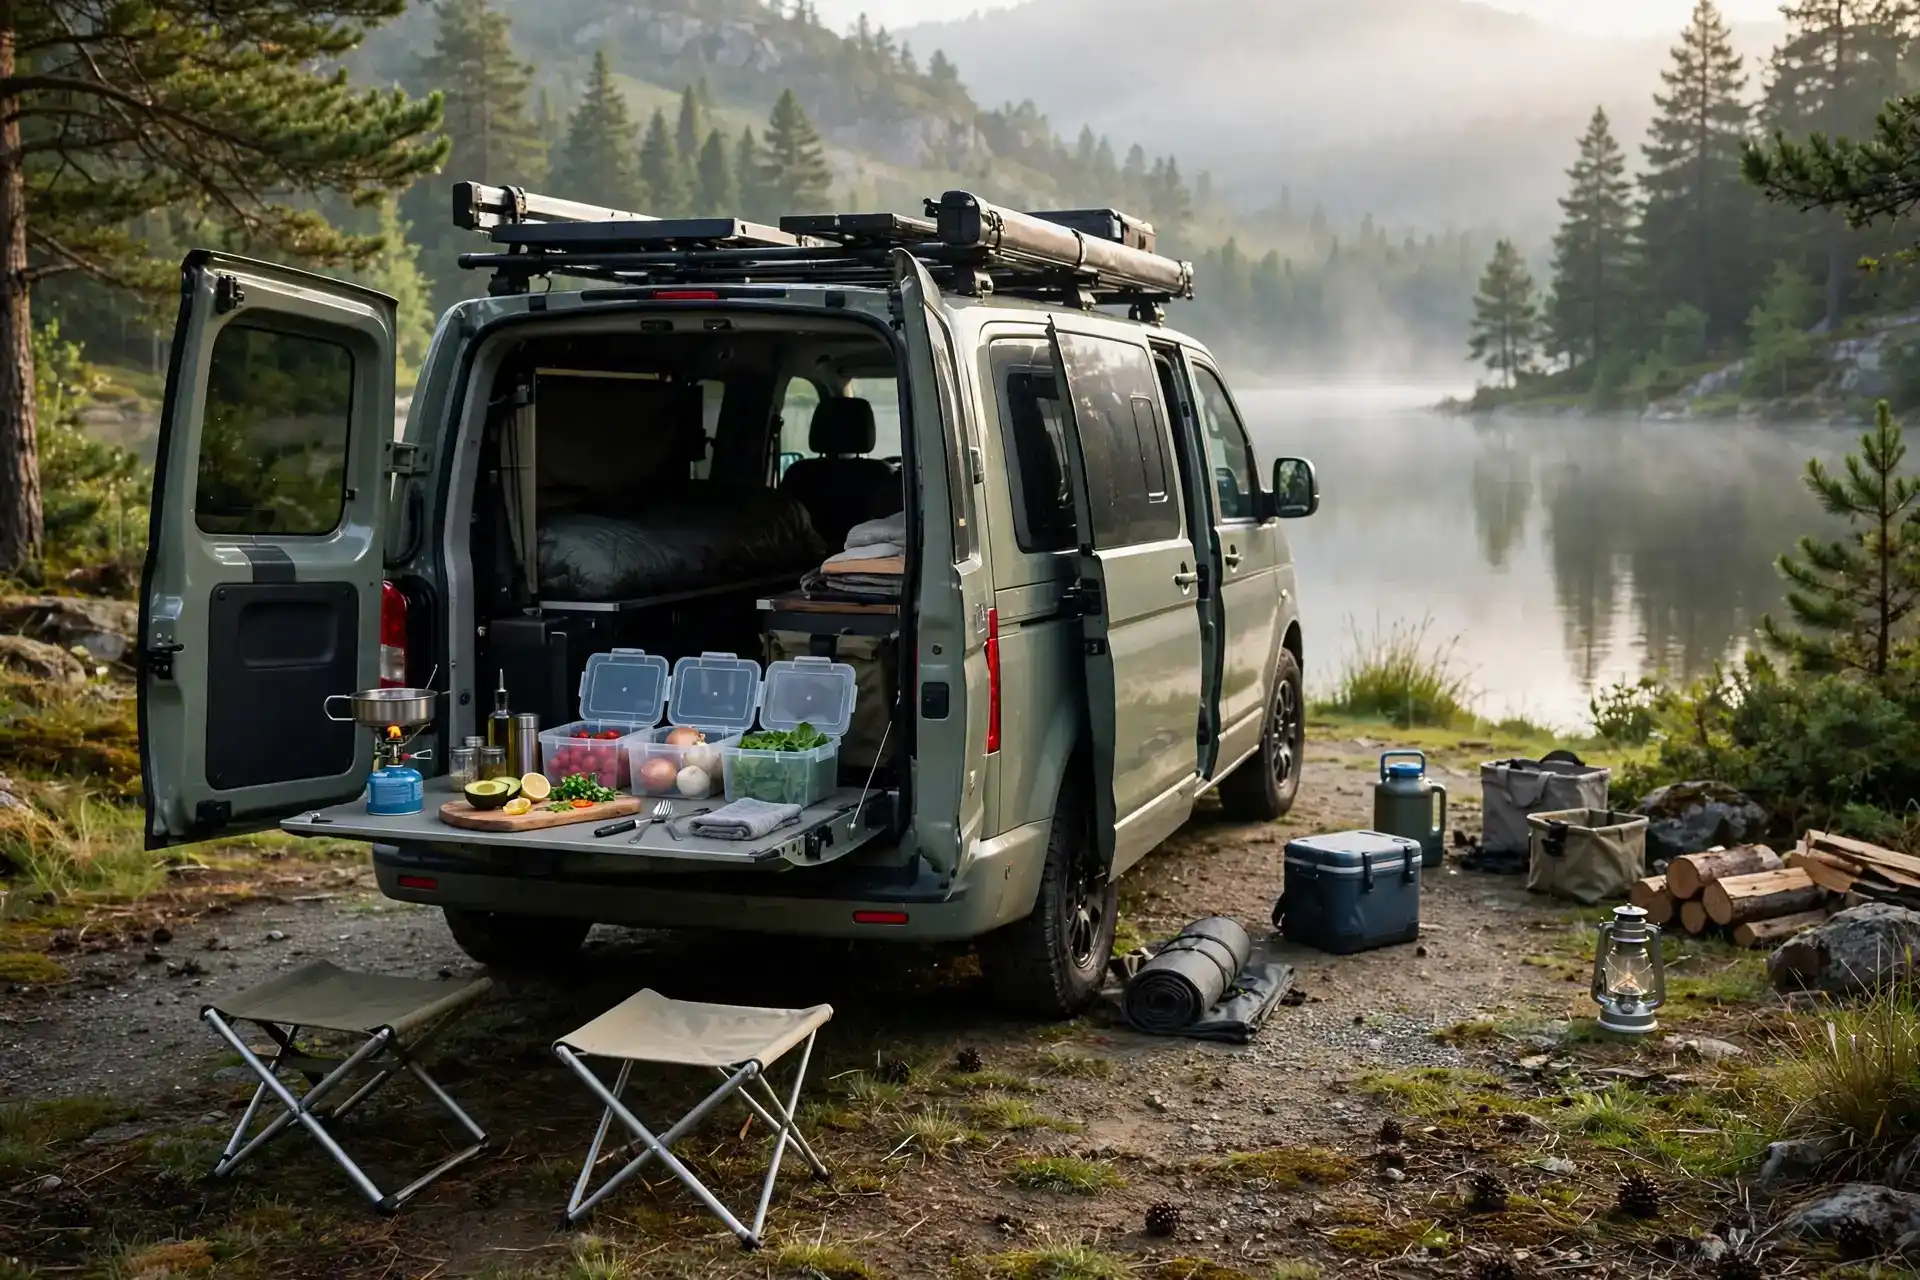
Camper vans have little room, so the kitchen has to fold away. A fold-down table at the rear doors turns the back of the van into a tiny outdoor kitchen. Open the doors, drop the table, and cook.
The trick is to keep the kit small. One stove, one pan, one cutting board, and a few dry goods are enough for most meals. Everything else stays packed.
Use stackable bins for food. They fit in the van without wasting space. Label them, so you are not digging through three bins to find the salt.
A pair of folding stools completes the setup. They tuck away fast, and they give you a place to sit while water boils.
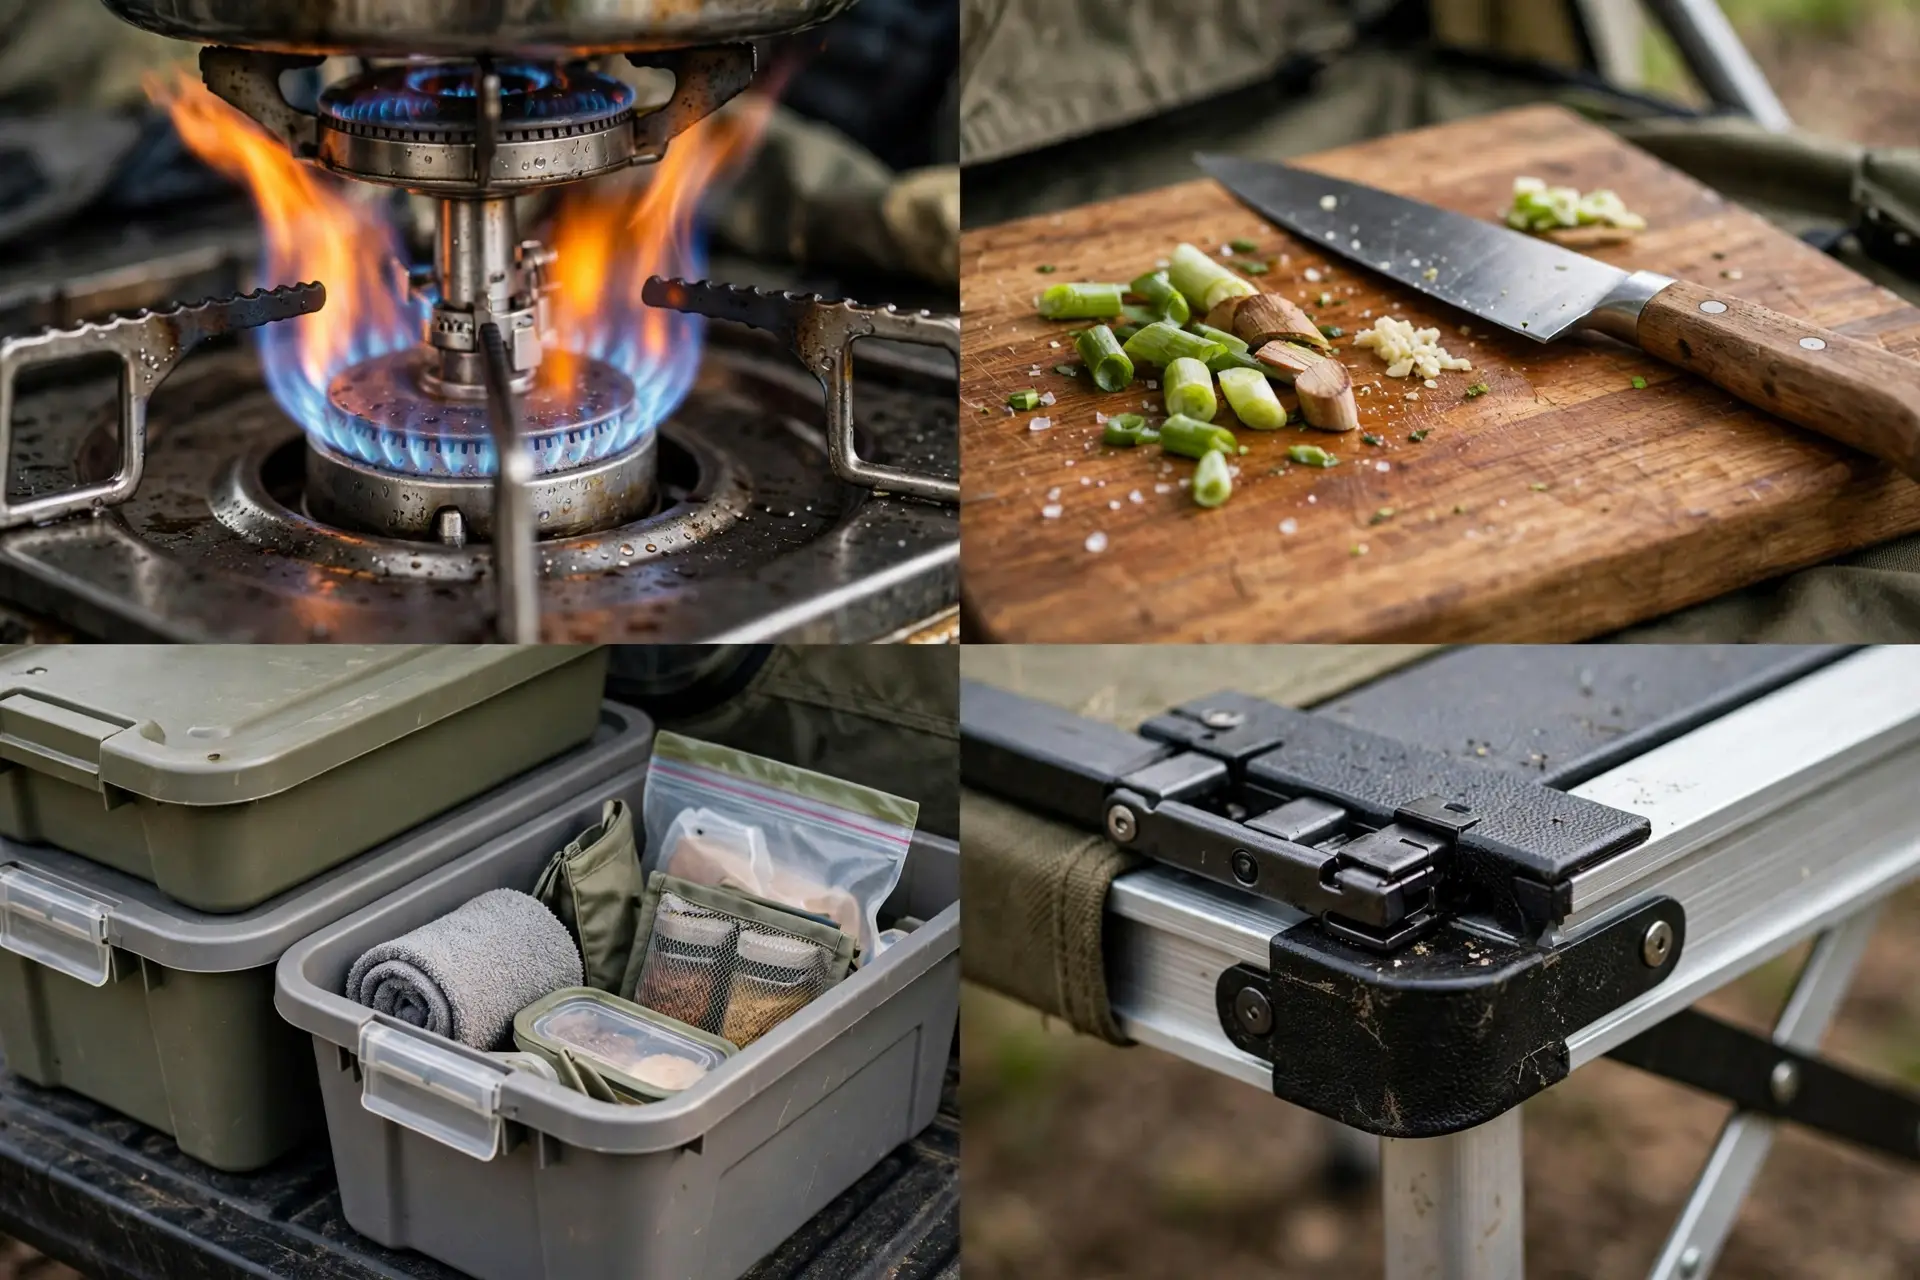
Cook with the van doors as your windbreak. On gusty days, angle the van so the wind hits the side, not the open back.
This is the lightest setup on this list. It is ideal for solo travelers and weekend trips.
4. Cast-Iron Campfire Kitchen
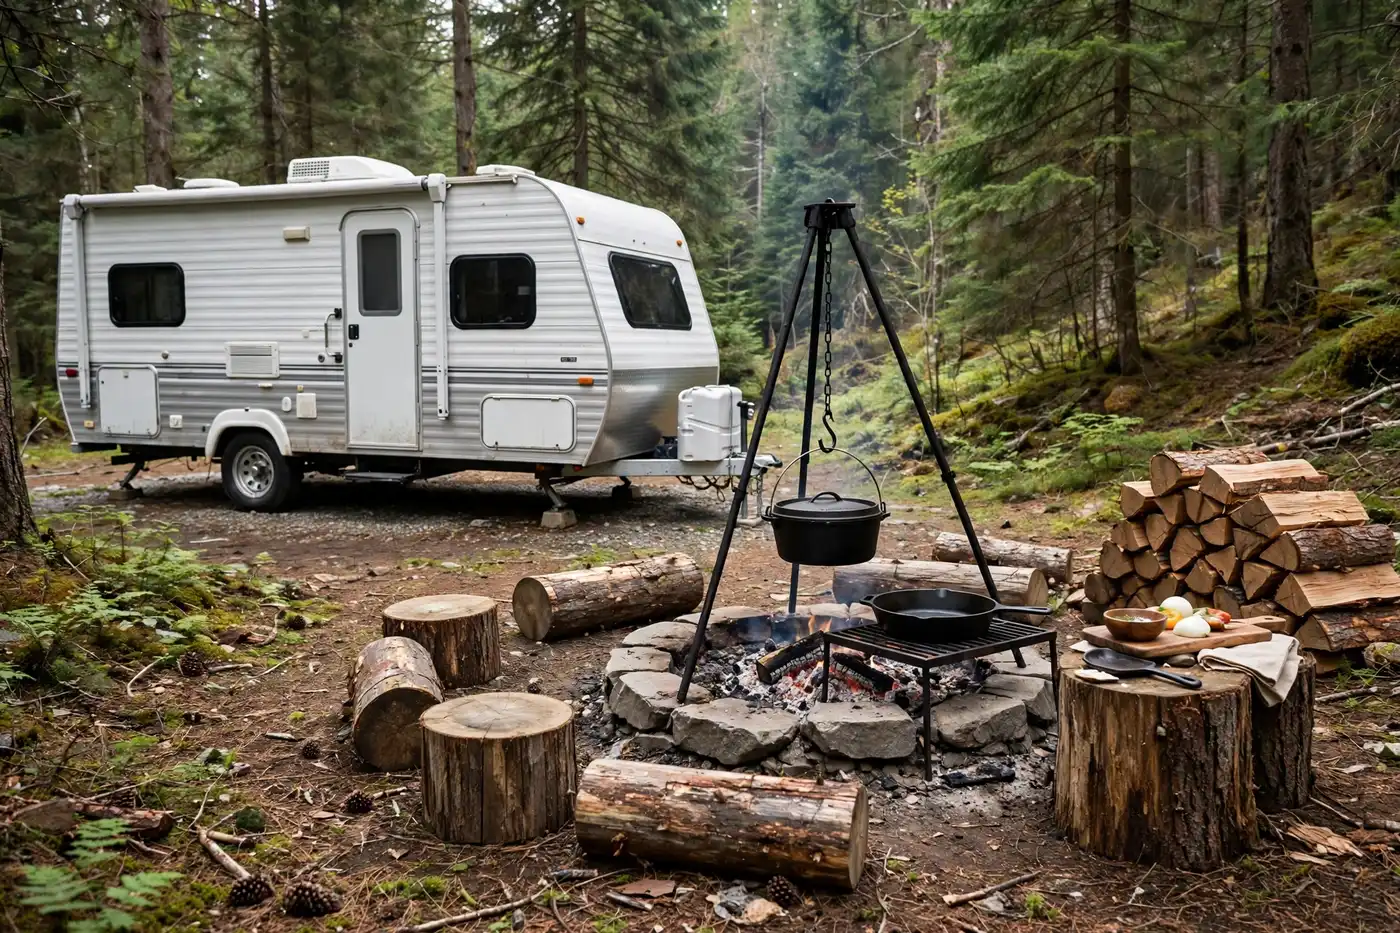
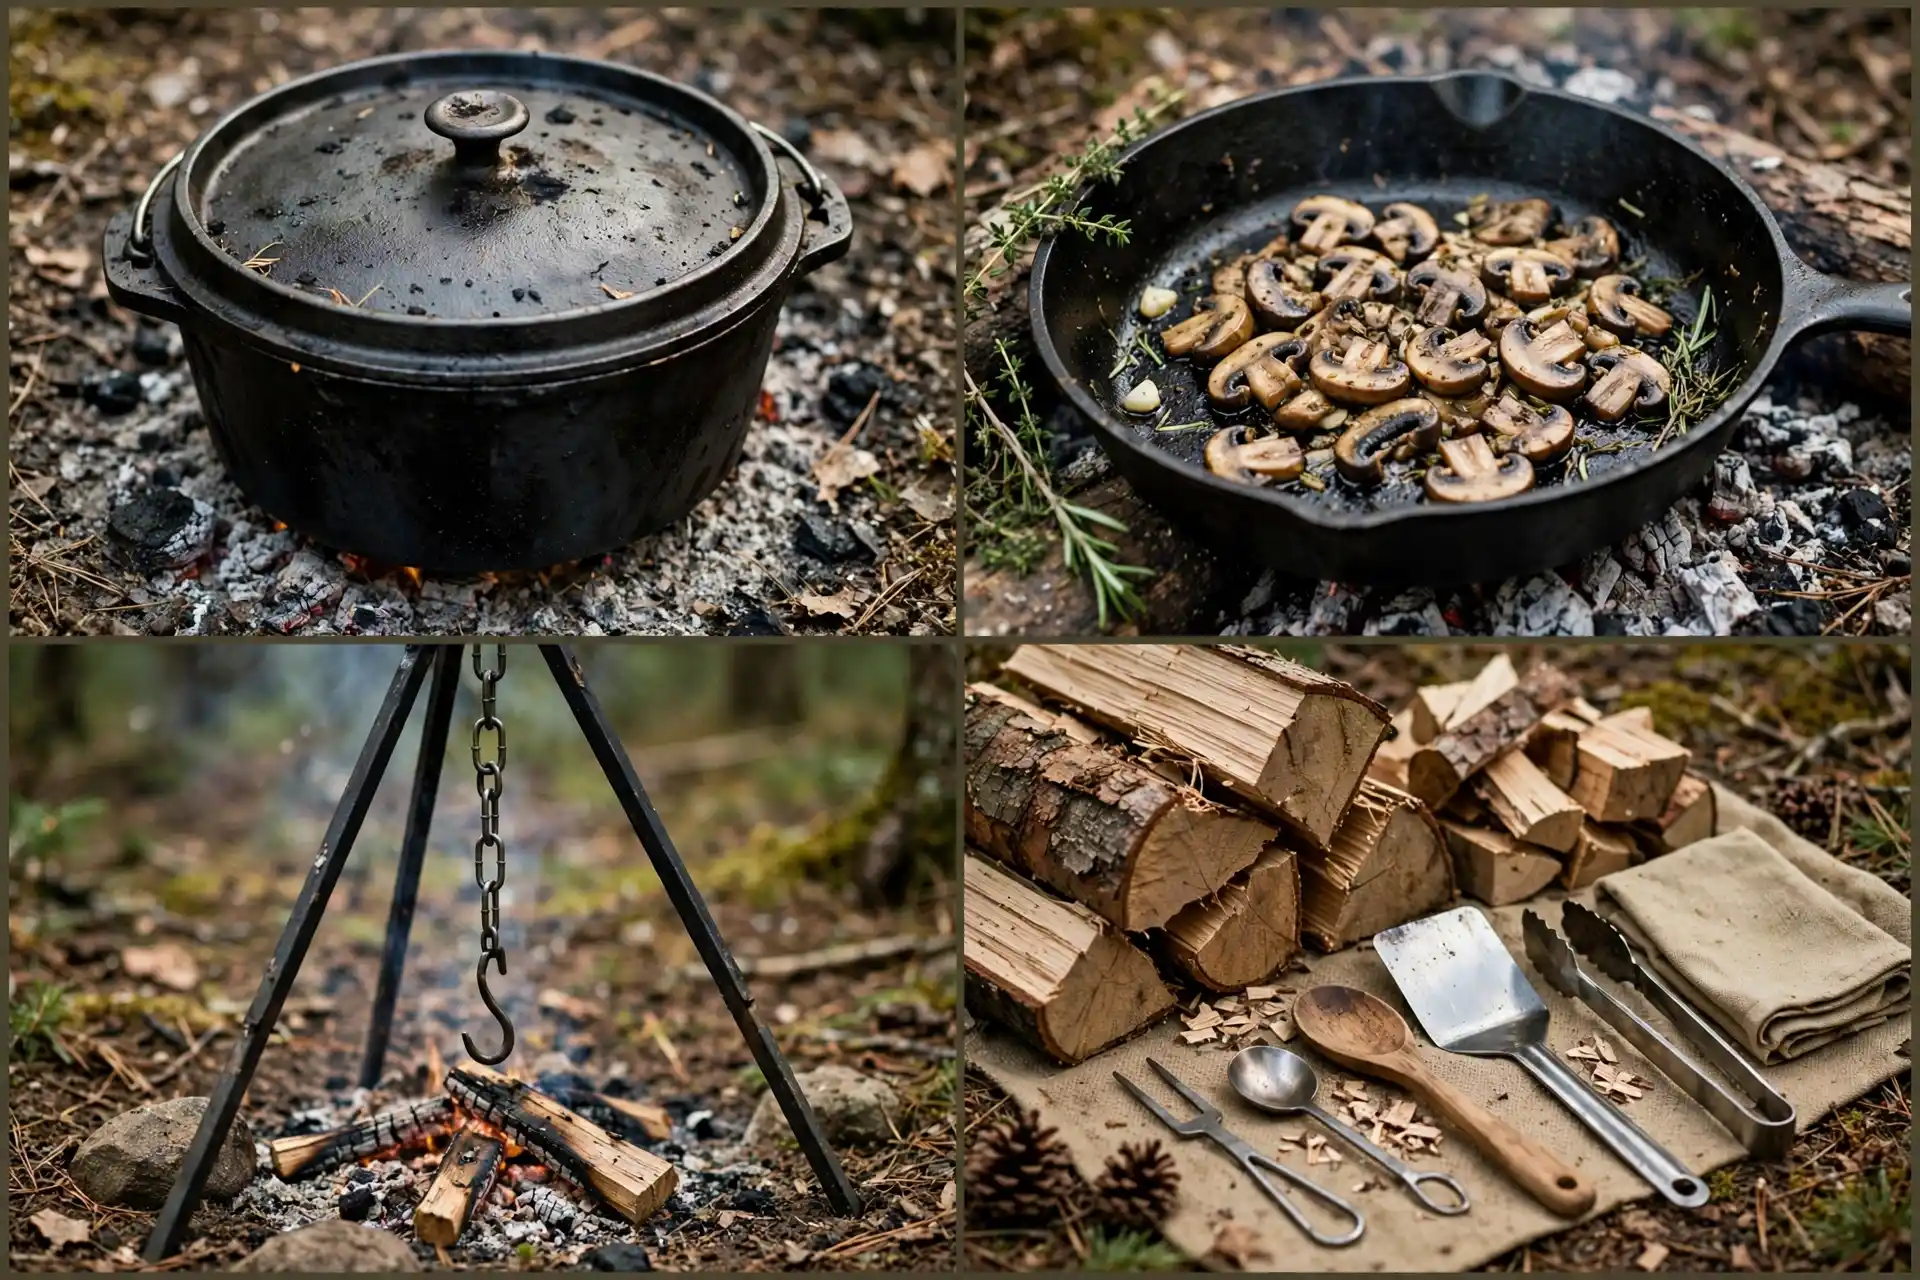
Nothing tastes quite like food cooked over a real fire. A cast-iron kitchen uses a fire ring, a tripod, and heavy pans that hold heat well. Dutch ovens handle stews. Skillets handle breakfast.
Cast iron is heavy, so plan for the weight. Store it low in the rig and close to the door. You will thank yourself at every campsite.
Start the fire early. Good cooking coals take time. While the fire settles, prep your food and set out your tools so you are ready when the coals are.
A tripod lets you raise or lower the pot over the heat. That simple control is the difference between a gentle simmer and a scorched dinner.
Always check fire rules at your site. Some campgrounds ban open fires in dry weather. When fires are banned, a propane fire pit is a fair backup.
Clean cast iron while it is still warm. A quick wipe and a thin coat of oil keep it ready for the next meal.
5. Portable Pizza Oven Corner
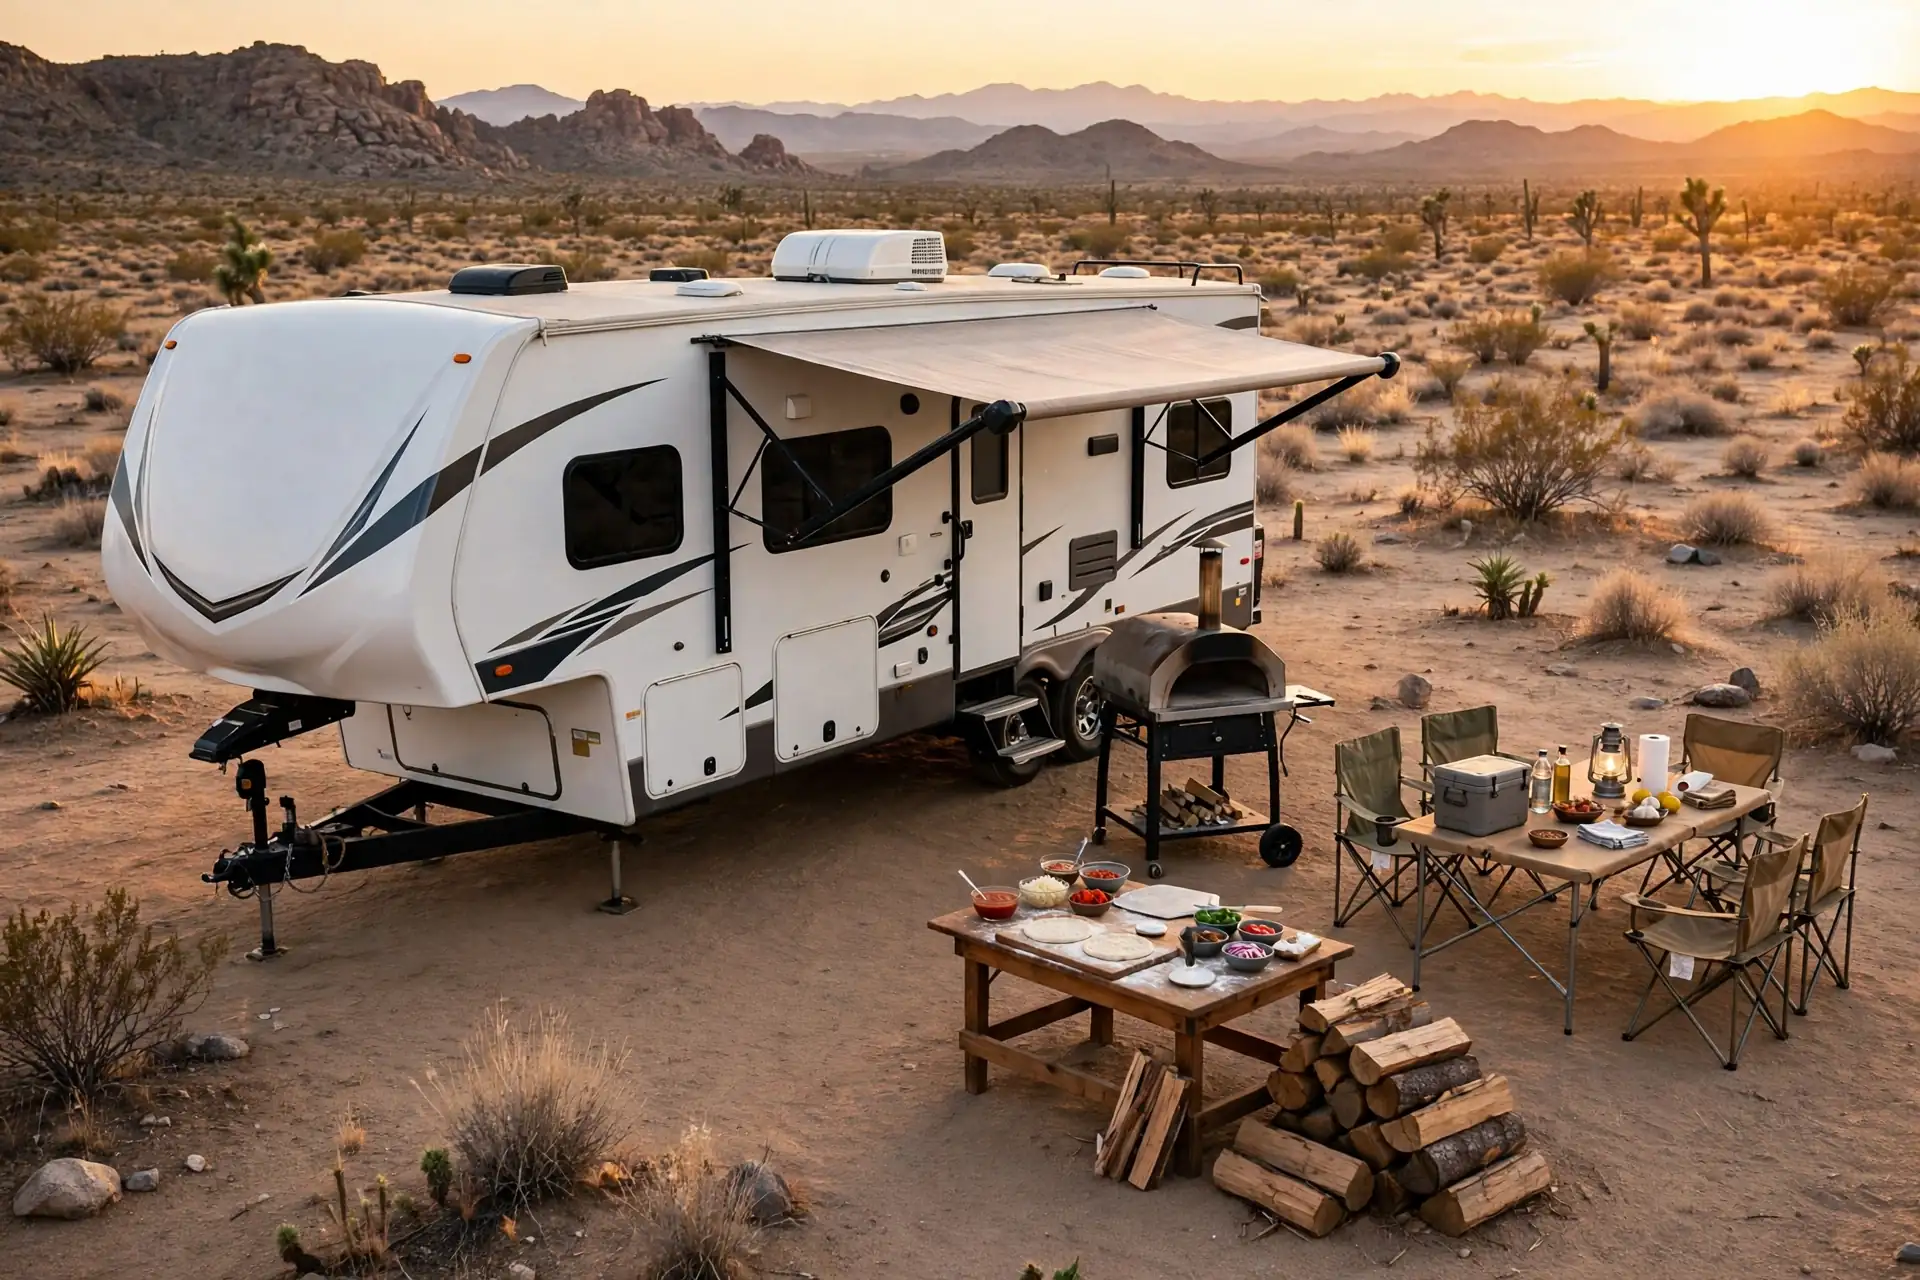
A portable pizza oven turns an ordinary campsite into a pizza night. The oven sits on a sturdy stand, with a prep table for dough and toppings beside it. Wood or gas models both work well.
Heat the oven fully before the first pizza goes in. A hot oven cooks a pizza in just a few minutes. A cool oven makes soggy dough, and nobody wants that.
Prep toppings in small bowls before you start. Once pizzas start cooking, things move fast. You do not want to be chopping peppers while a pizza burns.
Keep the dough covered until you need it. Dry air at a campsite dries dough out quickly, and dry dough tears when you stretch it.
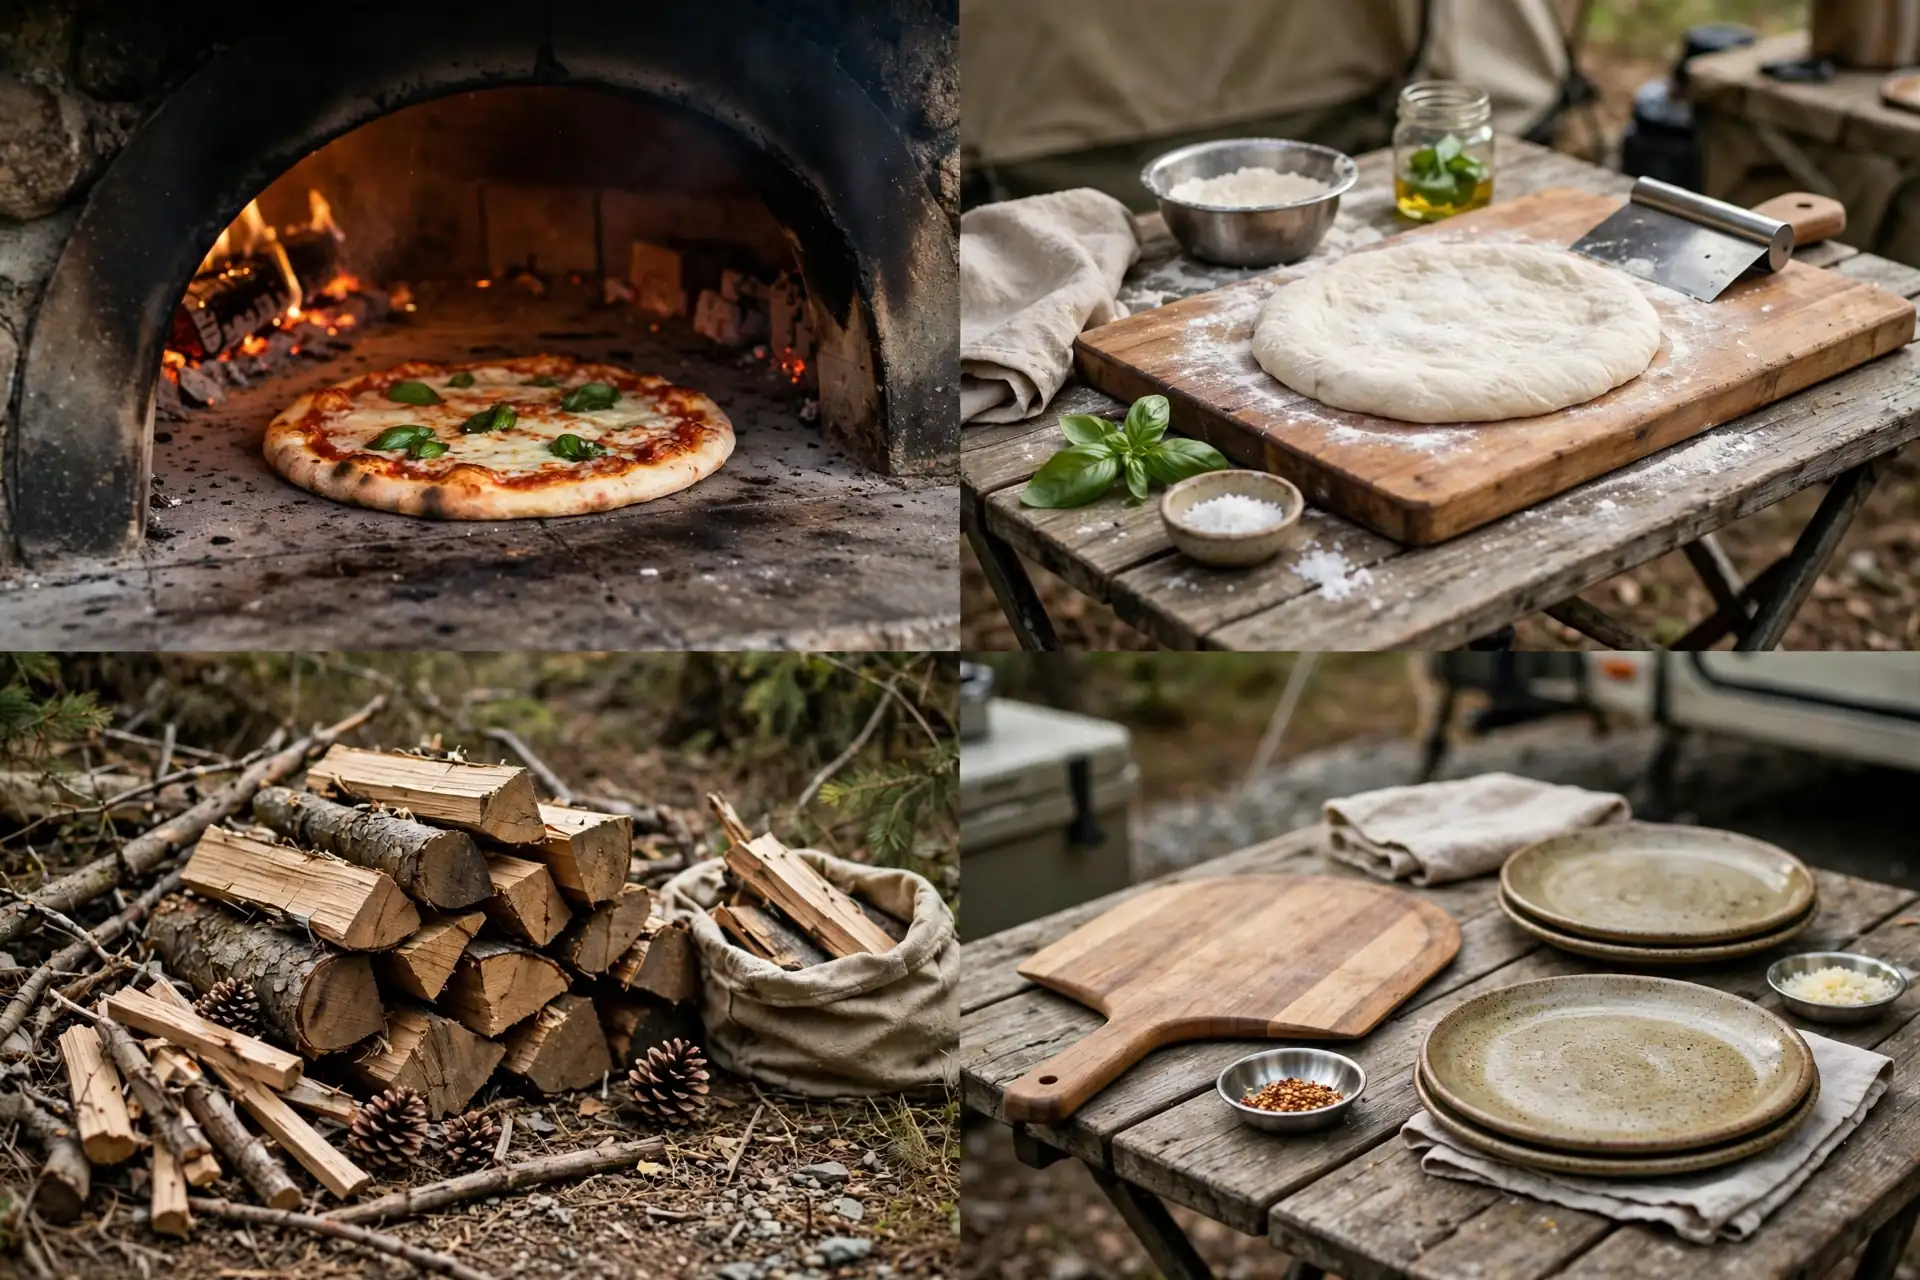
A pizza peel, which is just a flat paddle, moves pizzas in and out safely. Dust it lightly with flour or cornmeal so dough slides off cleanly.
Let kids top their own pizzas. It keeps them busy, and they are far more likely to eat what they made themselves.
6. Flat-Top Griddle Station
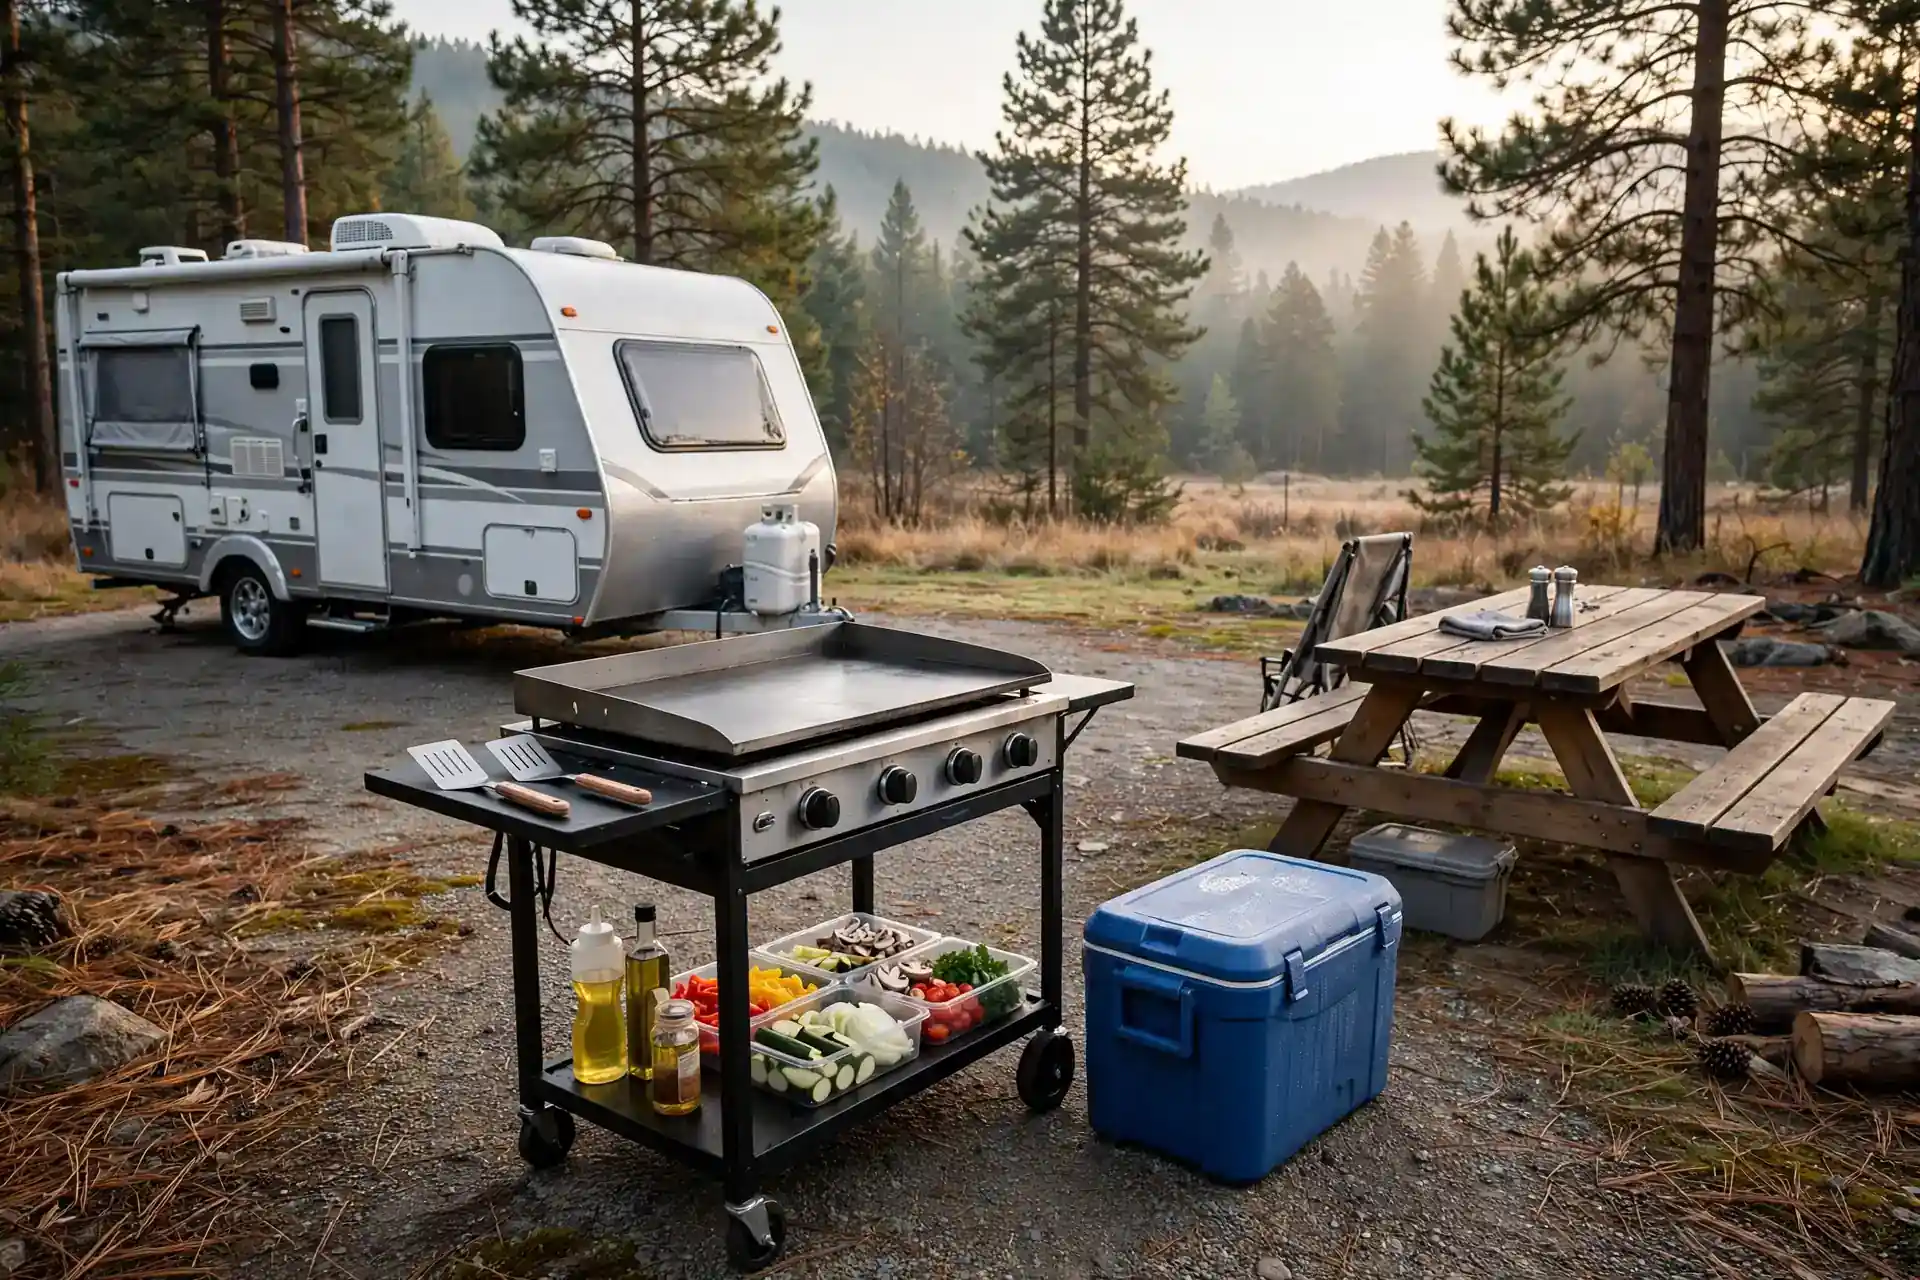
A flat-top griddle is the workhorse of camp cooking. Pancakes, eggs, burgers, stir fry, and grilled sandwiches all cook on one surface. Cleanup is one scrape and one wipe.
Griddles love company. Set a prep table beside the griddle with trays of chopped food ready to go. Cooking in batches keeps the surface hot and the food moving.
Oil matters here. A thin coat before cooking stops sticking. Too much oil makes food greasy, so wipe the surface and add just what you need.
Wind guards help a lot on breezy days. They keep the flame steady and the griddle hot, which means even cooking instead of cold spots.
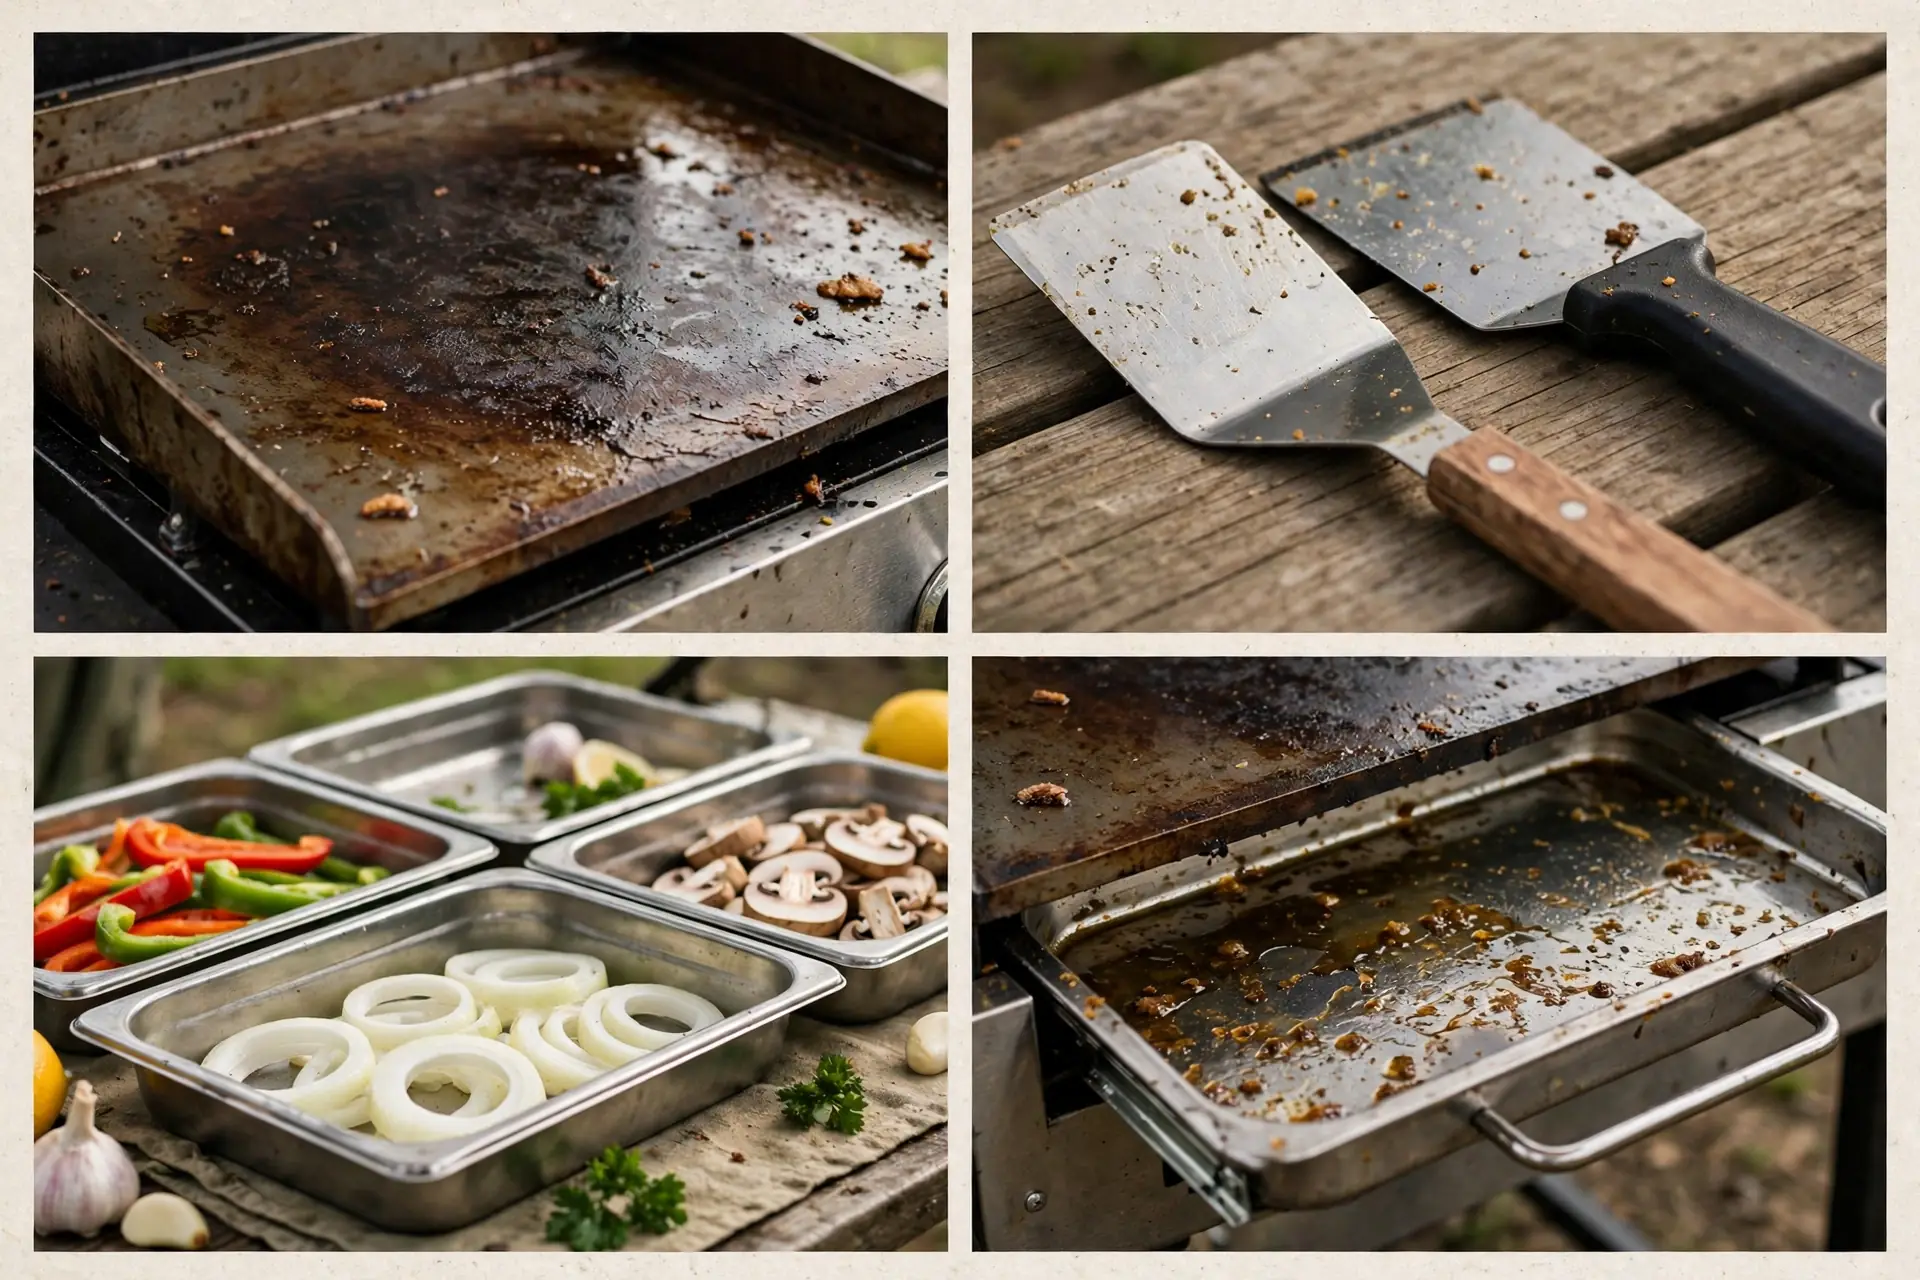
Scrape the griddle while it is still warm. Then wipe it down and oil it lightly before you pack it away. That routine stops rust and keeps the surface smooth.
For breakfast crowds, a griddle beats a small stove every time. You can feed six people without juggling three pans.
7. Classic Chuck Box Kitchen
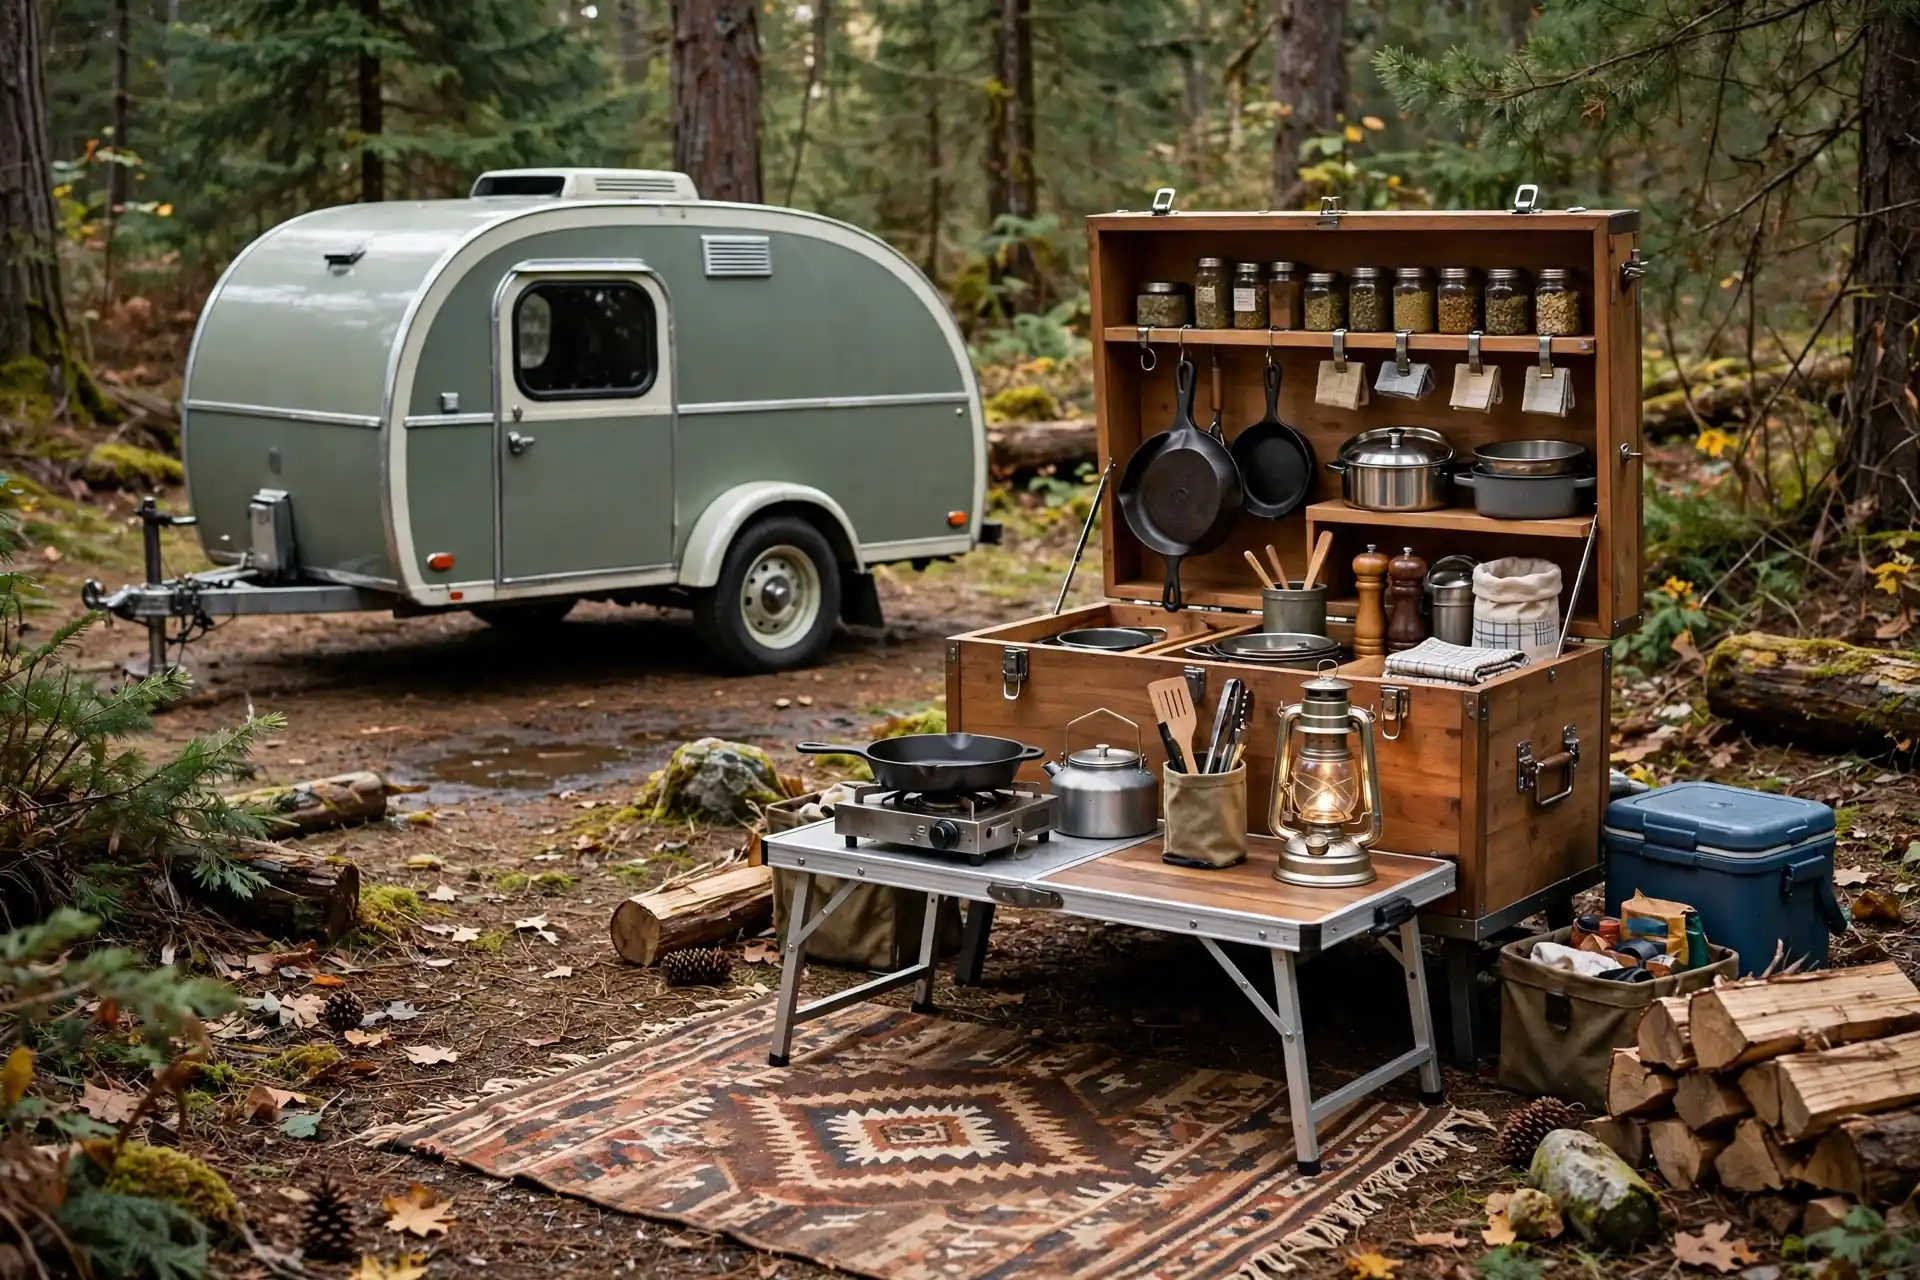
A chuck box is a wooden box that opens into a full kitchen. Shelves hold spices, pots, and tools. A small stove sits on a table beside it. When you leave, everything folds back inside.
Chuck boxes have been around for decades for a good reason. They keep your kitchen in one place. You never hunt for a missing spatula, because it lives in the box.
Build or buy one that fits your gear. Measure your tallest pot before you commit. A box that cannot close is just a heavy shelf.
Keep the box near the cooking area, not inside the rig. Carrying it back and forth every meal gets old fast. One trip out, one trip back.
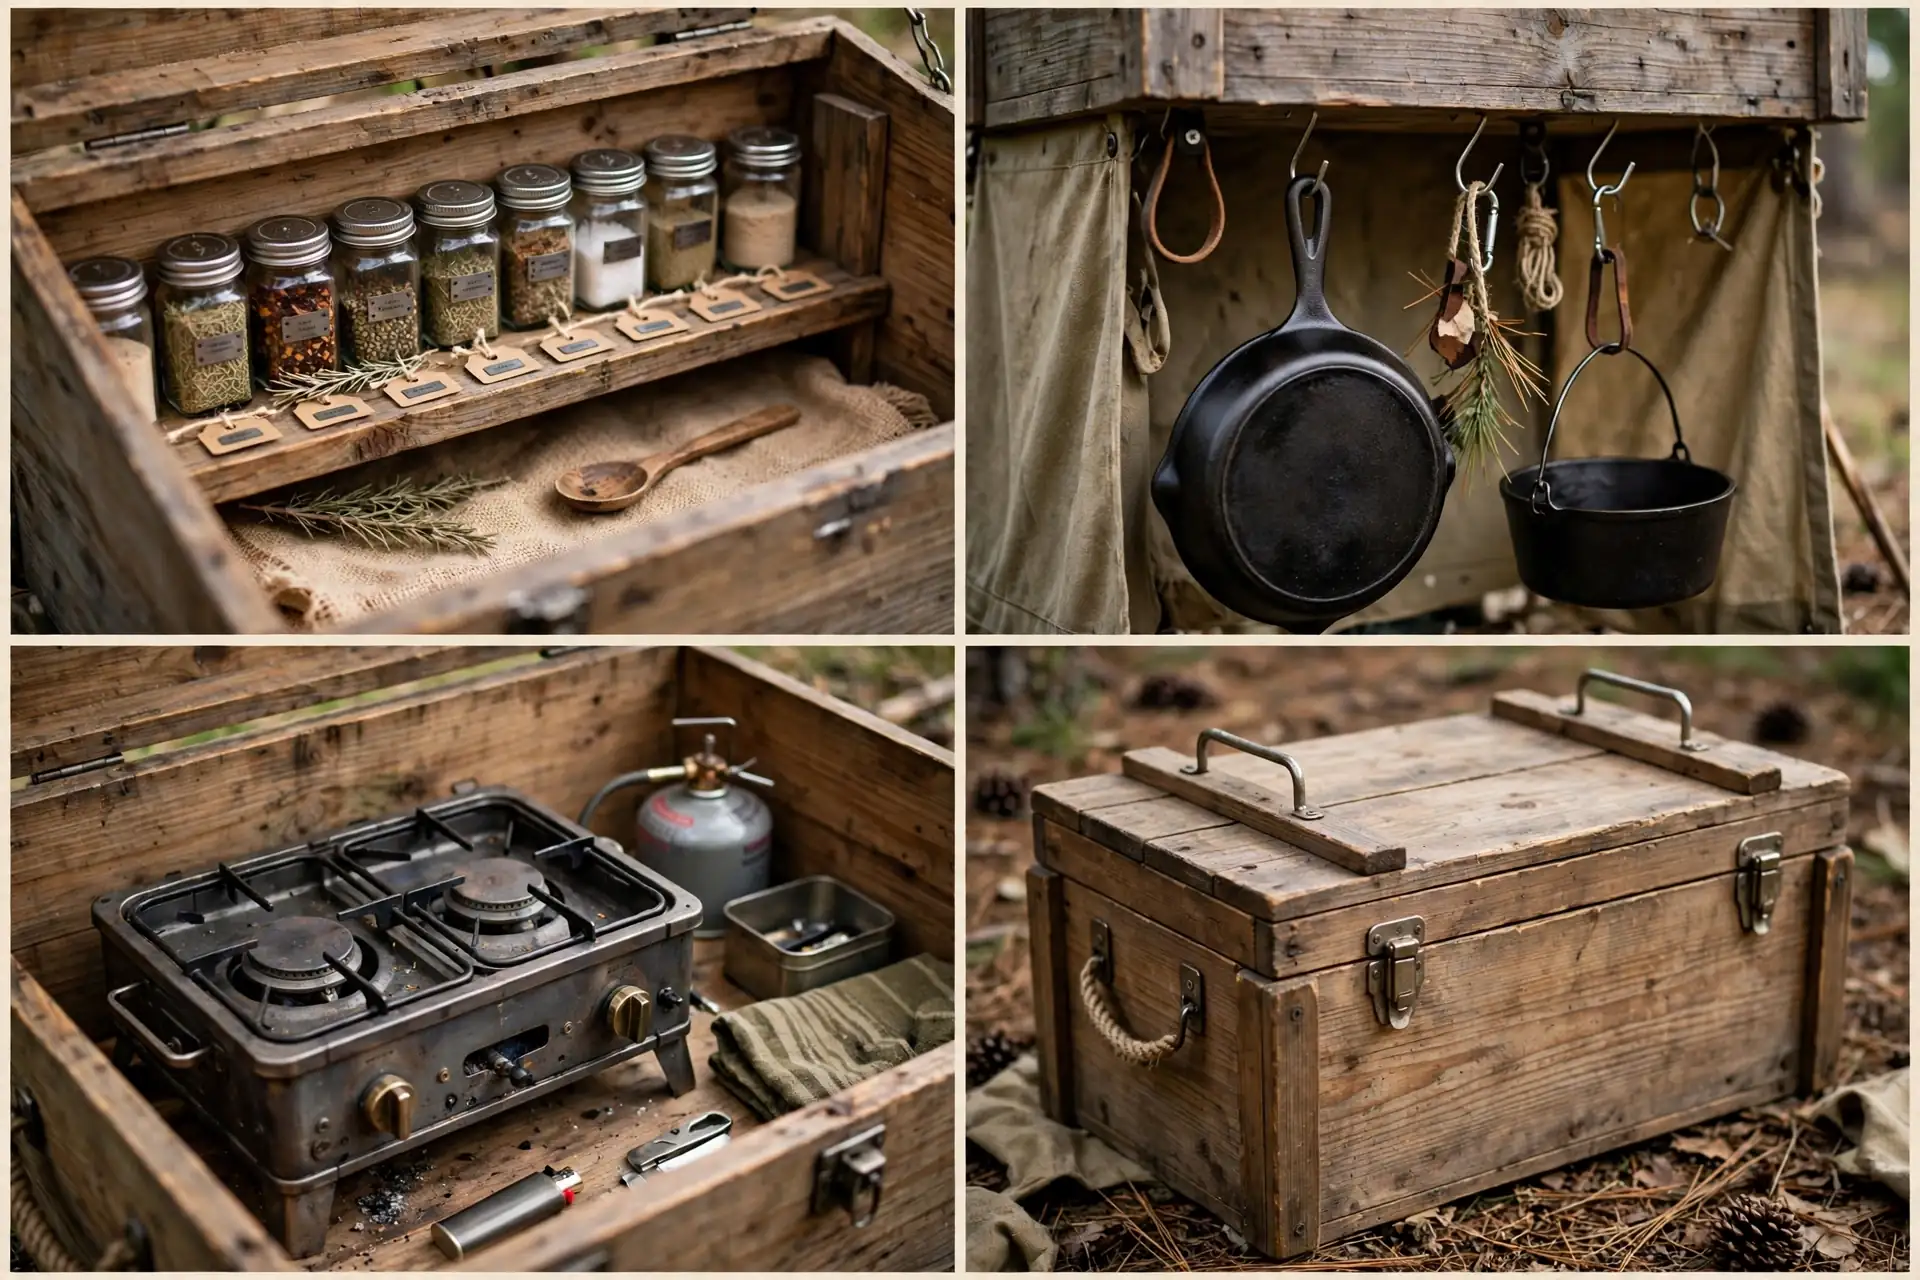
A lantern hung above the box lights the shelves after dark. That small touch makes evening cooking far easier than cooking by headlamp alone.
This setup suits campers who love simple, old-style camping. It is sturdy, quiet, and needs no power at all.
8. Outdoor Sink and Prep Counter
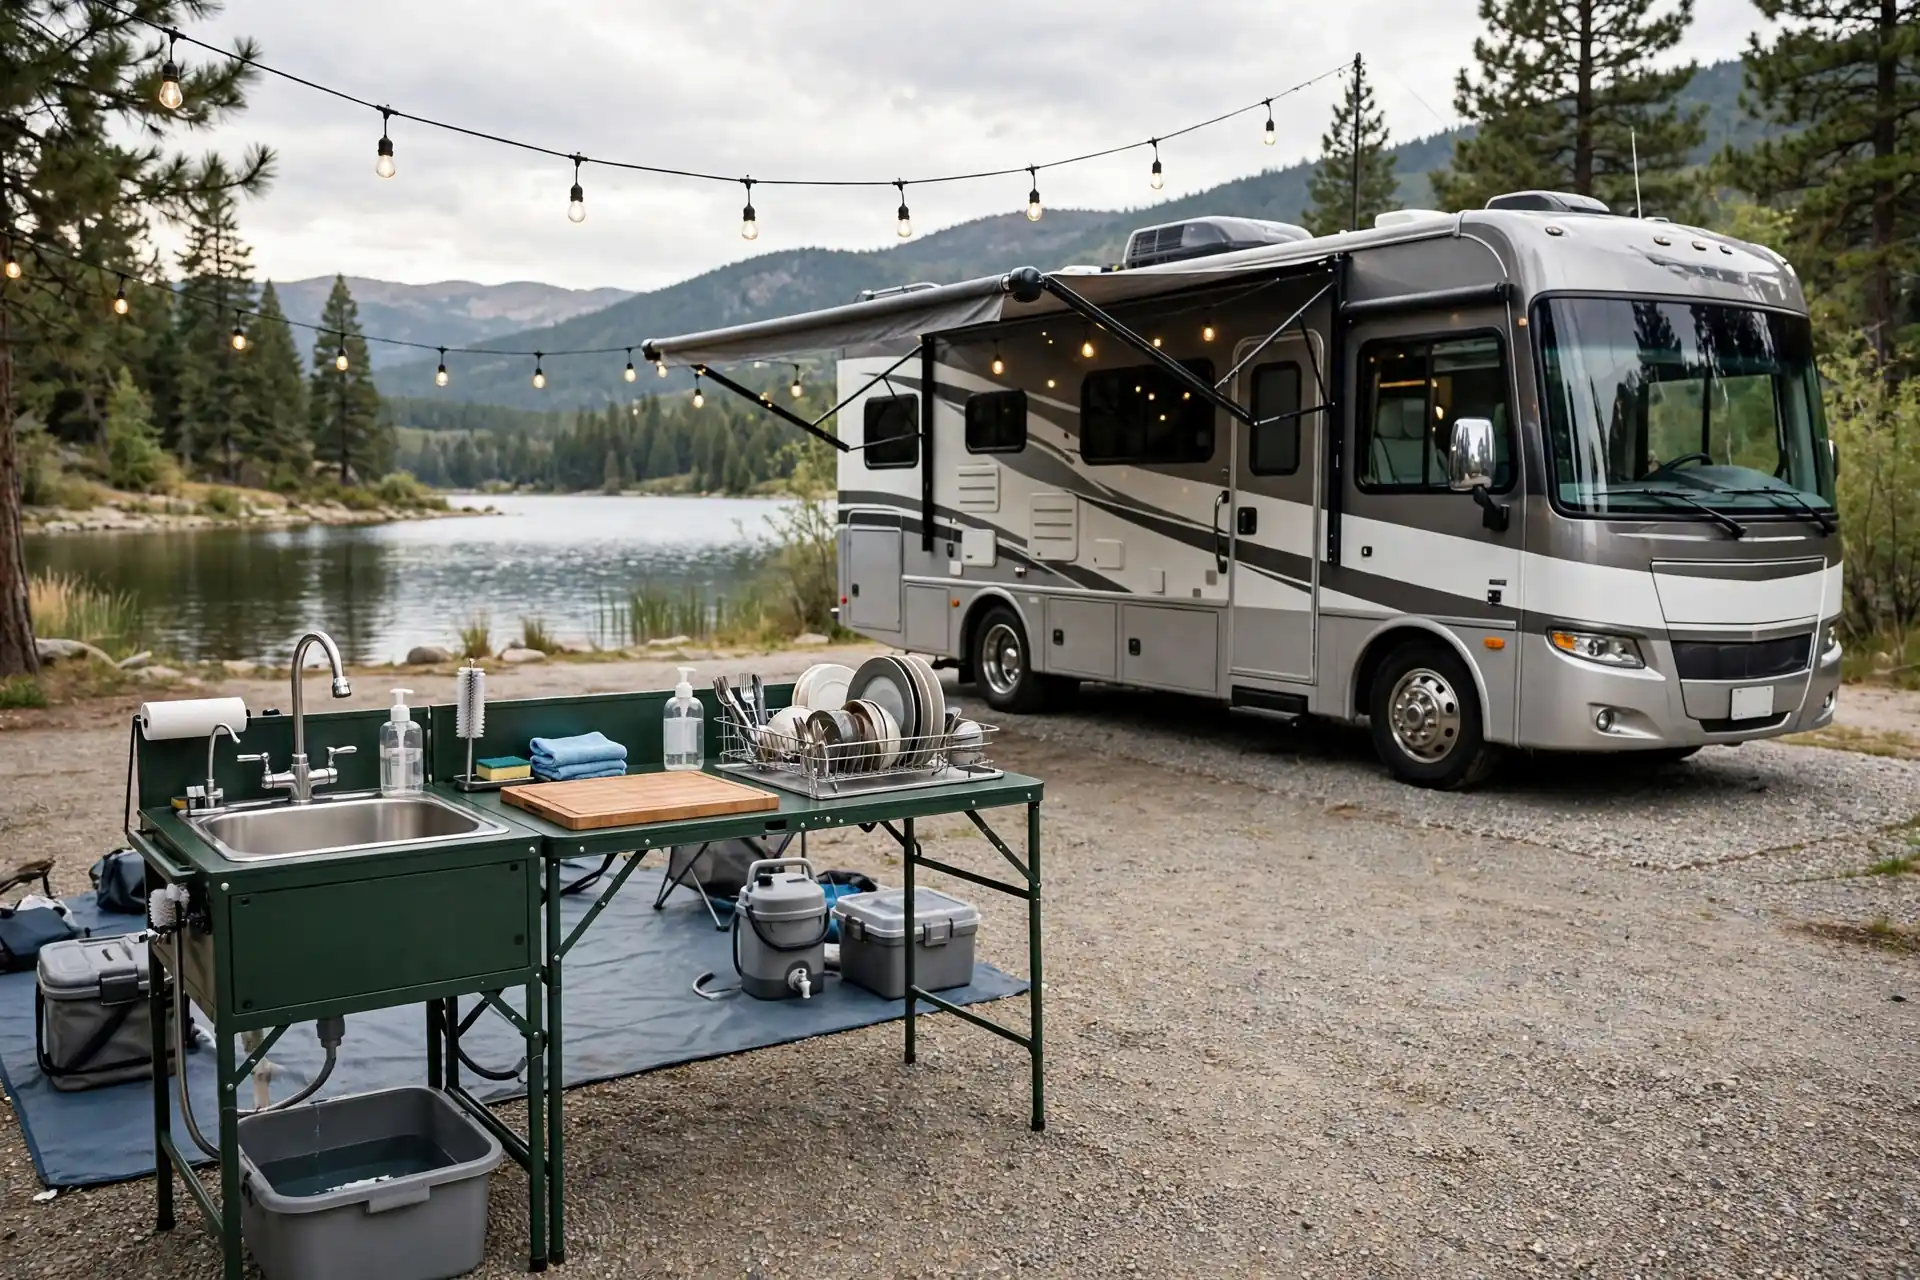
Washing up is the least fun part of camp cooking. An outdoor sink station makes it bearable. A portable sink, a drain bucket, and a dish rack turn a chore into a five minute job.
Place the sink near the prep counter, not far away. Short trips with wet dishes mean fewer drips and fewer dropped plates.
Use two bins if you have room. One holds soapy water for washing. The other holds clean water for rinsing. That simple split keeps dishes cleaner with less water.
A folding counter beside the sink gives you space to stack clean dishes. Let them air dry in the sun while you get on with your evening.
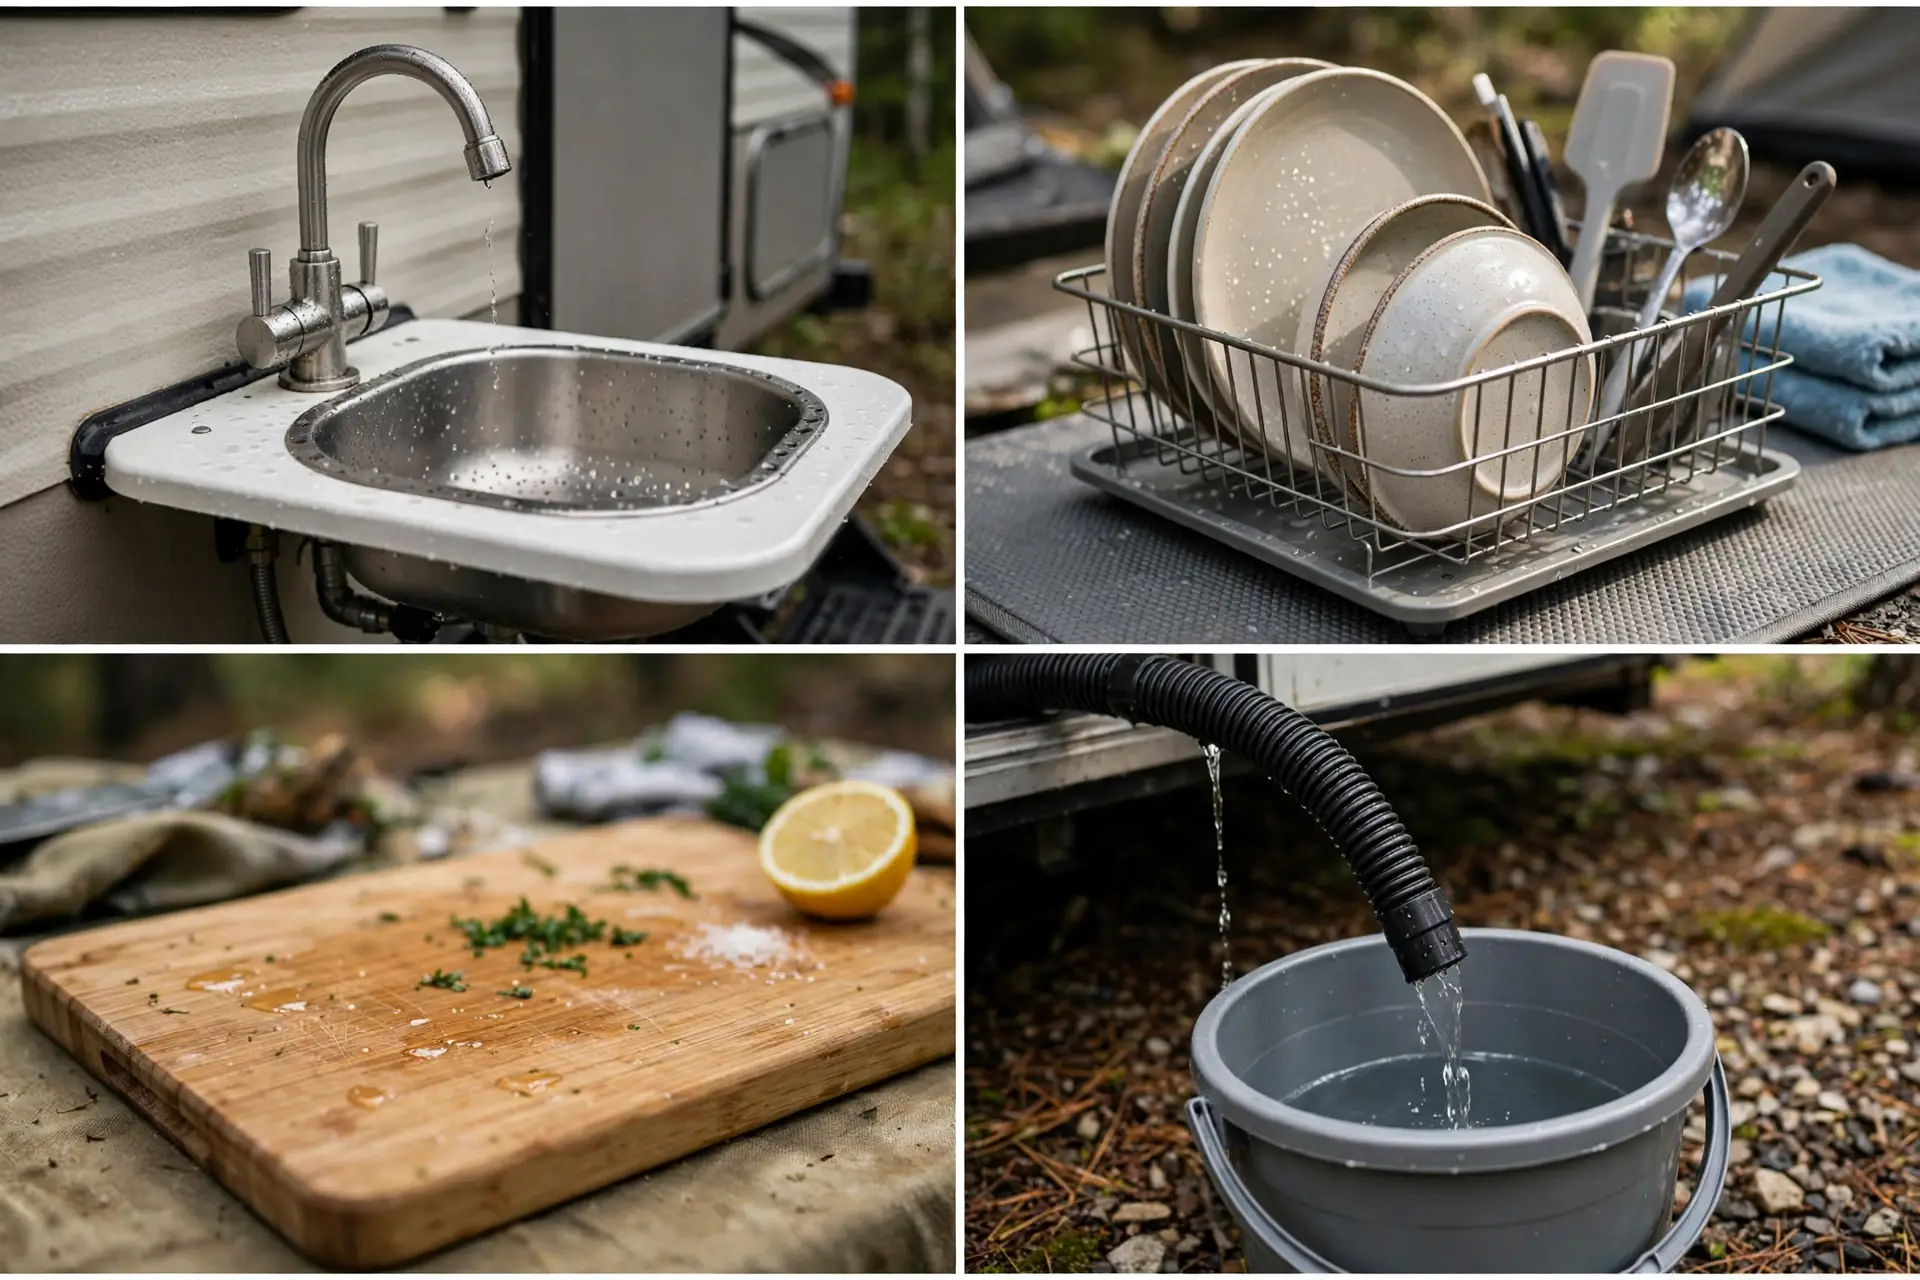
Empty the drain bucket away from the campsite and water sources. Follow campground rules for grey water, which is just used wash water, at every site.
This station pays for itself on longer stays. Daily washing without a sink gets tiring by day three.
9. Shade Sail Chef’s Corner
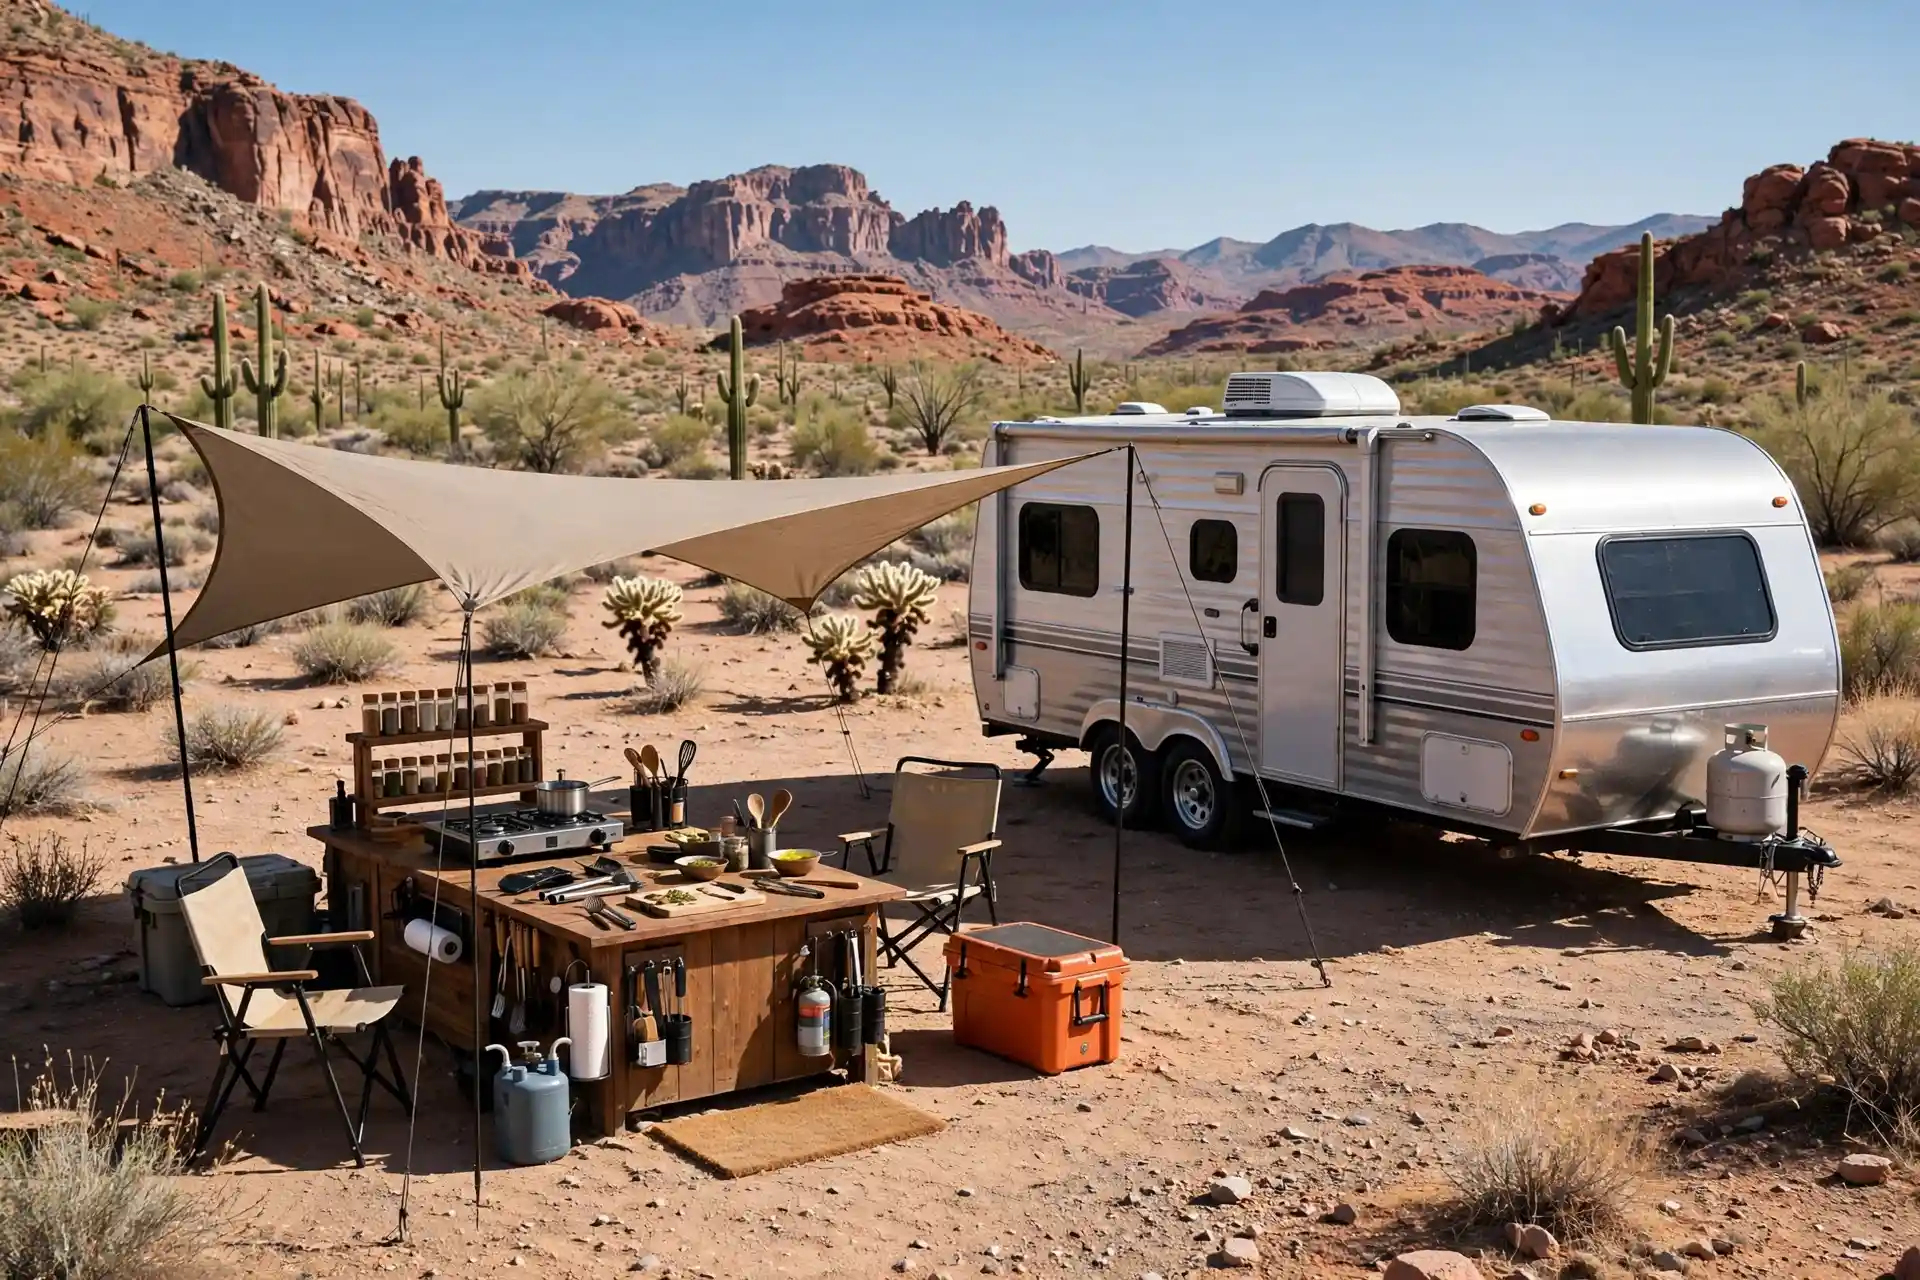
Desert and open sites have little natural shade. A shade sail fixes that. Three anchor points and a triangle of fabric create a cool cooking corner in minutes.
Anchor the sail high on one side and low on the other. The slope lets rain run off instead of pooling in the middle. A pooled sail sags, drips, and can tear.
Put the prep island under the deepest shade. Keep the stove near the edge, where heat and smoke escape easily. Nobody wants to cook in a hot pocket of trapped air.
A cooler in the shade stays cold far longer than one in the sun. That alone can save you a bag of ice on a hot day.
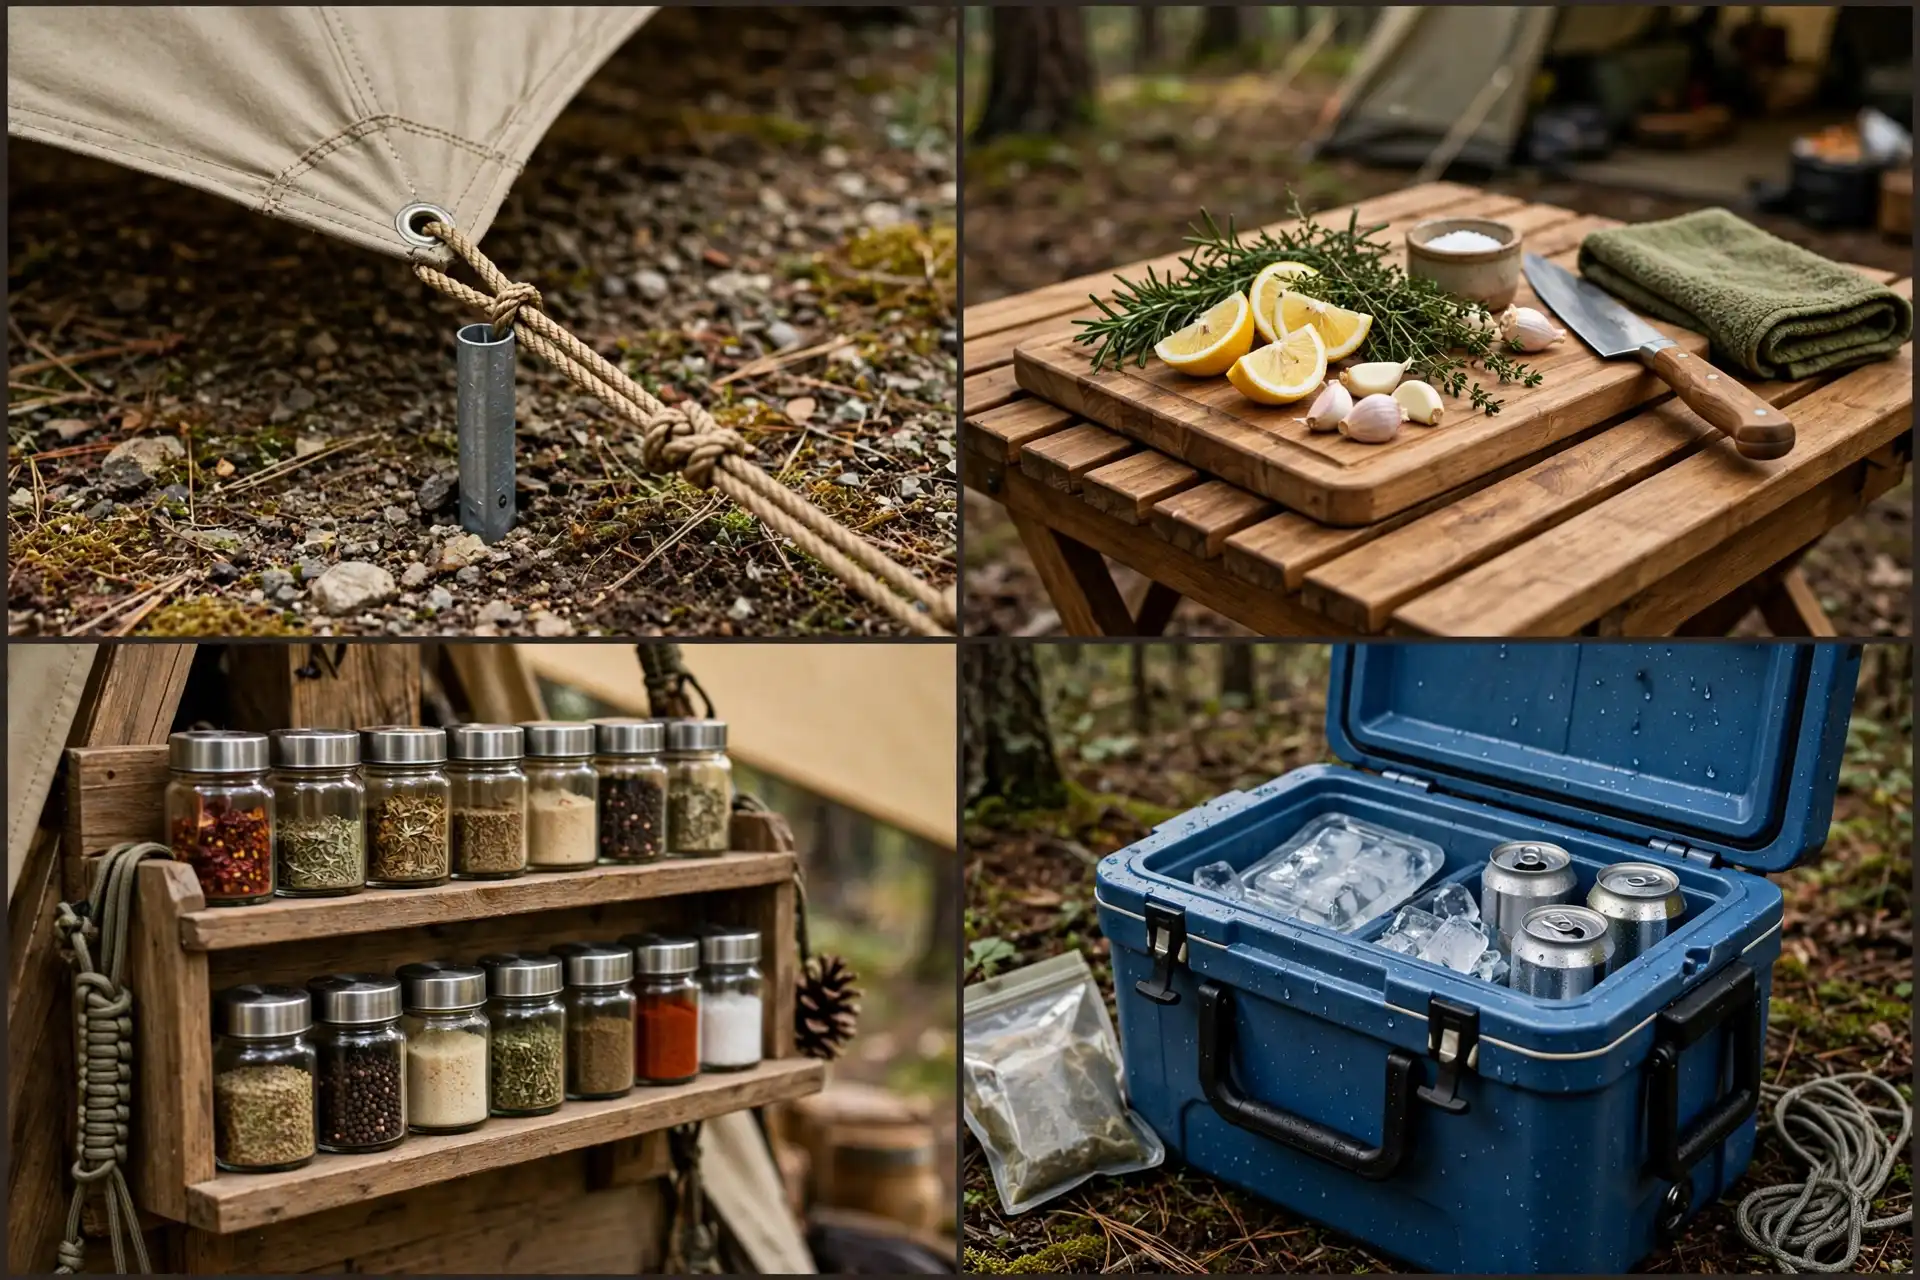
Check your anchors before every use. Soft ground needs longer stakes. Rocky ground may need sandbags or a tie to the rig itself.
Shade sails pack small and weigh little. They are one of the best value upgrades for sunny camp cooking.
10. Two-Burner Stove and Cooler Pantry
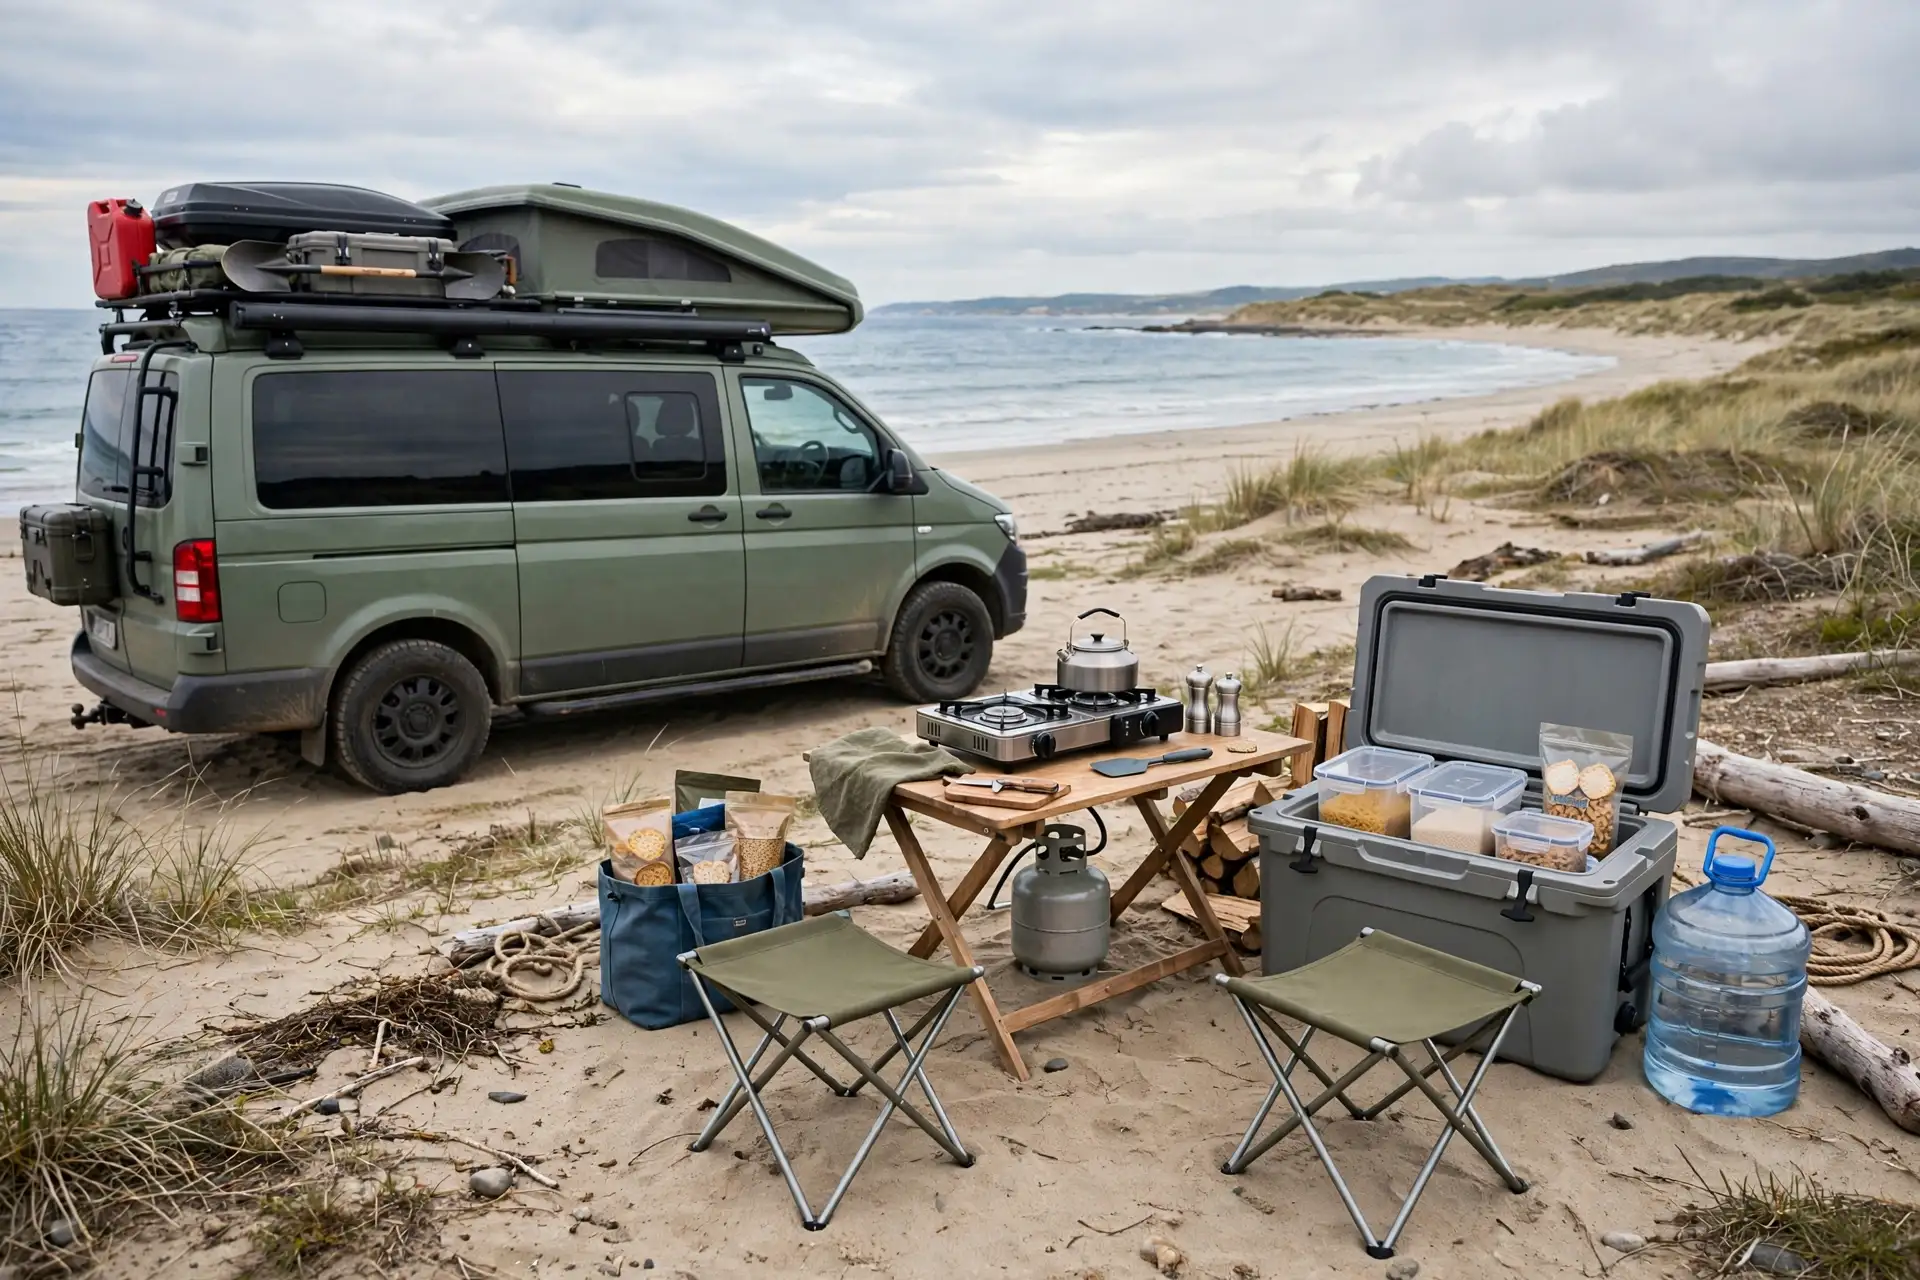
Sometimes the simplest setup wins. A two-burner camp stove on a table, plus a big cooler as your pantry, covers most camp meals. No gadgets, no fuss.
Treat the cooler like a pantry, not just an ice box. Dry bins inside hold rice, pasta, spices, and snacks. Cold food sits below, in the coldest part.
Plan meals around one pot or one pan when you can. Fewer dishes mean less washing, and less washing means more time by the fire.
A water jug with a tap is the quiet hero here. It gives you water for cooking and washing without a trip to the campground tap every hour.
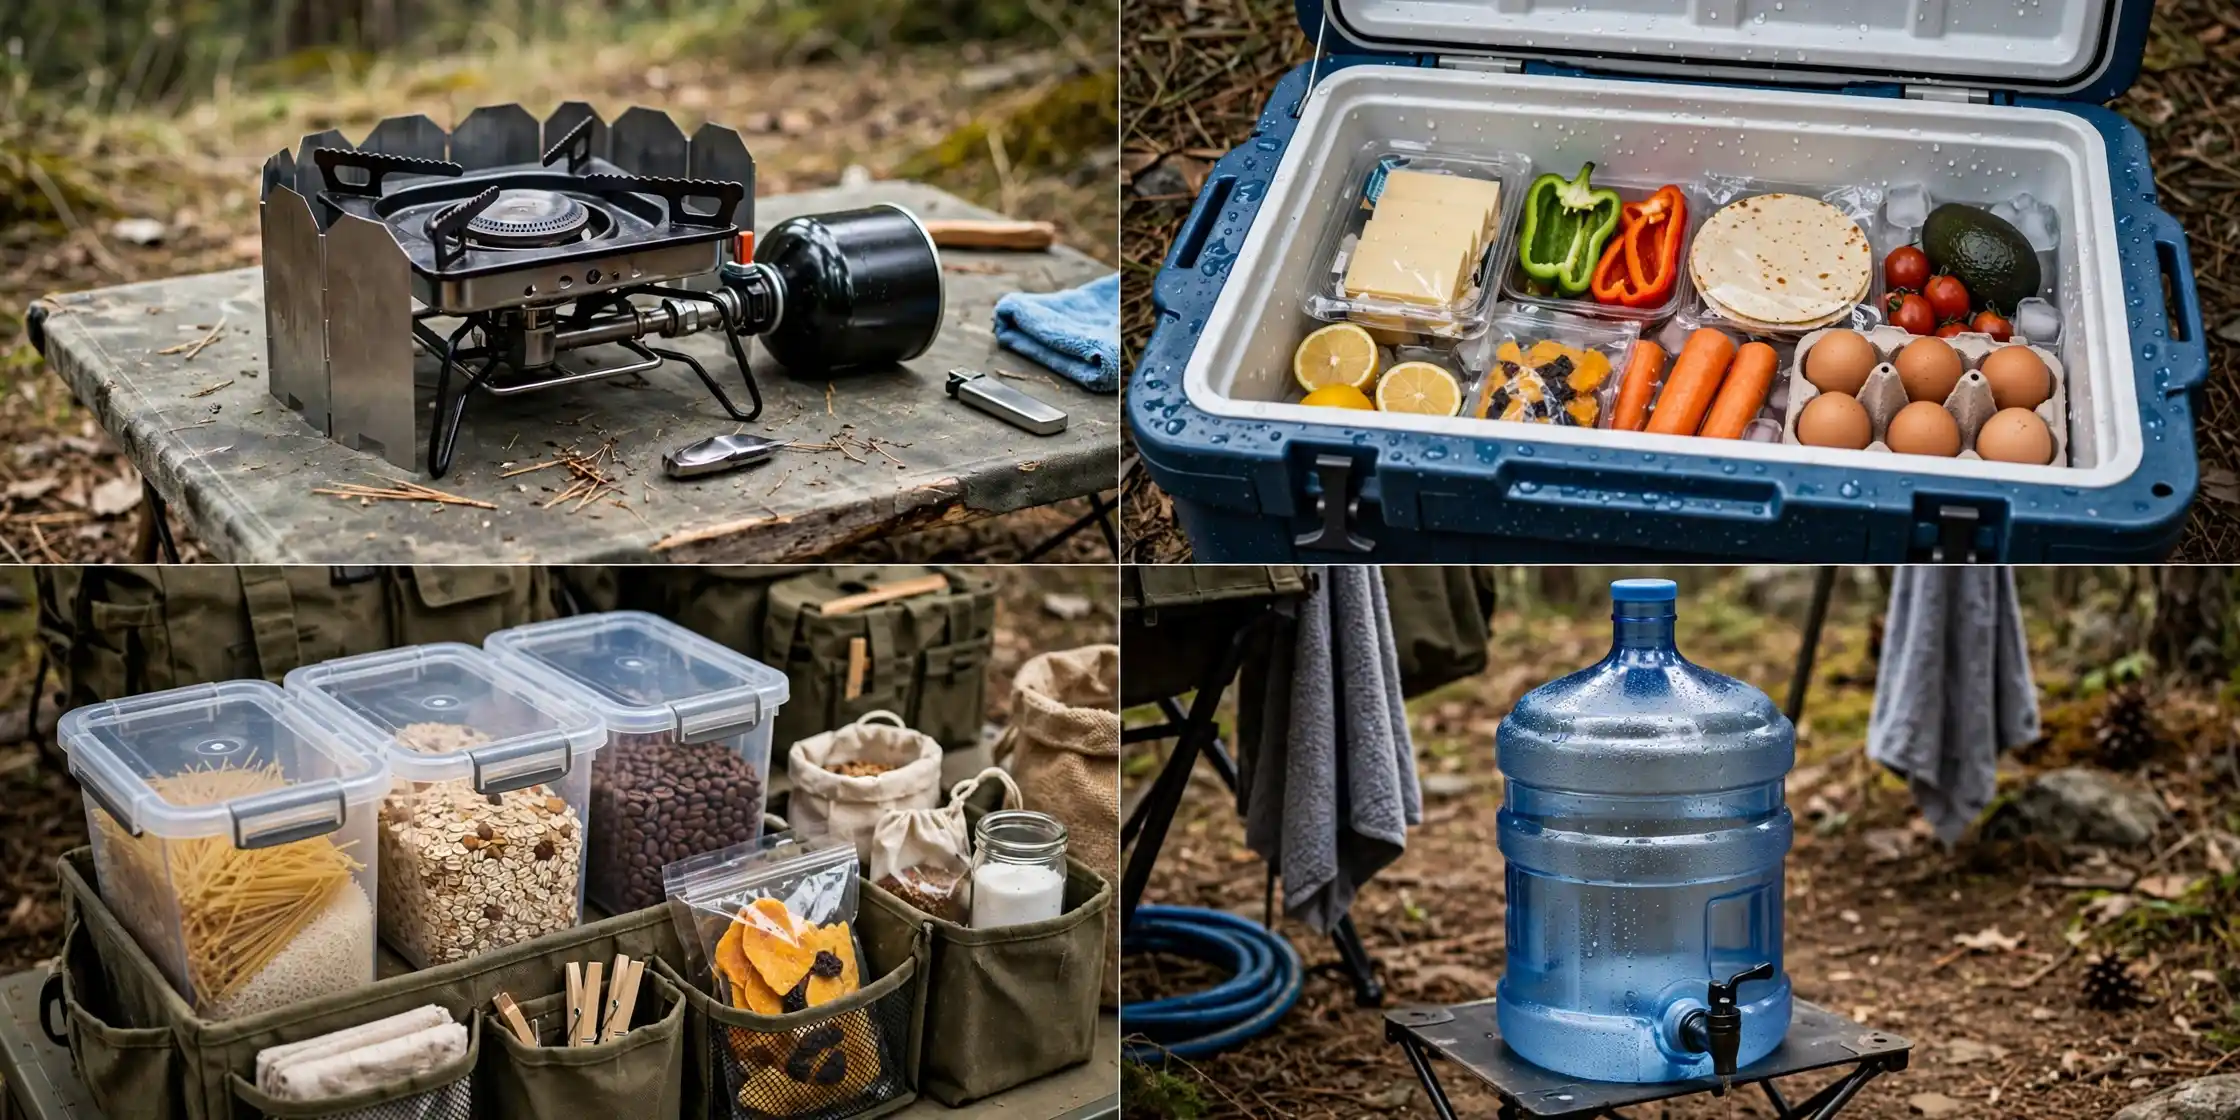
Keep the stove level. A tilted stove cooks unevenly and can spill hot food. A small folding table with adjustable legs solves most uneven ground.
This setup is cheap, light, and easy to replace. It is a great starting point for new RV campers.
11. Smoker and Barbecue Pit Corner
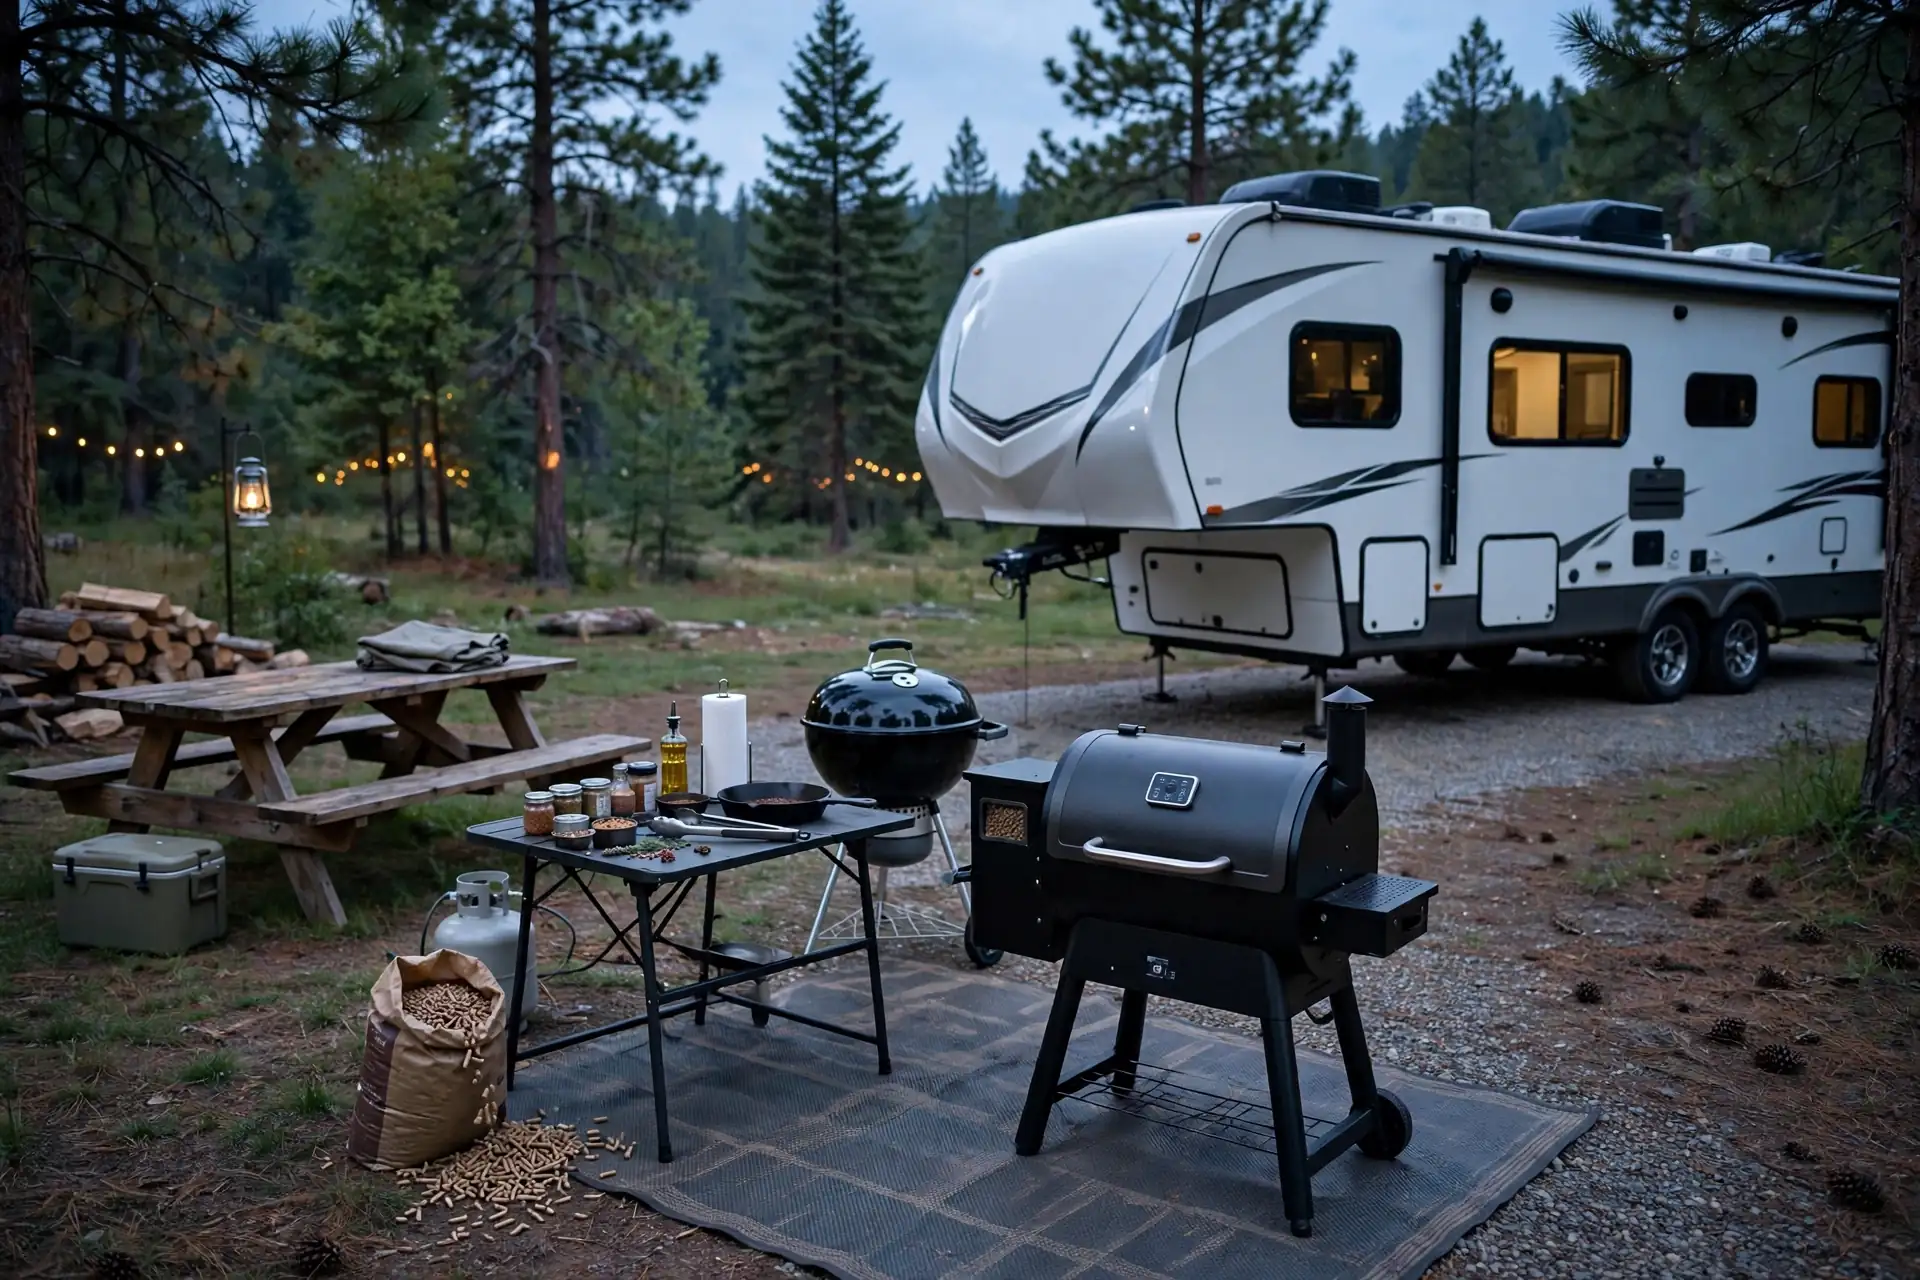
Smoking meat at a campsite takes patience, but the payoff is huge. A pellet smoker or small charcoal smoker sits on a patio mat, with a prep table for rubs and tools beside it.
Smoking is slow cooking. Plan for hours, not minutes. Start early in the day, and let the smoker do its work while you relax.
Keep a simple log of times and temperatures. It sounds fussy, but it helps you repeat a great result instead of guessing next time.
A meat thermometer is not optional here. Guessing when meat is done risks both dry food and unsafe food. Check the thickest part, away from bone.
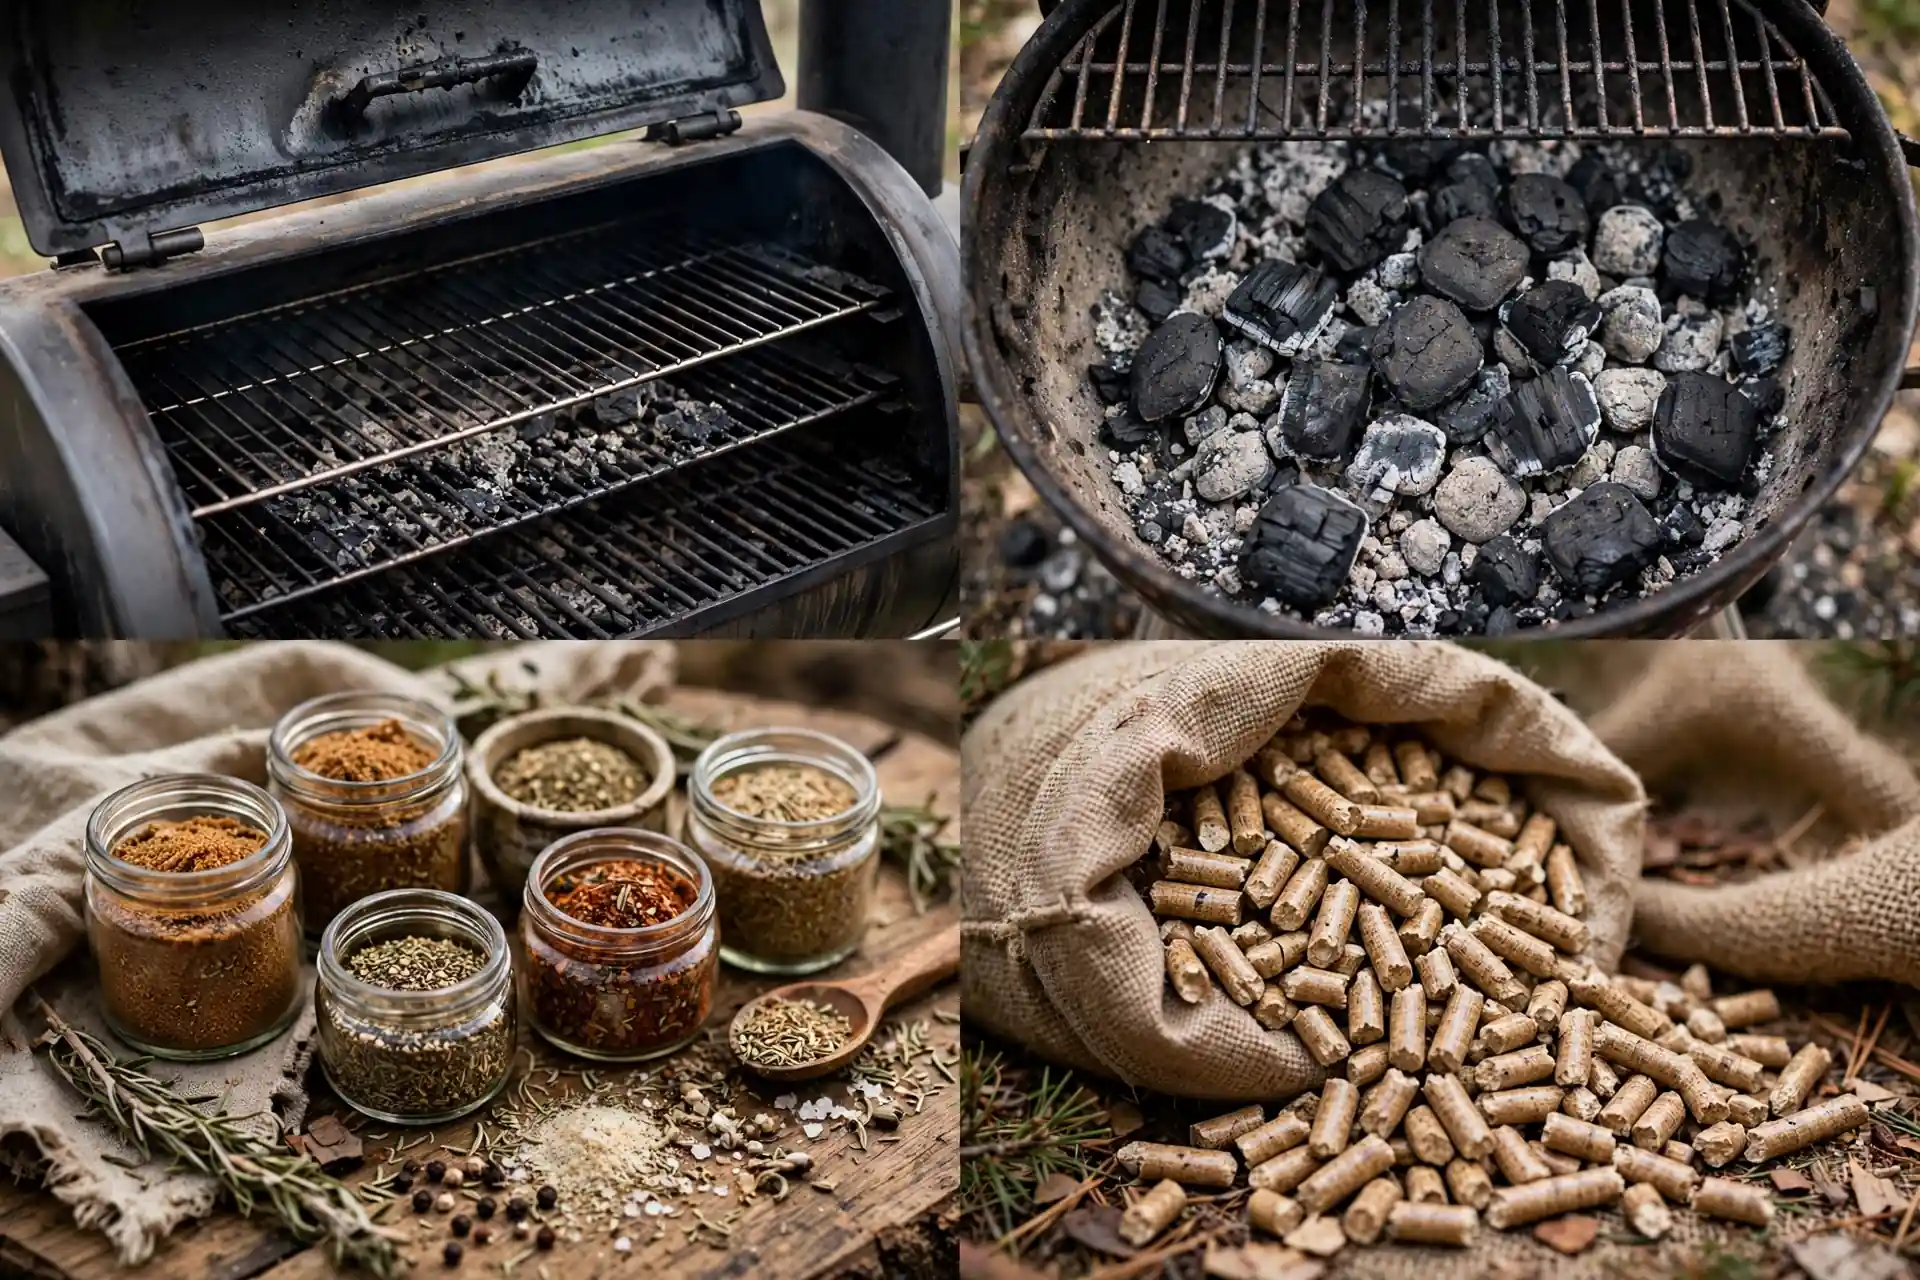
Wind affects smokers more than most cooks expect. A windbreak, even a simple folding screen, keeps temperatures steady on breezy days.
Smoked food also makes great leftovers. Slice it, cool it fast, and you have sandwiches for the next day’s lunch.
12. Outdoor Breakfast Nook and Coffee Bar
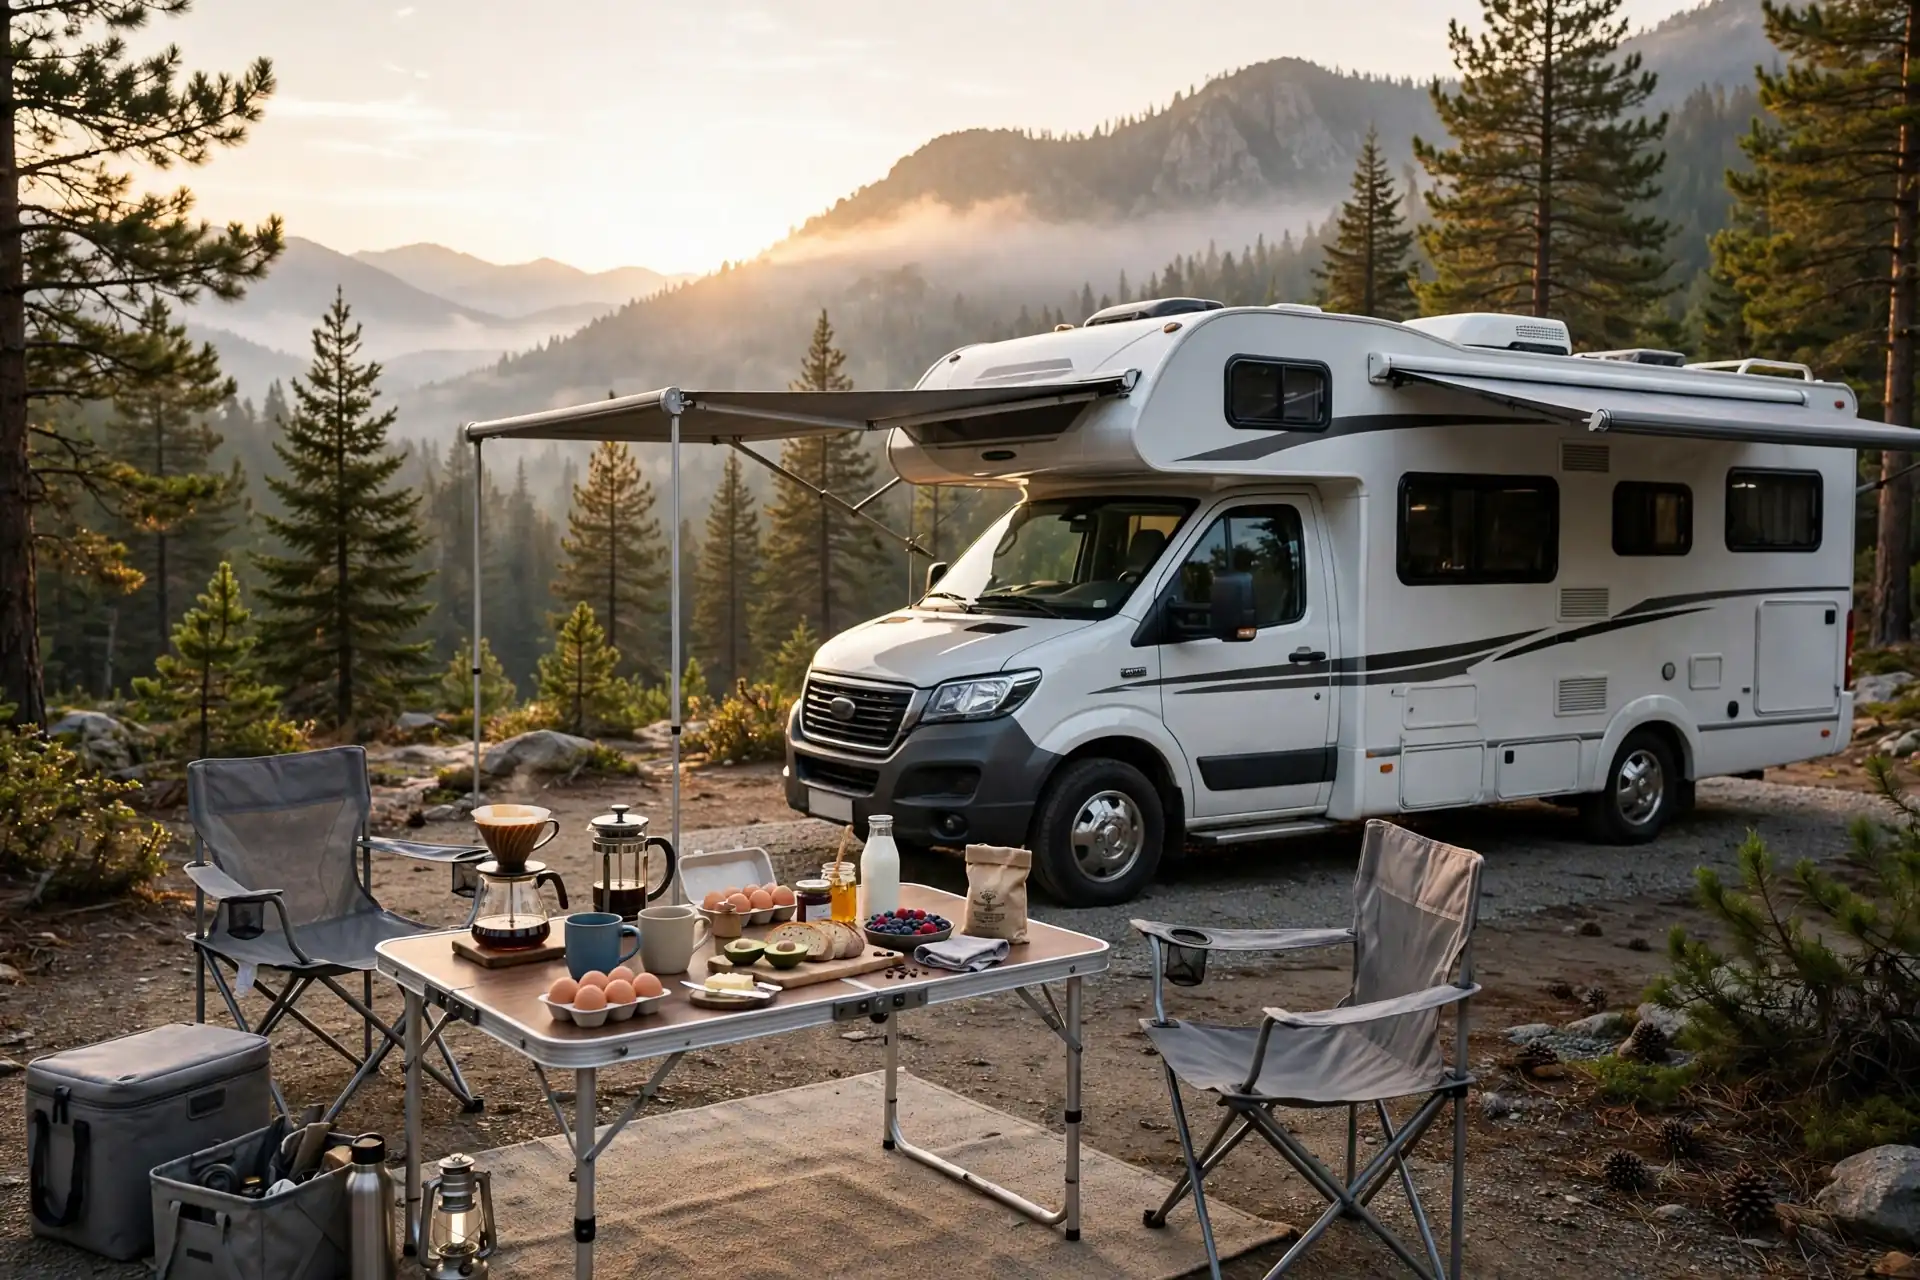
Slow mornings deserve their own setup. A breakfast nook is a small table with a coffee maker, mugs, and breakfast food, set where the morning sun hits first.
Coffee gear can be as simple or fancy as you like. A pour-over dripper needs no power. A French press needs only hot water. Both make excellent camp coffee.
Prep breakfast the night before when you can. Overnight oats, chopped fruit, and pancake batter in a sealed jar save precious morning time.
Keep mugs in a small basket so they do not roll off the table. A basket also makes carrying everything out in one trip easy.
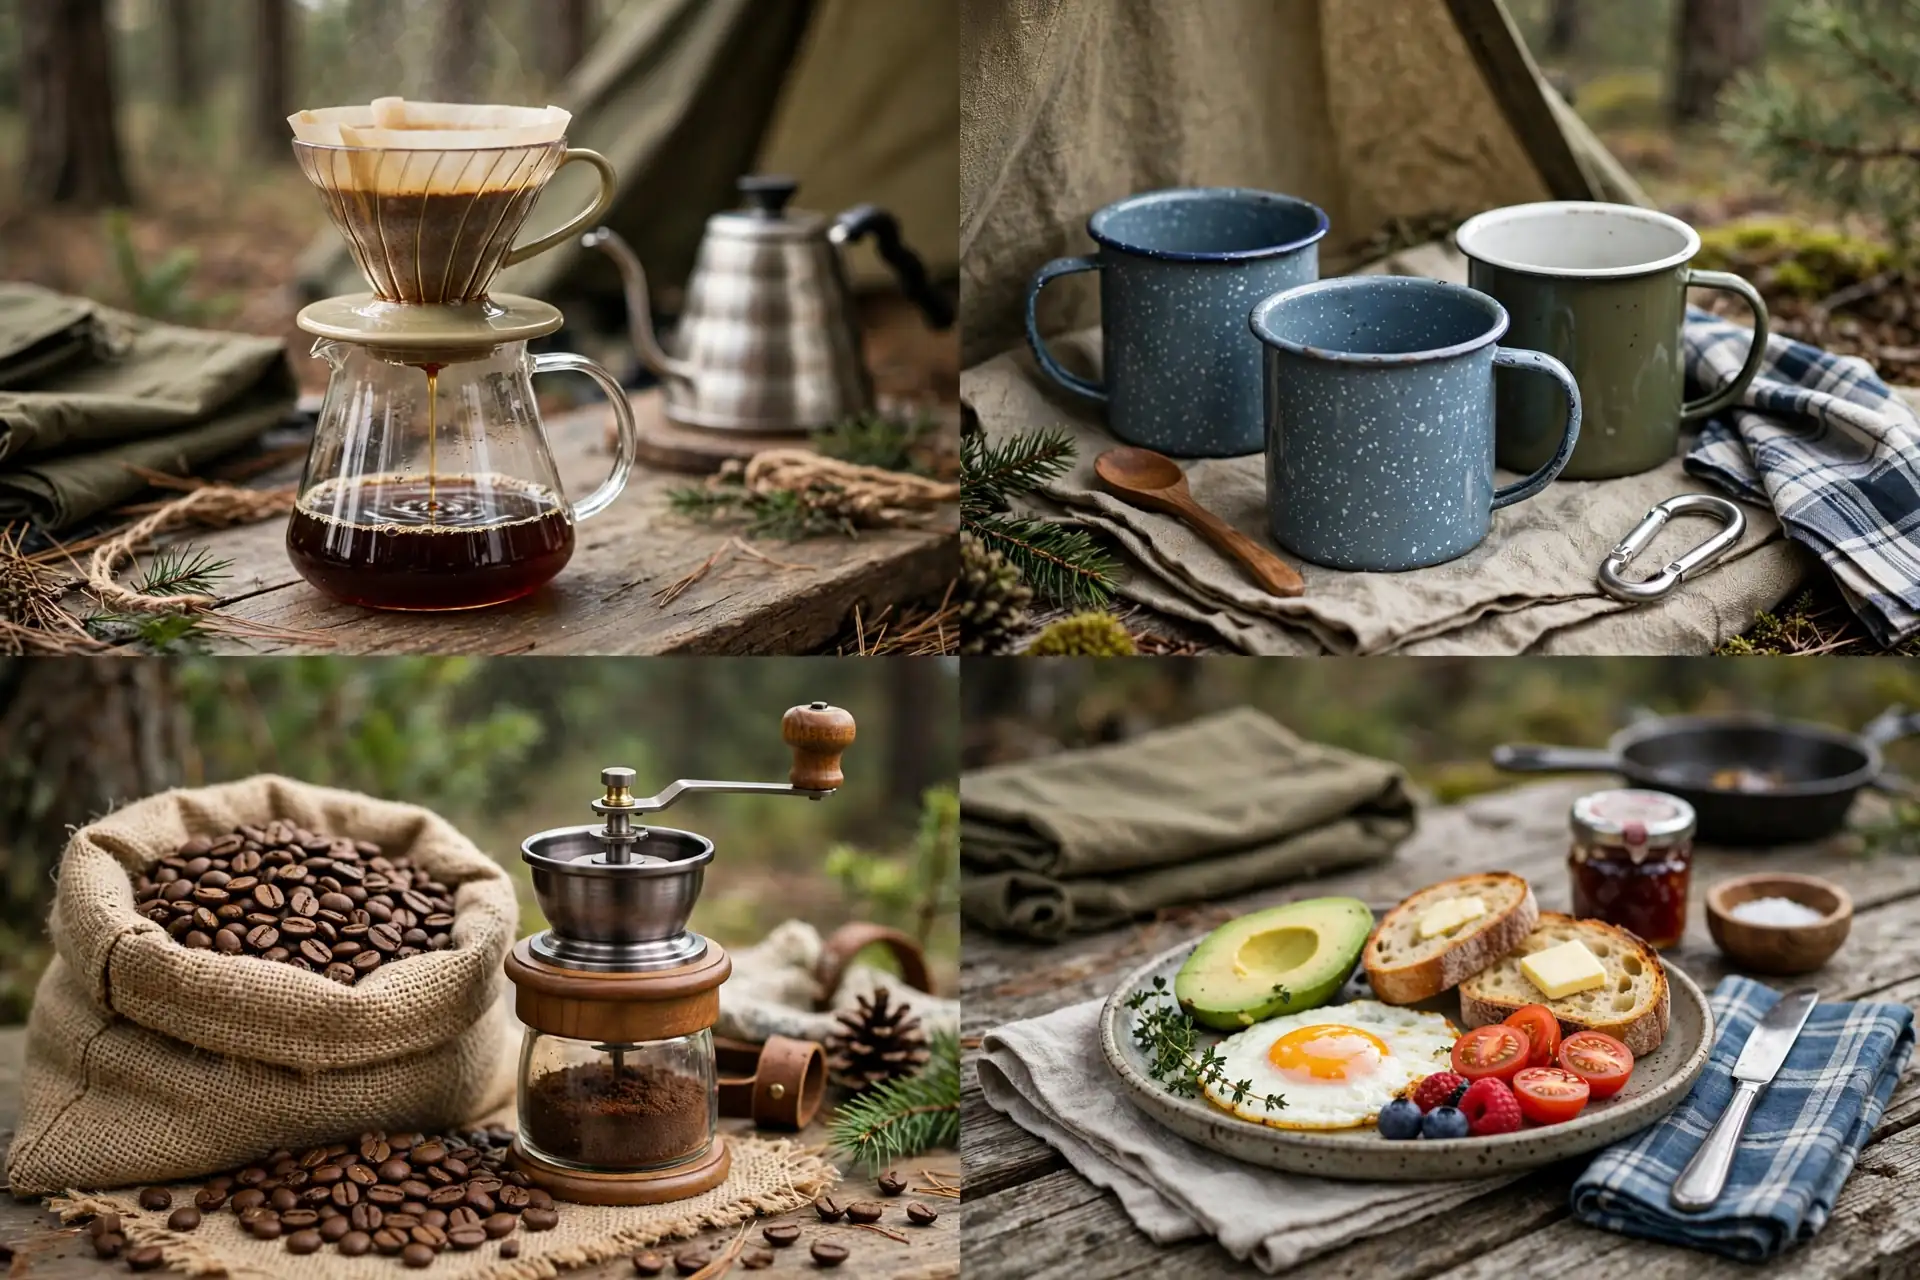
Grind beans fresh if you can. Pre-ground coffee goes stale faster, especially in warm rigs. A small hand grinder is cheap and lasts for years.
This nook costs almost nothing to set up. Yet it often becomes the favorite spot at the whole campsite.
13. Seafood Boil Pot Station
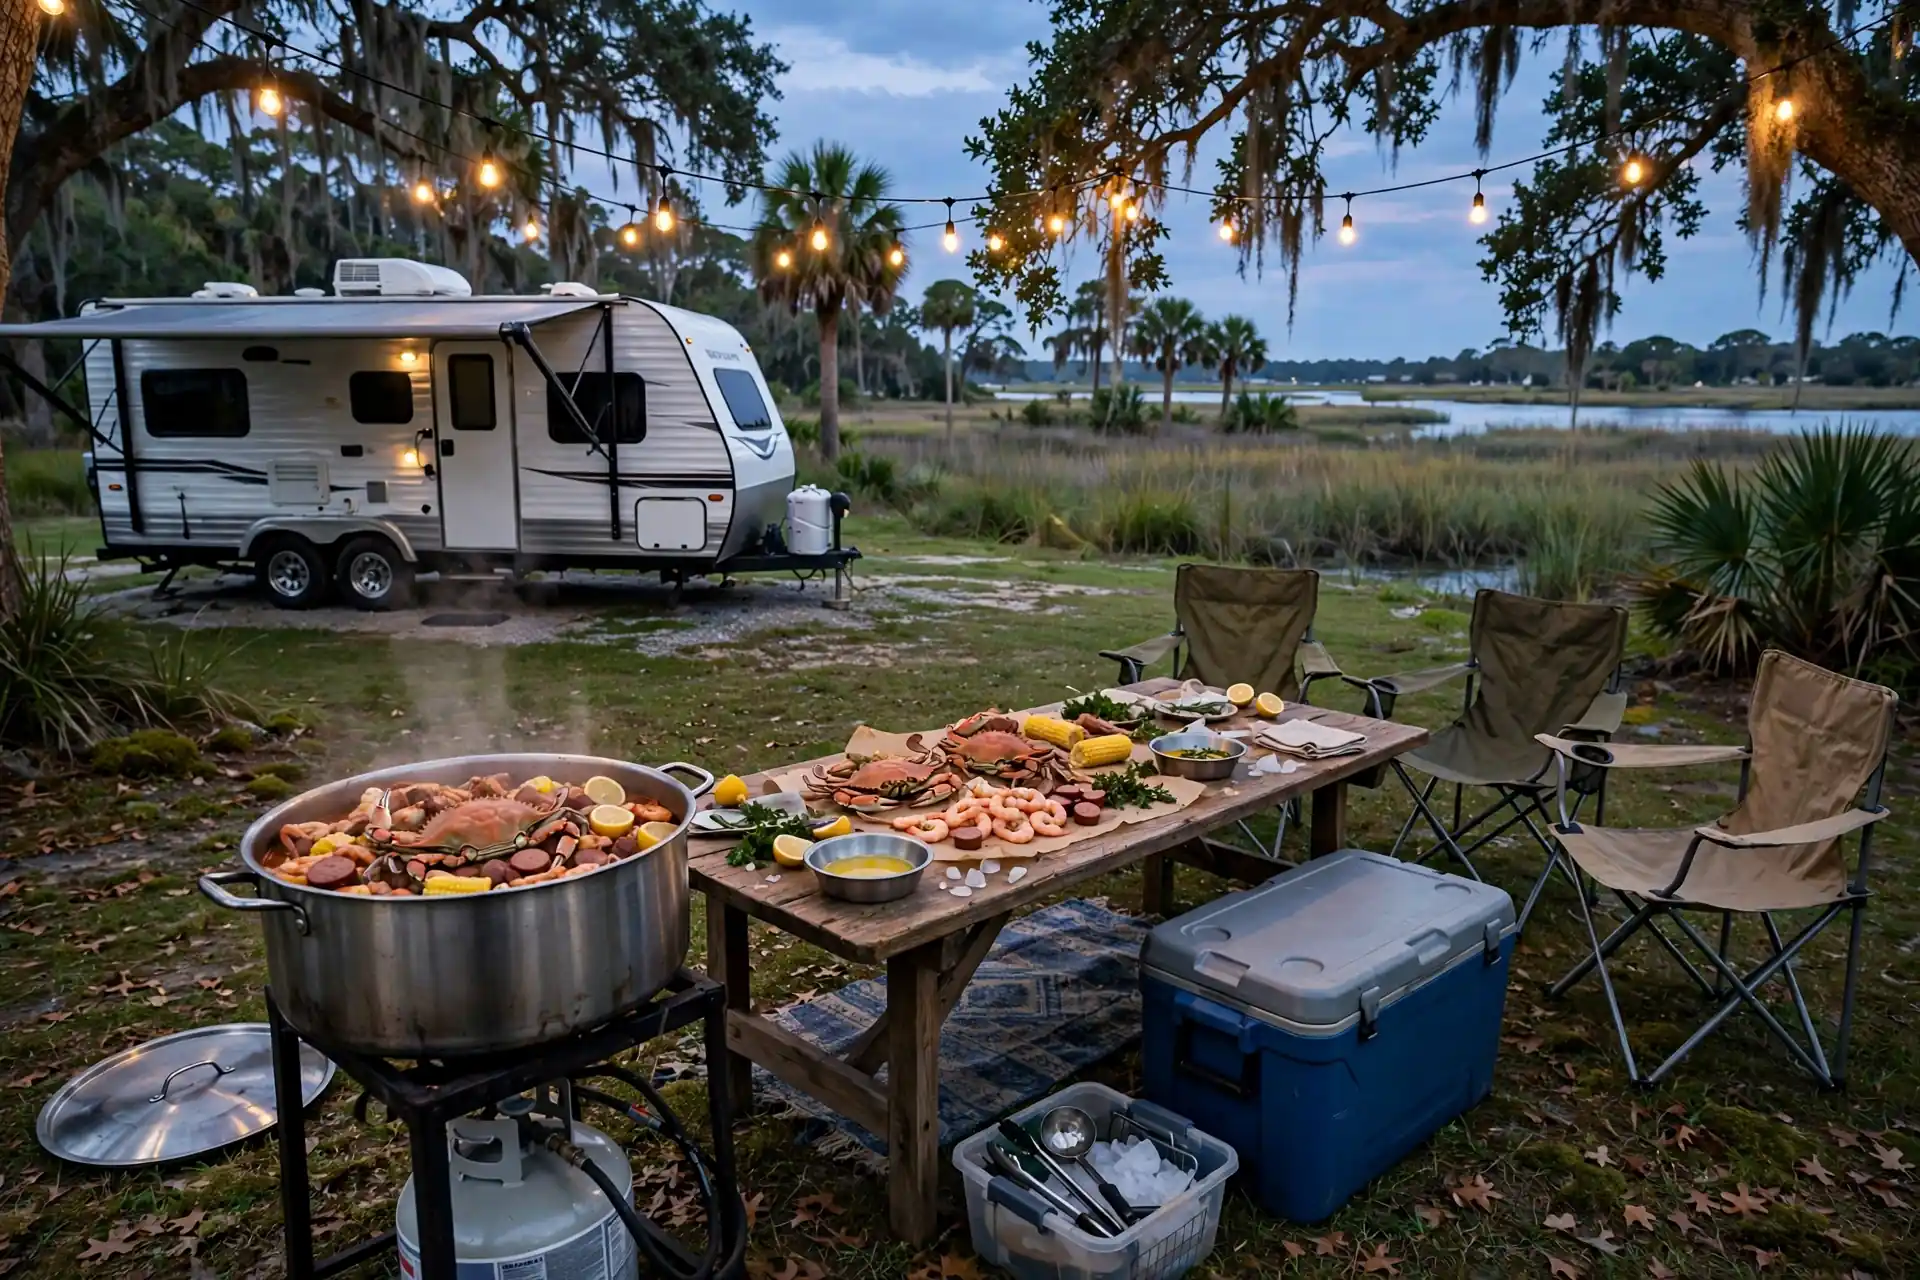
A seafood boil is a party meal. A big pot on a propane burner, a long table, and plenty of seating turn dinner into an event. Shrimp, corn, potatoes, and sausage all cook in one pot.
Size the pot to your group. A pot that is too small overflows. A pot that is too big wastes propane heating water nobody needs.
Cover the table before you serve. Newspaper or a disposable tablecloth catches shells and drips, and cleanup becomes one quick roll and toss.
Boil in stages. Potatoes need the longest. Corn and sausage go in next. Shrimp cook last, in just a few minutes, or they turn rubbery.
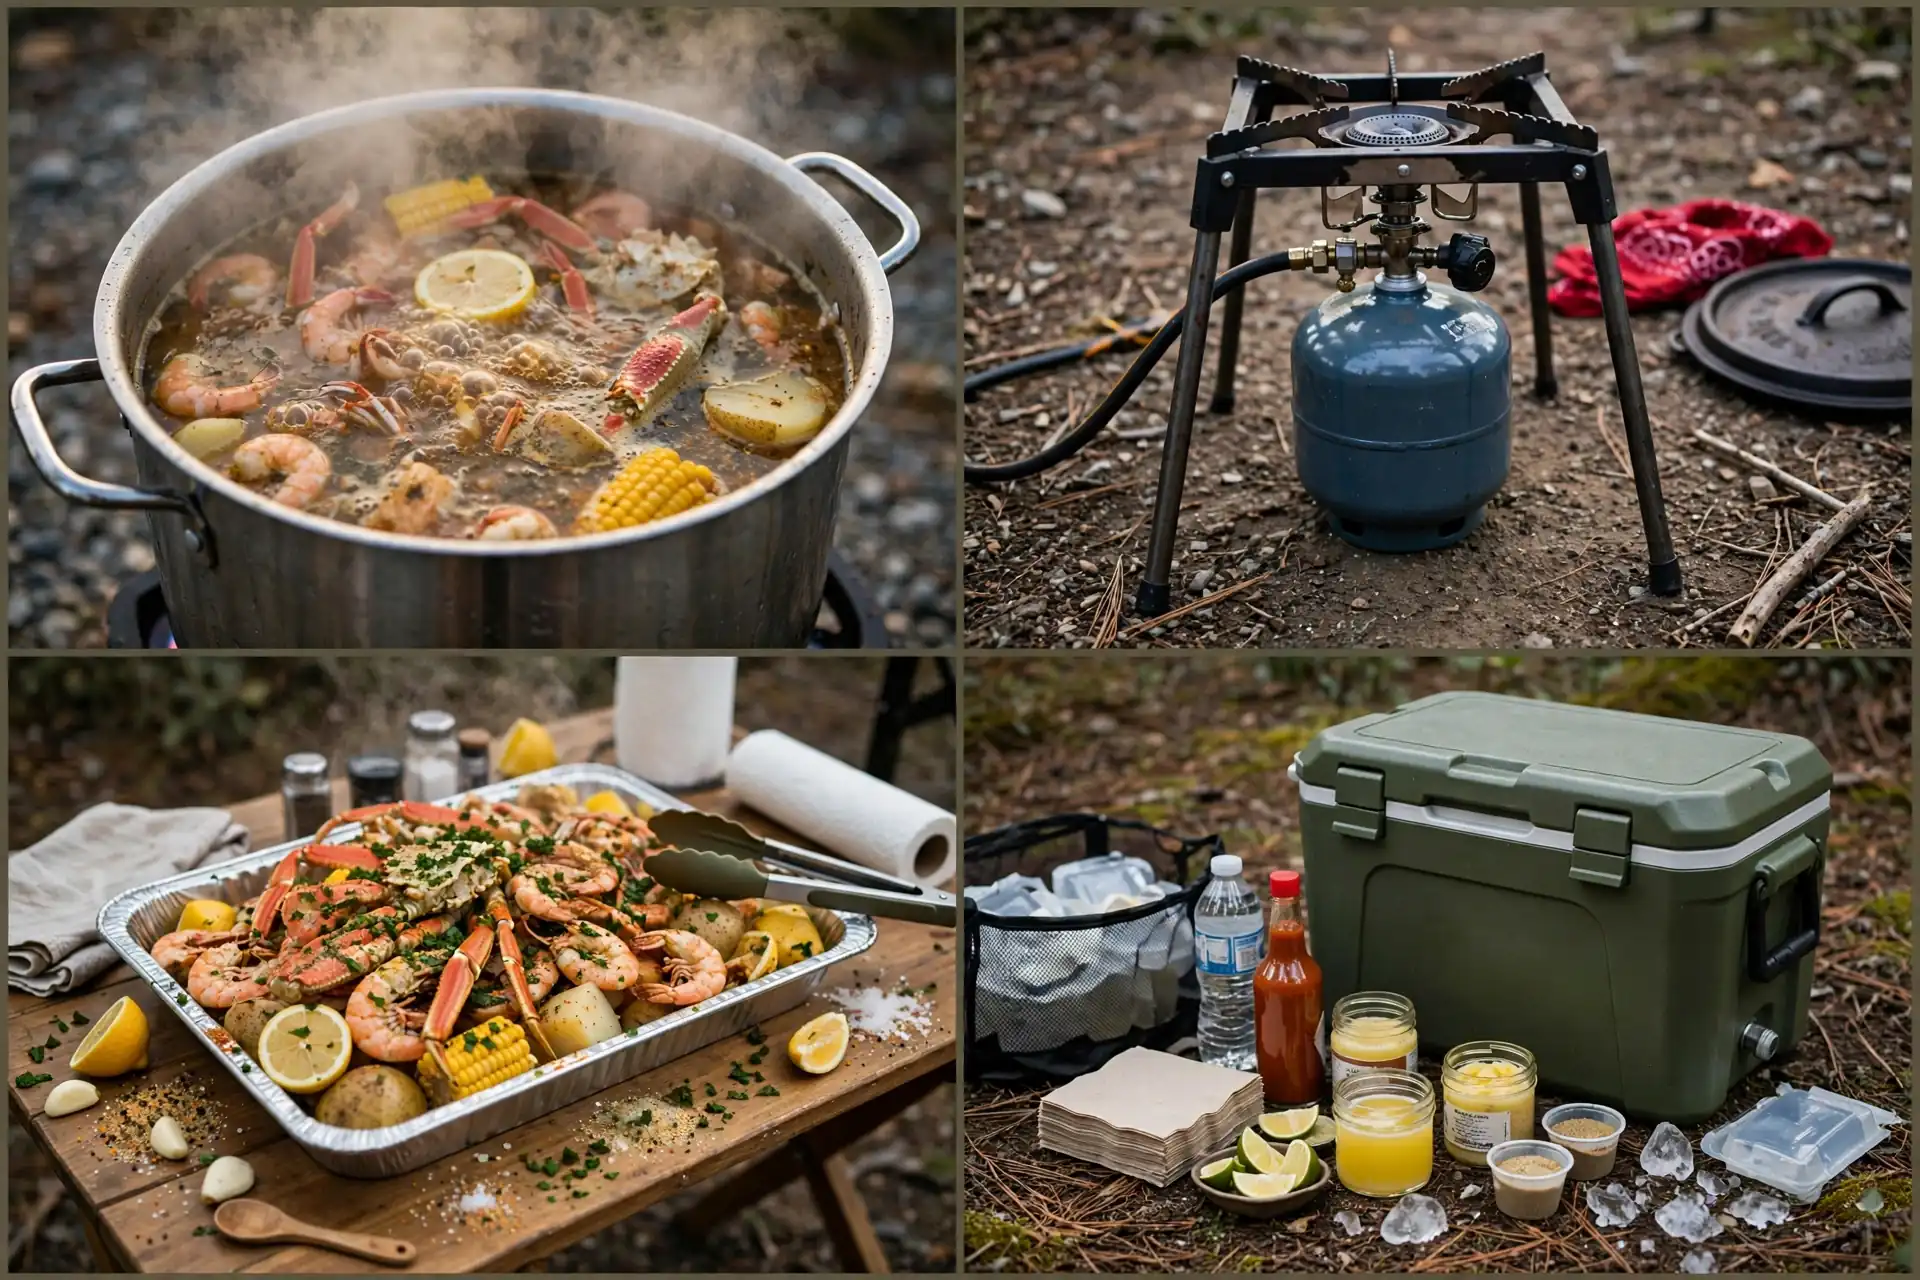
Keep a separate cooler for drinks and ice. Nobody wants to fish a cold drink out of a pot of hot seafood water.
Check local rules before you buy seafood. Freshness matters, and a long drive home with warm seafood is a bad plan.
14. Solar-Powered Fridge and Prep Island
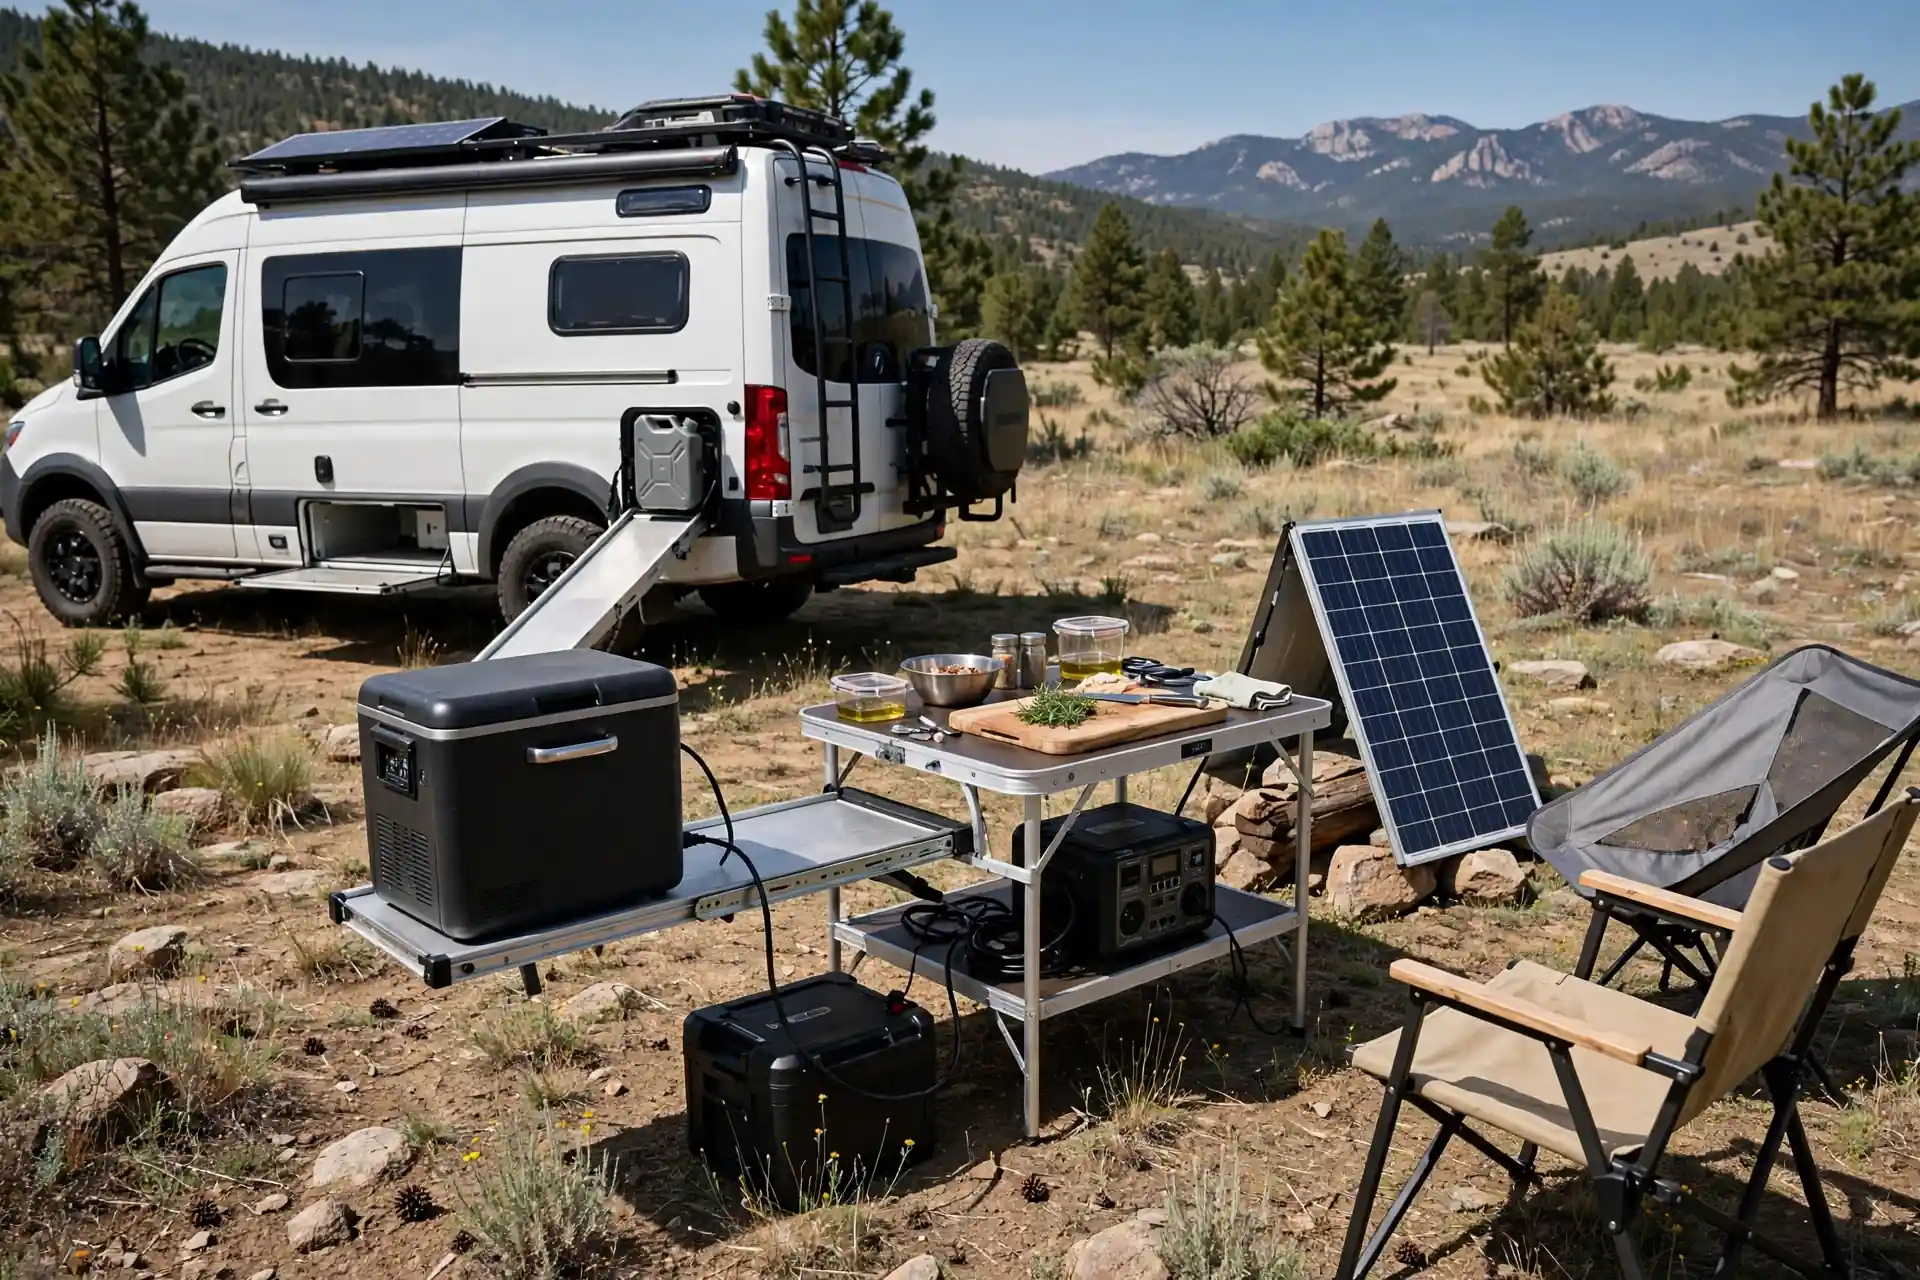
Off-grid cooking gets easier with a portable fridge. A 12-volt fridge, which runs on the same kind of power as your rig battery, keeps food cold without a bag of ice. A solar panel tops the battery up during the day.
Place the panel in full sun, even if the fridge sits in shade. A long cable between them is fine. Shade on the panel cuts power fast, so check it as the sun moves.
A folding prep island gives you a real counter beside the fridge. Cutting, mixing, and plating all happen in one spot, instead of on your knees.
Keep the fridge lid closed as much as you can. Every open lid lets cold air out, and the compressor, the part that makes cold, has to work harder to catch up.
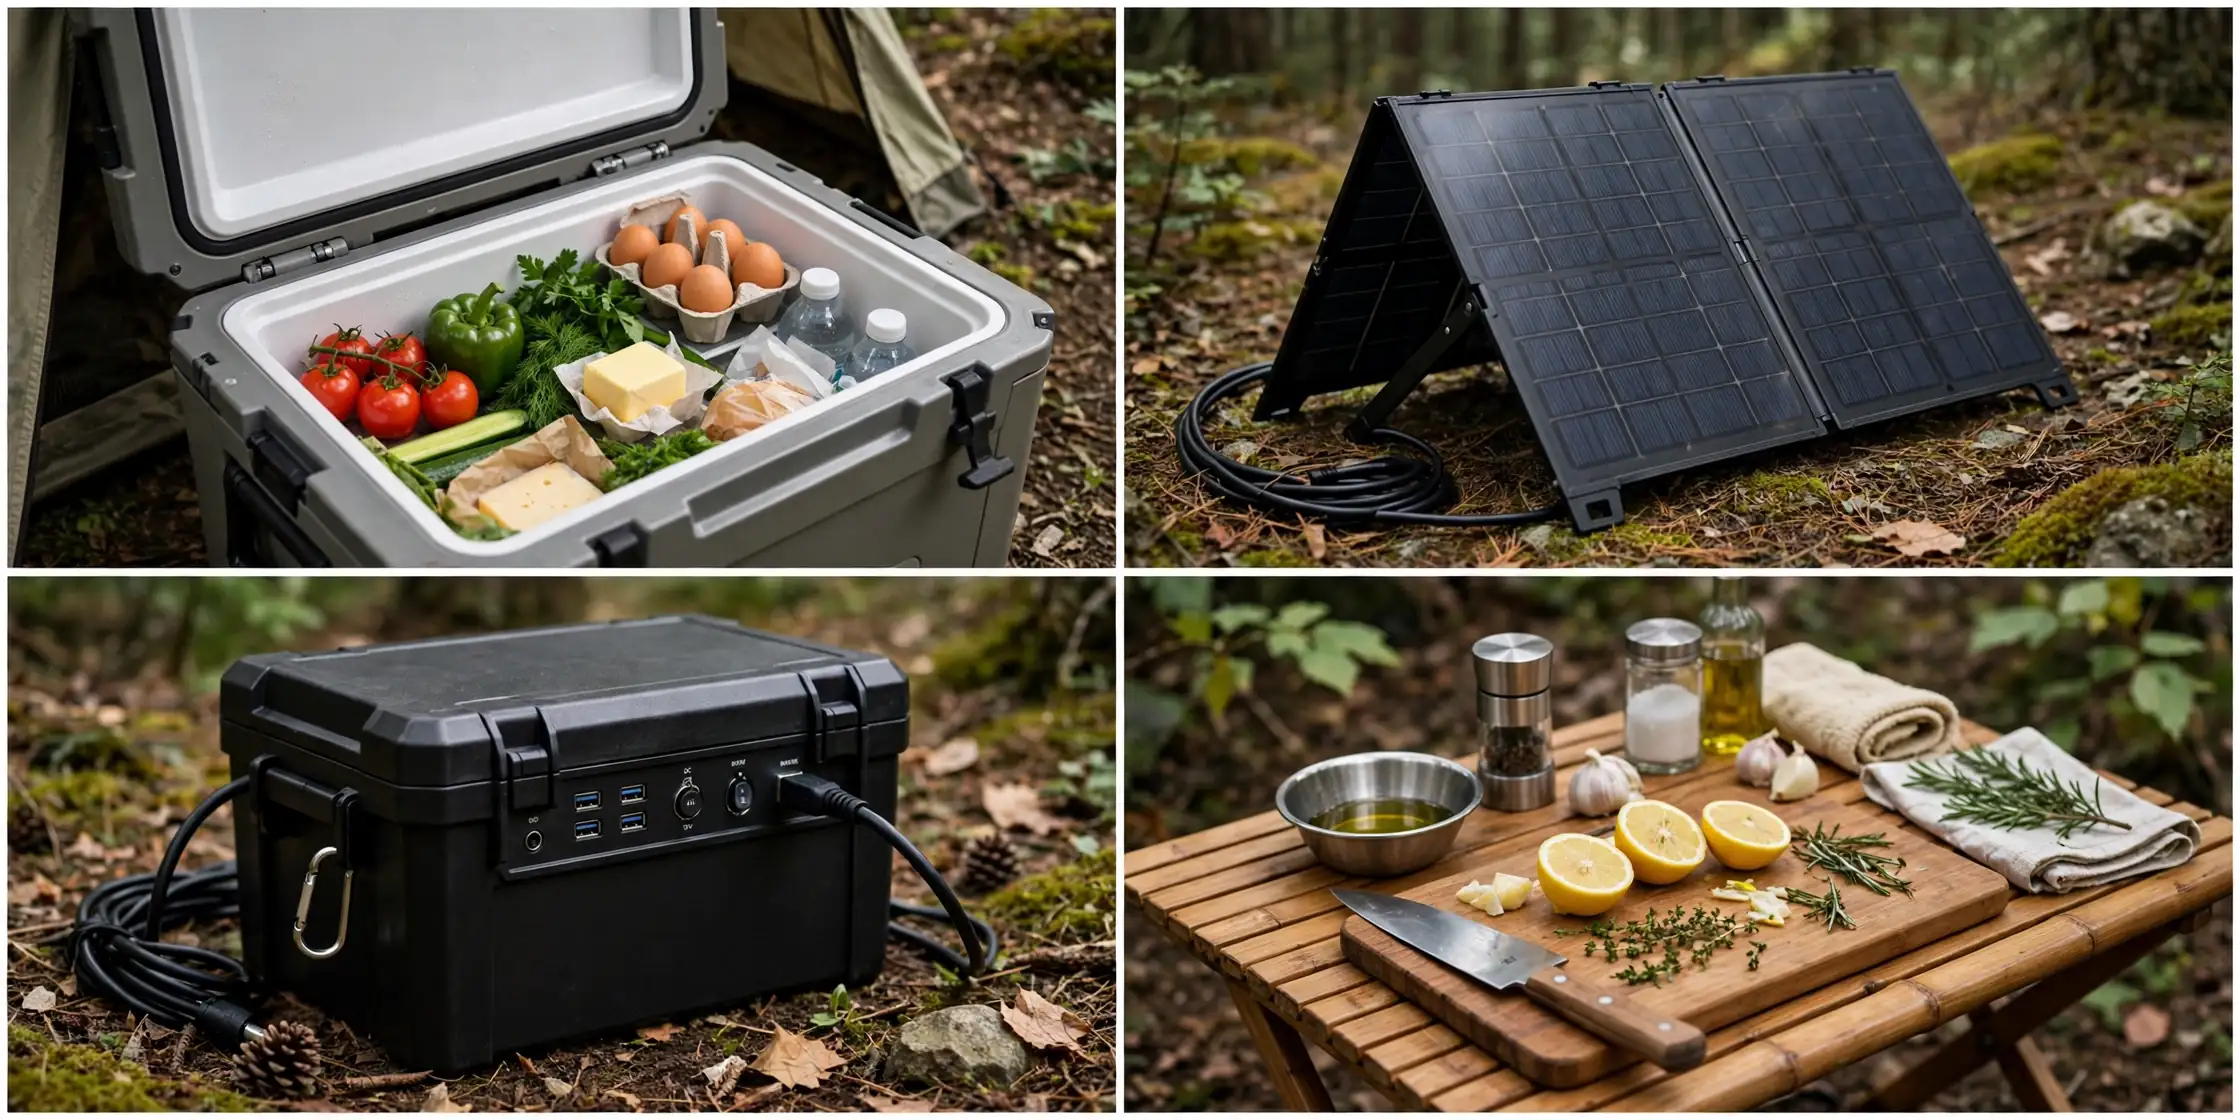
Size your battery to your fridge, not the other way around. A small battery with a big fridge will run flat overnight. When in doubt, go bigger on the battery.
This setup is ideal for boondocking, which means camping without hookups, far from campgrounds. Fresh food, cold drinks, and no ice runs.
15. Rain-Ready Covered Kitchen
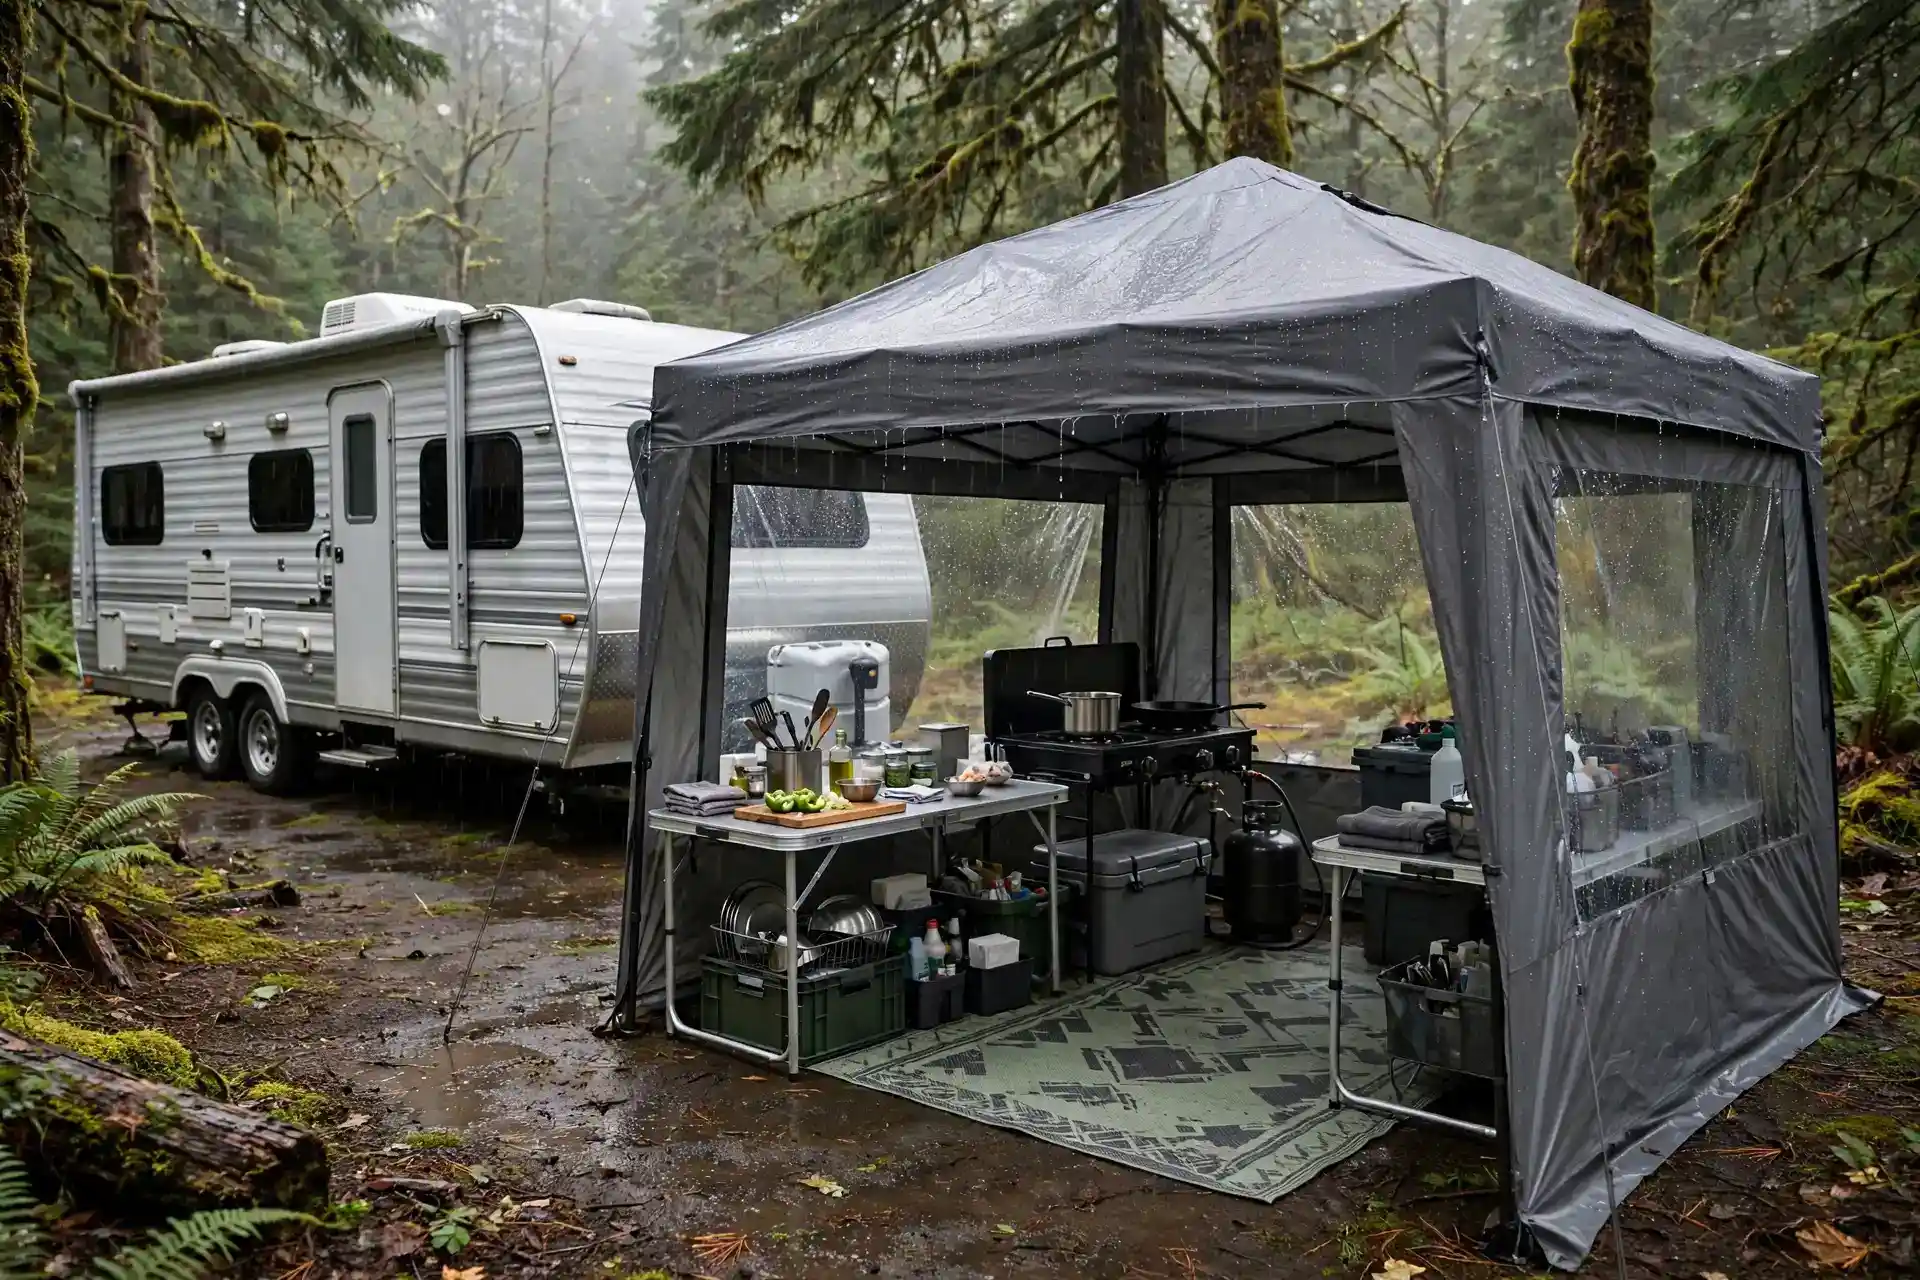
Rain should not end camp cooking. A pop-up canopy with side walls creates a dry kitchen in minutes. Stove, prep tables, and cooler all fit underneath, out of the rain.
Stake the canopy well. Wet ground gets soft, and a gust can lift a loose canopy fast. Extra guy lines, which are just ropes that anchor the canopy, are worth the two minutes they take.
Keep the stove near an open side, not sealed inside. Cooking fumes need fresh air, even in rain. One open wall is usually enough.
A camp rug underfoot keeps mud down and feet dry. It also marks the kitchen zone, so gear does not spread across the whole site.
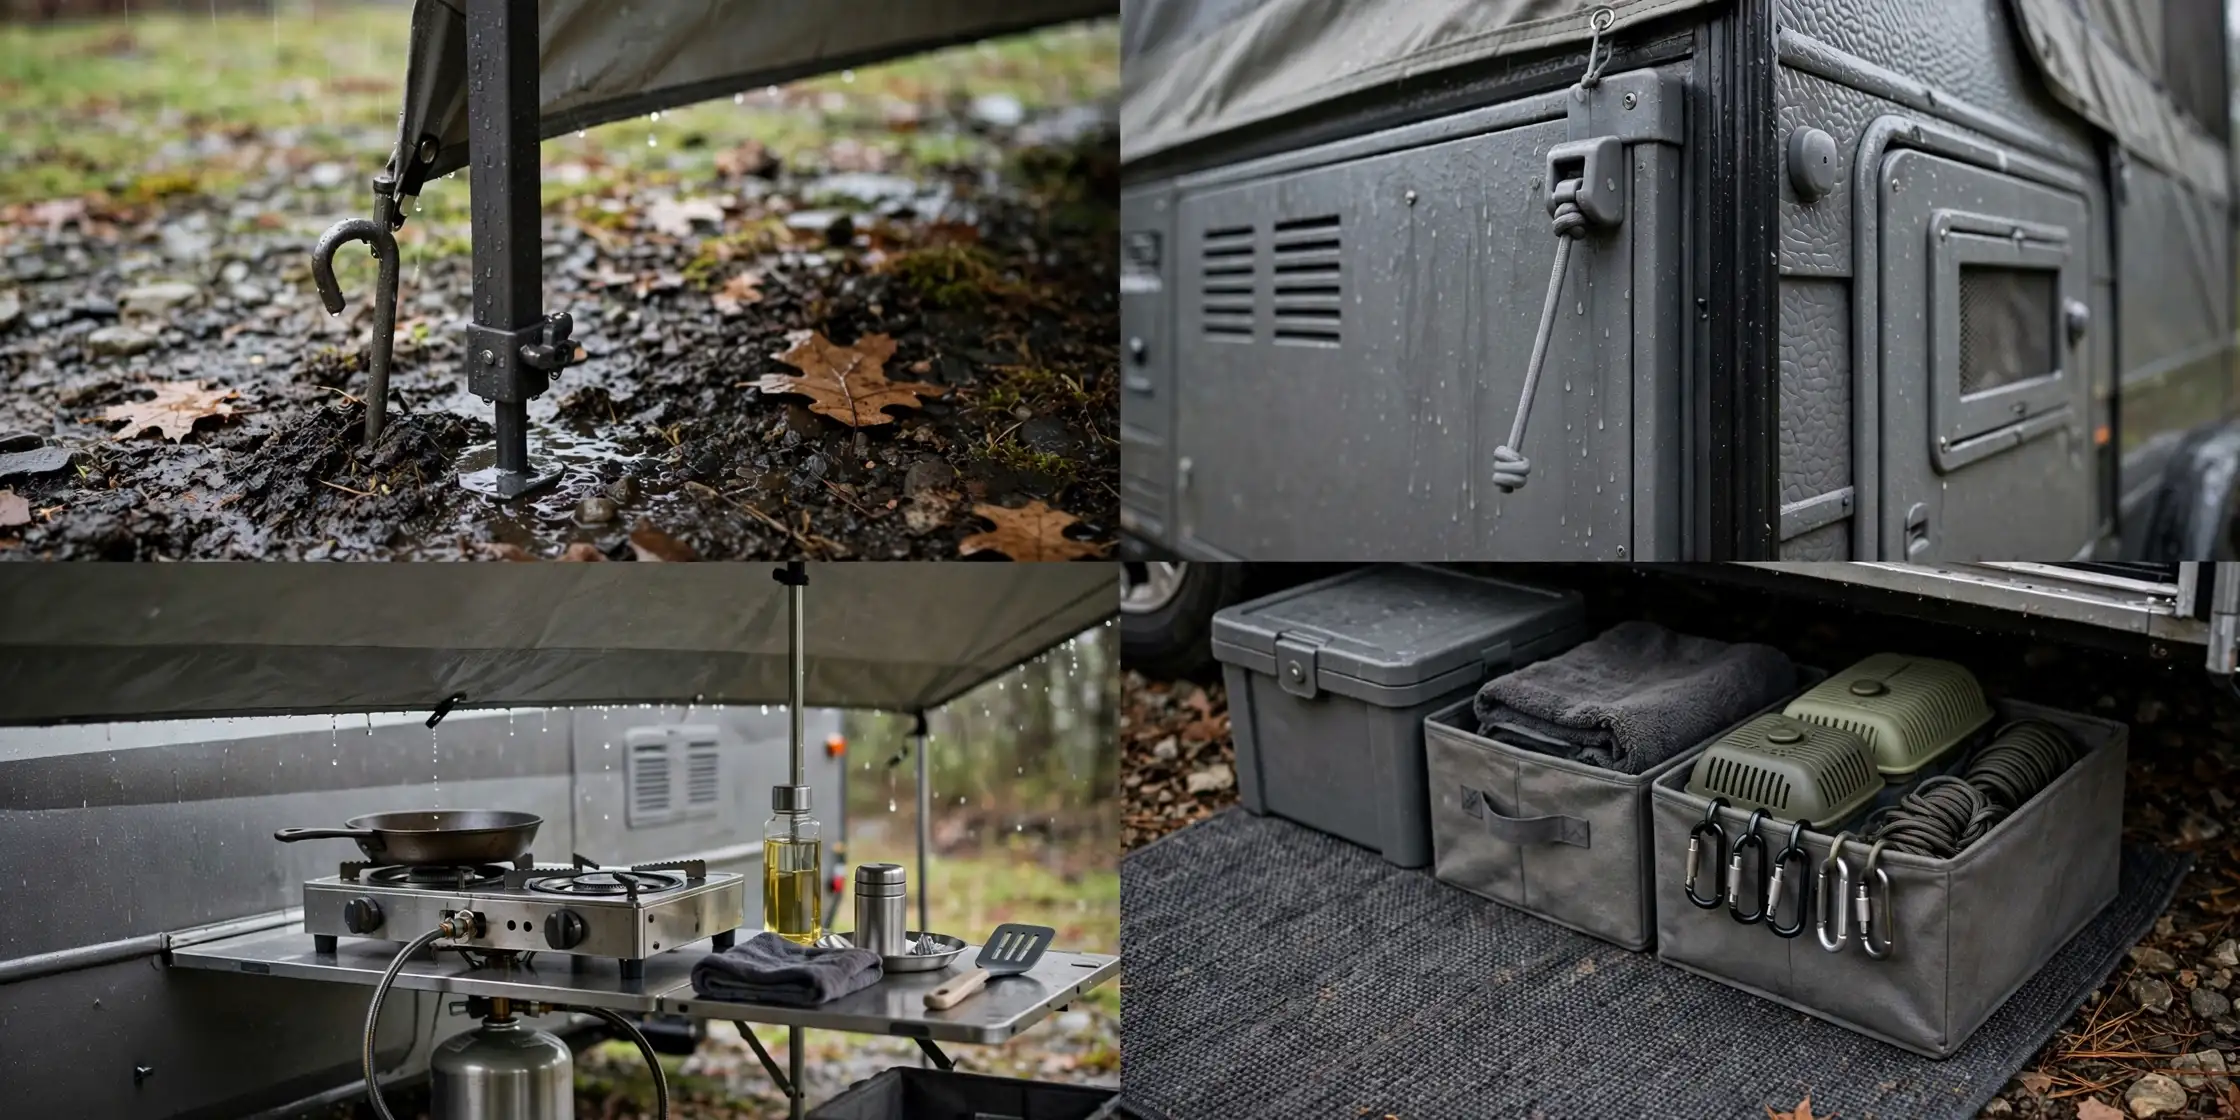
Store dry goods in sealed bins, not open baskets. Damp air gets into everything, and soggy crackers ruin a good camp meal.
After the rain, let the canopy dry before you pack it. Packing a wet canopy grows mildew, and mildew smells terrible at the next site.
The best outdoor kitchen is the one you actually use. Pick one setup from this list and try it on your next trip. You can always add pieces later.
Start simple, cook often, and let your setup grow with your trips. Good camp food tastes better outside, and a kitchen that works makes every meal easier.
Pack light, cook well, and enjoy the campsite. That is the whole point.