9 Container Home Mistakes That Cost Owners Thousands


A shipping container home looks like a shortcut. One steel box, a few cuts, some paint, and you are living the dream for a fraction of the price of a normal house.
That is the fantasy that sells the idea. The reality is that a container is a steel box designed to carry freight, not people. Skip the steps that turn it into a home and the box punishes you with rust, mold, cracked walls, and repair bills that dwarf whatever you saved.
These are the nine mistakes we see owners pay for most. Every one of them is cheaper to avoid than to fix. Read them before you buy the container.
Typical US repair ranges. Avoiding each mistake costs a fraction of fixing it.
1. Skipping the Foundation Entirely
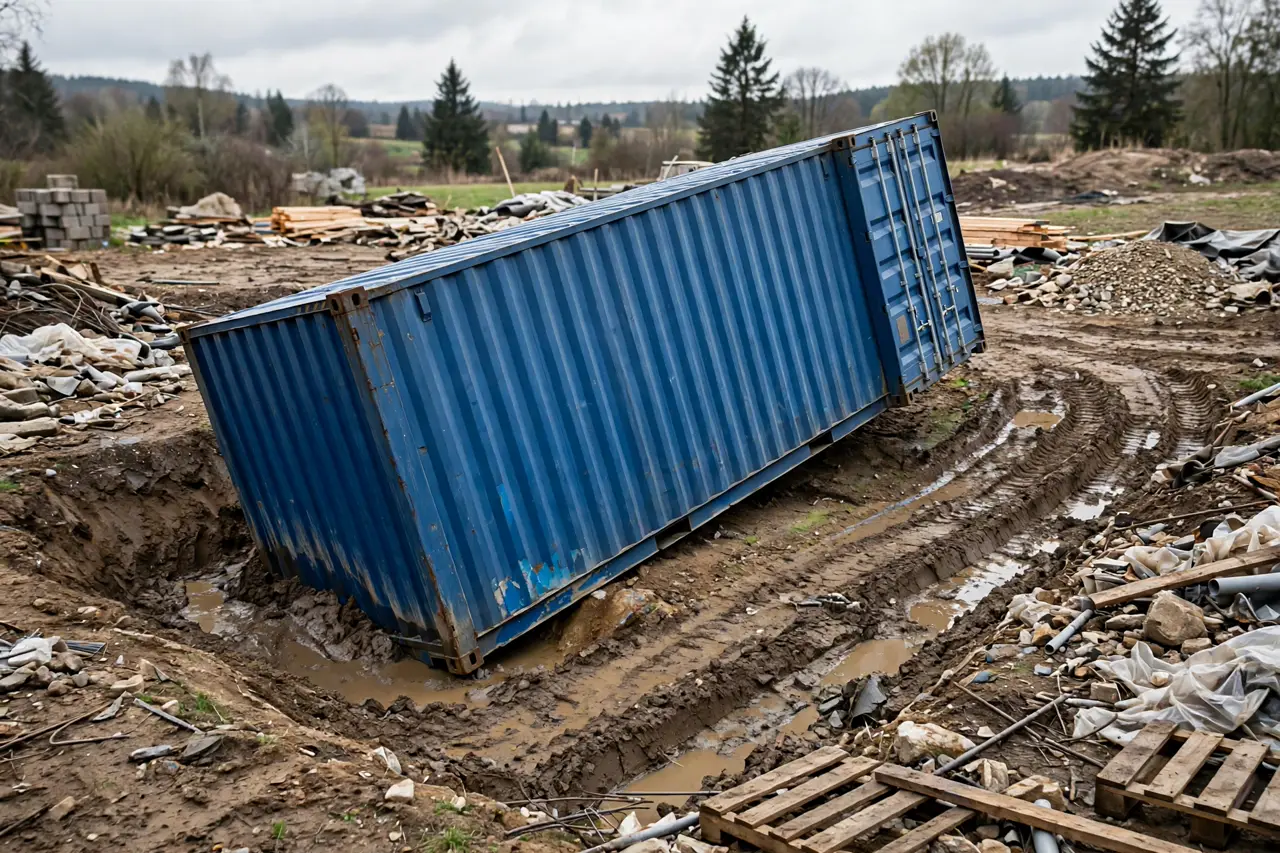
Most first-time builders think a container is a box you just set on the ground. After all, it survived an ocean crossing. What could go wrong? Everything. A loaded container weighs around 8,000 pounds, and all of that weight lands on four corner castings the size of your fist.
Set those corners on soft dirt and the container sinks unevenly. Doors jam. Floors slope. Welds crack. Fixing it later means jacking the whole house back up and pouring the footings you should have poured first. A set of concrete piers costs a fraction of that rescue job.
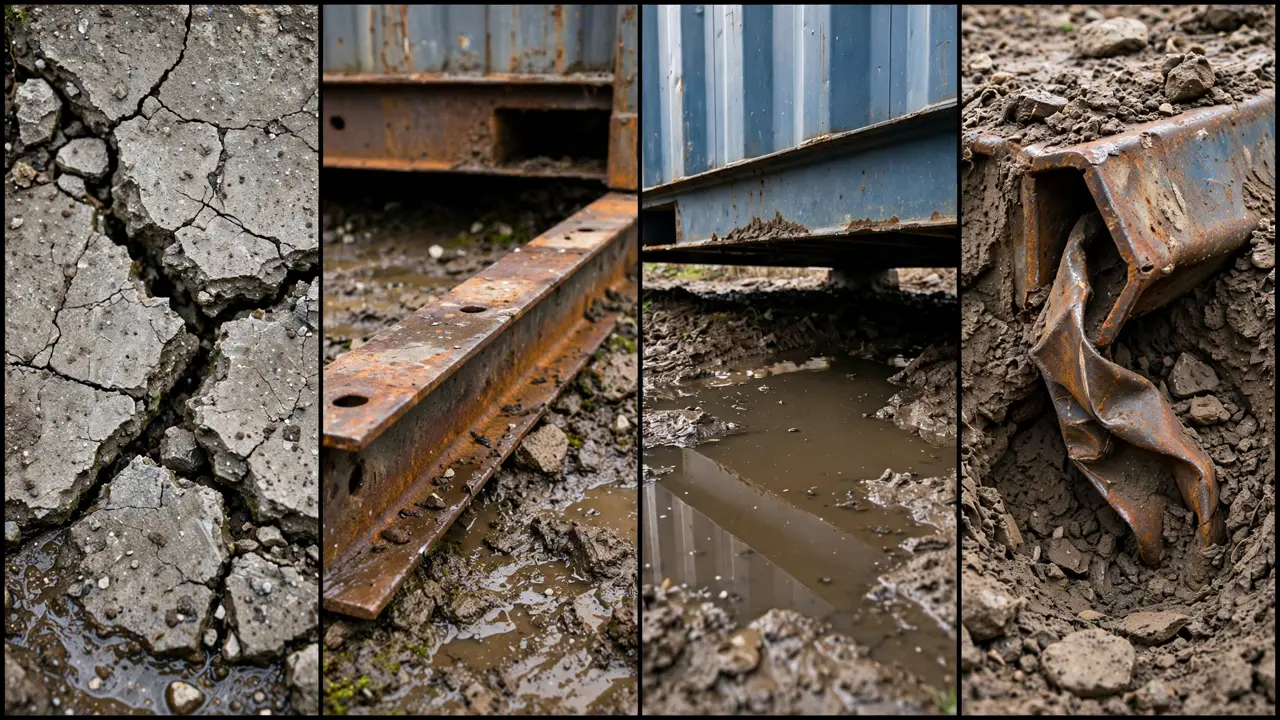
Engineered piers or a slab are not optional extras. They are the cheapest insurance in the entire build.
Budget the foundation before you buy the container. Never after.
2. Buying a Container With Toxic Treated Floors
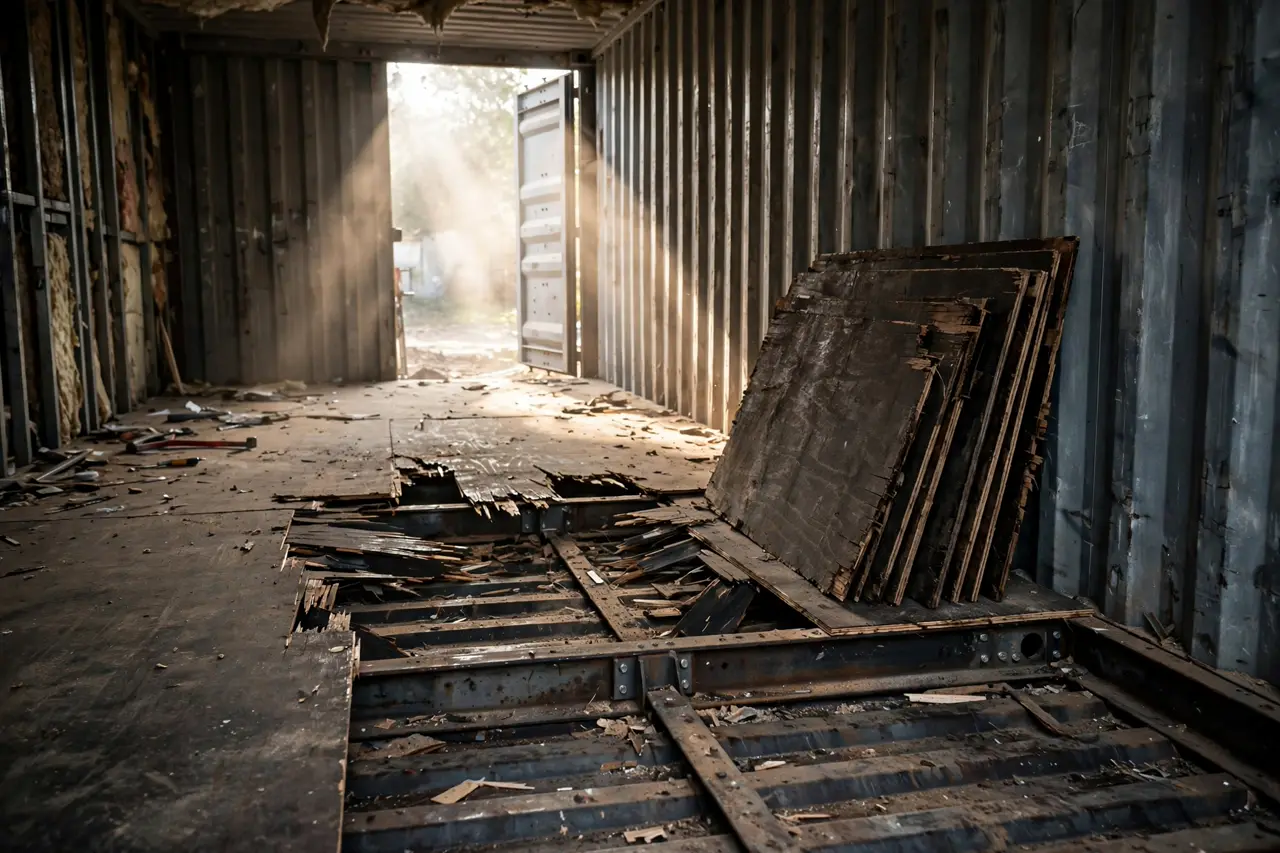
Container floors are marine plywood soaked in heavy-duty pesticides. The shipping industry treats them so rats and insects cannot survive the voyage. That treatment was never meant to sit under your bedroom.
Smart builders test or replace these floors before moving in. The careless ones seal the floor under new vinyl and breathe whatever seeps out for years. Replacing a floor mid-build is a dusty weekend. Replacing it after the kitchen is installed is a demolition.

Always ask for a one-trip container. It has made exactly one ocean crossing and its floor is nearly new. Or budget a full floor swap from day one.
If the floor smells strongly of chemicals on a hot day, do not live on it.
New plywood costs a few hundred dollars. Your lungs are worth more.
3. Insulating on the Inside
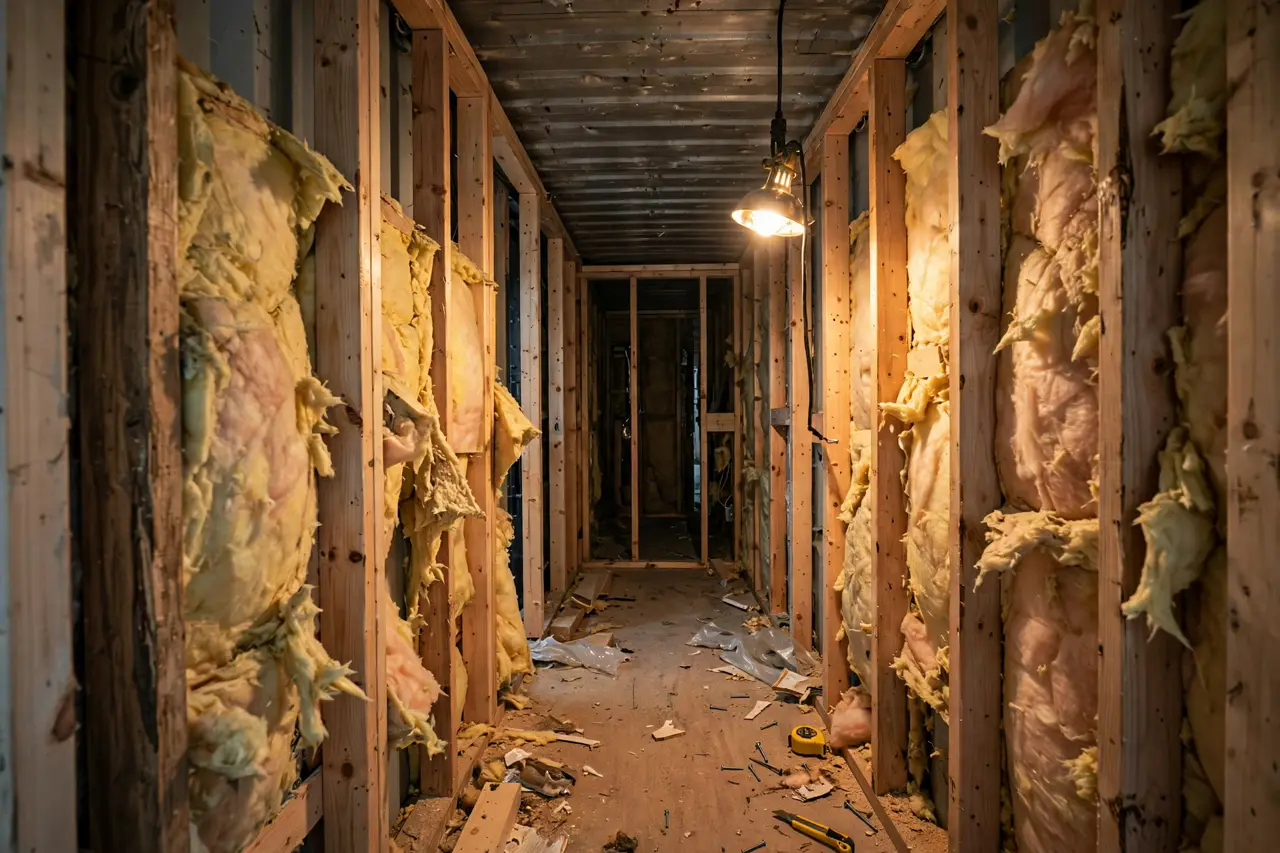
A container is only 8 feet wide. Line the inside walls with studs and insulation and you lose up to a foot of width. Your hallway becomes a tunnel and your bedroom barely fits a queen bed.
Worse, interior insulation traps warm moist air against cold steel. Water condenses inside the wall where you cannot see it. By the time you smell the mold, the damage is deep and the wall has to come apart.
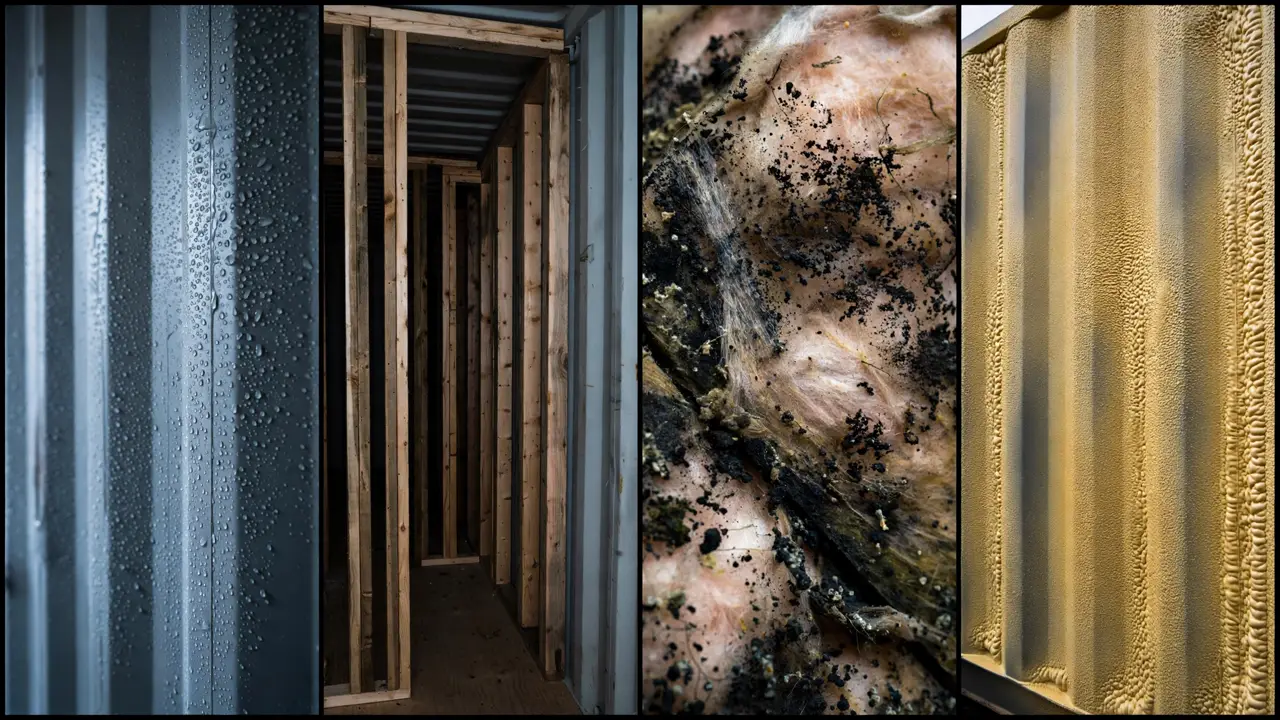
The pros insulate from the outside. Closed-cell spray foam on the exterior keeps the steel warm, kills condensation at the source, and leaves every inch of interior width alone.
Interior insulation is the default because it is easy. Easy is not the same as right.
Plan the insulation before the framing, not during.
4. Cutting Out Too Much Steel
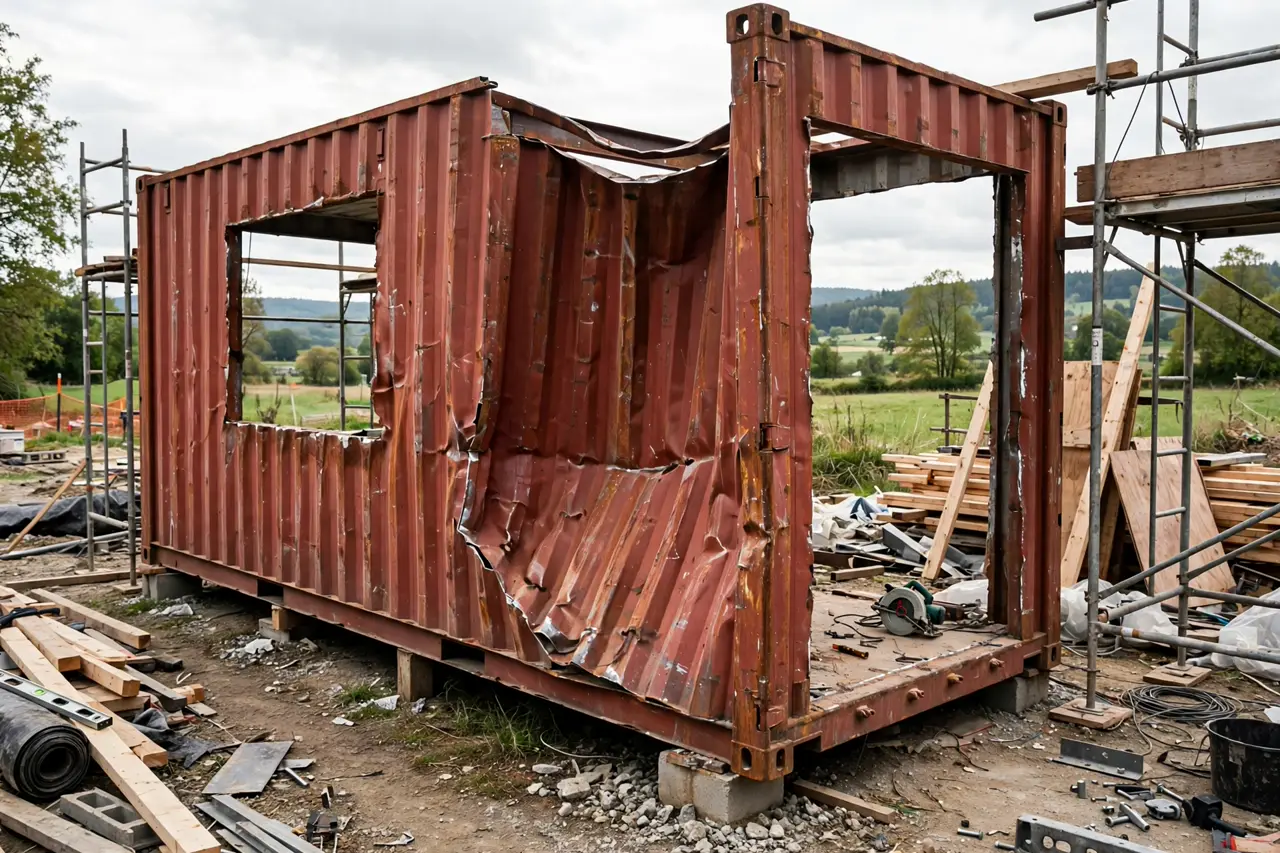
The walls of a container are structural. Those corrugated panels carry the load, not some hidden frame. Every window and door you cut weakens the box a little more.
Beginners sketch a wall of glass across the whole side and hand the drawing to a guy with a plasma cutter. The middle of the wall sags, the roof line dips, and the doors stop closing. Then they pay an engineer to design the steel they just threw away.
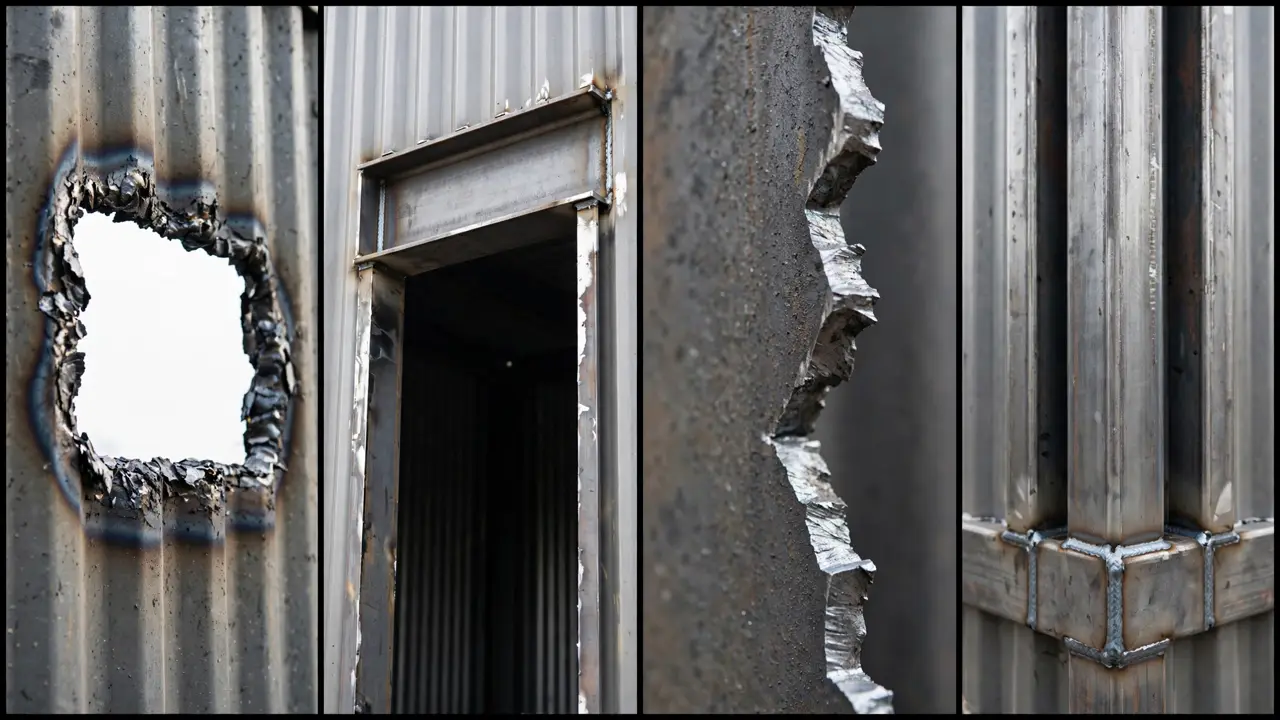
Get the engineer first. Every opening over a few feet needs a welded header beam to carry the load the wall used to carry.
Cut with a plan, not with excitement.
A short engineering consult beats a five-figure structural rescue.
5. Ignoring Rust Until It Is Structural
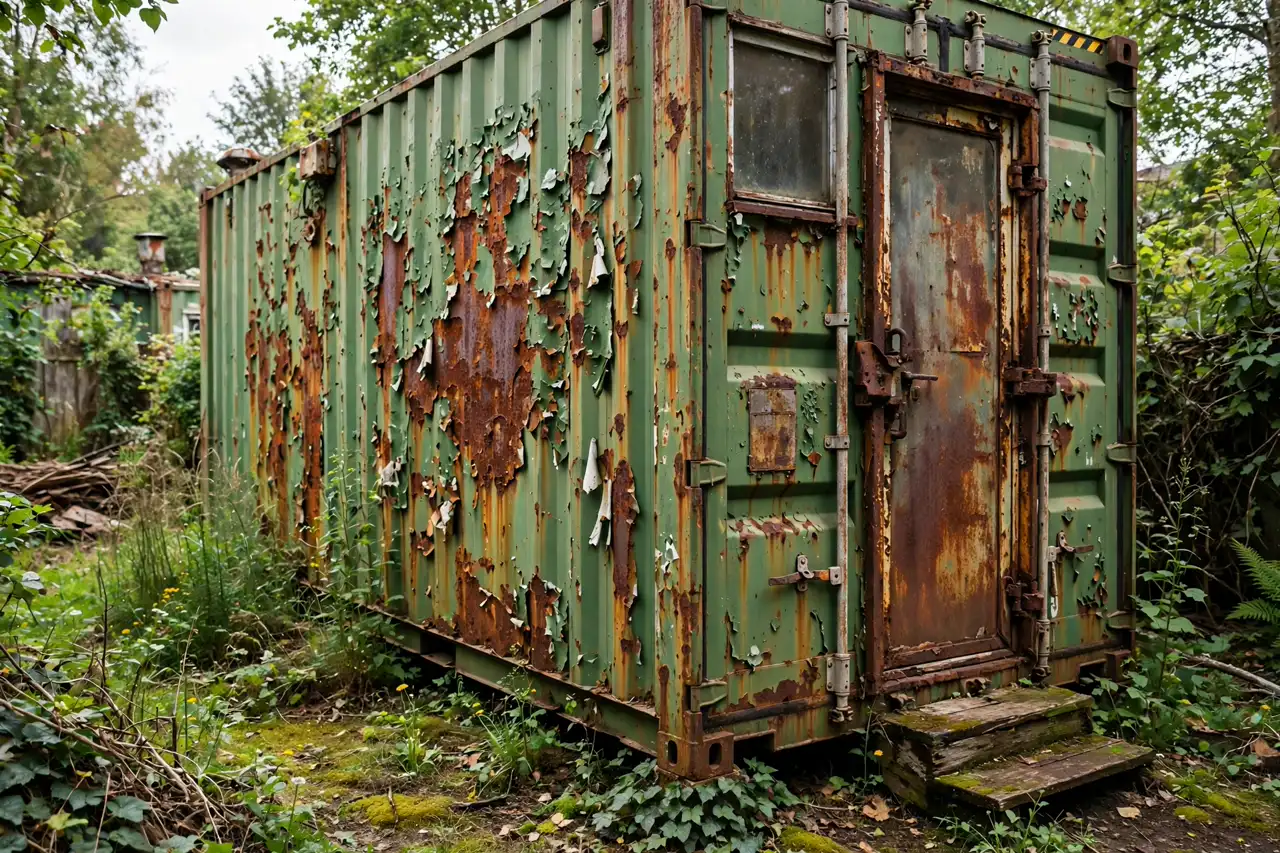
Shipping containers are painted to survive the sea, but the paint chips and the steel underneath starts to rust. Surface rust is cosmetic. Ignore it for two years and it becomes holes.
Once rust eats through the wall, you are cutting out sections and welding in patches. On a load-bearing corner, that is structural surgery. All of it was preventable with a wire brush, a rust converter, and a coat of marine paint at the start.

Inspect every inch before you build. Treat every spot, even the small ones you want to ignore.
Rust never sleeps and it never gets cheaper to fix.
An afternoon of prep beats a week of welding.
6. Skipping the Vapor Barrier
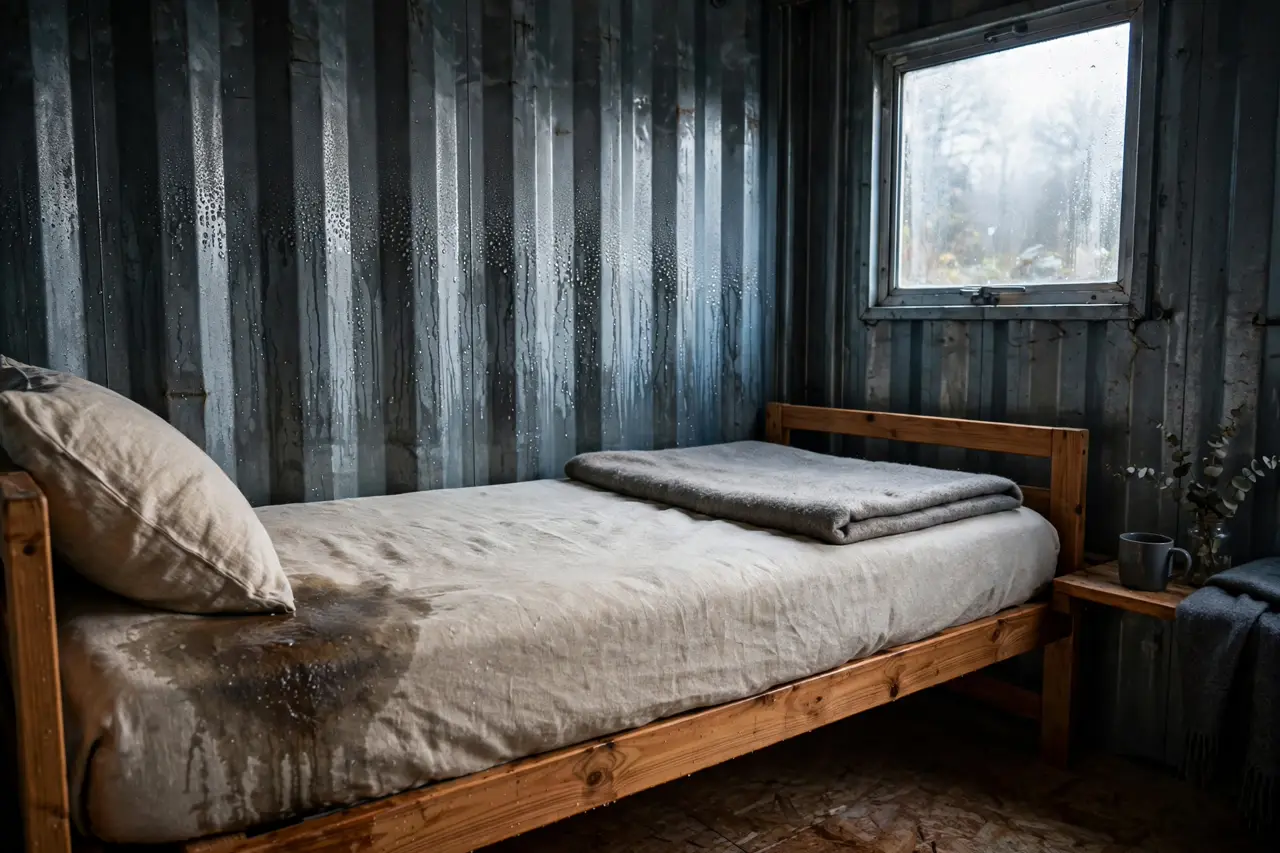
Steel sweats. When warm indoor air hits a cold steel wall, moisture condenses and runs down like rain on a window. Without a barrier, that water soaks your insulation and framing from the inside.
A vapor barrier is a simple membrane that stops moist air from reaching the cold steel. It costs a few hundred dollars for a whole container. Skipping it leads to moldy walls, ruined insulation, and the smell that tells every guest something is wrong.
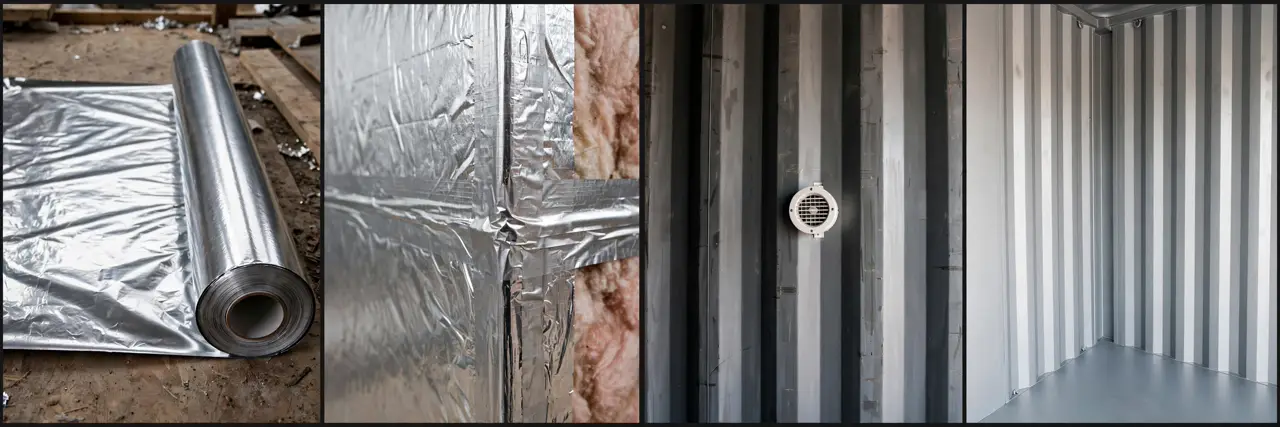
Install the barrier on the warm side of the insulation, sealed tight at every seam. The tape matters as much as the membrane itself.
Water always finds the gap you left.
Seal it once, sleep dry for decades.
7. Choosing a Bad Site With No Drainage
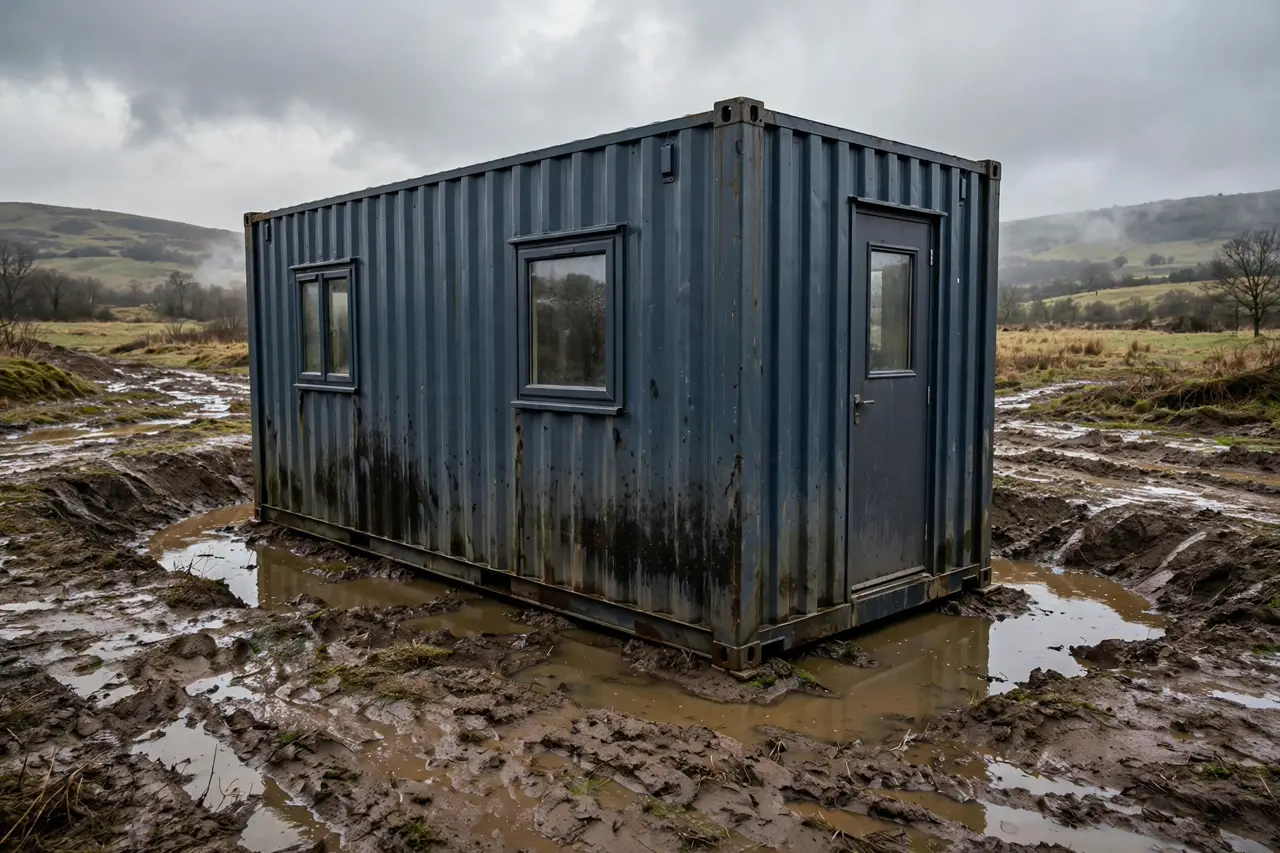
The lowest, flattest, cheapest corner of the lot looks perfect until the first heavy rain. Water flows downhill, pools around your container, and sits against the steel for days.
Standing water speeds up rust, softens the soil under your foundation, and can even shift a lightly loaded container in a flood. Fixing drainage after the house is set means trenches, pumps, and regrading around a finished home.
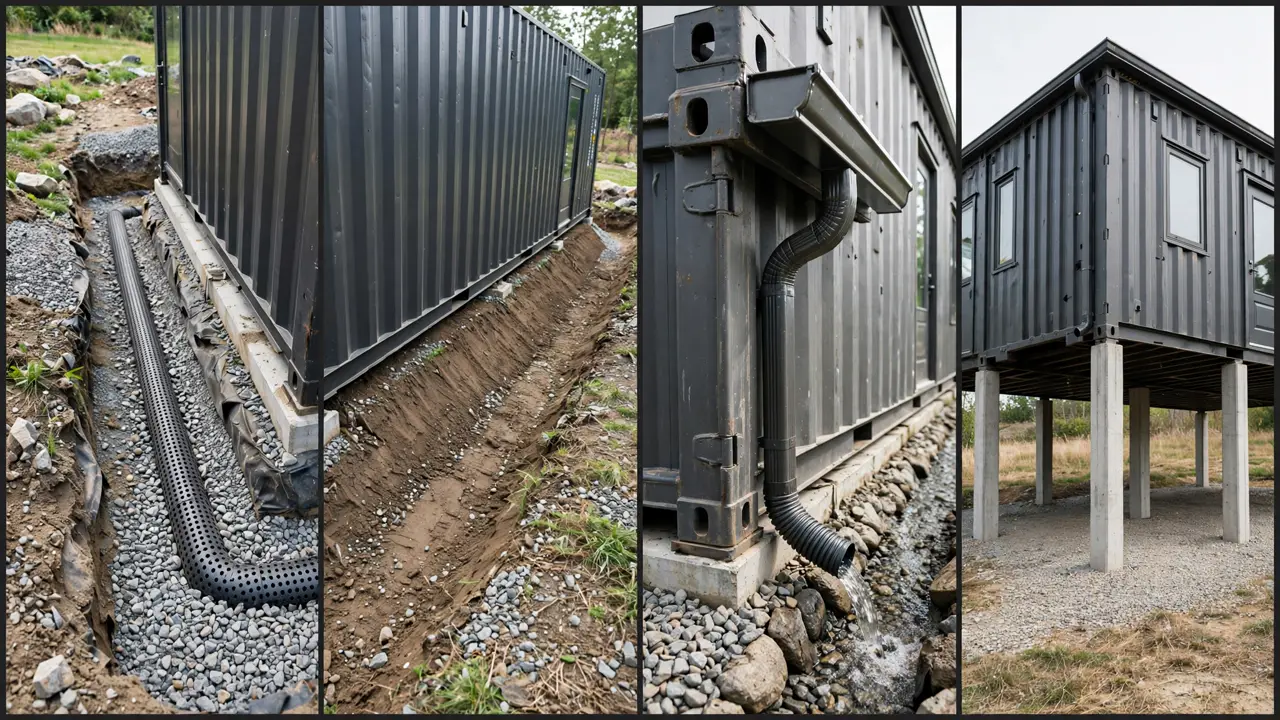
Walk the site in the rain before you commit. Then grade the soil so it slopes away, add gravel beds, and install gutters that throw water far from the walls.
Water is patient and it always wins.
Give it somewhere else to go.
8. Skipping Permits and Inspections
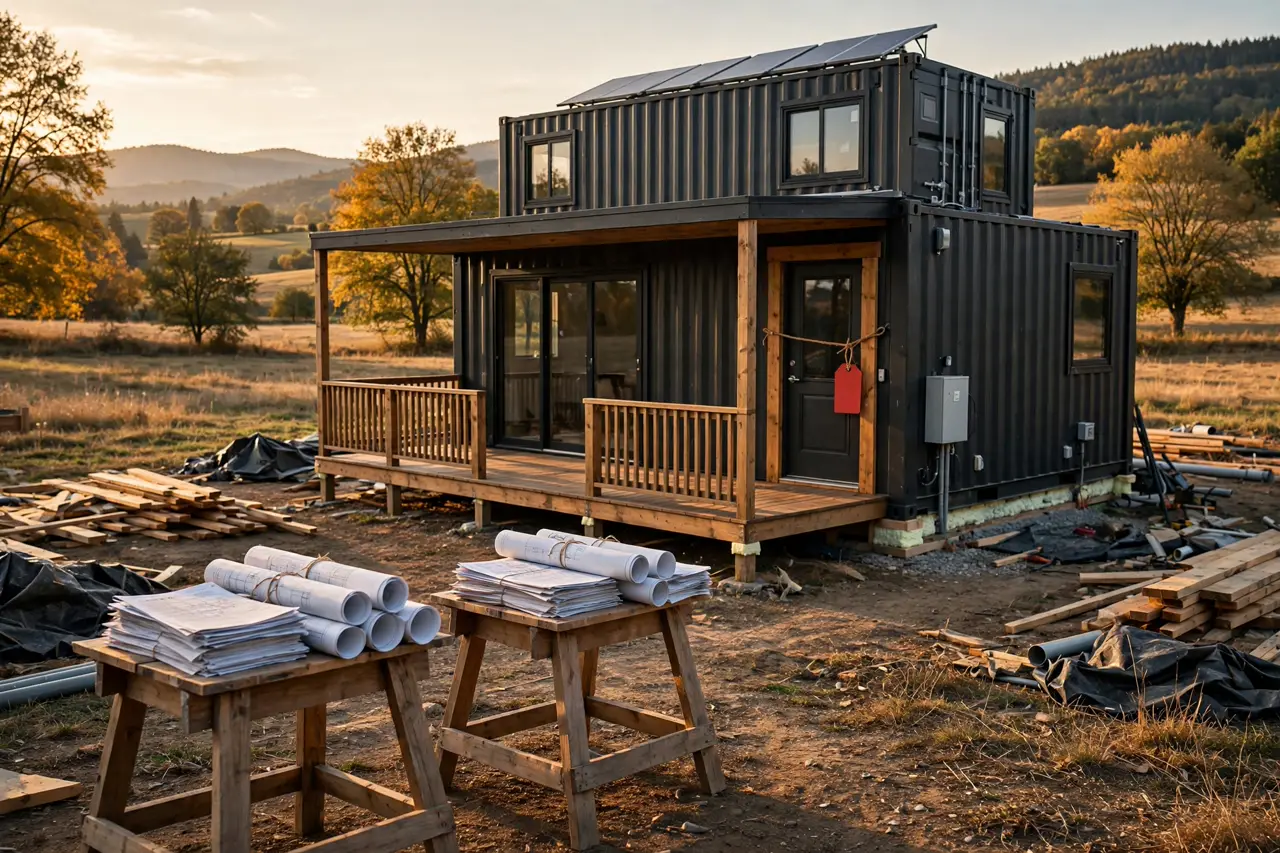
Some builders treat permits as optional paperwork for a temporary container. Counties disagree. When the inspector shows up, work stops, fines stack up, and you may have to tear open finished walls to prove what is inside them.
In the worst cases, owners are ordered to remove the home entirely. Every dollar of the build goes in the trash because a small permit fee felt like a hassle at the time.
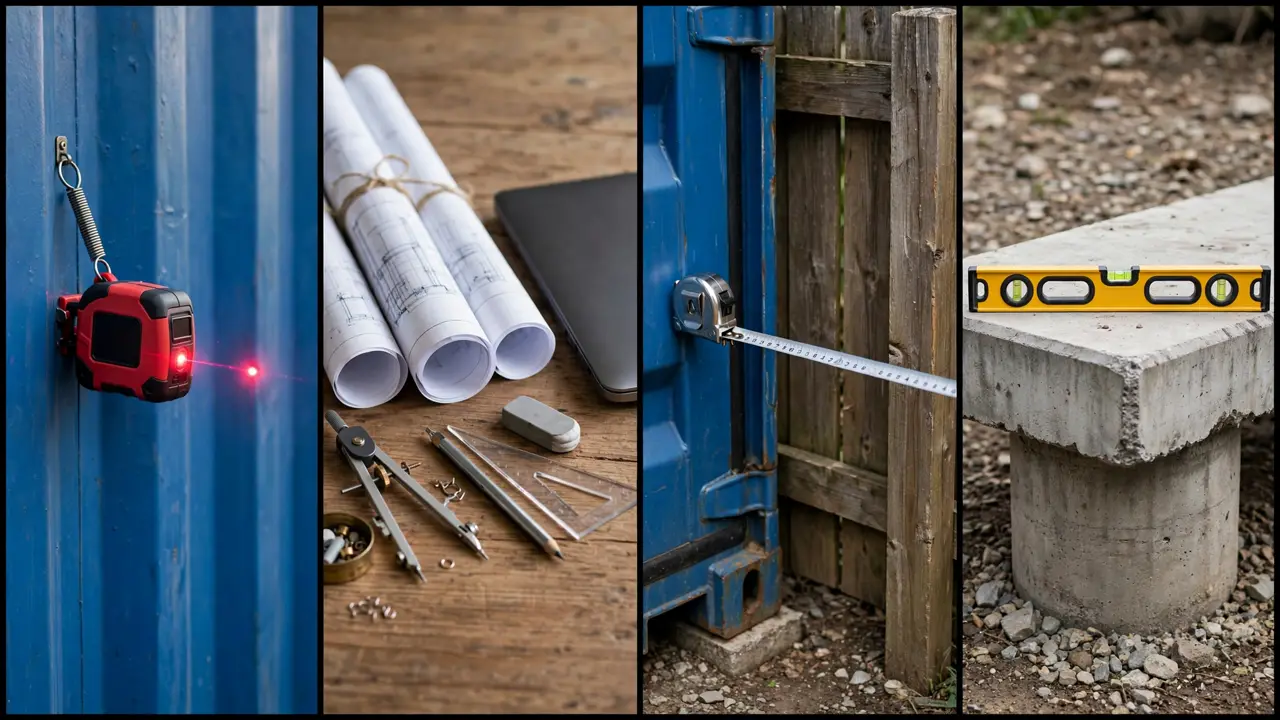
Call the county before you buy land. Ask exactly what a container home needs: foundation plans, electrical inspection, septic approval. Get the answer in writing.
The permit office is not your enemy. It is your cheapest consultant.
Build it legal or build it twice.
9. Undersizing the HVAC System
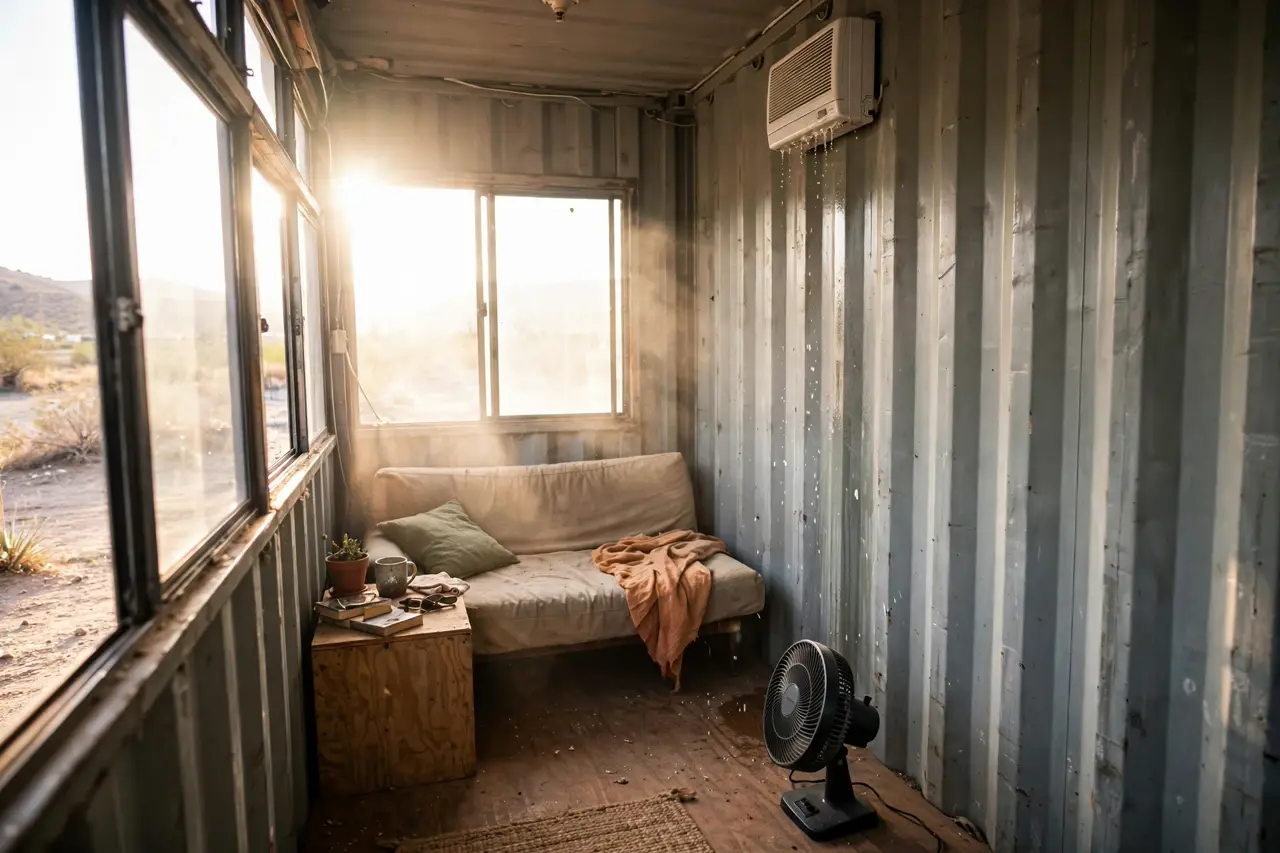
A steel box in full sun is an oven. A steel box in winter is a freezer. A tiny window unit cannot fight either one, so owners add a second unit, then a portable, and watch the electric bill climb past a normal house.
Steel moves heat fast, so the system must be sized for the box, not guessed from a chart made for wood houses. A ductless mini-split heat pump is the usual answer. It is efficient, quiet, and it both heats and cools.
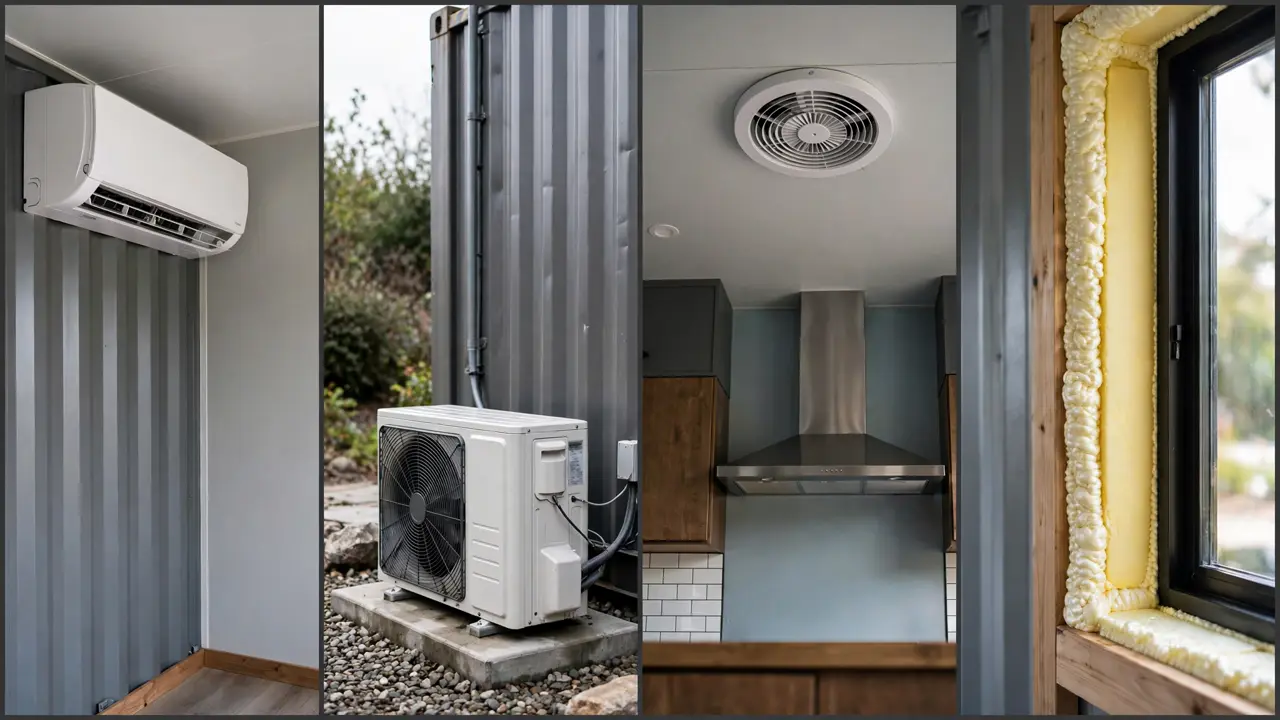
Size the unit with a proper load calculation for your climate. That is a simple math exercise an HVAC tech runs from your floor plan and insulation values.
Insulation and HVAC are a team. One cannot cover for the other.
Buy the right system once.
Run through this list before you spend the first dollar.
None of these mistakes come from bad luck. They come from treating a container home like a simple project instead of a real building.
Spend the money on the foundation, the steel, the moisture control, and the paperwork. That is where container homes are won or lost. The pretty finishes can wait. The structure cannot.