I Asked 12 Container Home Builders the Same Question — The Answers Didn’t Match

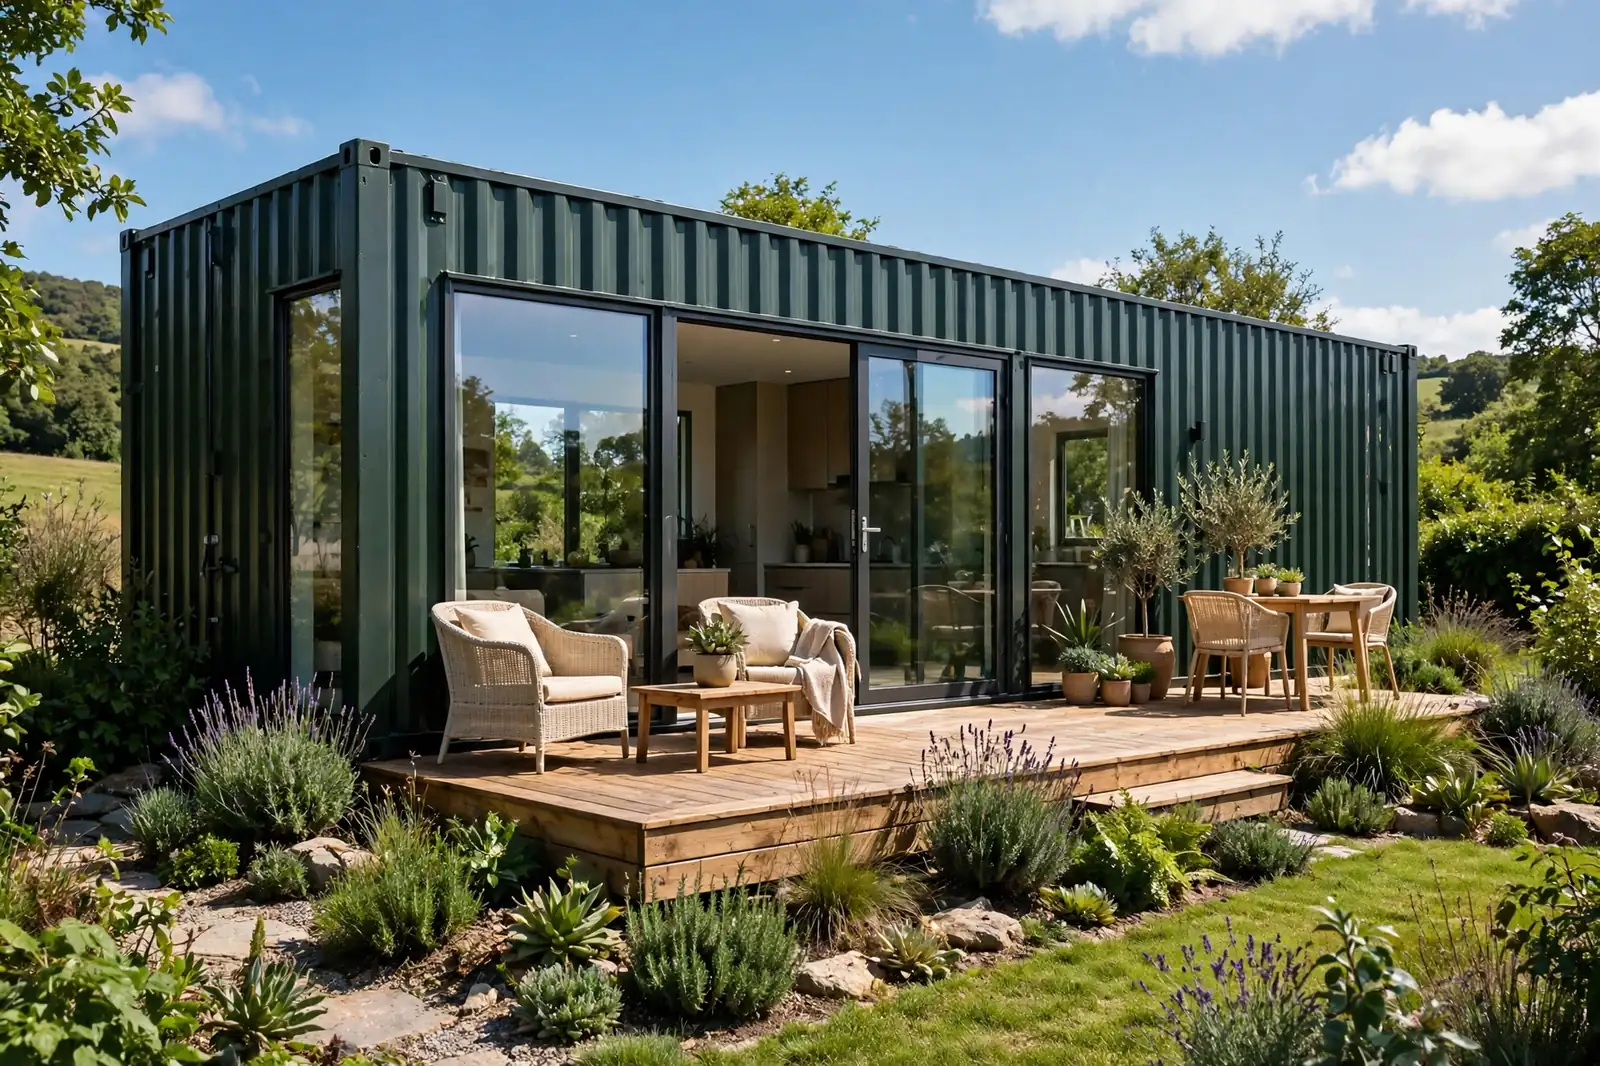
I asked twelve container home builders the same question. What is the one thing you would never skip on a container build?
I expected a consensus. Steel box people tend to agree on steel box things. Instead I got eight different answers, each delivered with the quiet certainty of someone who learned it the expensive way.
Nobody gave me named quotes for the brochure, and I am not going to invent any. What follows is paraphrased builder wisdom, grouped into camps. Each camp believes its answer is the foundation everything else stands on. Annoyingly, they are all right.
The never-skip shortlist
The eight answers, distilled. Every builder agreed these are the parts you cannot redo cheaply.
Never Skip the Foundation
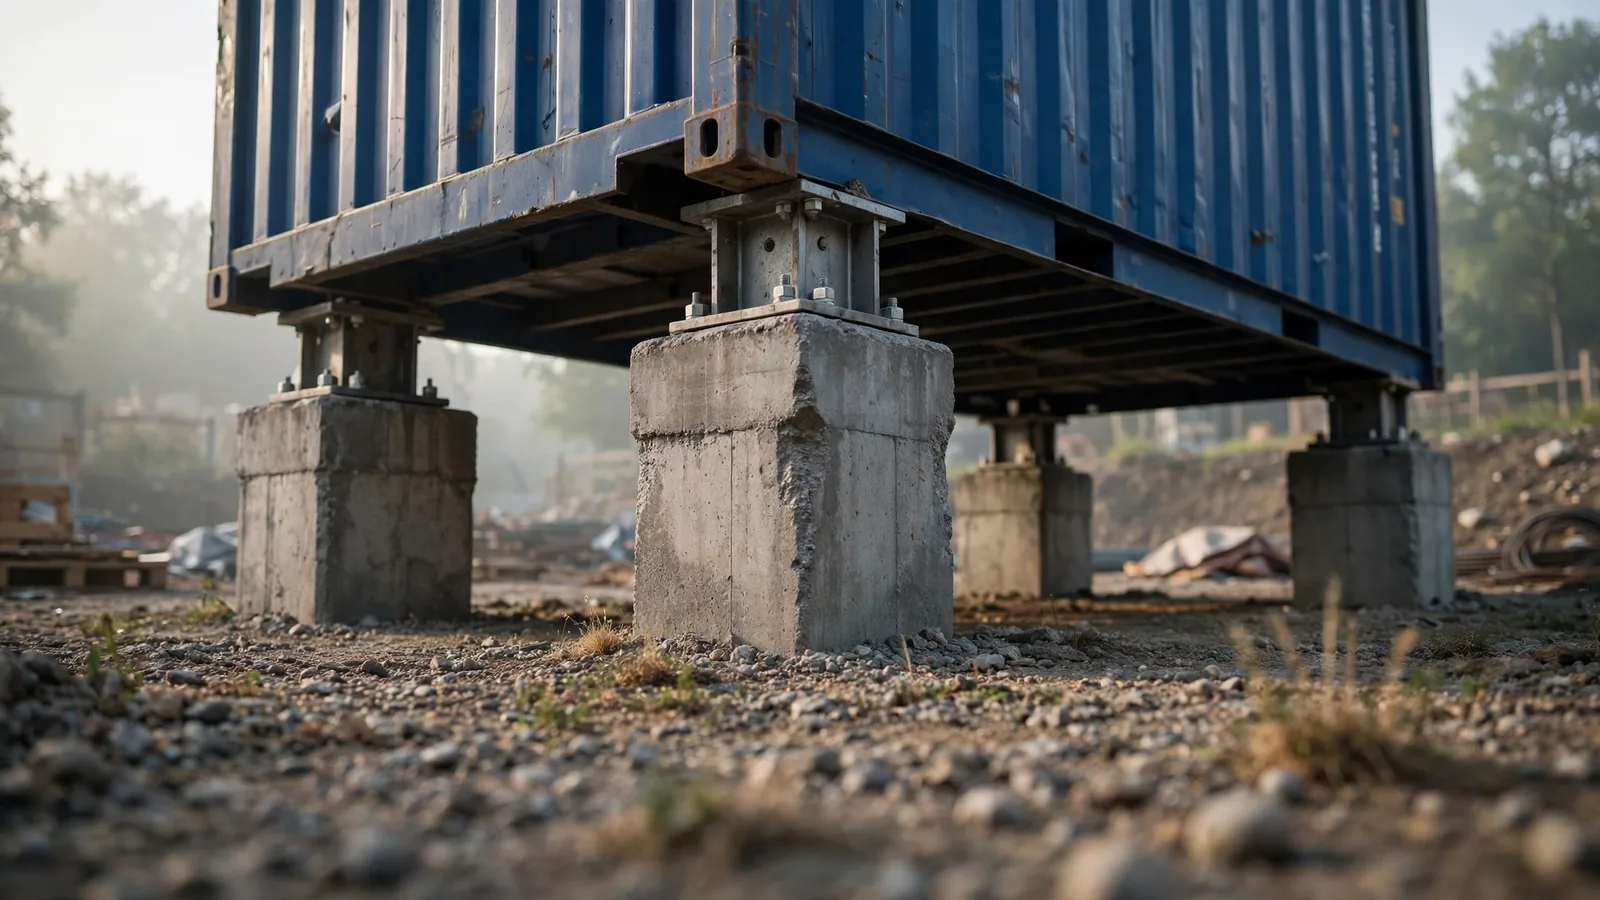
The foundation camp had the simplest pitch. A container is corner-loaded, so the entire structural load travels through four corner posts. Four engineered pads can genuinely carry the box, which makes this one of the cheapest structural decisions you will make. It is also the one you cannot redo.
Concrete piers are the most common choice for a reason. Expect roughly $2,000 to $6,000 for a single container on stable ground, with helical piers running $3,000 to $8,000 where the soil is poor or the site slopes, according to current foundation cost comparisons. A full slab runs $5,000 to $12,000 or more and suits permanent multi-container builds.
One detail applies to every type. A 40-foot container needs intermediate supports along each long side, not just the four corners, or the floor will sag and spring underfoot. Foundation guides also insist on near-perfect levelness and proper anchoring at every corner casting, because wind does not care that your house used to cross oceans.
And the exposed underside needs attention too. Ventilate the space below the floor and insulate it, or rising soil moisture starts the rust clock from underneath.
Treat the Steel Before You Build on It

The rust camp was blunt. Everything you build sits on steel, and corten steel is not rust-proof. It only rusts slower. Scratches from handling, standing water, and salt air all break through the protective oxide layer it is famous for.
Their non-negotiable ritual happens before the first cut. Sandblast large areas down to bare metal, or wire-brush small patches and finish with sandpaper. Then apply a rust converter or zinc primer, followed by marine-grade paint. One rust prevention guide budgets about four gallons of direct-to-metal paint for a 20-foot box and eight for a 40-footer.
The inspection list is specific. Roof dents that pond water, the bottom frame, door edges, corner castings, and every weld. Corrosion specialists recommend a full inspection at least once a year and a repaint every 7 to 10 years, sooner near the coast.
Skip this and you are not building a home. You are wrapping a countdown timer in drywall.
Foam It or Regret It
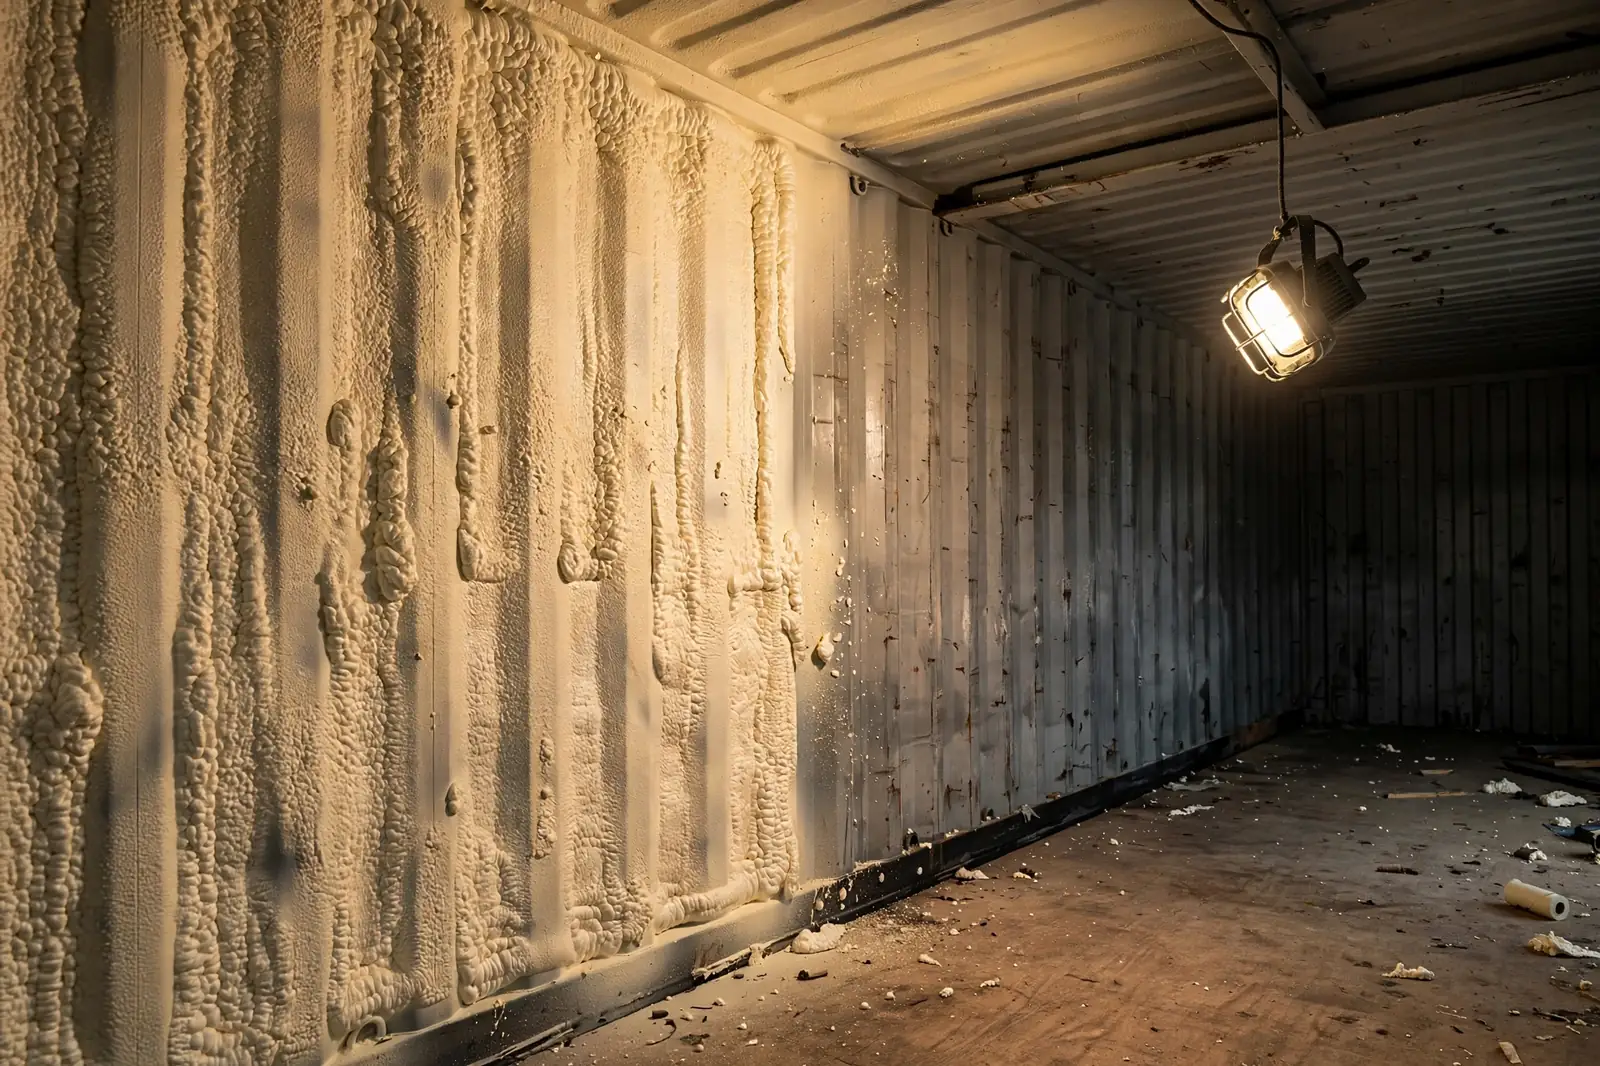
The insulation camp brought numbers. Steel conducts heat more than a thousand times faster than mineral wool, and the corrugated ribs repeat every few inches. Insulation tucked between the ribs without a continuous layer over them can lose 20 to 30 percent of its rated performance to thermal bridging.
Their answer is closed-cell spray foam, applied directly to the steel. At R-6 to R-6.5 per inch, a single layer works as insulation, air barrier, and vapor barrier at the same time. Most builders spec 50 to 75 millimeters on the shell as the first non-negotiable layer, per detailed insulation guides.
The price is real. Budget $1,500 to $4,000 or more per container, with 40-footers landing around $3,000 to $6,000 for walls, ceiling, and floor, according to current cost breakdowns and builder data. Rigid board costs less in materials but needs interior framing plus a separate vapor barrier, and it steals more of your already narrow 8-foot width.
Foam first, because you can fix ugly finishes later. You cannot fix sweating walls without tearing the house apart.
Hire the Engineer Before You Cut
This camp barely answered the question. They answered with a different one. Who stamped your drawings?
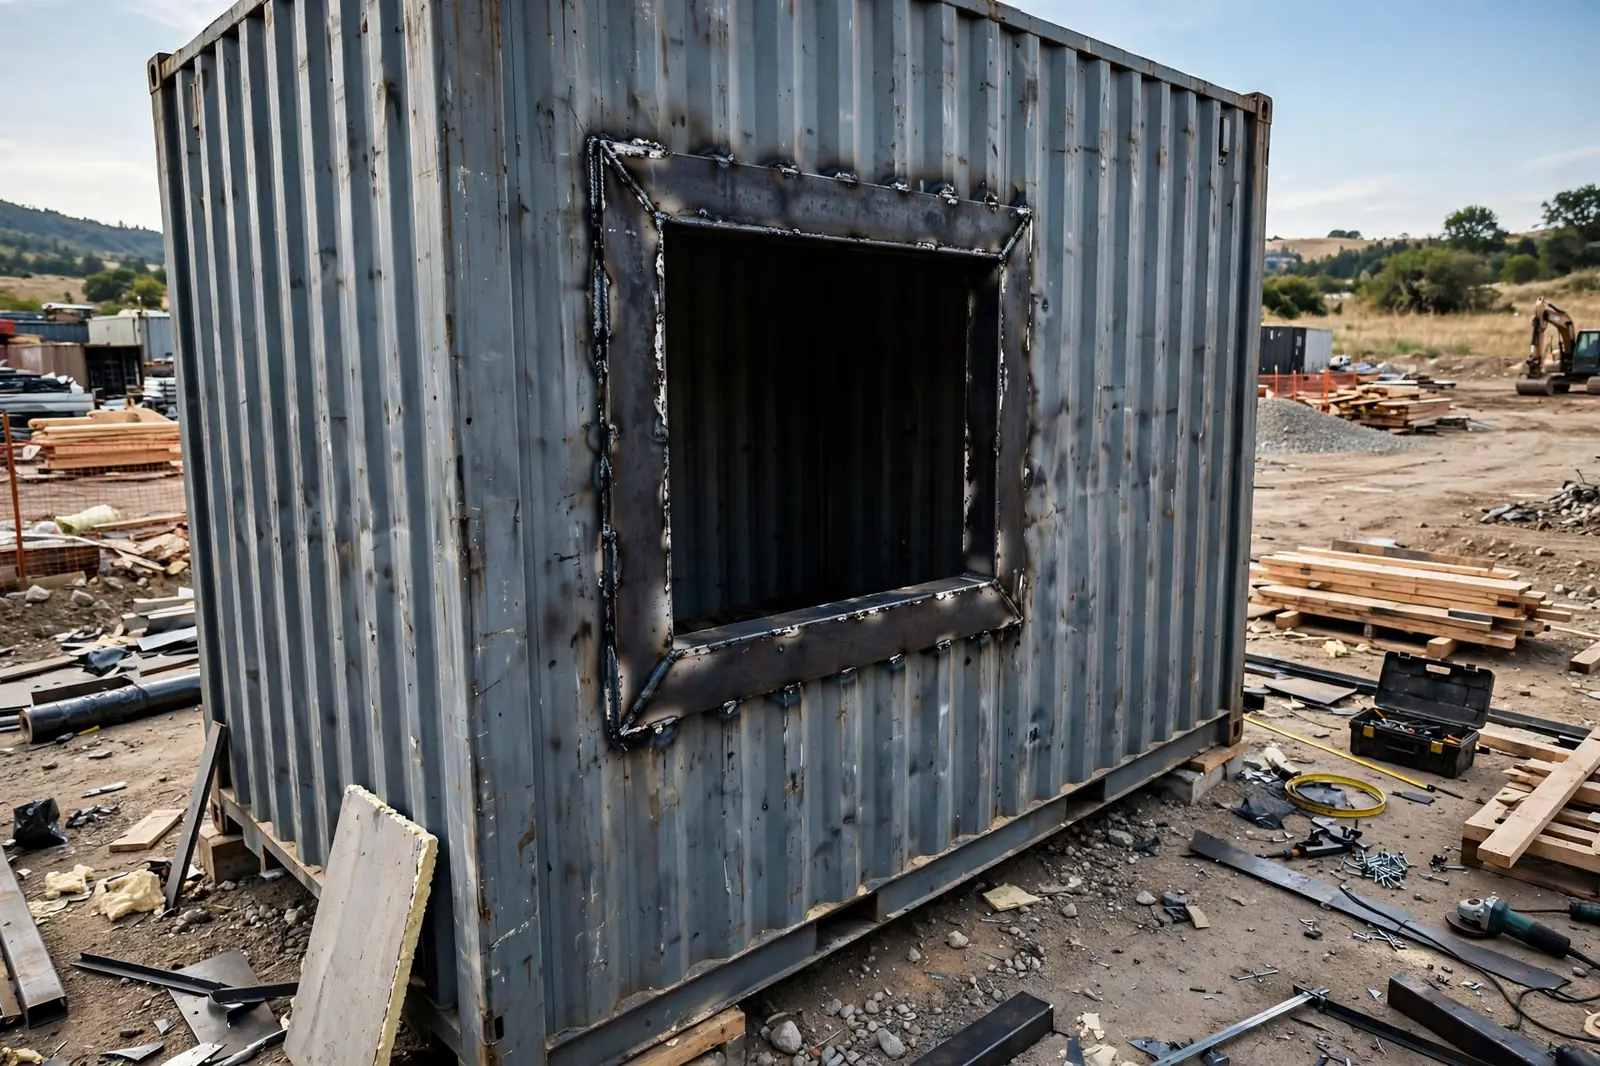
A container gets its strength from the corrugated walls acting as one continuous skin. Cut a window and you have removed structure in that spot. Every opening needs welded steel reframing, and building departments know it. Modified containers need a licensed Professional Engineer to verify the structure and stamp the drawings. Generic internet plans get rejected on arrival.
Budget $2,000 to $5,000 for engineering on a single-container build, or $5,000 to $10,000 for multi-container designs, per code compliance breakdowns. The engineer also verifies the container’s original rating from its data plate and details egress windows to code.
It feels like paperwork. It is actually the cheapest insurance in the project. An unstamped opening is a structural guess, and guesses do not survive inspections or storms.
Foundation options for one container, 2026
Typical installed ranges. Excludes engineering fees, soil reports, and permits.
Sources: usedconex.com, containertrends.com, permitcontainerhomes.com, bobscontainers.com
Call the County Before You Buy the Container
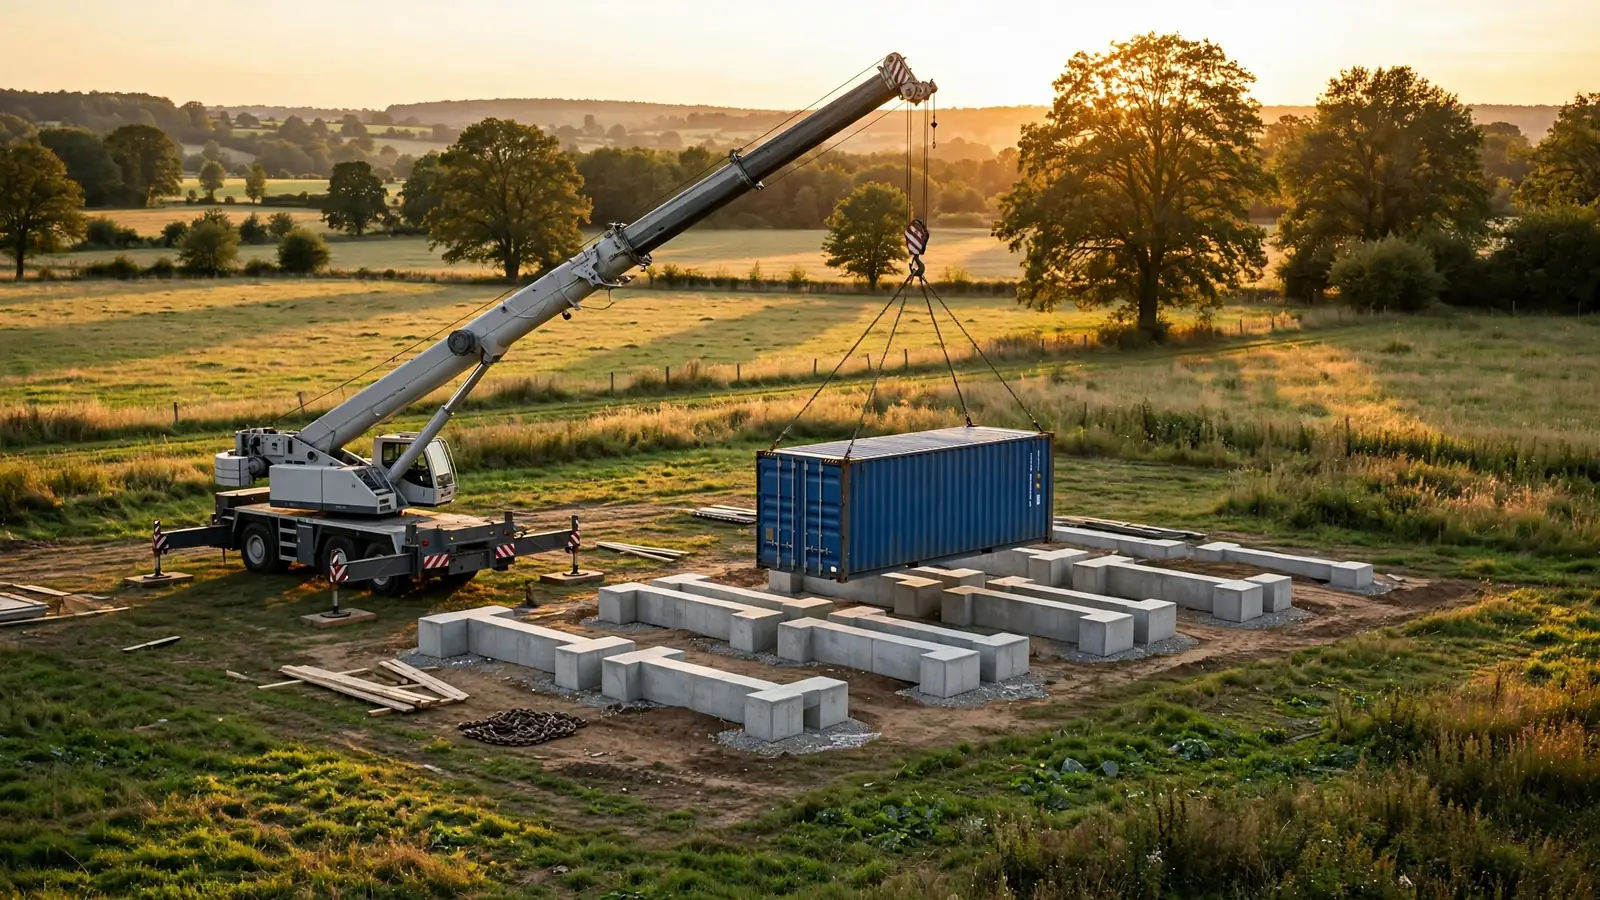
The permits camp had a horror story for every optimist. Container homes used as dwellings need building permits in virtually every jurisdiction, and many places still have no clear rules for steel-box housing. That puts your project on the slow path: alternative-method reviews, extra inspections, sometimes a zoning fight.
The sequence matters more than the paperwork. Visit the building department before you buy land or order a container. Confirm zoning allows residential use, ask about minimum square footage rules, and check whether the area restricts non-traditional materials. One permit guide calls an early planning visit the cheapest insurance in the whole project, and it costs nothing but an afternoon.
Plan for the real timeline and budget. Permitting typically takes 8 to 16 weeks, and total permit-related costs run $3,000 to $10,000 or more once you include engineering review, surveys, and soil testing, per code overviews. Expect inspections at the foundation, rough-in, and final stages.
The builders were unanimous on one point. The people who fail at permits are not the ones with hard sites. They are the ones who bought the container first.
Respect the Roof
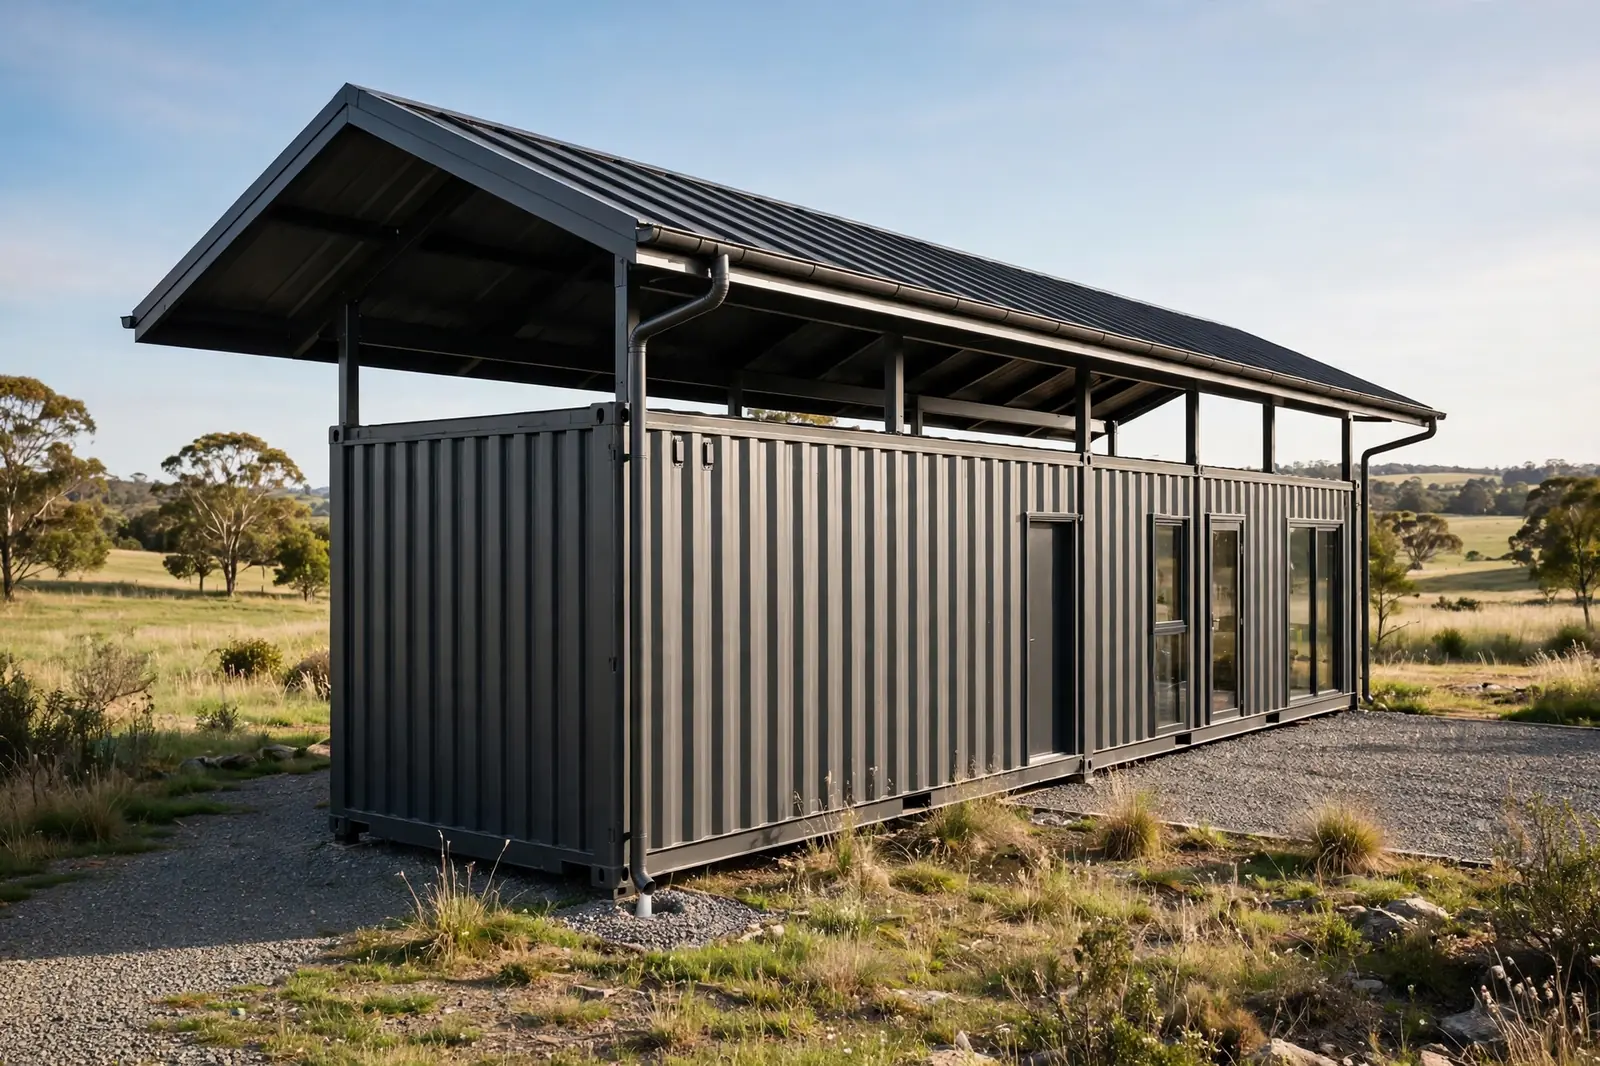
Ask about roofs and builders get oddly emotional. Container roofs are slightly cambered steel that dents in transit, and every dent becomes a pond. Ponding water is rust’s favorite starting position.
The never-skip version gives the roof a real slope or a real cover. A secondary pitched roof adds $1,000 to $5,000 or more, but it sheds water, creates space for extra insulation, and extends the steel’s life by decades. At minimum, fill the dents, keep the surface clear of debris, and fit gutters so water leaves instead of lingering.
Hot climates give the roof a second job. A reflective coating or light-colored topcoat bounces solar gain before it reaches the steel, which matters when an uninsulated box can top 120 degrees inside on a sunny day. Corrosion guides rank the roof as the highest-risk surface on the entire container.
Nobody photographs a roof. Everybody pays for one eventually.
Plan the Air You Will Breathe
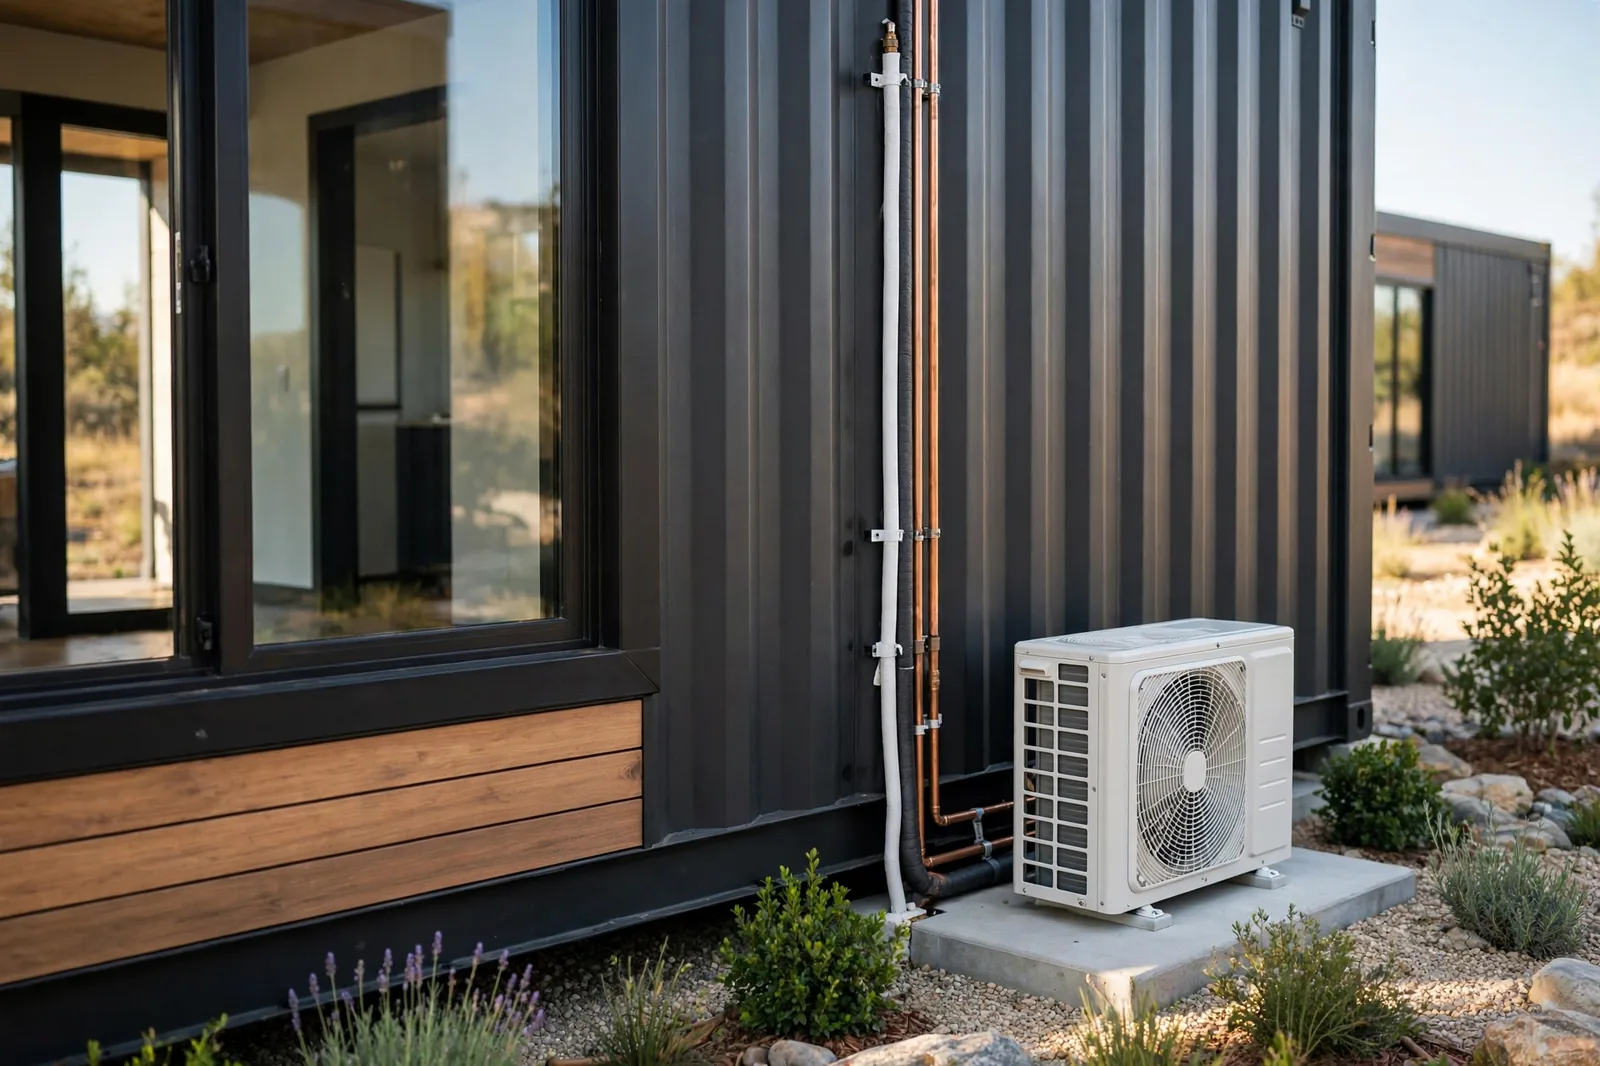
Here is the paradox the ventilation camp loves. Do the insulation right and your container becomes airtight. An airtight steel box full of breathing, cooking, showering humans needs mechanical ventilation, or moisture and stale air have nowhere to go.
Their answer is a heat recovery ventilator or an energy recovery ventilator, sized for the space and running continuously. It exhausts stale moist air and brings in fresh air without throwing away the heating or cooling you paid for. In cold climates, northern builders treat an HRV as a strict requirement, not an upgrade.
For heating and cooling, mini-splits rule the container world. There is nowhere to hide ductwork in 8 feet of width, and a ductless unit costs $1,500 to $5,000 or more installed, per current pricing data. Seal the thermal bridges properly and the cooling load can drop 30 to 50 percent, which means a smaller and cheaper system.
Design the air system on paper before the walls close. Retrofitting ventilation into a finished steel box is surgery.
Insulation options compared
Per 40-foot container. Performance and cost from 2026 industry data.
Sources: sentaenergy.com, accio.com, b2bchronicle.com, engineerfix.com
Buy the Right Box
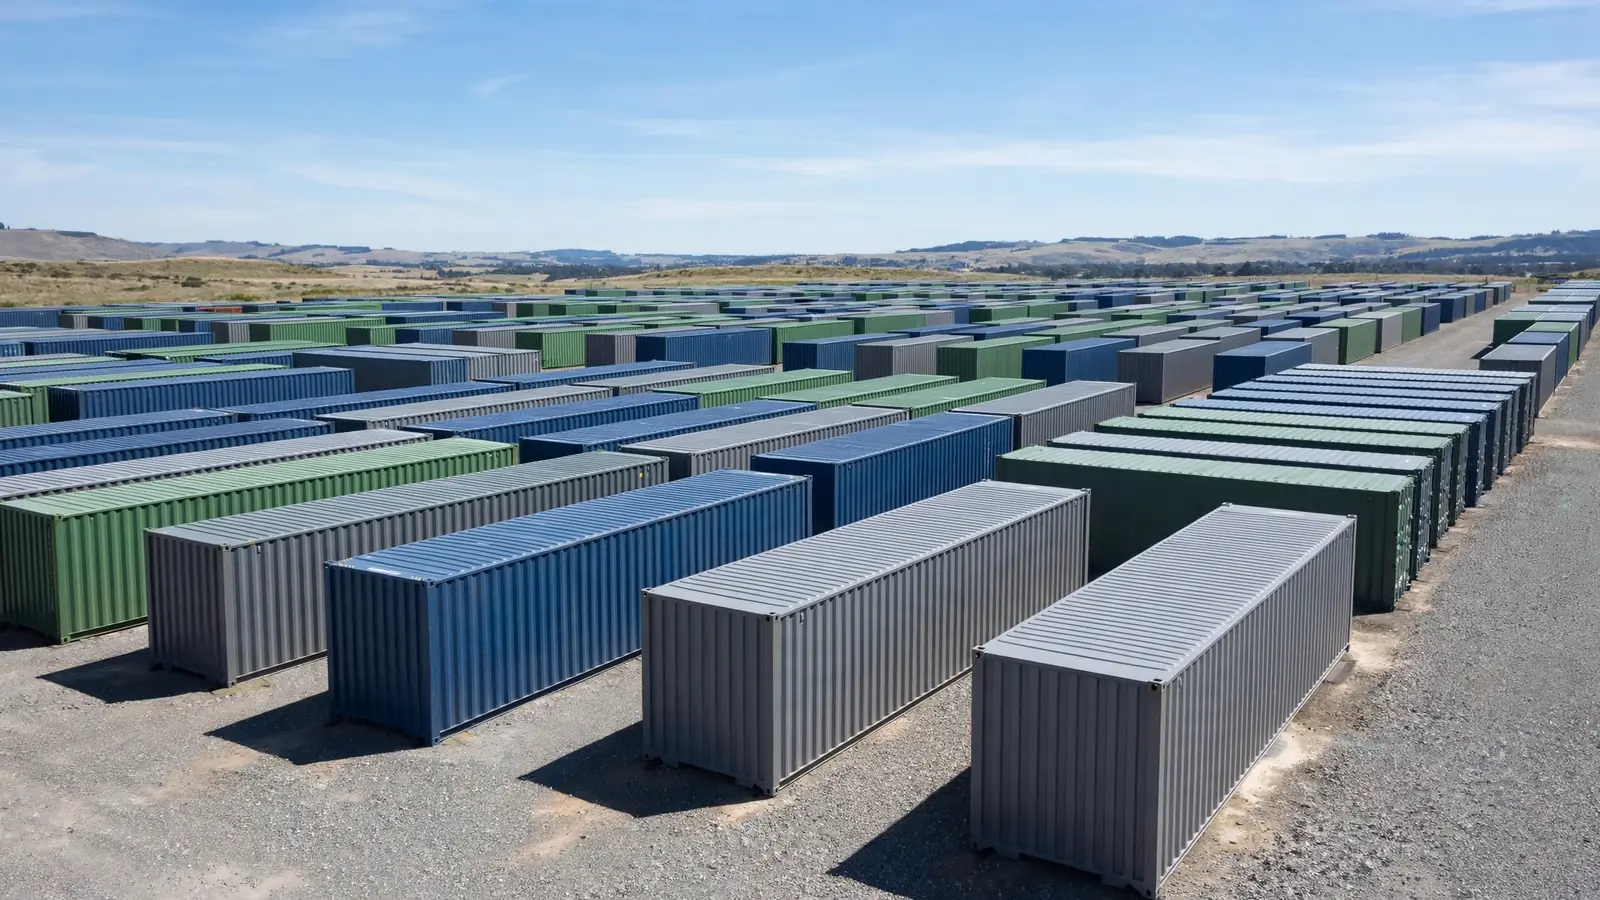
The last camp laughed at everyone else. All your answers assume a good container, one builder said. Start with a bad one and you are renovating a problem.
Their checklist is short. Buy one-trip containers when the budget allows. A used 40-footer in wind-and-watertight condition runs $2,000 to $3,250, while one-trip units run $3,700 to $5,125, per 2026 US pricing data. Inspect the underside and chassis, not just the pretty walls. Check the plywood floor for chemical stains or strong odors, since some floors were treated with heavy pesticides.
Verify the data plate, because the building department will. Confirm the grade matches what the seller claims, since buyer guides warn that seller descriptions alone are not enough. And price the delivery honestly: $300 to $1,000 or more depending on distance, plus a crane day if the truck cannot reach your site.
High cube units cost a little more and give you nearly a foot of extra interior height. After insulation and ceiling finishes eat their share, that foot is the difference between cozy and cramped.
Twelve builders, eight answers, zero consensus. That is the real lesson.
Every camp was describing the same fear from a different angle. The fear that the exciting parts get built first and the boring parts get skipped, and the boring parts are the house. Foundation, steel treatment, foam, engineering, permits, roof, air, and the box itself. Skip any one of them and the rest of the build is decoration on a countdown.
So steal their answers. Ask yourself the question before you spend the first dollar. What would you never skip? Then do that part first, while it is still cheap and easy. The glossy version of your build can come later.