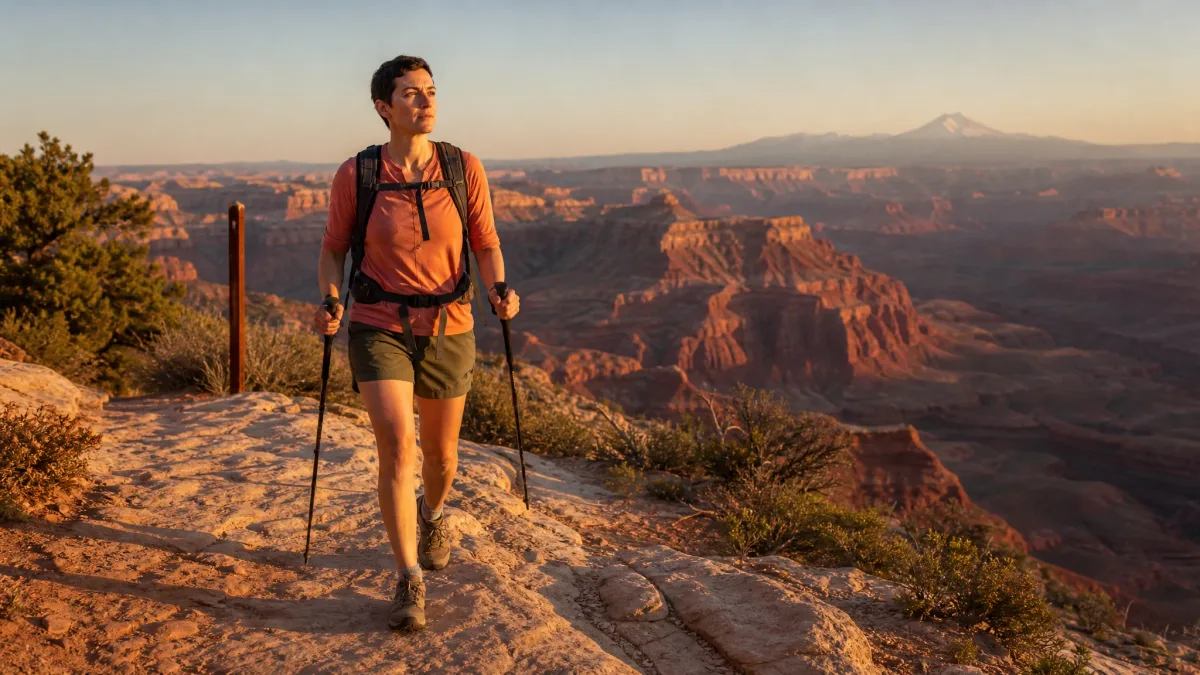
How to Hike All Day Without Getting Exhausted

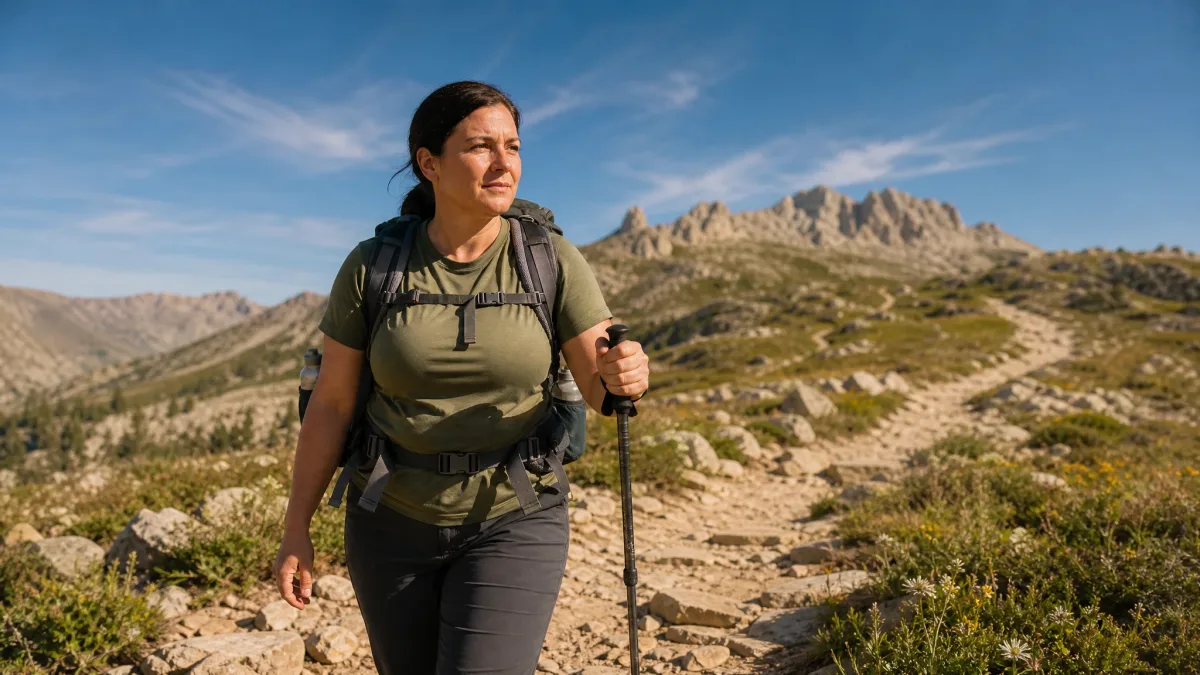
Most people assume that bonking at mile six means they need to train harder. After decades of trail time across hundreds of miles — including through-hikes with 1,500 to 2,500 feet of daily gain — the real pattern becomes impossible to ignore: the hikers who run out of gas first are rarely the least fit. They just hike differently.
The good news is that technique fixes work faster than any training block. You can adjust how you place your feet, manage your pace, and time your food and water right now, on your next hike, without a single extra workout.
These eight adjustments cover the full day, from the first uphill to the last descent. Work through them in order, because each one builds on the last.
Quick Tips Before You Start
Pack snacks up front
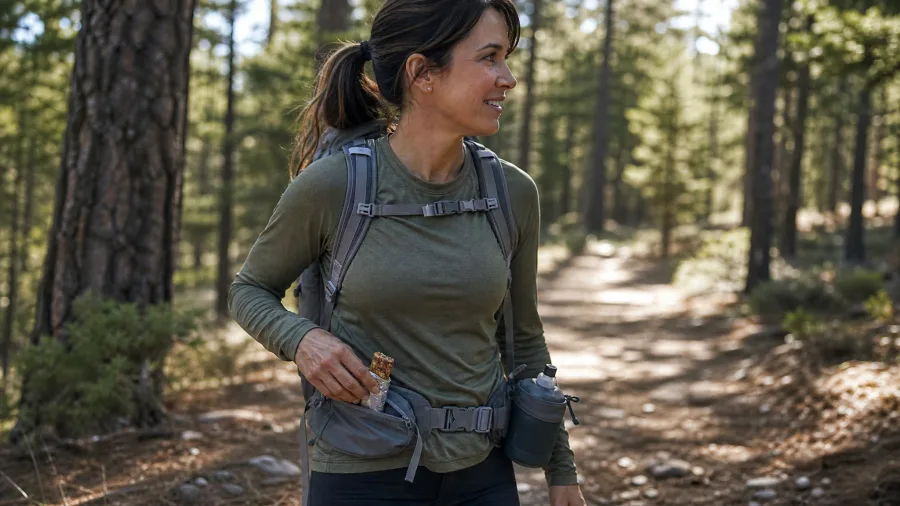
Store 150–250 calorie snacks in a hip-belt pocket so you can eat without stopping.
Sip on a schedule
Aim for roughly 0.5 L per hour in mild conditions — don't wait until you're thirsty.
Set poles at elbow height
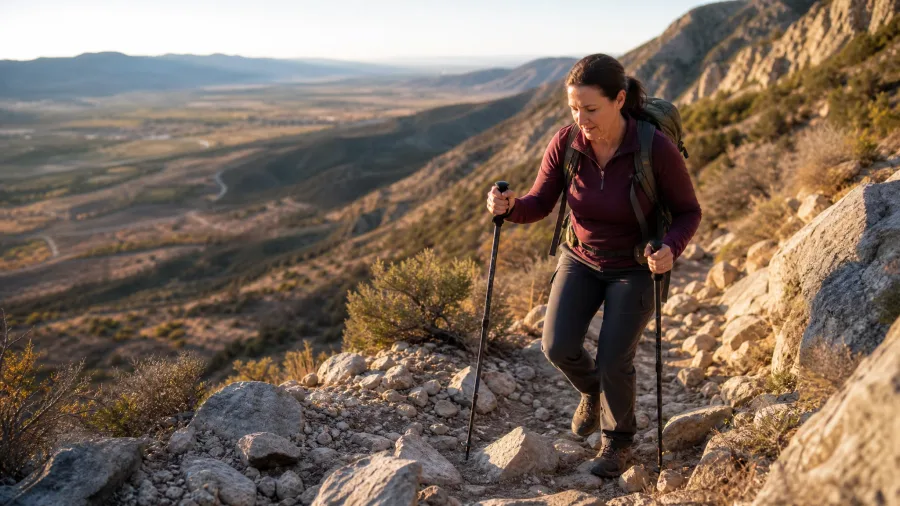
Trekking poles at elbow height on flat ground; shorter uphill, slightly longer on descents.
Use the talk test
If finishing a full sentence feels labored, you're already above 80% effort — ease off now.
Check your foot landing
If your knee is nearly straight before your foot touches down, you're reaching too far ahead.
1. Most Trail Fatigue Comes from Technique, Not Fitness
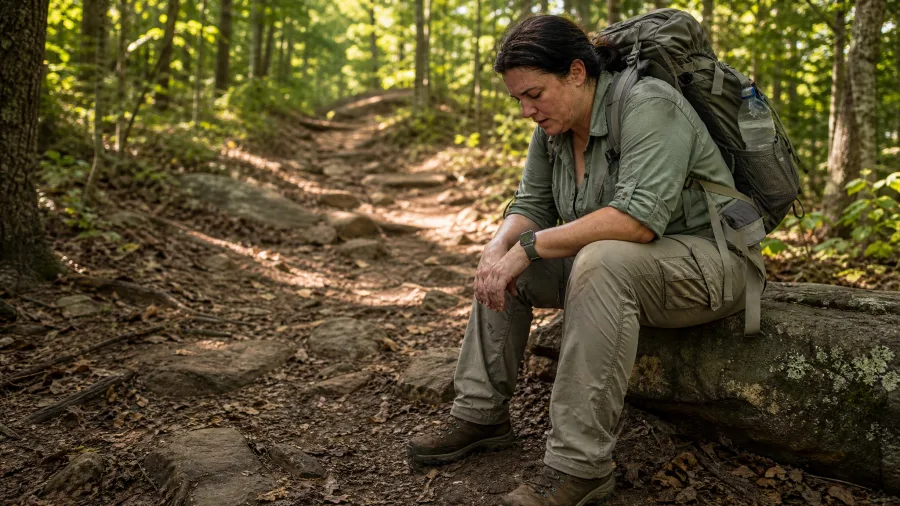
You feel fine climbing stairs, you walk several miles a week without trouble, and yet a 10-mile trail wrecks you by noon. That gap between everyday fitness and trail endurance is real – and it has almost nothing to do with your cardiovascular system.
Aerobic capacity and hiking efficiency are two separate skills, and most people only ever develop the first one. The behaviors that drain your battery fastest are so common they look completely normal: driving hard off the heel with every step, stretching your stride to hold pace as the trail tilts up, refusing to back off the moment a climb begins. Each of those choices burns energy at a rate your body simply cannot sustain across 8 to 12 miles with 2,000 feet of gain.
Finishing a long trail isn’t about intensity — it’s about endurance. Once you stop chasing aerobic effort and start thinking about conserving energy across many hours, you’ll notice the difference at the end of the day: steady legs and a strong finish rather than a painful crawl back to the car.
After thirty-plus years on mixed trail, the pattern is unmistakable: the hikers who fall apart midday aren’t unfit, they’re just using inefficient technique. Fix the technique, and the same body goes considerably farther on the same amount of energy – faster than any training plan can deliver.
💡 PRO TIP
Pre-Portion Your Snacks the Night Before
Split the day's snacks into small zip-lock bags, each holding roughly 200 calories. Drop one bag in each hip-belt pocket before you start. When a pocket empties, it's time to refill from the main pack — a built-in reminder that costs zero extra willpower on trail.
2. Drop Your Pace the Instant the Trail Tilts Up
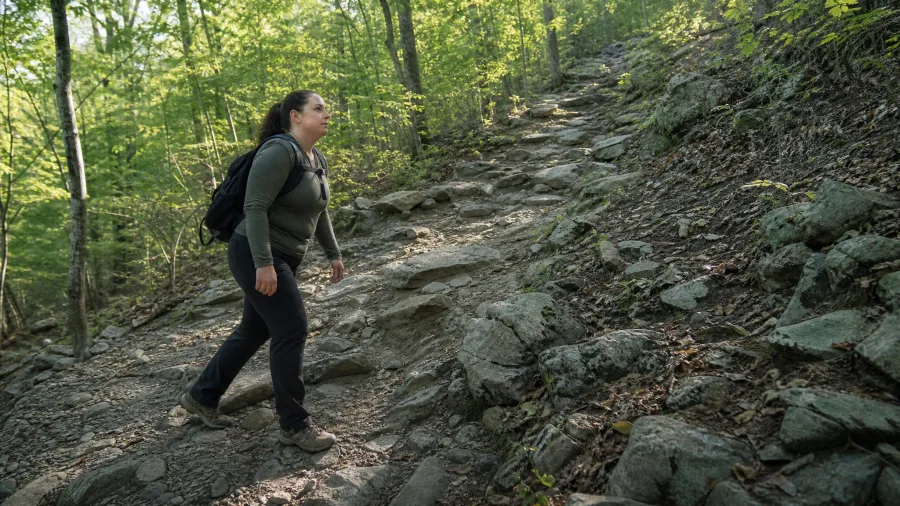
Energy management isn’t an abstract idea – it has an immediate, on-trail trigger, and it kicks in the second the ground rises beneath your feet.
The cue is this: the moment the trail angles upward, reduce your pace. Not once your breathing goes ragged. Not after the first switchback hits. At the very first sign of rising grade. Think of it like downshifting a truck before the engine starts to lug – you change gears before the struggle, not in response to it. Waiting until the climb already feels hard means the damage to your reserves is already done.
Experienced hikers aren’t faster uphill than beginners. They’re more consistent across miles, and that consistency is only possible when pace drops early enough that energy reserves never get drawn down past the point of easy recovery. A beginner’s instinct is to hold speed as long as possible; an experienced hiker’s measure of a good climb is arriving at the top with something left.
If you’ve ever felt surprisingly wrecked after what looked like a modest hill on the map, this is almost certainly why. The hill wasn’t the problem – the timing of the slowdown was.
💡 Tip: If other hikers are passing you on the climb, let them. You'll likely pass them on the second half of the day.
⚠️ COMMON MISTAKE
Holding Pace on a Climb Costs You Later
Burning extra energy to maintain flat-ground speed on even a gentle uphill grade means you're already drawing down reserves you'll need hours from now. Slow down early — the climb will still be there whether you fight it or not.
3. Land Each Foot Under Your Hip, Not Ahead of It
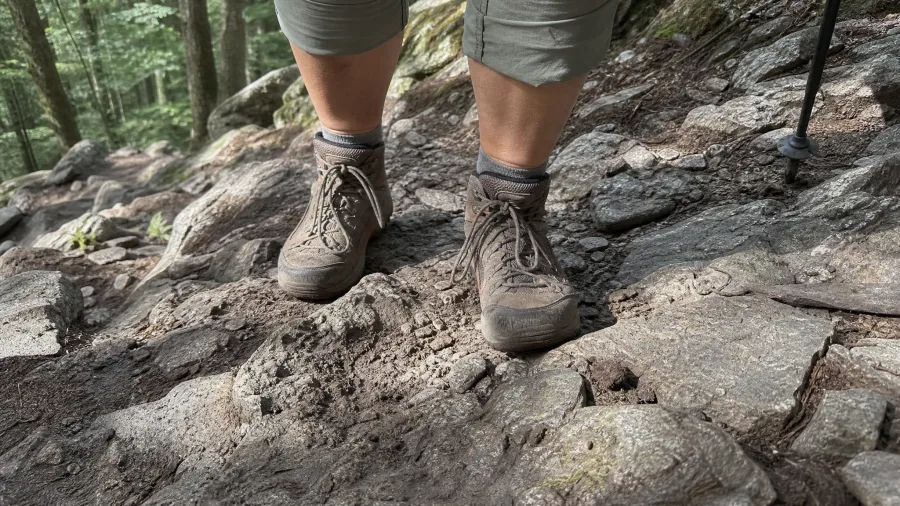
You’re already slowing the moment a grade appears – now let’s talk about exactly where each foot lands, because placement and pace work together.
Reaching forward and setting your foot down 6 to 10 inches ahead of your center of gravity forces small pulling muscles to drag your body forward with every single step. Land directly under your hip instead, and your glutes and thighs take over. Those are the largest muscles in your legs, and large muscles fatigue far more slowly than small ones. That’s the genuine payoff here – not a style preference, an actual endurance gain across a long day.
Nepali mountain porters carry extraordinary loads for hours on steep terrain using exactly this foot placement. It scales to serious effort, which tells you the physics are sound. Your self-check on trail is simple: if your knee is nearly straight before your foot makes contact with the ground, you’re reaching too far ahead. Shorten up, feel your glutes engage, and your legs will still be working when the trailhead comes into view.
Foot Placement — At a Glance
📍 Step adjustment
Shorten step length — never reach forward to go faster
⛰️ On steep uphills
Even shorter steps; placement rule tightens, not loosens
❌ Muscles you're avoiding
Small pulling muscles — hip flexors and tibialis anterior
🔍 When to recheck
First mile and again after any long descent — fatigue drifts the foot forward
⚠️ Common fix mistake
Leaning forward at the waist instead of moving the foot — keeps the load on small muscles anyway
The payoff across 8–12 miles
Every forward-placed step recruits smaller muscles that cap out early. Fix placement on mile 1 and those muscles are still fresh on mile 10.
4. The Faster You Want to Go, the Shorter Each Step Should Be
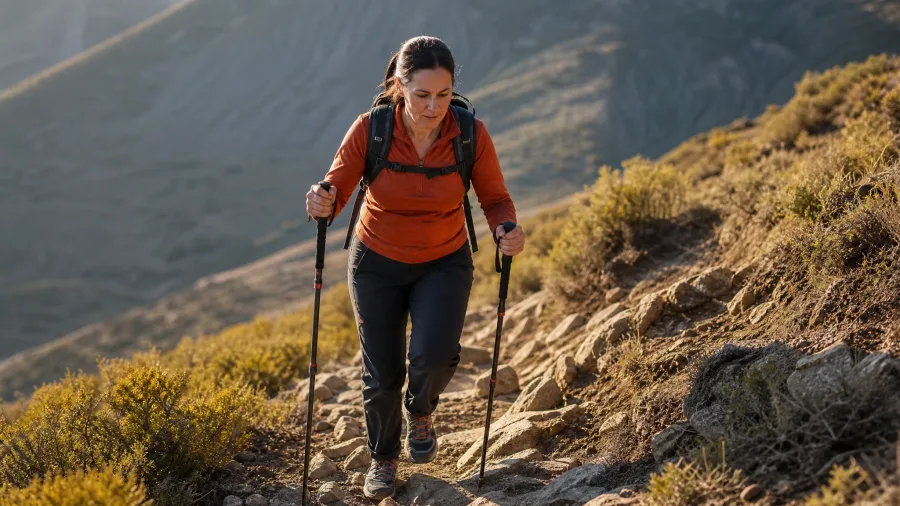
Shorter steps for a faster pace sounds completely backwards. It isn’t.
Every time you overstride, your foot lands ahead of your body and acts as a brake. Your legs then have to re-accelerate from that dead stop on every single repetition. Over a few miles of flat ground, that constant braking-and-restarting cycle drains your legs faster than most climbs will. The energy isn’t going into forward movement – it’s going into fighting the stop you just created.
The same logic applies when the trail steepens. Big steps on a sharp grade are essentially small lunges, repeated until your quads stop cooperating. Shorter steps keep the effort per stride low enough that you can actually sustain the cadence.
The rule covers both situations: want to move faster on flat ground, shorten your steps. Tackling a steep pitch, shorten your steps. When individual steps start feeling like lunges, they’ve already gotten too big – that’s your body telling you to dial back the stride length, not the pace.
Think of it like spinning in a lower gear on a bike rather than grinding in a tall one. The cadence stays higher, the effort per step stays lower, and over a full day you’ll cover more ground with less suffering than the long-striding hiker who looked stronger at mile two.
Big Steps vs. Short Steps
Big Steps
- Foot lands ahead of center of gravity
- Body brakes and re-accelerates each step
- Small muscles do the pulling work
- Quads overloaded on steep grades
- Energy drains fast on long days
Short Steps
- Foot lands under or near the hip
- Continuous forward motion, no braking
- Glutes and thighs carry the load
- Sustainable rhythm on any grade
- Cover more ground with less fatigue
5. Zigzagging a Steep Pitch Costs Far Less Energy Than Going Straight
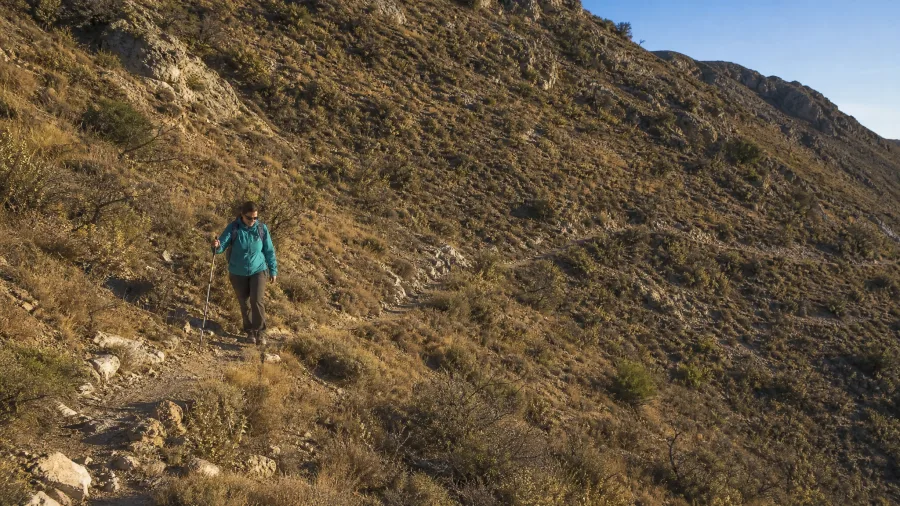
Shorter steps tame a climb – but when the grade turns genuinely brutal, there’s another tool available that most hikers resist for no good reason: changing your line of travel entirely.
A longer angled path up the same vertical rise requires less force per step than a straight charge directly at the top. That’s basic physics, and it adds up fast on a 500-foot pitch. The mental barrier is real, though. Many hikers feel obligated to go straight up, as if zigzagging is somehow cheating or a sign they can’t handle the terrain. It isn’t either. It’s the same elevation gain with meaningfully less energy spent getting there.
The practical trigger is when your effort is already pushing toward the upper edge of comfort – not as a default on every gentle slope. Save it for the pitches that actually demand it.
One thing worth knowing: where the trail has built-in switchbacks, use them rather than cutting straight across. If you’re on a steep, off-trail face and thinking about improvising new lines, check the land-management guidance for that specific trail first. Cutting fresh routes across fragile terrain causes erosion that can take years to heal, and some areas prohibit it outright. When the trail designers already did the zigzagging for you, trust their work.
6. Seventy to Eighty Percent Effort Is the Ceiling, Not the Starting Point
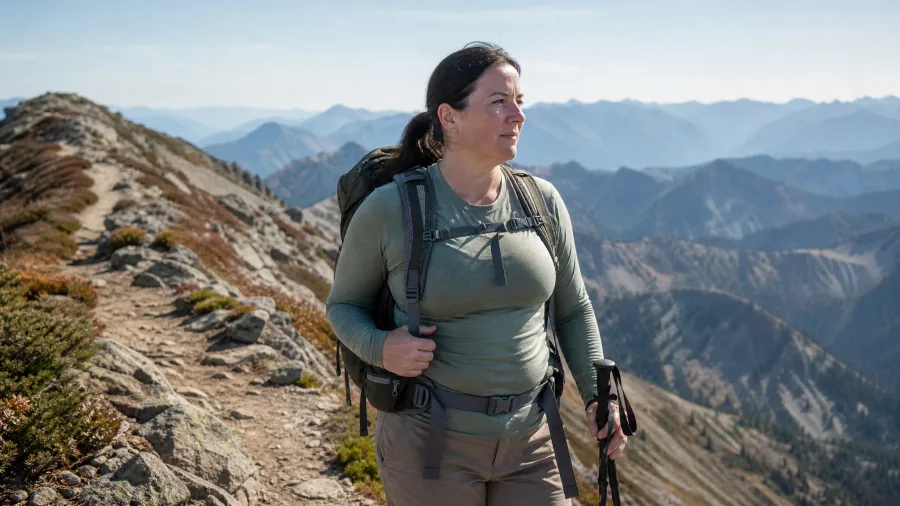
Technique adjustments to your stride and foot placement save energy on the climb – but none of that matters if you blow your reserves before noon. That’s where the effort ceiling comes in, and it’s more specific than most hikers expect.
The rule is 70 to 80% of your maximum effort, all day, starting from mile one. Not a warmup number that you push past once things feel comfortable – a ceiling you never cross. On the Colorado Trail, the pattern becomes impossible to miss after a few consecutive days: hike hard on the morning climbs because you feel fresh, and by early afternoon your legs are already in debt. It doesn’t announce itself with drama. It’s just a quiet, steady drain that compounds until finishing the day feels like a negotiation.
The early-warning sign costs nothing to use. If it already feels like you’re pushing, your pace is already too high. Cut it before the burn arrives, not after.
For a no-equipment field check, try the talk test. Speak a short sentence out loud. If that feels labored, ease back immediately. If a long conversation is hard but a short sentence comes out fine, you’re sitting right in the 70 to 80% window. That cue works even when you have no real feel yet for what those percentages mean inside your body – and most people don’t, at first. It takes a few outings before the numbers translate into a recognizable sensation, so the talk test acts as a reliable stand-in until they do.
💡 Tip: Set a soft alarm on your watch for every 30 minutes and do a quick effort check. It's easy to drift above 80% without noticing on a gradual climb.
What 70–80% Effort Feels Like Over a Full Day
7. Eat and Drink Before You Think You Need To
That same ahead-of-the-problem thinking – the kind that has you slowing before the climb feels hard and planting your foot before momentum gets away from you – applies just as directly to what you’re eating and drinking.
By the time genuine exhaustion hits on trail, the energy deficit is already too large to fix quickly. A gel or a handful of nuts can’t undo ninety minutes of running low. The fix is a schedule, not a feeling: roughly 150 to 250 calories every 45 to 60 minutes, starting in the first hour, long before you feel like you need it. The same logic applies to water – sip on a set interval rather than waiting for thirst, aiming for around 0.5 L per hour in mild conditions and more at altitude or in heat, since individual needs shift with temperature and exertion.
Keep your snacks in a hip-belt pocket or your pack’s top lid. No digging, no stopping, no skipped feeds because the pack felt like too much effort to open. Making it frictionless is what makes the schedule stick.
A Simple Trail Fueling Plan
8. Slightly Bent Knees on Descents Save Your Joints
Every footfall on a downhill sends impact force somewhere – and if your knees are locked, it goes straight into the joint. Cartilage absorbs what your muscles won’t, and on a long descent, that adds up fast.
Keep a soft, athletic bend in both knees instead. Not a deep squat – just a relaxed stance, like you’re about to catch a ball or step off a low curb. With that small adjustment, your quads and hamstrings take the load and act as shock absorbers. The bend shouldn’t feel exaggerated or tiring; it just feels less rigid than what most people default to.
This isn’t only a comfort issue. Accumulated knee damage on the descent is one of the main reasons hikers can’t finish long days – not the distance, not the fitness level, just joints that ran out of runway somewhere on the back half of the trail. Protecting them on the way down belongs to the same line of thinking as pacing, foot placement, and fueling. It’s all part of finishing the day intact rather than surviving it.
🥾 How a Well-Managed Hiking Day Flows
Start slower than feels necessary
Begin at 70% effort even on flat ground — your body needs the first 20 minutes to settle into its rhythm.
Downshift at the first uphill sign
Reduce pace the instant the trail tilts, before breathing changes — this is where reserves are protected or lost.
First snack by mile 2
Eat 150–250 calories before hunger signals arrive, and sip water on your set interval.
Check effort every 30 minutes
Run the talk test — short sentence comfortable, long conversation slightly hard — and ease back if needed.
Descend with soft knees
Keep an athletic bend in both legs so muscles absorb impact and joints stay intact for the next day.
Frequently Asked Questions
How do I know if I’m hiking at 70–80% effort without a heart rate monitor?
Use the talk test. Speak a short sentence out loud — if it comes out comfortably, you’re likely in range. If finishing even a short sentence feels labored, ease back. If you can carry a long, relaxed conversation without any effort, you’re probably below 70% and can pick up the pace slightly.
What snacks work best for hiking all day?
Anything with a mix of carbohydrates and a small amount of fat holds energy longer than pure sugar. Trail mix, nut-butter packets, bars like RX Bars or Clif Bars, and dried fruit with nuts all work well. The specific food matters less than eating roughly 150–250 calories every 45–60 minutes and keeping it in a pocket you can reach without stopping.
Should I use trekking poles for long hikes?
Yes, especially on hikes with significant elevation gain or loss. Set them at elbow height on flat ground, shorten them slightly on steep uphills so you can push effectively, and lengthen them slightly on descents to help with balance and reduce knee load. Black Diamond and Leki both make reliable adjustable options in the $80–$150 range.
Is it okay to take breaks, or does stopping hurt your rhythm?
Short breaks — two to three minutes to eat, adjust gear, or check the map — are fine and don’t meaningfully disrupt your rhythm. Long seated rest stops, especially on cold days, let muscles stiffen and make restarting harder. Aim to keep moving at a very slow pace rather than fully stopping whenever possible.
Why do my legs feel fine during the hike but wreck the next day?
Delayed onset muscle soreness (DOMS) typically peaks 24–48 hours after the effort, especially after downhill sections that load the quads eccentrically. Soft-knee descents help reduce the damage. Eating enough protein in the hours after a long hike and staying hydrated also speeds recovery noticeably.
One Change That Proves Fatigue Is a Technique Problem
You don’t need a single extra training session to hike longer. You need one change first: slow down the instant the trail tilts upward, before your breathing even hints at effort. Do that on your next hike and you’ll finish a climb with reserves you’ve never had before.
That single adjustment is the fastest proof that exhaustion on trail is almost always a technique problem. Once you feel it work, every other fix on this list — shorter steps, hip-landing foot placement, the 70–80% ceiling, proactive eating — clicks into place around it.
The goal was never to hike hard. It was always to hike all day.
Try the Pace Drop on Your Next Climb
Before you hit the trail, re-read item #2 and item #6 — they work together and you can apply both in the first ten minutes of any hike. Everything else builds from there.