15+ Shipping Container Homes With Covered Patios and Shade Structures

Shipping containers are basically steel boxes that love the sun a little too much. They heat up fast, and without shade your little home turns into an oven by noon. A covered patio fixes that in one move. It gives you an outdoor room, and it keeps the steel wall behind it cool.
The trick is picking the right shade structure for your budget and your climate. A simple pergola with slatted timber is cheap and beautiful. A tensile membrane canopy costs more, but it throws a huge sail of shade with just two masts. Every design below was chosen because it actually works, and because it looks incredible doing it.
You will notice one thing across all 15 homes. The shade never just floats there. Posts stand on real concrete footings. Beams bolt to the container frame. Sails pull taut against solid anchors. That is the difference between a patio that survives a storm and one that ends up in the neighbor’s field.
Scroll through, pick your favorite, and save the details. Each design includes close-up photos of the joints and footings, so you can see exactly how it goes together.
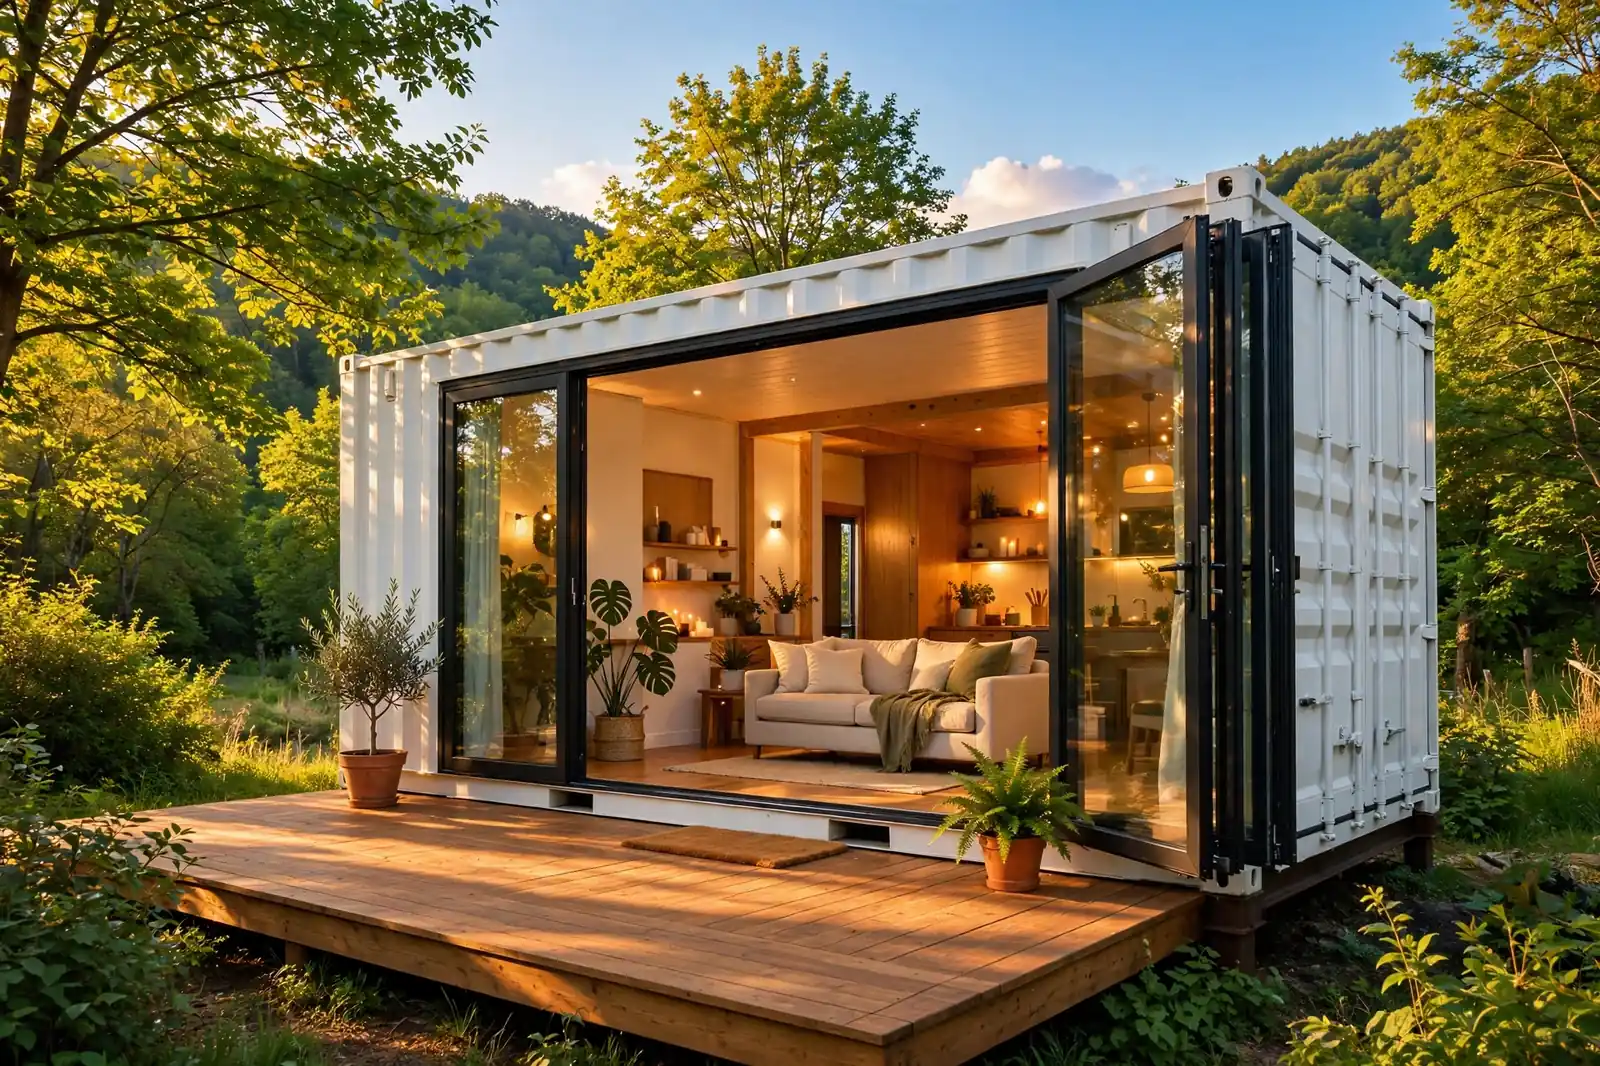
1. The Cedar Pergola Retreat
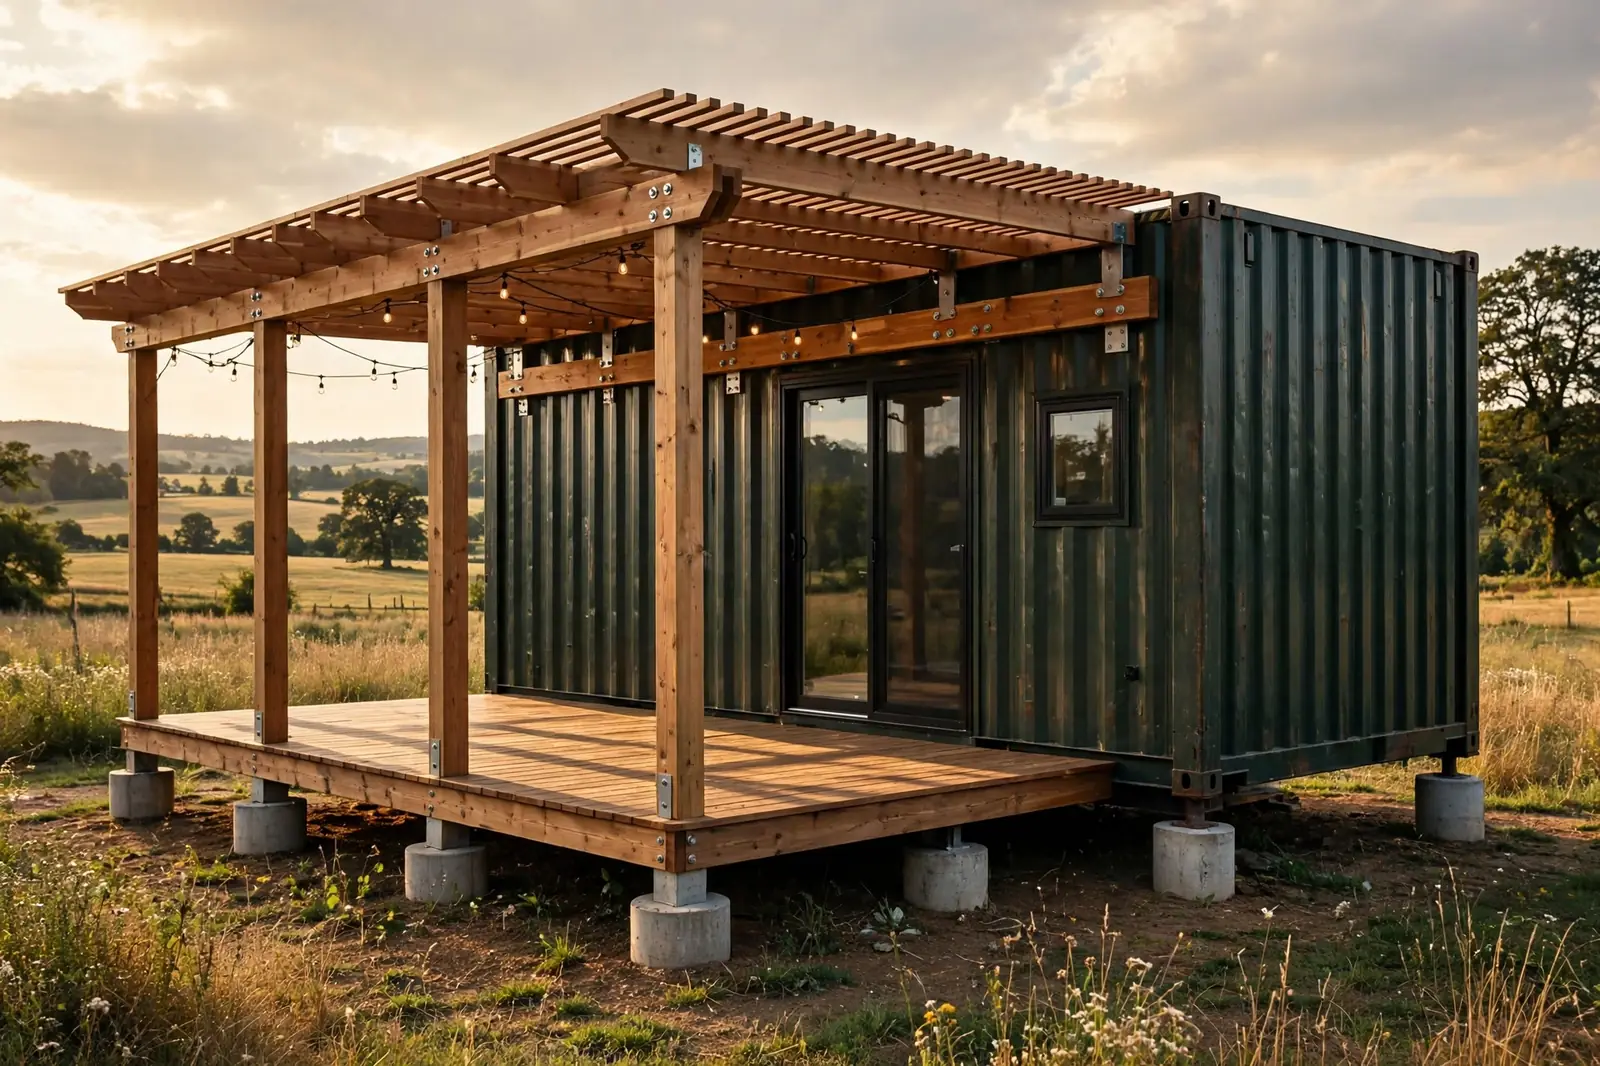
A 40-foot container in deep green gets a full-length cedar pergola bolted straight to its frame. Thick posts stand on round concrete footings, and the slatted roof throws striped shade across the deck all afternoon.
String lights hang under the beams, so the patio works just as well after dark. The ledger board is fixed with heavy galvanized brackets through the container’s corrugations. That connection is the whole project: get it right and the pergola is rock solid for decades.
Slatted roofs are the classic starter shade. They block maybe half the sun while letting breezes through. In a mild climate that is all you need.
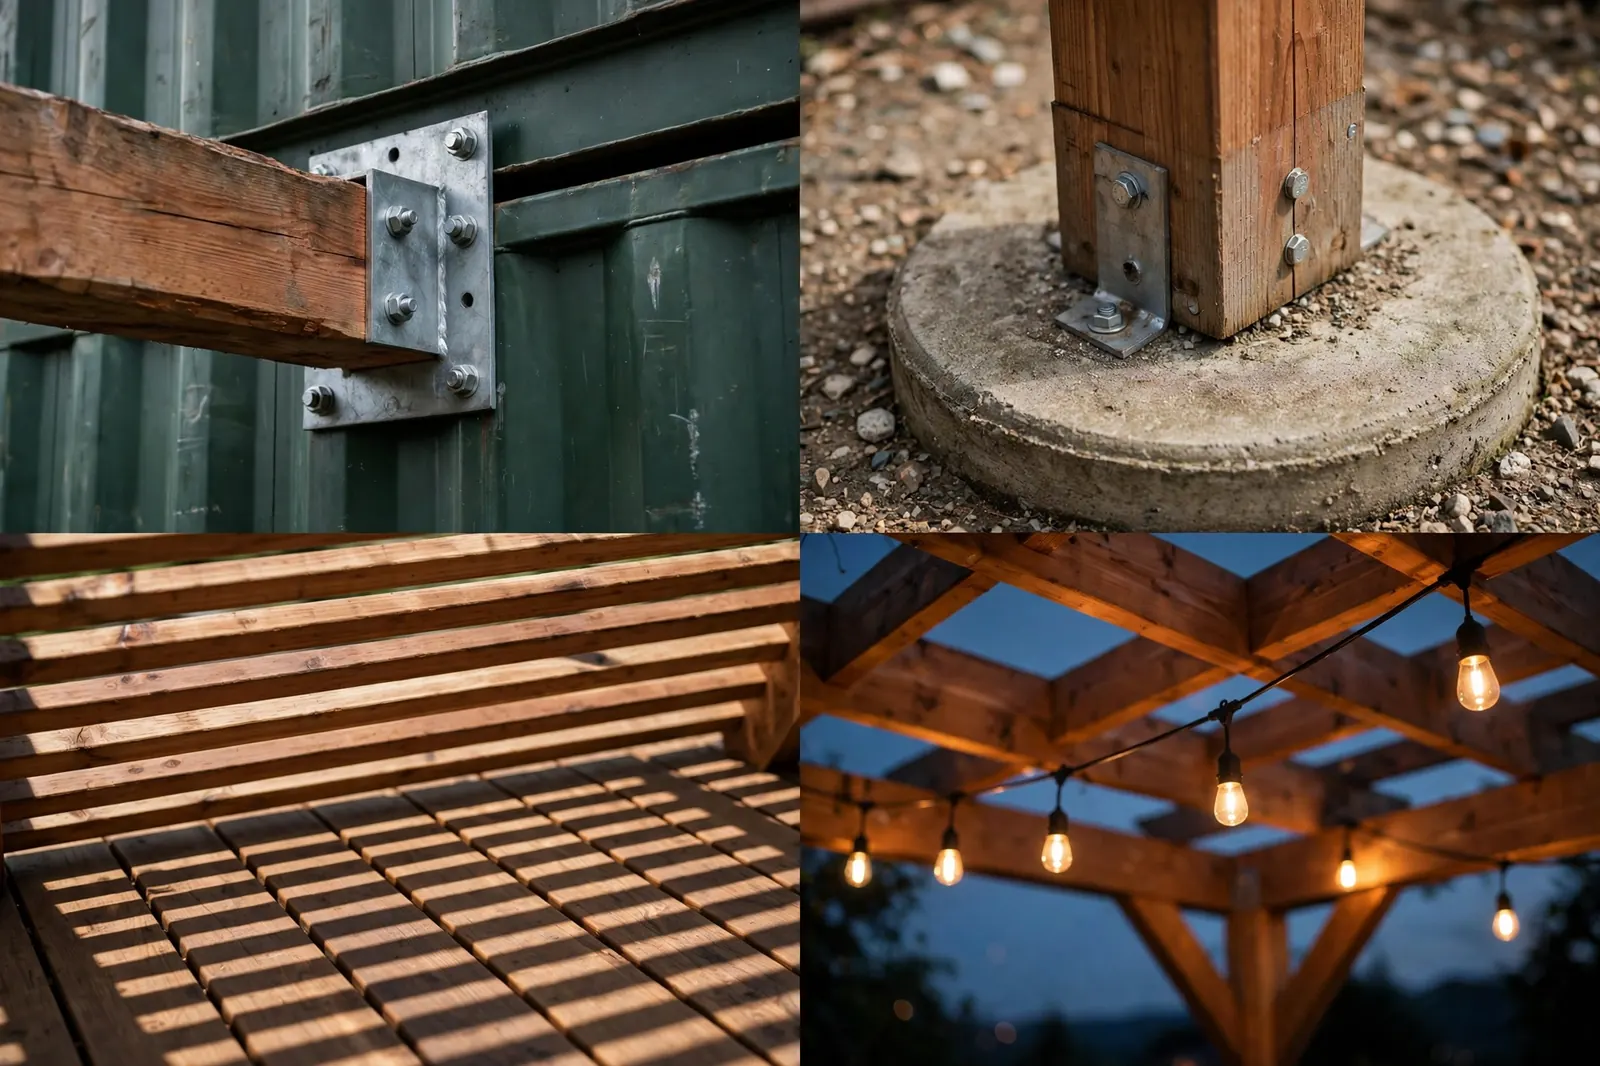
The detail photos show the hardware that matters. Look at the post base brackets keeping the wood off the concrete so it never rots. And note the beam-to-container bracket: bolts through steel plate, not screws into thin sheet.
Budget-wise, this is the friendliest build in the whole list. Cedar, concrete, and off-the-shelf brackets. A handy homeowner can finish it in a long weekend.
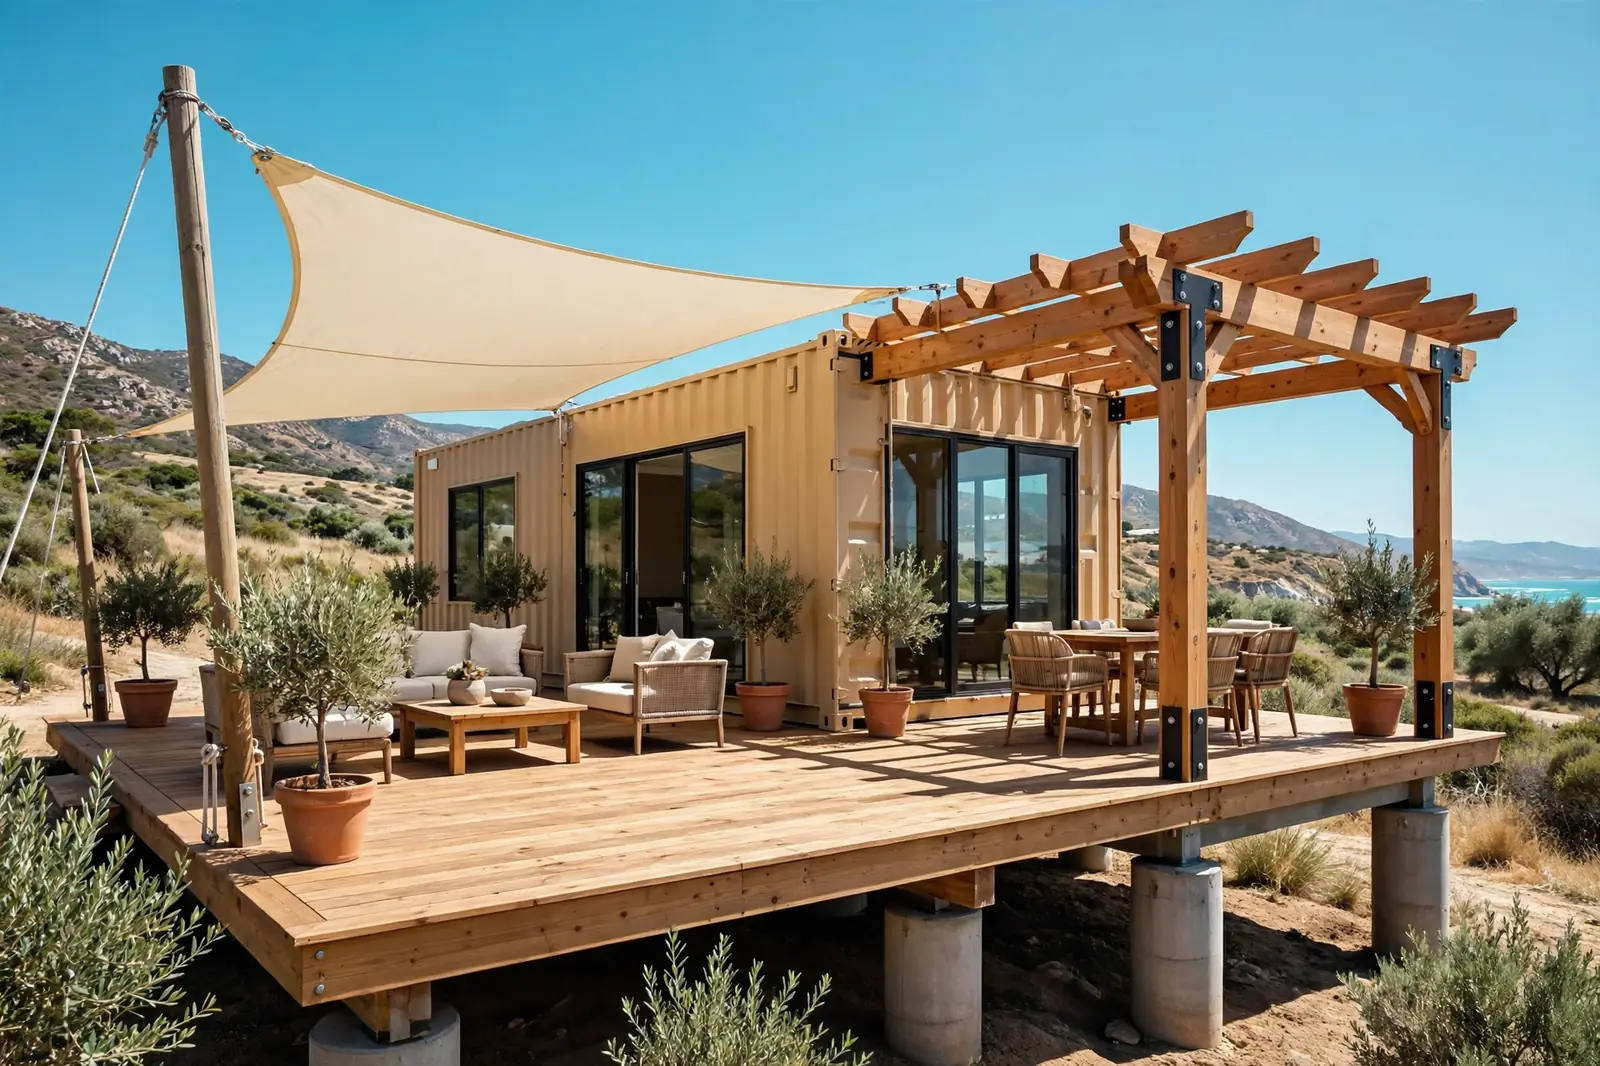
2. The Desert Sail Shade Deck

Two charcoal containers sit on block piers in the desert, and three cream shade sails float over the deck between steel posts. The sails pull taut with stainless hardware, so the whole thing hums instead of flapping in the wind.
Sails are the desert dweller’s best friend. They block up to 90 percent of UV rays while letting hot air escape out the sides. Your deck stays usable even when the thermometer begs for mercy.
Anchoring is everything. Each post here lands on its own concrete footing with a steel base plate. The sails attach to the container roof edge with plates through the corner castings, which are the strongest points on any container.
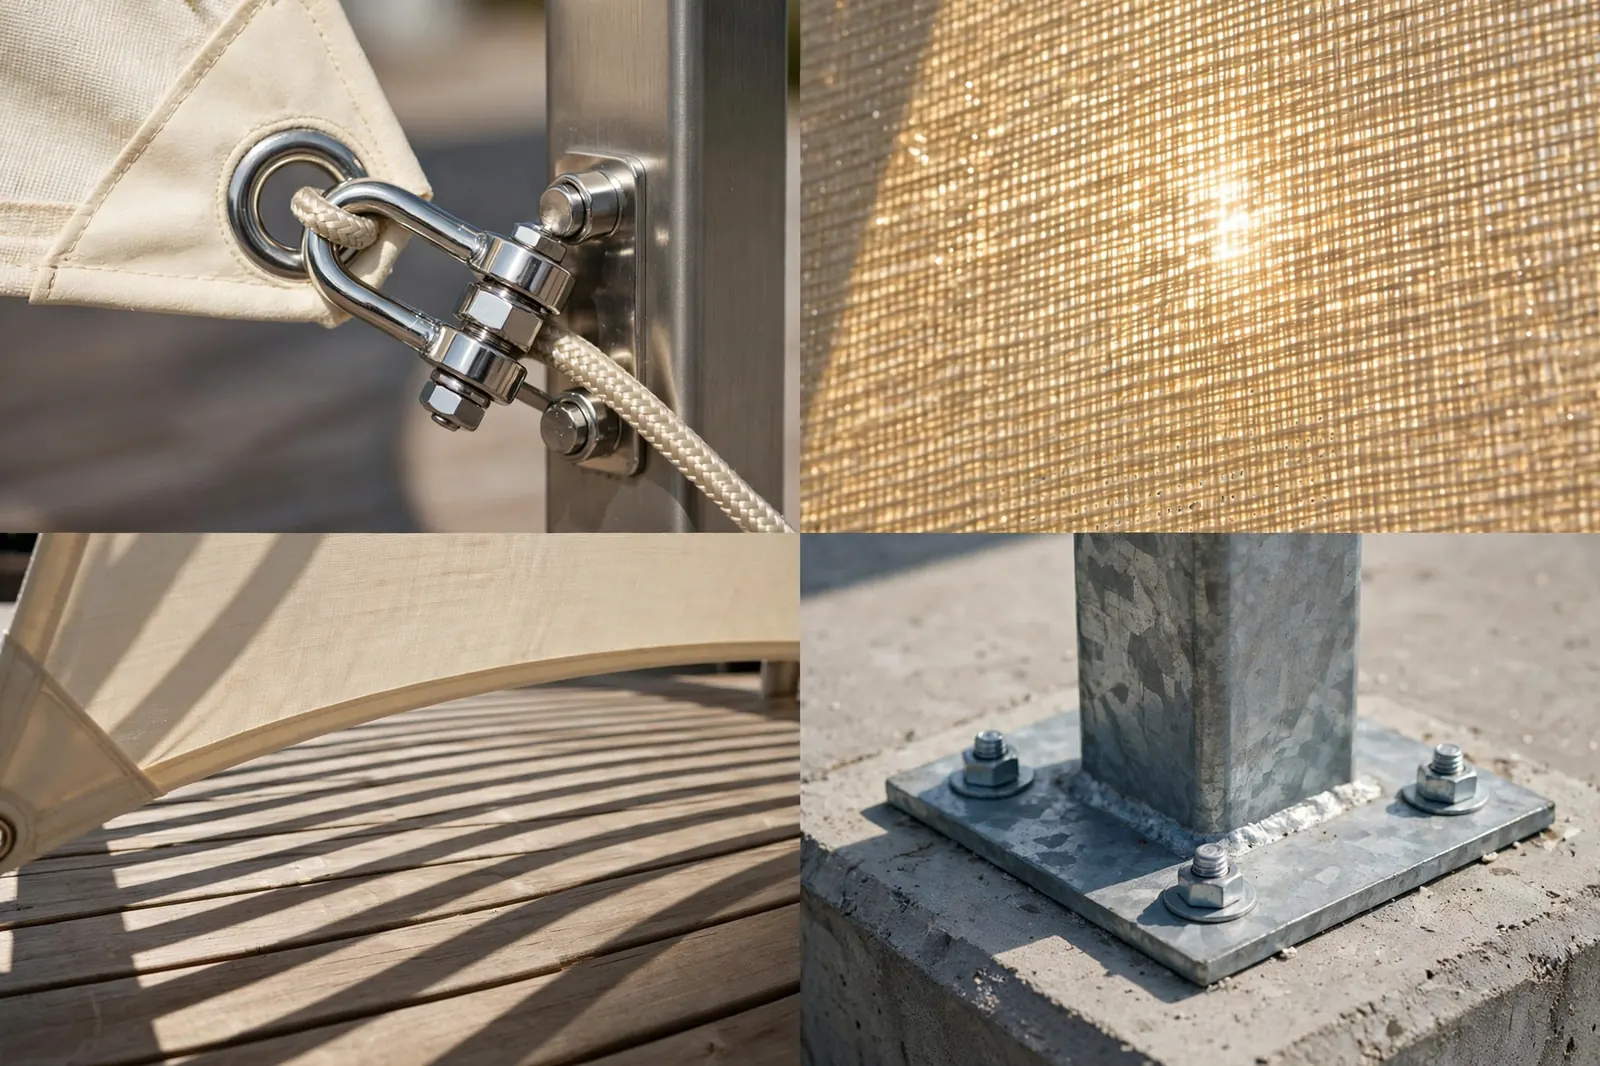
Zoom into the tensioning hardware: carabiners, turnbuckles, and a woven edge on the sail. That weave is what makes a good sail last. Cheap sails use a thin edge that tears within two summers.
This is also one of the easiest shades to resize later. Unhook a sail, move the posts, and the patio grows with your plans.
3. The Cantilevered Steel Canopy

No posts. None. A rust-orange studio keeps its patio completely open because the canopy hangs off the wall on diagonal steel struts. The ground stays clear for furniture, and rain runs off the corrugated panel in one clean sheet.
This is the architect’s answer to shade. It looks effortless, but the engineering is serious: the struts bolt through the container’s corner posts, which carry the whole load. Never bolt a cantilever to the middle of a corrugated panel. The corner posts are the bones.
The trade-off is coverage. You get about eight to ten feet of shade, which is perfect for a bistro set and a reading chair, but not for a crowd.

The close-ups show the bracket plates and the bolt pattern. Count them: six bolts per strut, spread across the corner post. That redundancy is why this canopy will not move in a storm.
Hire a structural engineer for this one. It is a half-day consultation that keeps your insurance happy and your canopy attached.
4. The Forest Carport Patio

One roof, two jobs. This navy container gets a timber-framed carport roof that shelters the patio on one end and still leaves room to park a bike or store firewood on the other. In the woods, that dual use is gold.
The frame is classic post-and-beam: chunky timbers, knee braces, and a dark metal roof. Every post stands on its own concrete footing with a galvanized base, so the wood never touches the soil. The high end of the roof ties into the container with a proper flashing strip to keep rain out of the joint.
If you own a container cabin and a car, this design stretches your building budget the furthest. You were going to build a carport anyway. Make it wide and call it a patio.
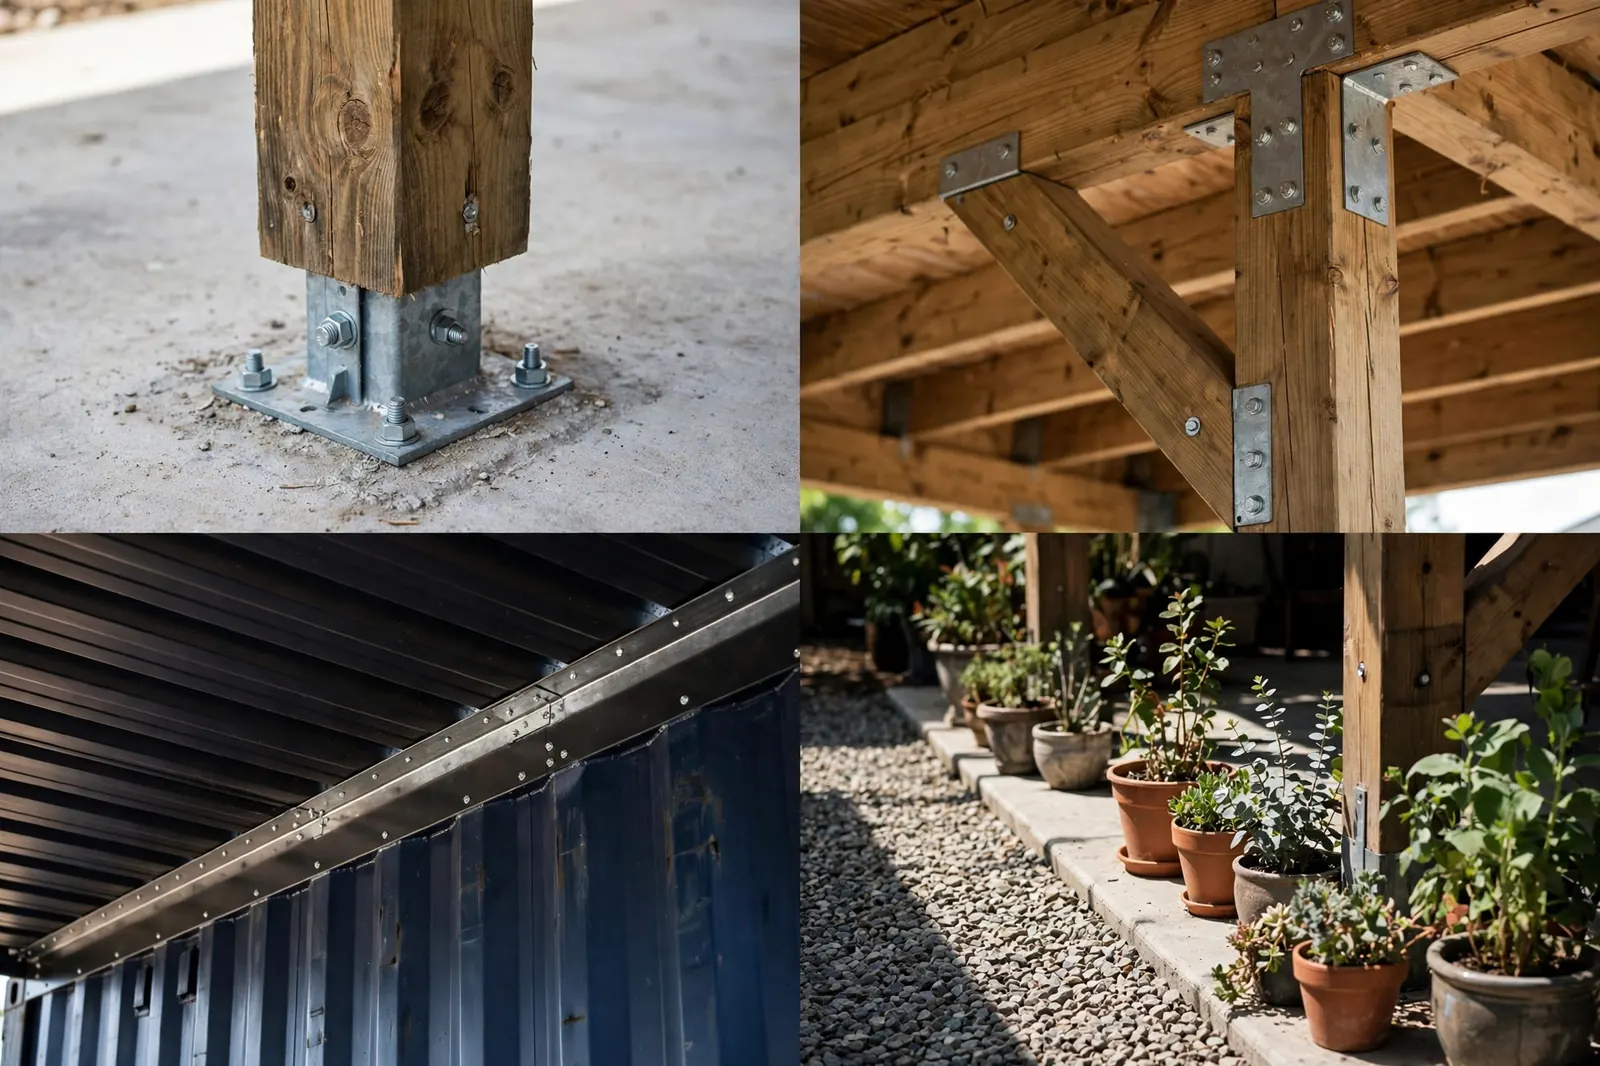
Notice the knee braces in the detail shots. Those diagonal pieces stop the frame from racking side to side. Skipping them is the most common DIY carport mistake, and the reason cheap kits wobble.
A ceiling fan under the roof would make this patio even better on still summer evenings. Wire it during the build, not after.
5. The Deep Overhang Ranch Roof
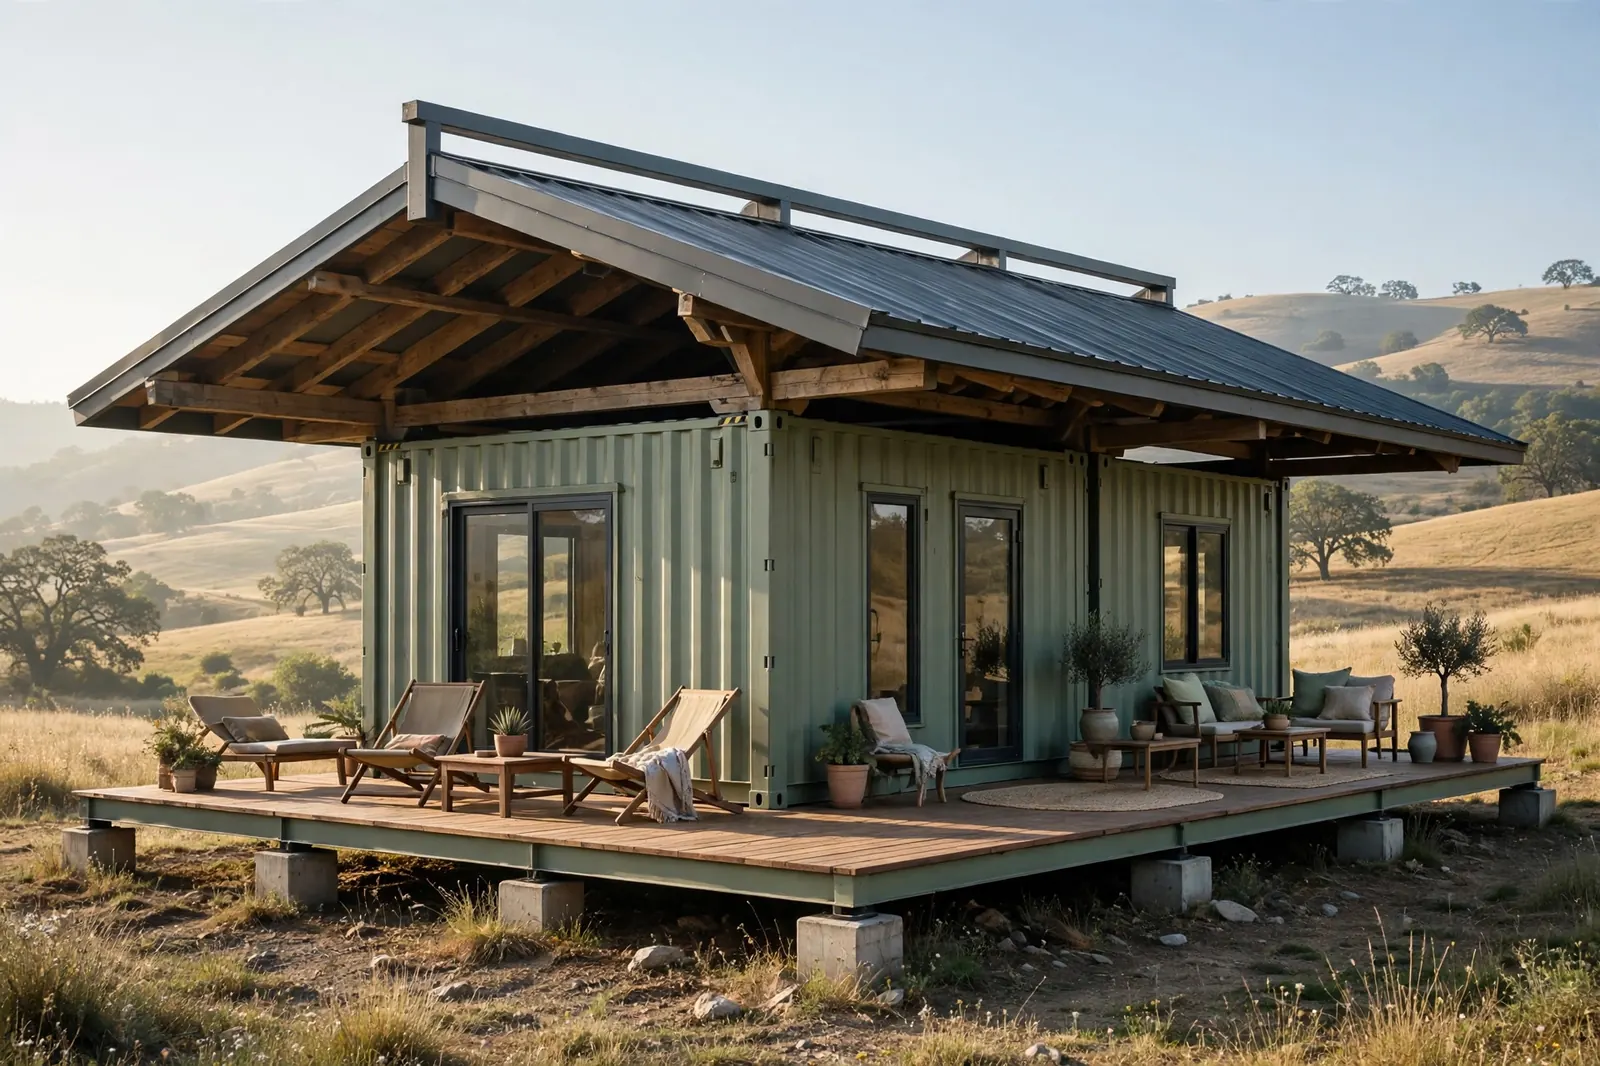
Forget add-ons. One big standing-seam roof floats over the entire sage-green container home, with eaves that stretch ten feet past the walls. The patio, the deck, and the whole house live under one hat.
Deep overhangs are passive cooling at its simplest. The roof shades the steel walls from the high summer sun, so the containers absorb far less heat. In the morning the low sun still slides under the eave and warms the deck. It is climate control with zero moving parts.
The roof sits on a timber frame that rests on the containers, with a ventilated gap between the roof and the container tops. That air gap is doing quiet work: hot air rises out instead of cooking the ceiling below.
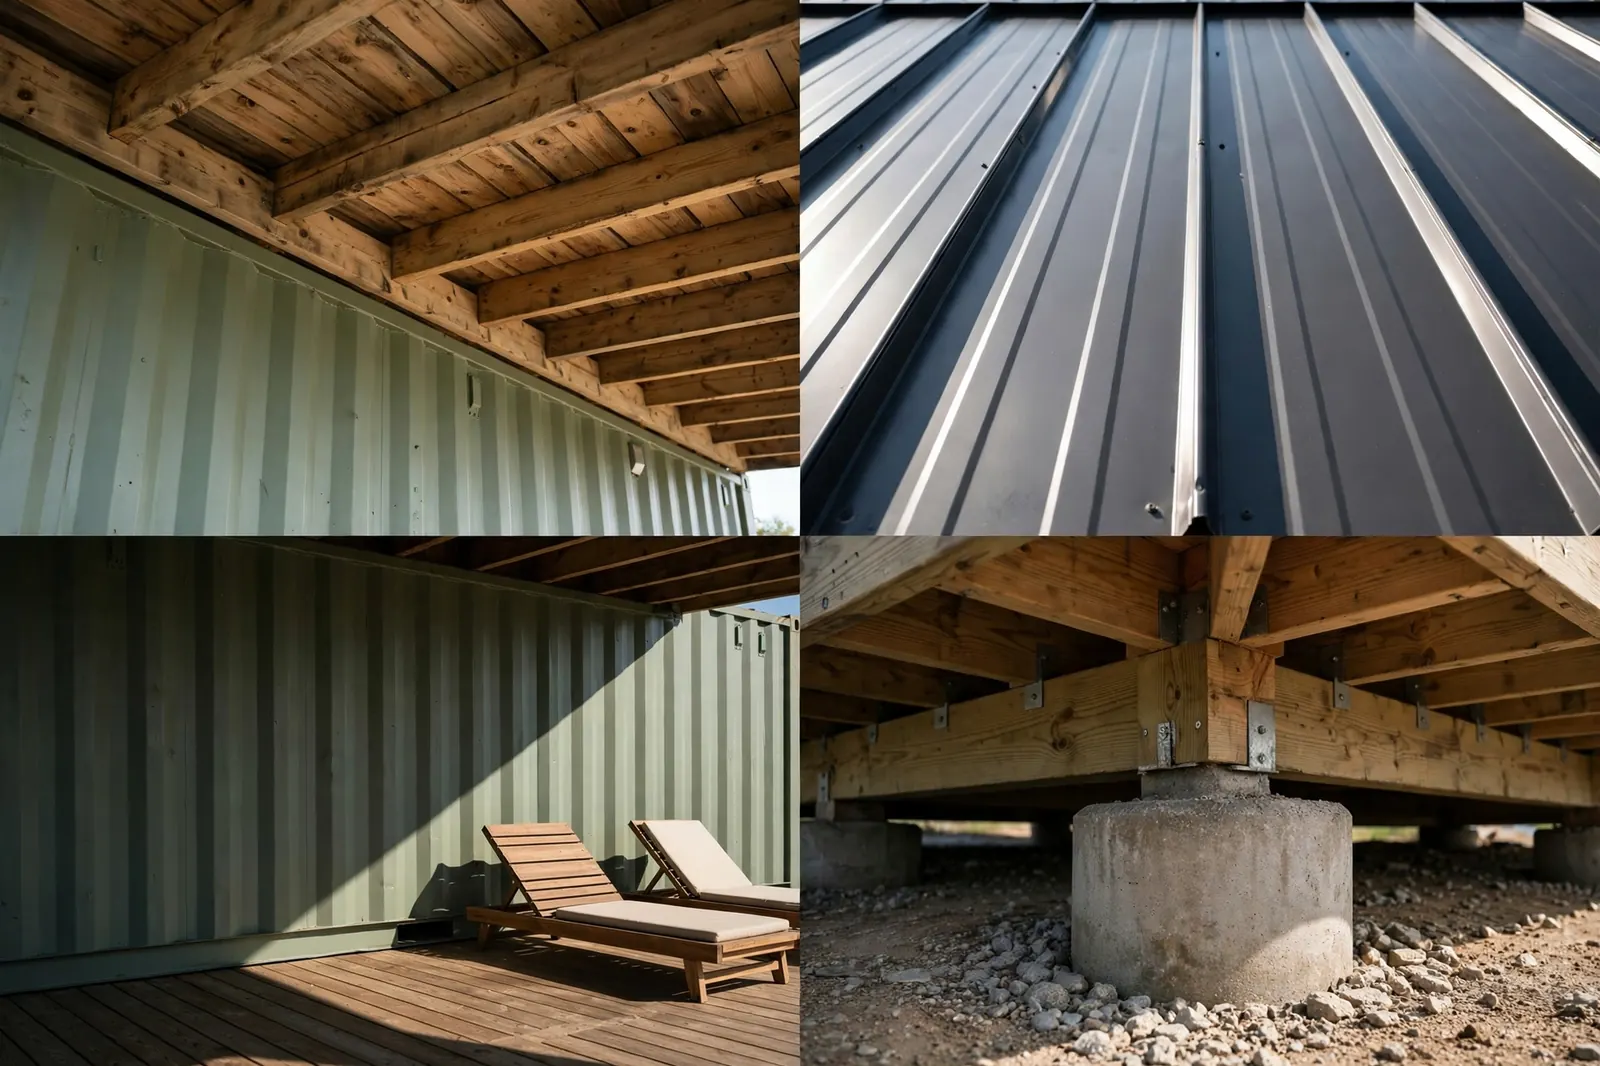
The detail photos show the rafter tails and the pier footings under the deck. See how the deck framing ties back into the container base frame? One structure, one foundation logic, no afterthoughts.
This is the most roof for your money if you are building from scratch. It costs more than a pergola, but it replaces the container roof maintenance entirely.
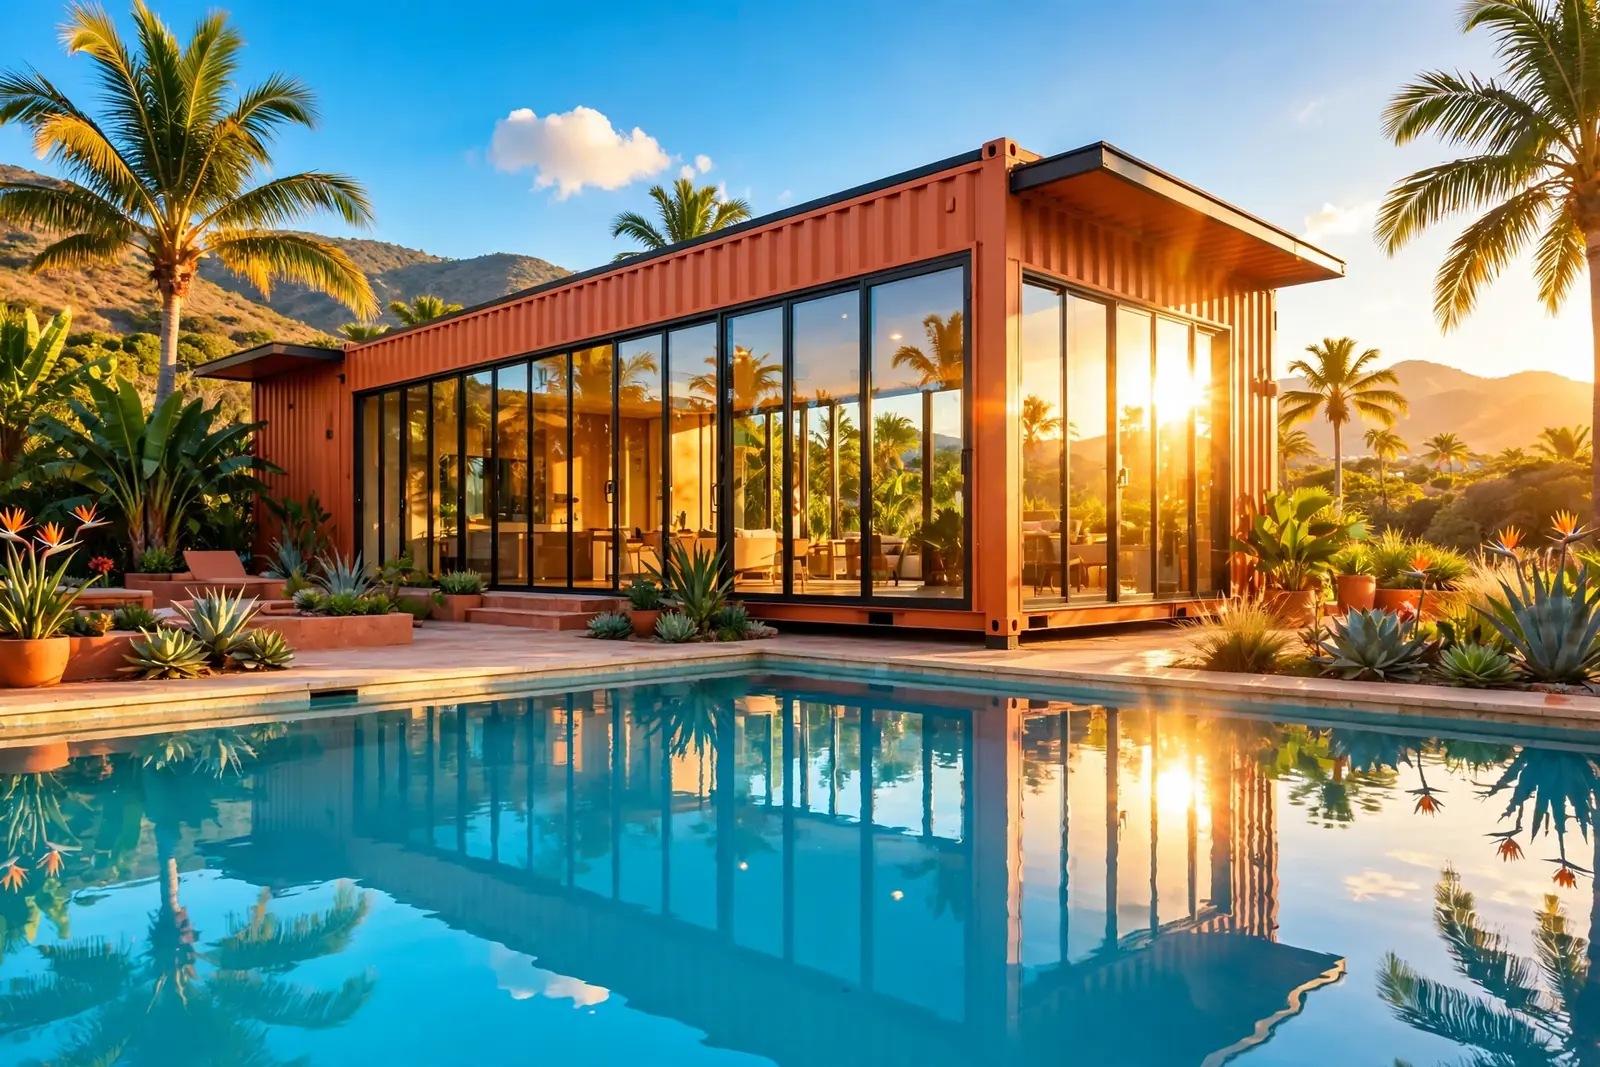
6. The Bamboo Screen Patio

Roll-down bamboo screens turn a timber patio into a golden lantern at sunset. This terracotta cabin pairs a simple pergola frame with natural bamboo blinds on the sunny side. Lower them for shade, roll them up for the view.
Bamboo is the secret weapon of hot climates. It filters sunlight instead of blocking it, so the patio stays bright without the glare. Air moves through the weave, which means no heat buildup under the roof. Your skin will thank you.
The screens hang from a steel track bolted to the pergola beam, with a weighted bottom bar so they hang straight in a breeze. Keep the bottom bar off the deck by a few inches and the screens will last twice as long.
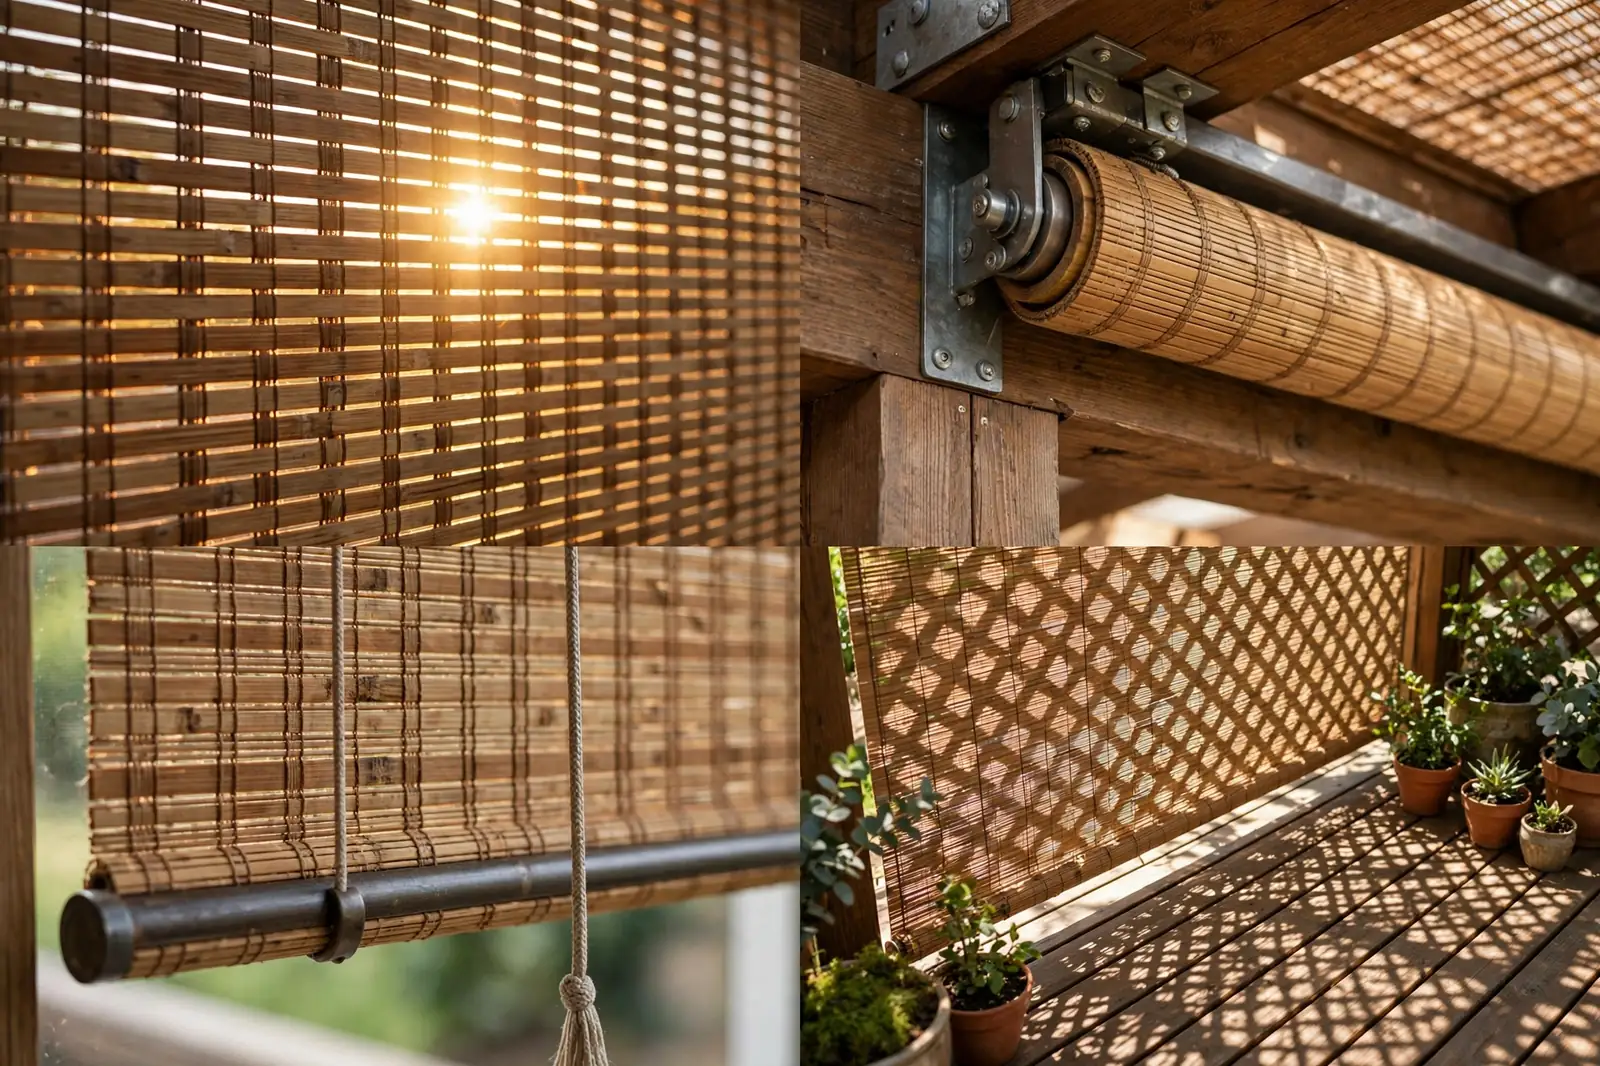
Look at the roller and bracket in the close-ups. A simple ratchet holds the screen at any height. When the sun drops below the roof line in late afternoon, that adjustability is everything.
Bamboo needs a little care: a yearly spray of outdoor wood oil keeps it supple. Skip it and the weave gets brittle after three or four seasons.
7. The Striped Retractable Awning
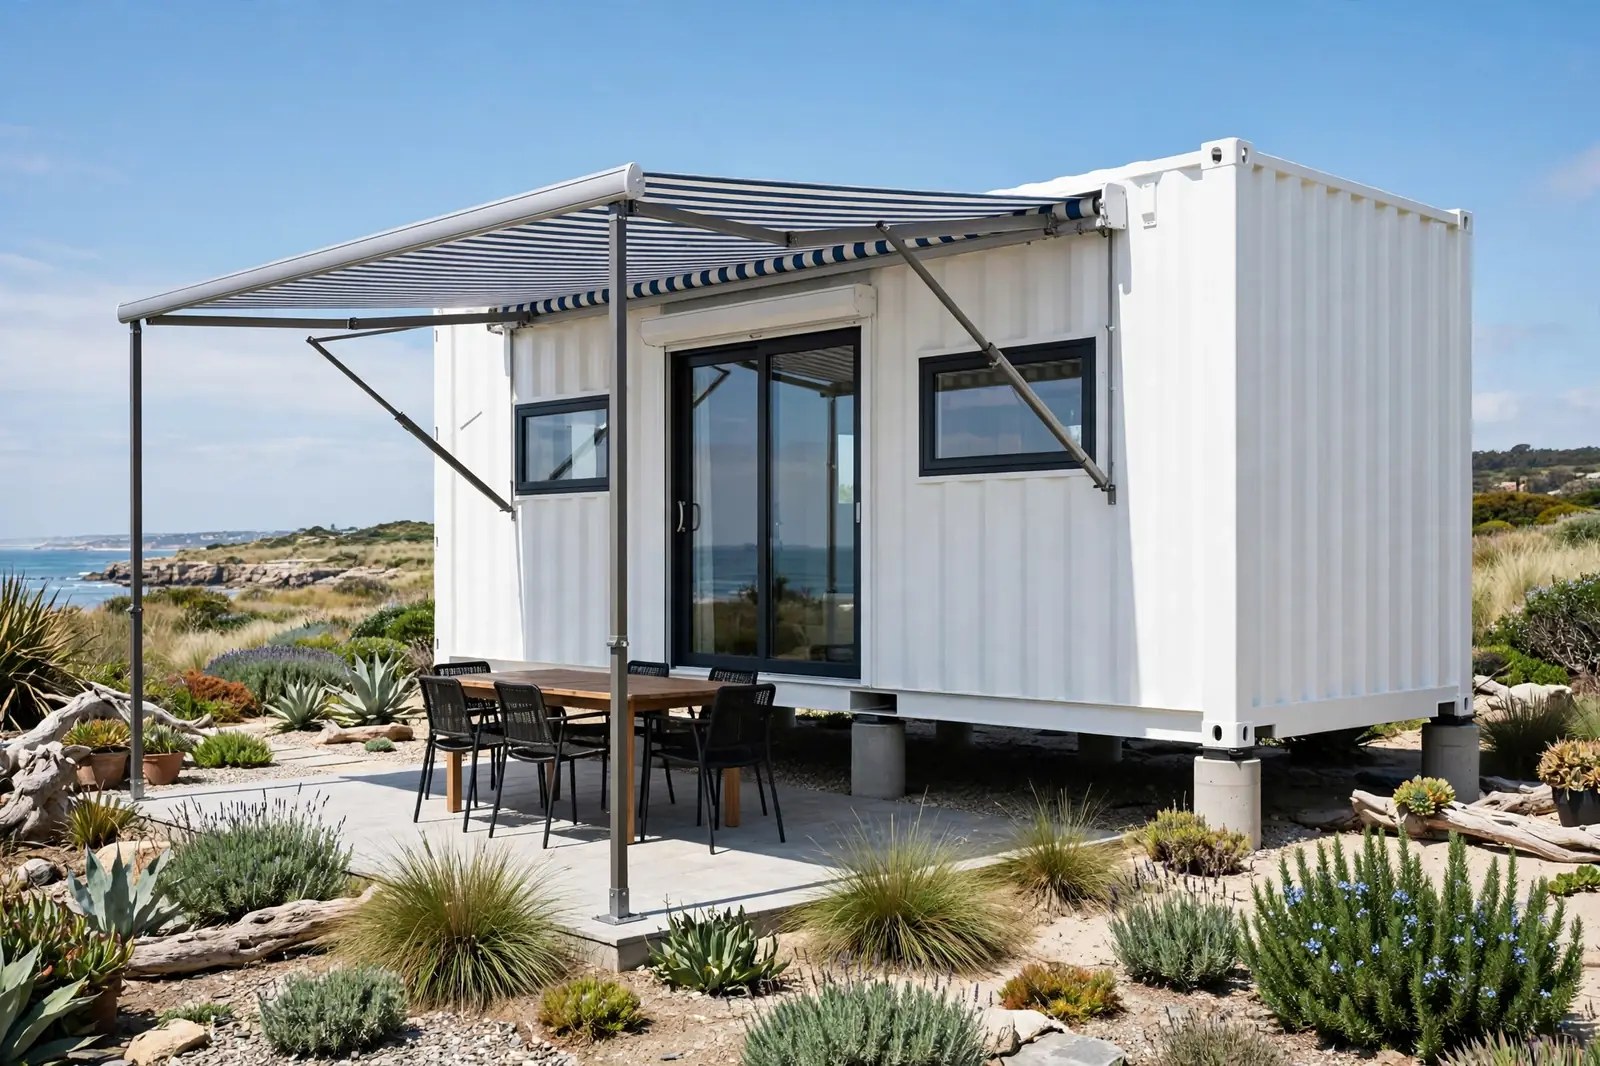
Sometimes the best shade is the one you can put away. This white container near the coast wears a wide striped awning that cranks out over the dining patio in seconds and disappears into its cassette when the wind picks up.
Retractable awnings are the low-commitment option. No posts in the middle of your view, no permanent structure to permit. The cassette bolts to the container wall above the doors, and the folding arms do the rest.
Pick a marine-grade fabric if you are anywhere near salt air. The blue-and-white stripes here are solution-dyed acrylic, which means the color goes all the way through the fiber instead of sitting on top. It will not fade to sad gray in one summer.
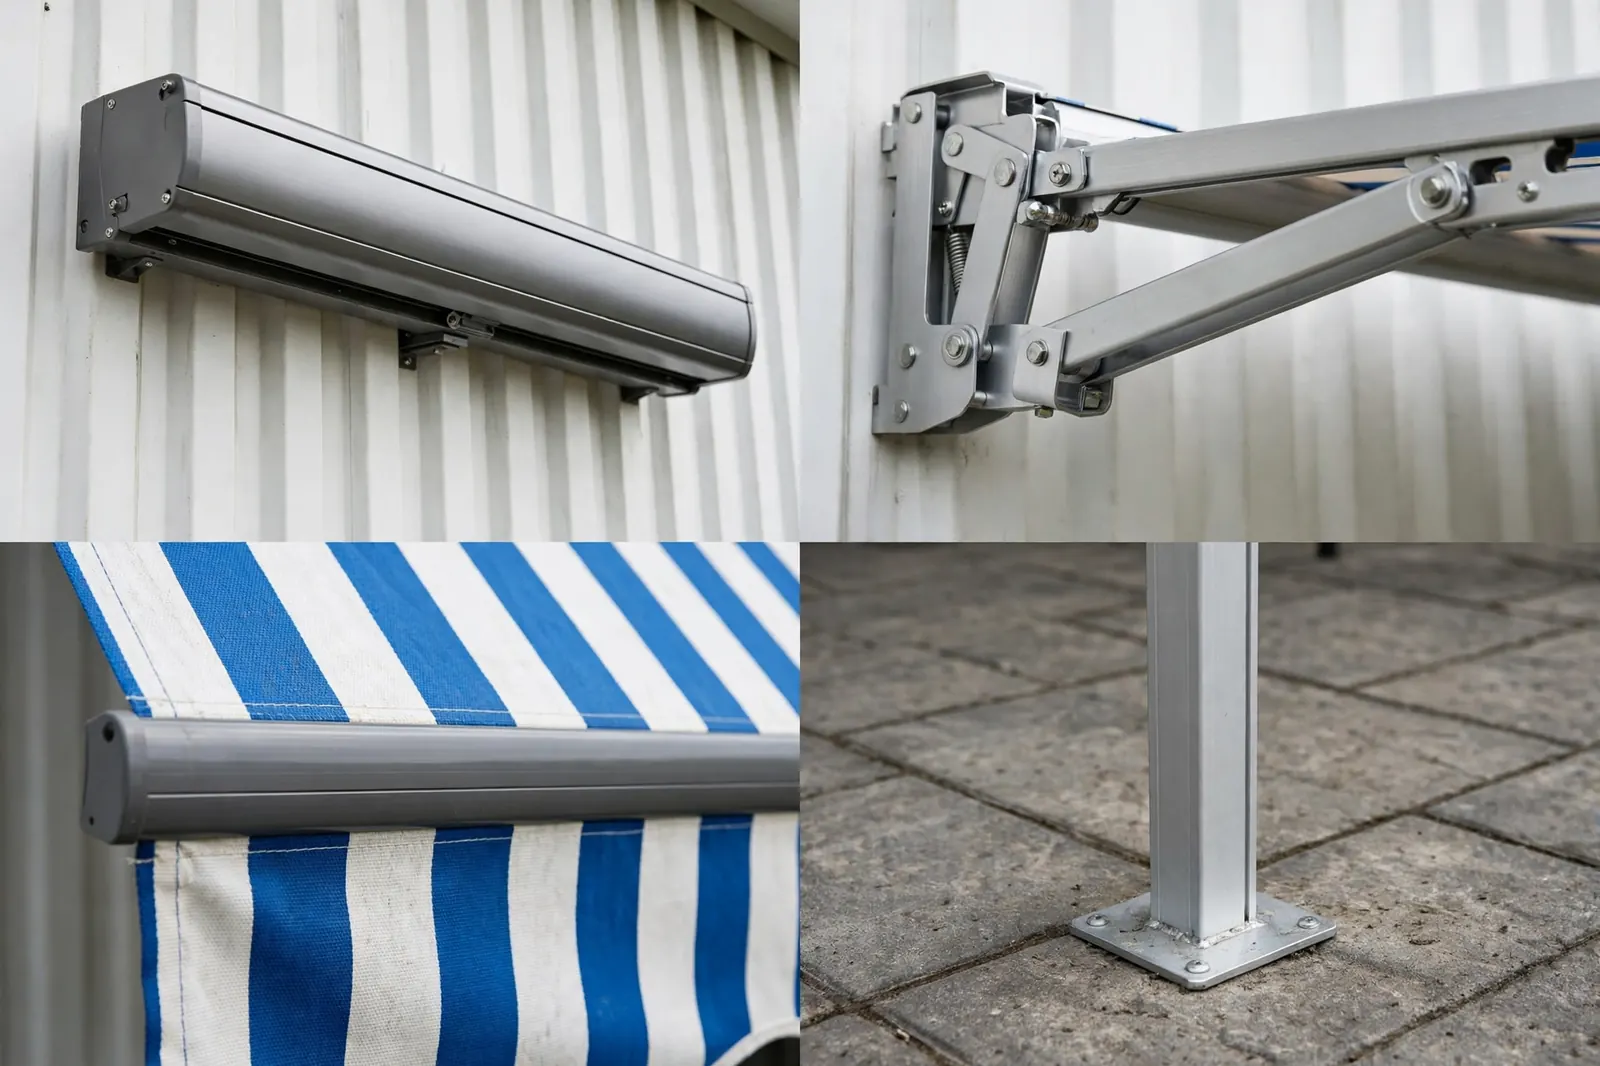
The detail shots show the cassette, the arm joint, and the slim front posts. Those posts are optional on most awnings, but in a breezy coastal spot they are cheap insurance against the fabric lifting.
One rule: retract it in a storm. Even the beefiest awning is a sail when the wind really blows, and container walls are strong but not invincible.
8. The Louvered Roof Lounge

Sun when you want it, shade when you do not. A white aluminum louvered roof attaches to a charcoal container, and the slats rotate open or closed with a hand crank. Morning coffee in full sun, afternoon naps in shade.
Louvered roofs are the luxury pick for a reason. Closed, they shed rain into a hidden gutter and give you a dry patio. Half-open, they stripe the tiles with light. The frame bolts to a concrete slab with heavy base plates, so the whole thing stands independent of the container if you prefer.
They are also the priciest option on this list, running about three times the cost of a simple pergola. Buy it once for the patio you use every single day, and the math starts to make sense.
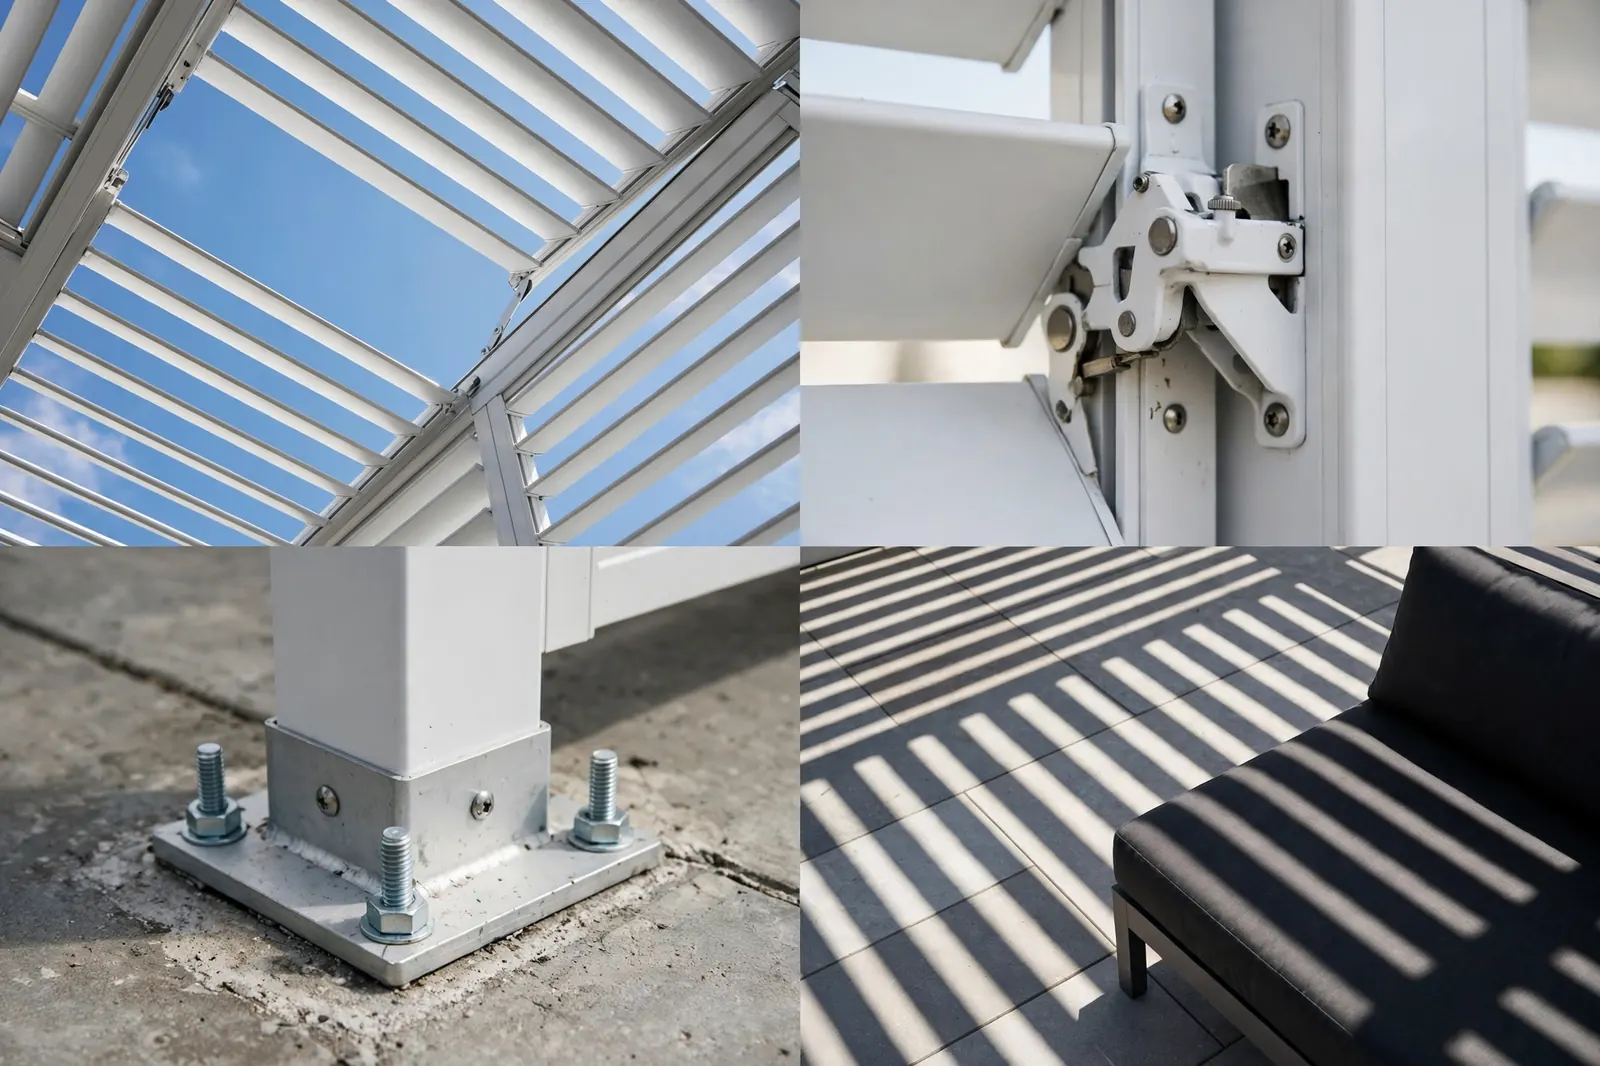
The close-ups show the pivot mechanism and the post bases. Look for powder-coated aluminum in any quote: raw aluminum chalks and pits outdoors, while the coating keeps it crisp for years.
Motorized versions exist with rain sensors that close the louvers automatically. If your climate does the sudden-afternoon-downpour thing, that feature pays for itself.
9. The Desert Membrane Canopy
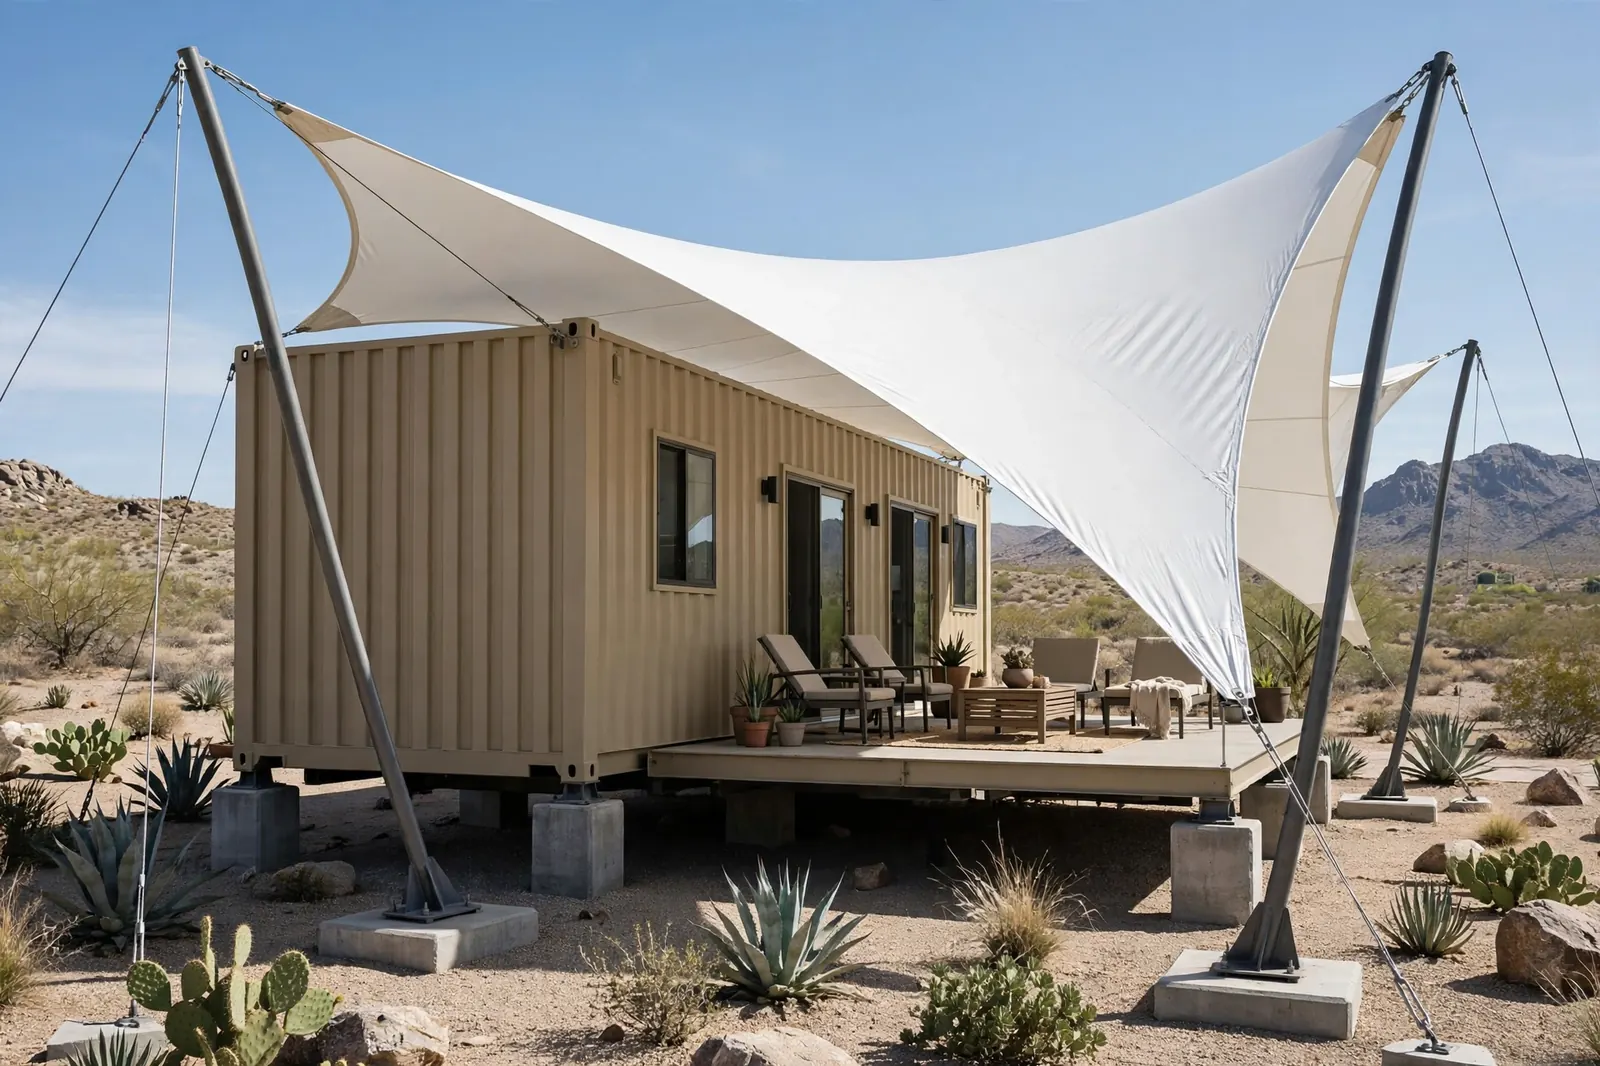
A sand-colored container in the desert gets a roof that looks like a ship’s sail. The white tensile membrane stretches between curved steel masts, throwing a huge swoop of shade over the deck with almost no structure touching the ground.
Membrane canopies are the drama queens of shade, and they earn it. The fabric is a coated polyester that blocks UV and sheds rain, and because it is tensioned in every direction, it stays drum-tight in wind that would shred a normal tarp.
The masts stand on their own concrete footings with guy cables for extra stiffness. The container itself barely carries any load, which makes this a great pick for a container you do not want to drill into.
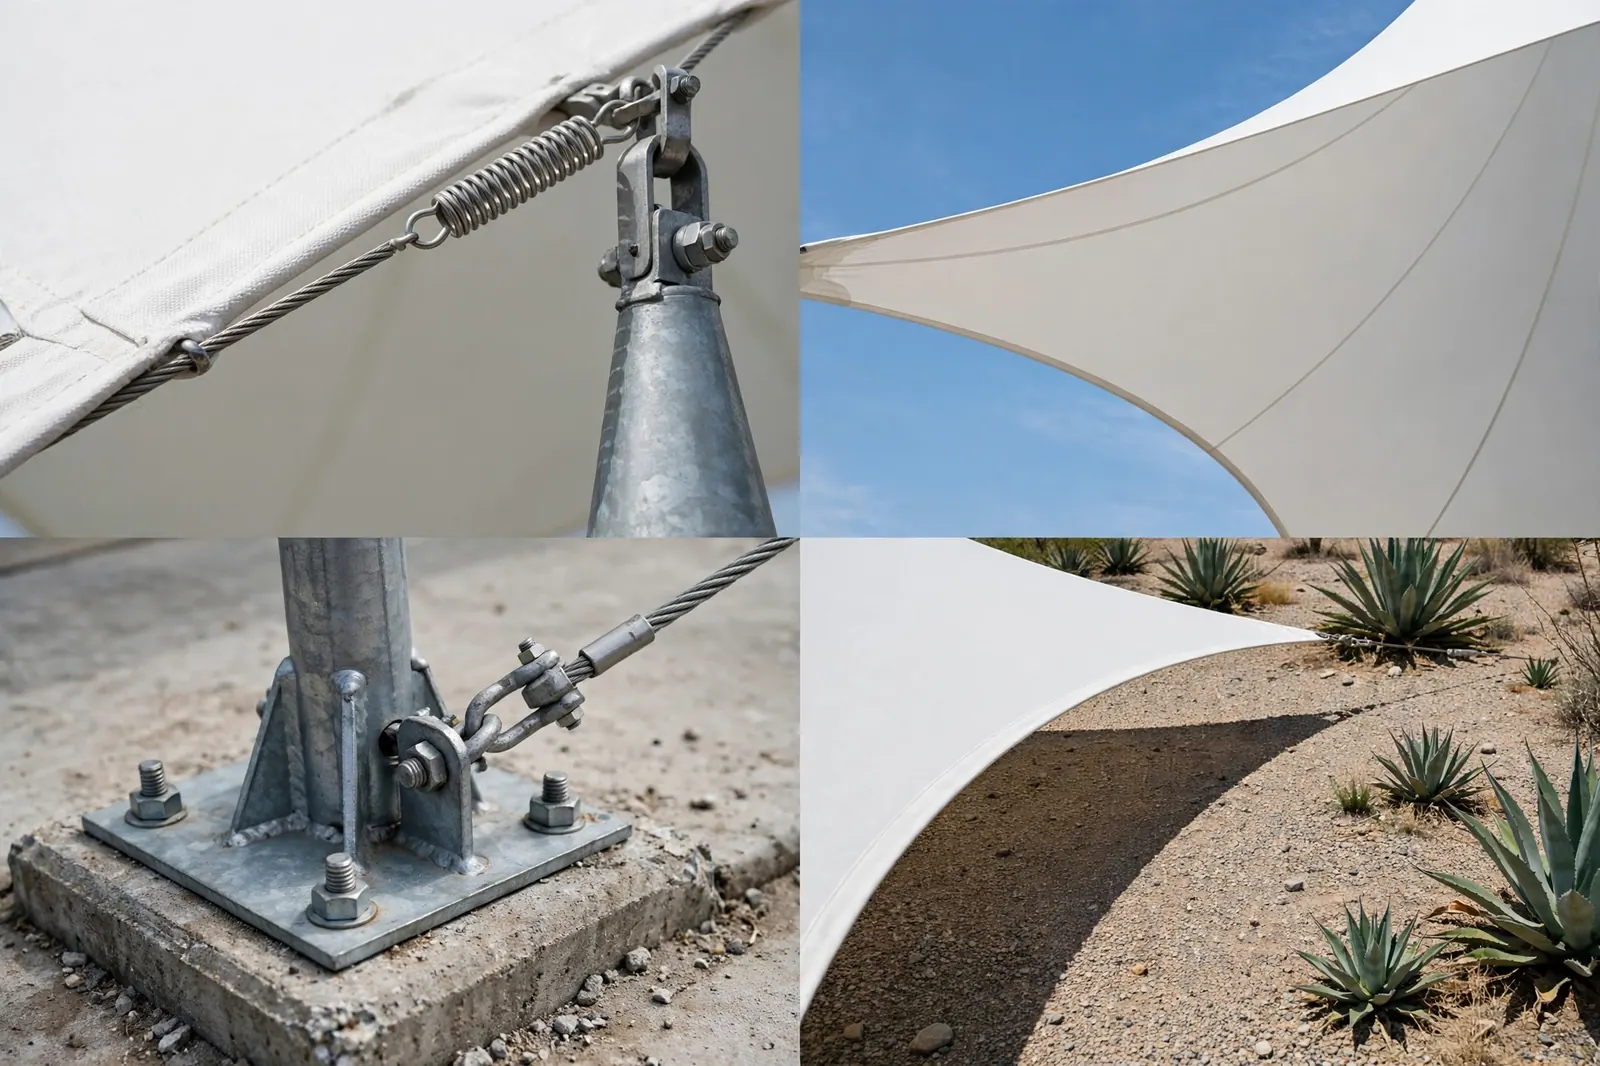
Zoom into the mast top: a tensioning spring and cable hem keep the membrane taut as the fabric relaxes in heat. That spring is the detail that separates a five-year canopy from a fifteen-year one.
Clean it once a year with mild soap and a soft brush. Desert dust bakes into the coating if you ignore it, and then the white starts looking tired.
10. The Vine-Covered Trellis Garden

The cheapest cooling system ever invented is a plant. This sage-green cabin pairs a rugged timber trellis with grapevines and jasmine that weave through the beams, turning the patio roof into a living green ceiling.
A vine roof cools two ways. The leaves block the sun, and the plants themselves release moisture as they breathe, which drops the air temperature under the canopy by several degrees. On a hot afternoon it genuinely feels cooler here than under a solid roof.
Choose your vine like you choose a roof: for your climate. Grapes and wisteria handle heat and go dormant in winter, letting the low sun through. Jasmine stays evergreen in mild zones and perfumes the whole patio in spring.
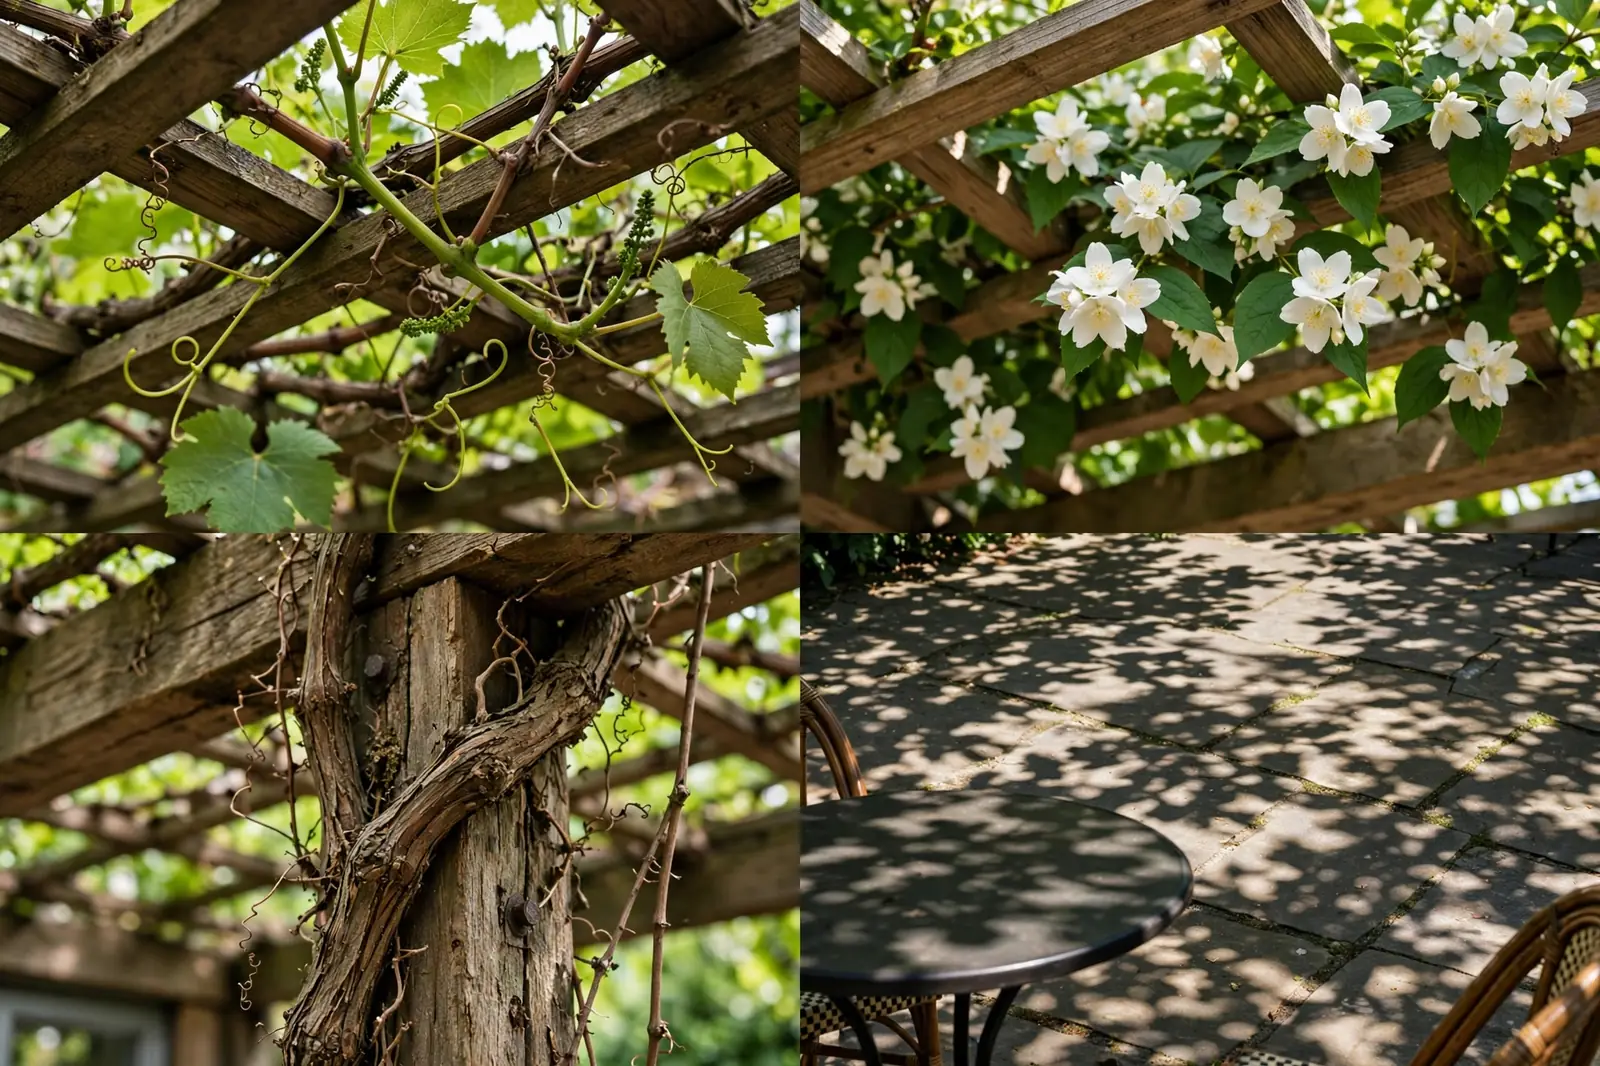
The detail photos show tendrils gripping the beams and the gnarled trunk climbing the post. Train the vines for the first two seasons with soft ties. After that they know where to go.
Budget one pruning session a year, in late winter. A neglected vine gets heavy fast, so keep it trimmed before the wood has to carry more than it should.
11. The Corrugated Lean-To Hideaway

The simplest real roof on this list. A matte-black studio gets a corrugated galvanized lean-to sloping down from the container wall, carried on rough timber posts with knee braces. Total materials cost? Less than a nice dinner out with friends.
Lean-tos are the workhorse of container shade. The high side bolts to the container wall through a ledger board, the low side rests on posts, and gravity handles the drainage. Slope it at least a quarter inch per foot so rain runs off instead of pooling.
Corrugated metal is loud in rain and bright in sun, which is part of its charm. A coat of light-colored paint on top cuts the glare and drops the temperature underneath noticeably.
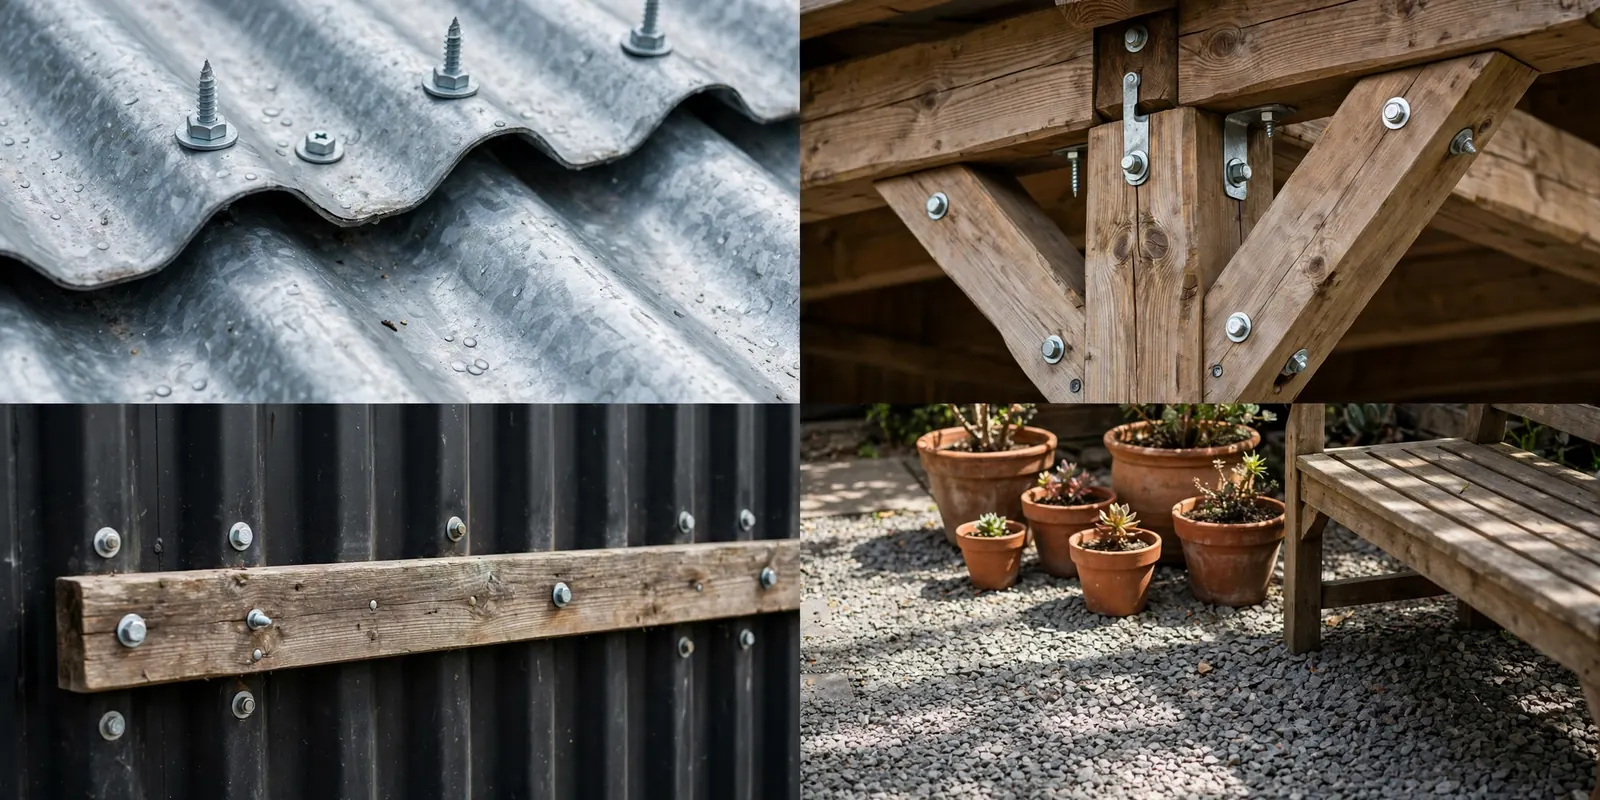
The close-ups show the fasteners and the ledger board bolts. Use screws with rubber washers through the corrugation peaks, and seal the ledger joint with proper flashing. Both details take ten minutes and prevent ten years of leaks.
This is the perfect first build for a new container owner. One weekend, basic tools, and your patio is transformed.
12. The Twin-Container Breezeway

Two containers, one roof, and a shaded outdoor room in between. A dark standing-seam roof spans the gap between a navy and a gray container, turning the space between them into a breezeway deck with dining for six and string lights overhead.
This layout is the container-home classic for a reason. The two boxes shelter the patio from wind on both sides, the roof blocks the midday sun, and the open ends pull breezes straight through. On a warm evening it is the best seat in the house.
Structurally, the roof simply rests on both container walls. Keep the span under about 14 feet and a straightforward timber or steel beam handles it. Wider than that, and you will want an engineer to size the beam.

The detail shots show the roof edge landing on the container walls and the corner castings on their piers. Note the string lights clipped to the beam, not the roof panels: never puncture a standing-seam roof if you can avoid it.
This is also the easiest layout to phase. Set the containers now, enjoy the open breezeway for a season, and add the roof when the budget allows.
13. The Courtyard Sail Cluster

When one sail is not enough, fly three. Two containers in rust-red and slate-gray face each other across a courtyard, and a cluster of overlapping tan sails stretches between their rooflines, layering shade like a desert tent.
Overlapping sails are a pro move. The gaps between them vent hot air upward, while the layers break the sun into soft, shifting light. From below it feels like sitting under clouds. The stainless hardware along the container roof edges lets you re-tension each sail independently as the fabric settles.
Anchor to the container corner castings wherever possible. They are designed to take the lifting forces of a loaded container, so a sail’s pull is nothing to them.
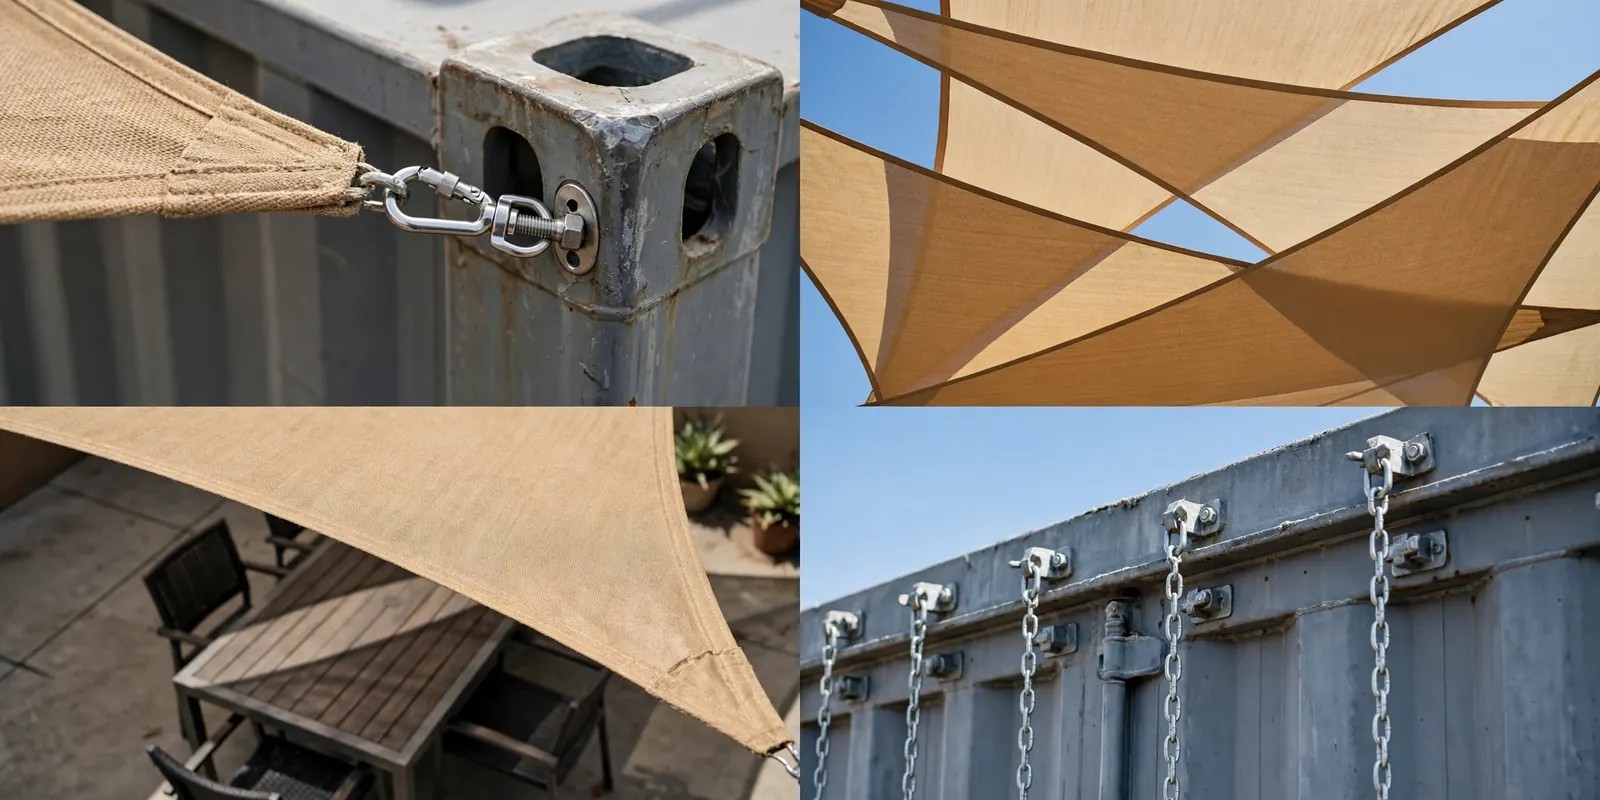
The close-ups show turnbuckles, carabiners, and the chain hardware along the roof edge. Every connection is adjustable, which matters because sails stretch a little in their first season.
In winter, unhook the sails and store them dry. An afternoon’s work protects a few hundred dollars of fabric from ice and snow load.
14. The Poolside Cabana Retreat

A white container beside a rectangular pool gets the full resort treatment: a cedar-slat cabana roof on four dark timber posts, sheer curtains tied back at the corners, and sun loungers waiting in the shade.
The cabana works because it is separate from the house. It stands on its own footings at the pool’s edge, which means no holes in the container and no compromises on placement. Put it where the afternoon sun hits hardest.
Cedar slats with small gaps are the perfect cabana roof. They throw real shade, let hot air rise through, and dry fast after rain. The sheer curtains are pure theater: tie them back on breezy days, draw them for privacy at dusk.
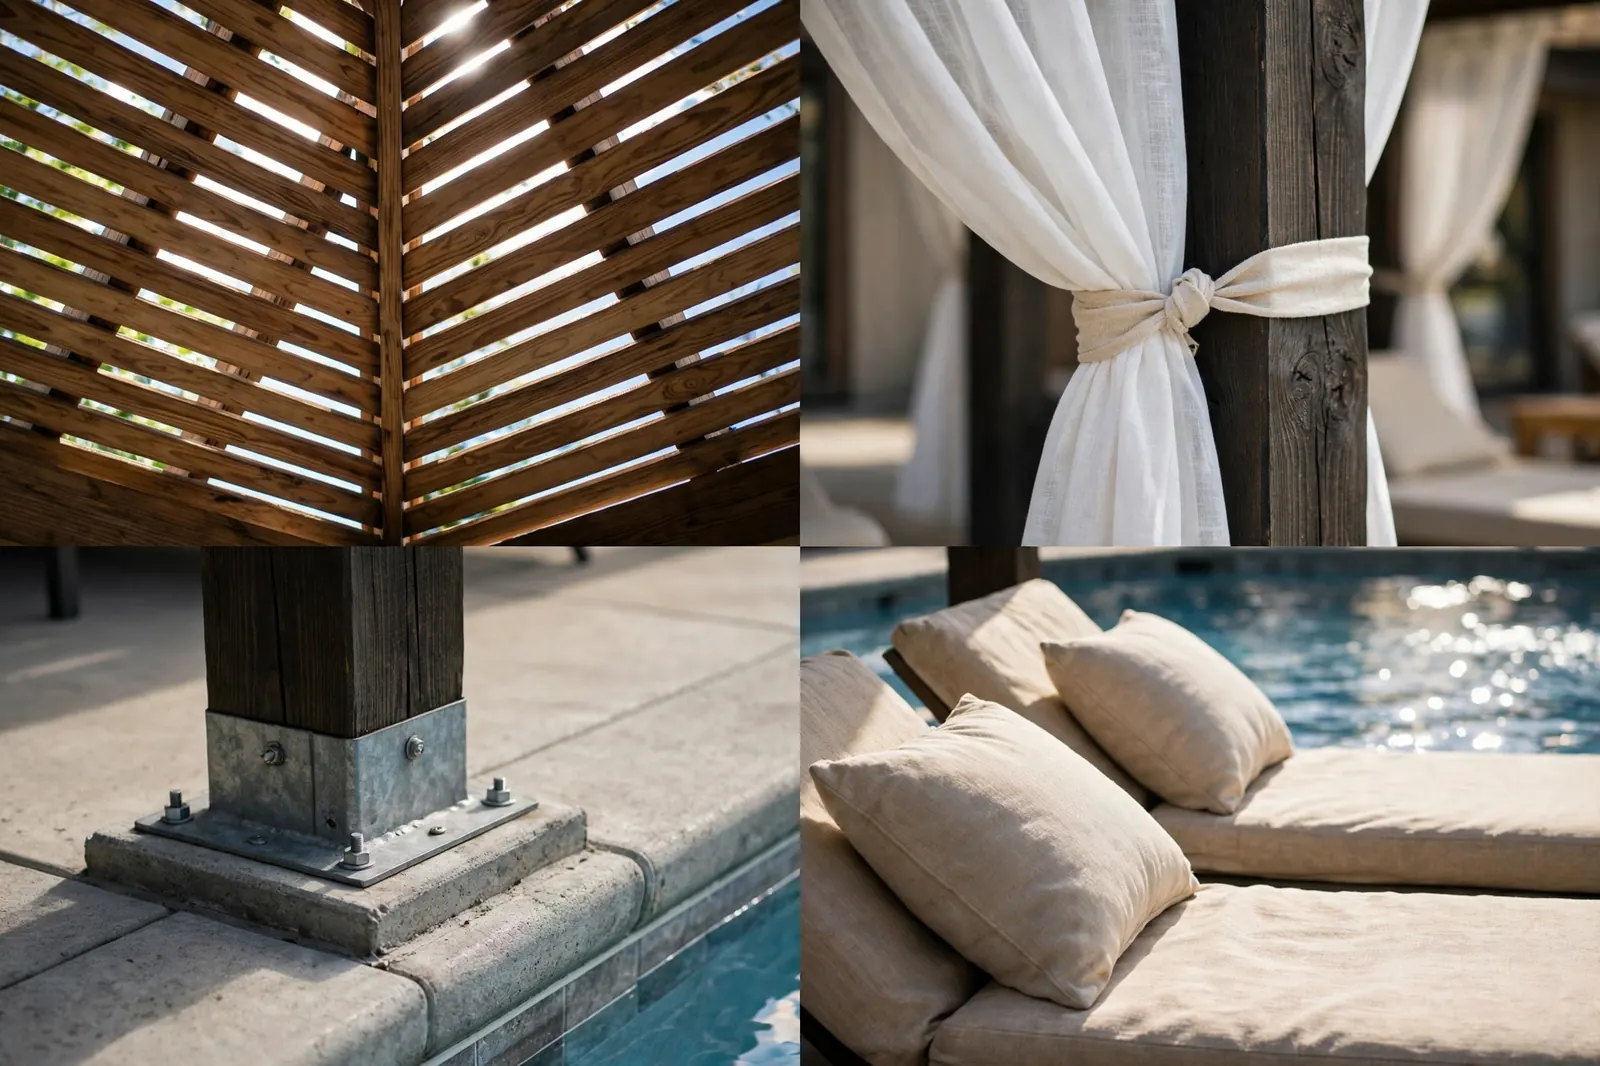
Look at the post base in the detail photos: a galvanized bracket on a raised concrete footing, holding the wood well above splash level. Near a pool, that six inches of clearance is the difference between timber that lasts and timber that rots.
Keep all electrical, fans and lights, on a GFCI circuit. Water and power mix badly, and poolside wiring deserves a licensed electrician.
15. The Rooftop Deck Pergola
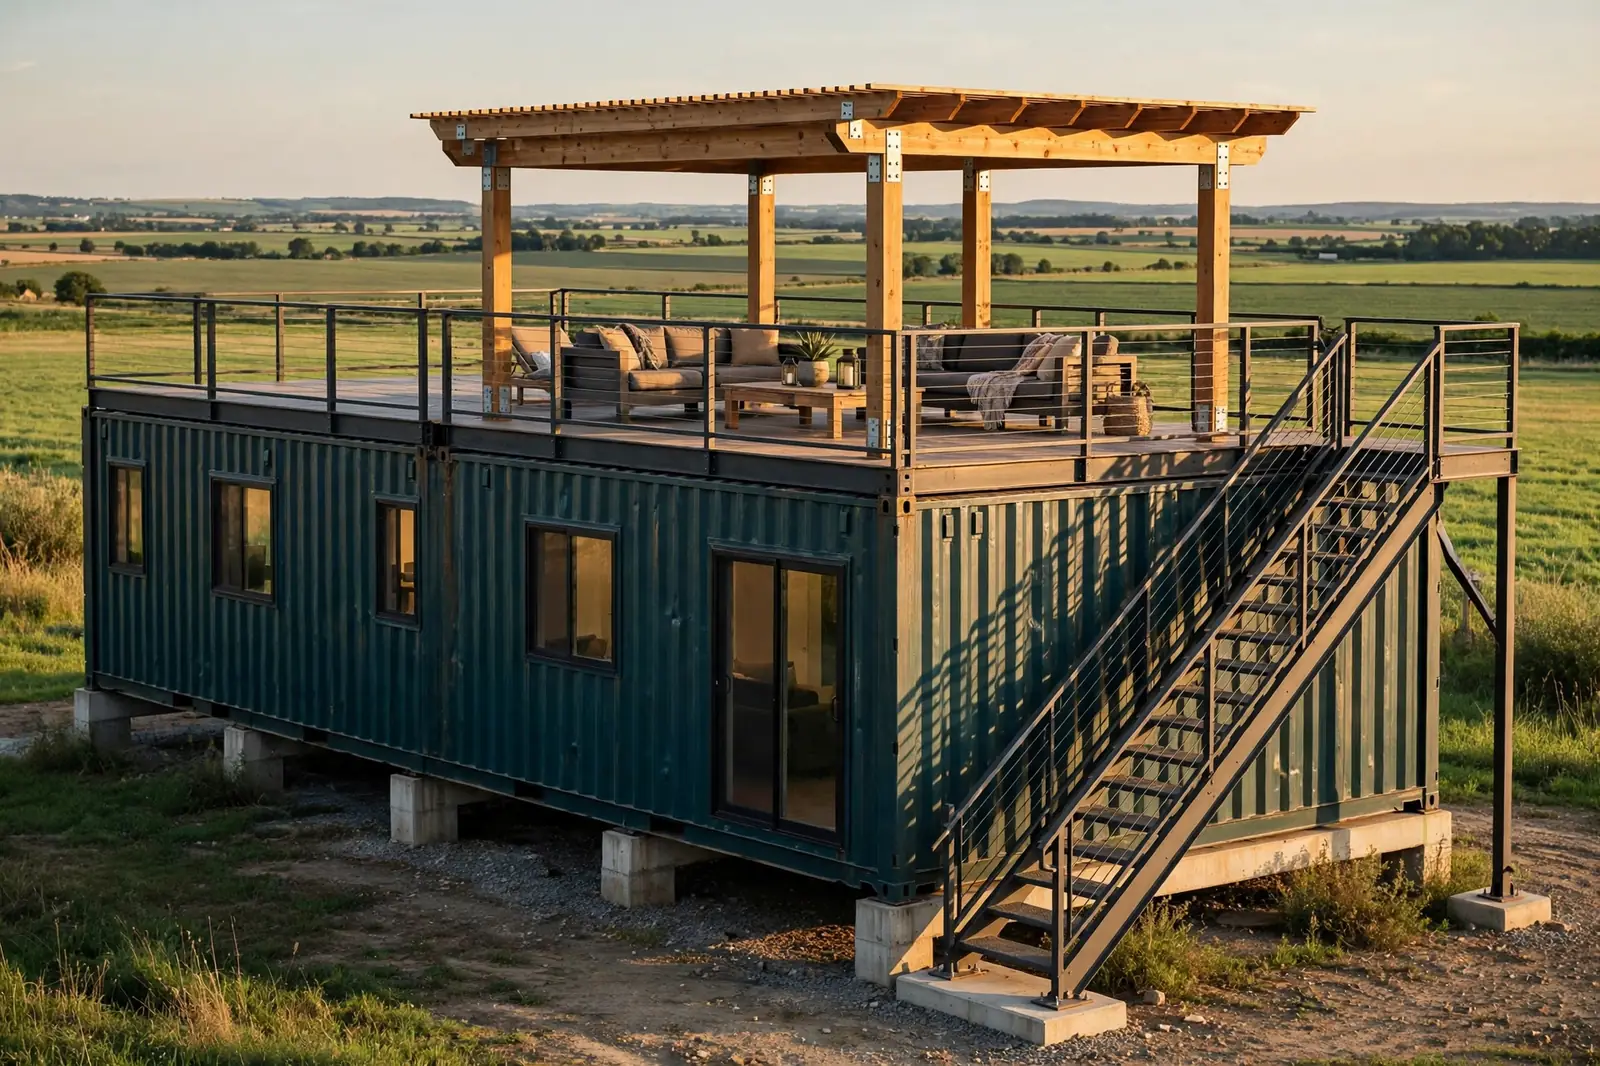
When the ground is taken, go up. A dark-teal double-wide container carries a full rooftop deck, reached by an external steel staircase with cable railings. On top, a cedar pergola shades a lounge with views across open fields.
Rooftop decks are the ultimate small-lot move. You double your outdoor living space without touching the yard. The deck frame bolts to the container’s corner castings and top rails, which are built to carry stacked containers, so the structure is more than strong enough.
The pergola up here does double duty: shade for the lounge, and a visual crown that makes the whole house look finished from the road. Railing height matters, so check your local code. Most places want at least 36 inches, and 42 is better.

The detail photos show the pergola post brackets on the deck frame and the staircase stringers against the container wall. Every bolt is accessible for inspection, which your future self will appreciate.
Add outdoor-rated lighting to the stair risers. Rooftop stairs at night are no place for guesswork.
That is all 15. One steel box, fifteen ways to make the outdoors feel like another room. The right shade structure does more than cool your patio. It cools the container behind it, stretches your living space, and turns a plain box into a home people slow down to look at.
Start with your climate and your budget, then steal the details. The footings, the brackets, the flashing, and the anchoring in the close-up photos are the parts that make these designs last. Copy those faithfully and the style takes care of itself.
Which one would you build first? The cedar pergola is the crowd favorite for a reason, but that rooftop deck is hard to stop thinking about. Save this list, share it with anyone planning a container build, and come back when you are ready to pick up the drill.