
How to Ventilate a Tiny House and Stop Condensation for Good


You wake up in your tiny house on a cold morning. The windows are wet. Water is running down the glass and pooling on the sill. The walls feel damp, and there is a faint musty smell you did not notice yesterday.
This is the most common complaint in tiny house living, and it is not a sign you built a bad house. Small homes trap moisture fast. Two people, one shower, and a pot of pasta can push the air in a 300 square foot home from comfortable to dripping in a single evening.
The good news is that condensation is a solvable problem. It takes a mix of habits and hardware, not a rebuild. This guide explains why tiny houses condensate so badly, what to measure, and the exact steps that keep a small home dry in every season.
At a glance: the numbers that keep a tiny house dry
Four targets to remember. Hit these and most condensation problems disappear.
Sources: EPA humidity guidance and the Home Ventilating Institute fan sizing rule, as explained in the guides linked below.
1. Why Tiny Houses Condensate So Badly

A tiny house is not a small version of a normal house. It is a different animal. The air volume is tiny, so every bit of moisture you add has a much bigger effect.
A family of four breathes out roughly 5 liters of water vapor a day, according to The Tiny Life moisture guide. Add one hot shower and a pot of boiling water. In a 2,000 square foot house, that moisture spreads out. In a 300 square foot tiny house, it has nowhere to go.
Cold surfaces do the rest. Warm, moist air hits a cold window or a poorly insulated wall corner. The air cools, it cannot hold the water anymore, and the water appears as droplets. That is condensation. It happens fastest on winter mornings, when the outside is cold and the inside is warm and steamy.
Well sealed walls make it worse, not better. A tight, well insulated tiny house is comfortable and cheap to heat. It also traps every bit of moisture inside unless you ventilate on purpose. The fix is not to make the house leaky. The fix is controlled ventilation, which is what the rest of this guide covers.
2. Know Your Number: Humidity Targets and a Cheap Hygrometer
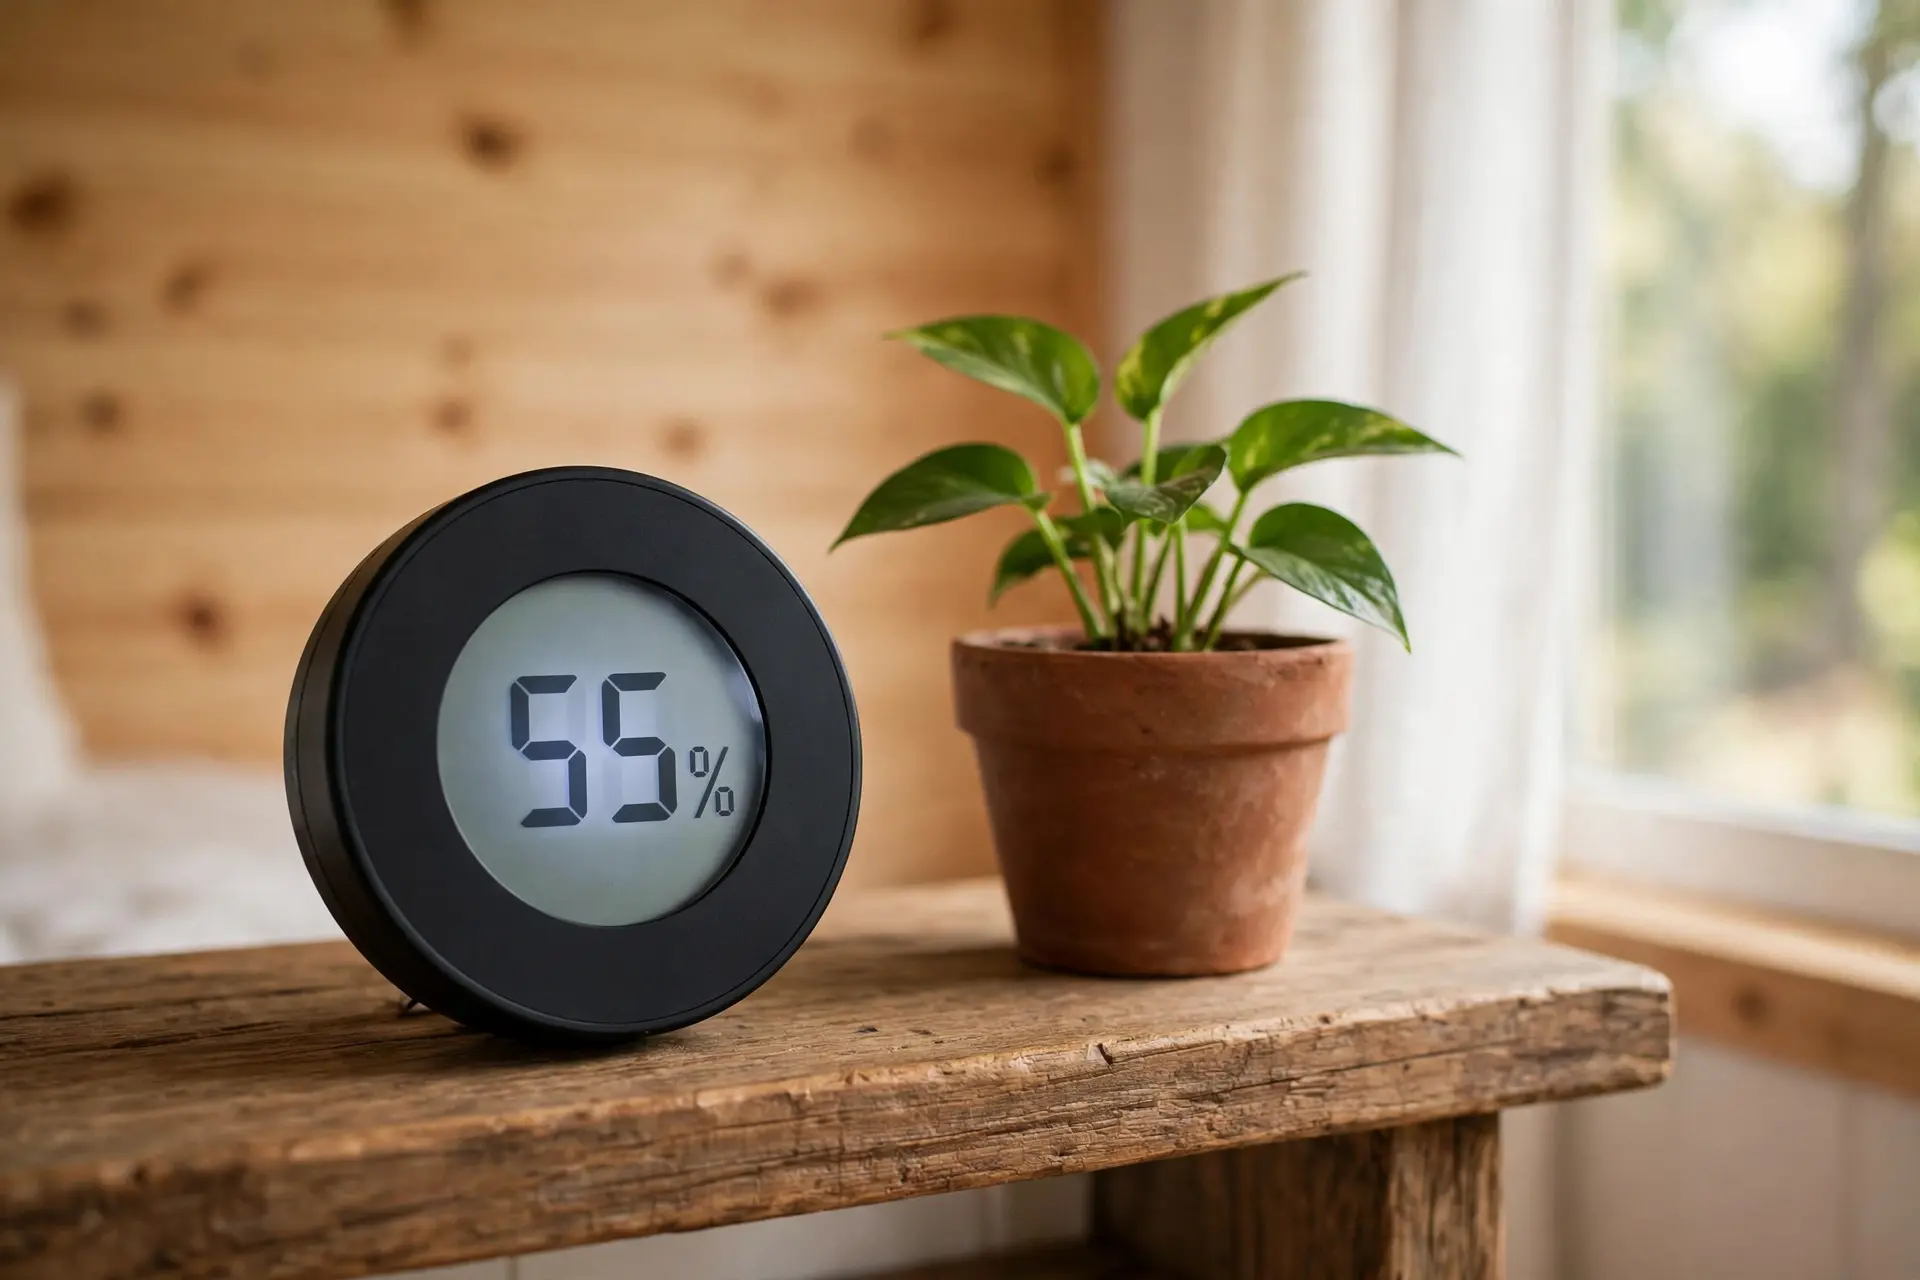
You cannot manage what you do not measure. The first thing every tiny house owner should buy is a hygrometer, a small device that reads indoor humidity. A basic one costs about 10 dollars at a hardware store.
Your target is 30 to 50 percent relative humidity. That is the range the EPA recommends, keeping indoor humidity below 60 percent and ideally between 30 and 50. The CDC puts the ceiling at 50 percent. Below 30 percent, the air feels dry and your skin and sinuses complain. Above 60 percent, mold can start growing on wood, drywall, and fabric.
Put the hygrometer where you live, not in the bathroom. A living room shelf at chest height is ideal. Check it morning, after cooking, and after a shower. Many owners are shocked to find 65 or 70 percent after a shower, which is rainforest territory.
Keep a simple log for that first week. Note the reading, the weather, and what you were doing. The log tells you whether you have a ventilation problem, a habits problem, or both. It also tells you when a fix is actually working.
3. Passive Ventilation: Windows, Vents, and Cross-Breeze

Passive ventilation means moving air without a machine. It is free, it is quiet, and on a mild day it is the best tool you have. The trick is doing it the right way.
Cross ventilation is the core move. Open a window on one side of the house and a window or vent on the opposite side. Air flows in one side and out the other, and the whole house gets a fresh air change in minutes. One open window alone does far less, because air needs an exit as well as an entrance.
On a cool day, five to ten minutes is enough to dump a load of stale, damp air. Do it after cooking and after showers, and again in the morning. This short burst swaps the air without cooling the walls and furniture, so your heater recovers the temperature in minutes.
Do not forget the loft. Warm, moist air rises, so the sleeping loft is often the dampest spot in the house. A small operable window or a roof vent up there matters more than one in the living room. Leave small gaps behind beds and inside closets, and avoid pushing furniture tight against exterior walls.
4. The Bathroom Fan: Your Cheapest Moisture Weapon
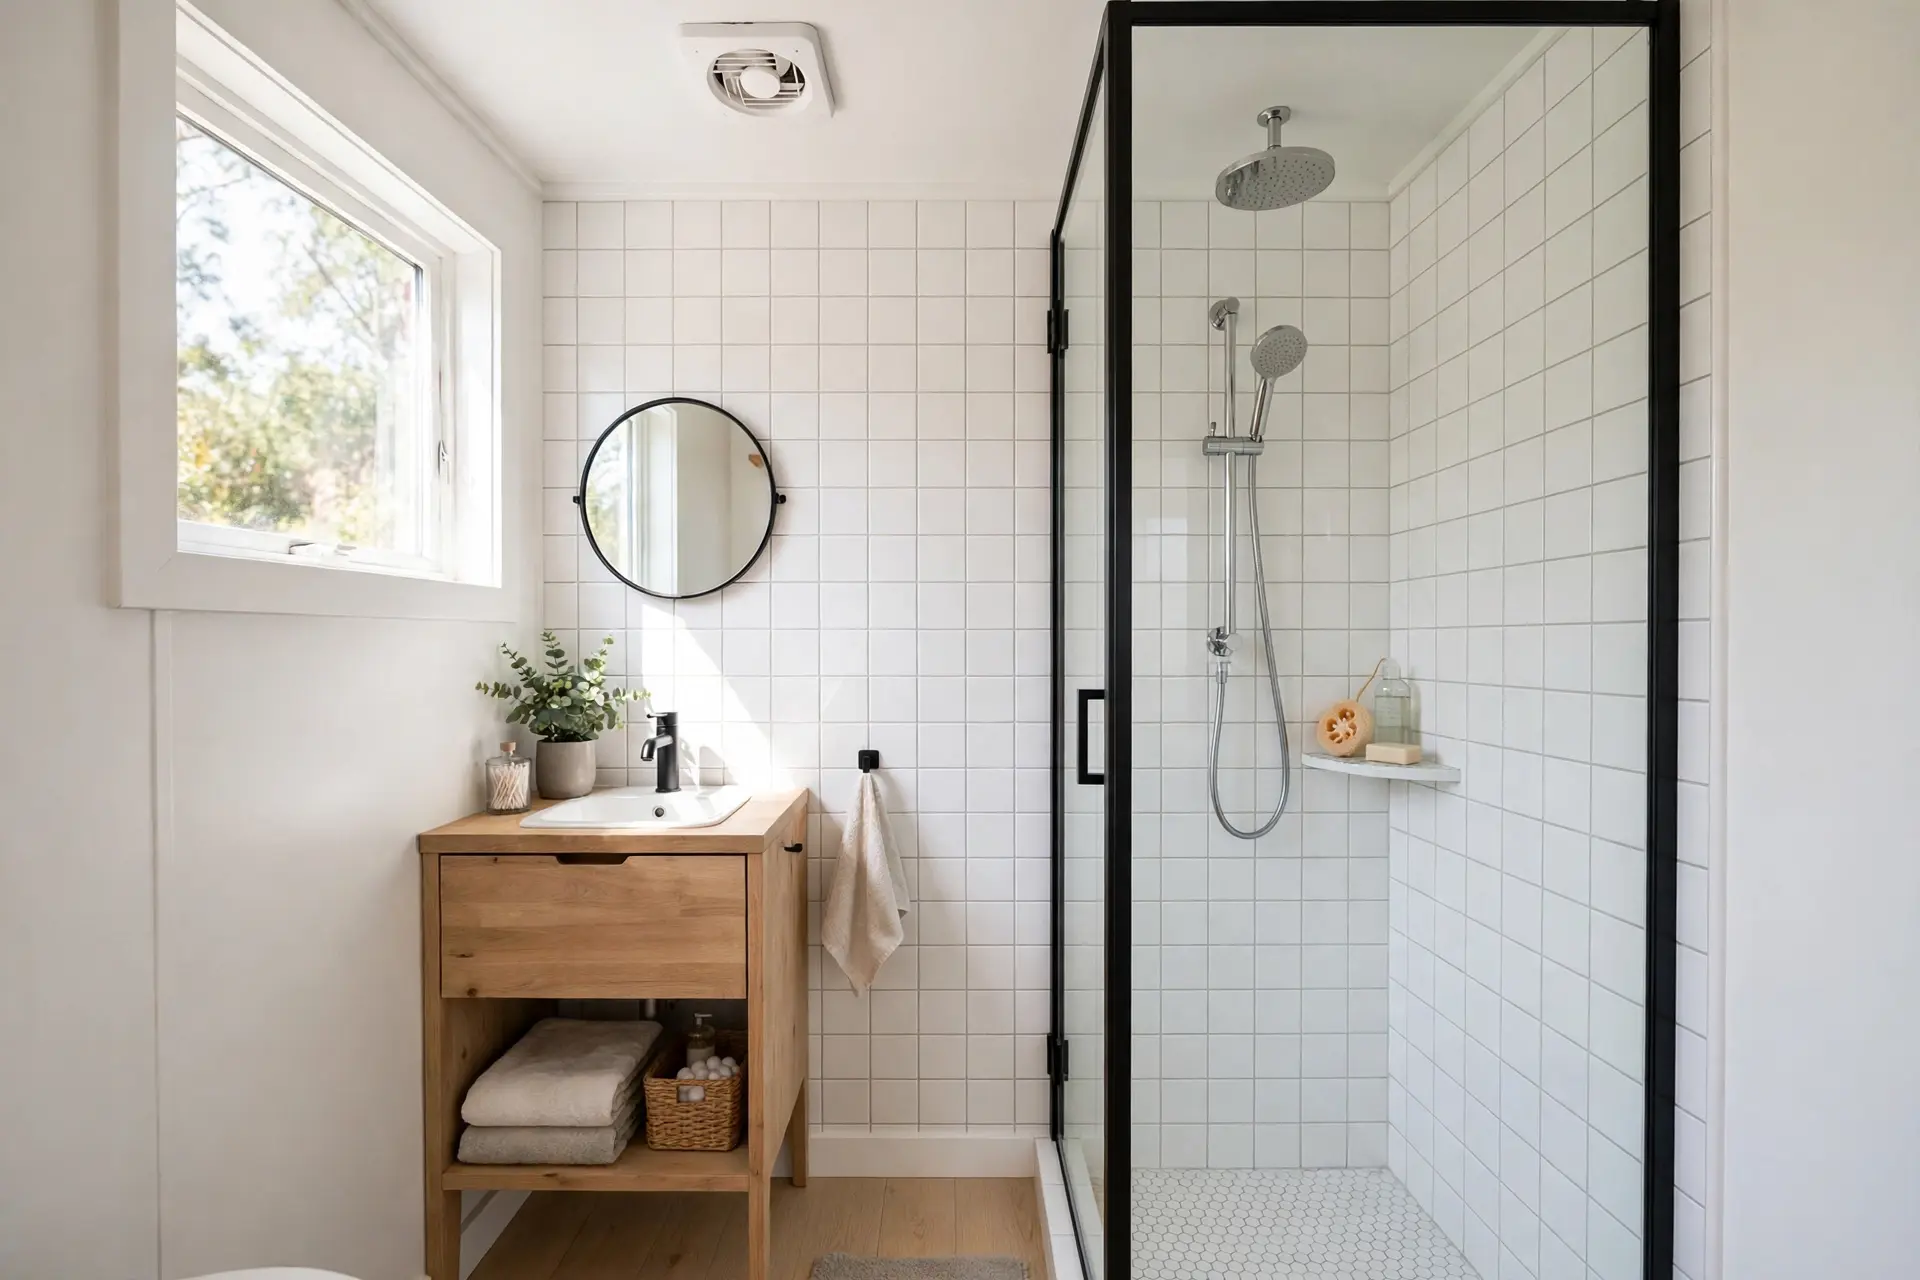
If you buy one piece of ventilation hardware, make it a good bathroom fan. The bathroom makes the most moisture in the shortest time, and a fan catches it at the source before it spreads.
Size it right. The Home Ventilating Institute rule is 1 CFM per square foot of bathroom floor, with a minimum of 50 CFM for any bathroom. CFM means cubic feet per minute, which is simply how much air the fan moves. A 40 square foot tiny bathroom still needs a 50 CFM fan. Round up, never down. Look for the HVI Certified label, proof the airflow number is lab tested.
Code agrees. As this fan sizing guide explains, the minimum is 50 CFM for a switched fan, or 20 CFM if it runs continuously. Aim for a quiet fan, 1.5 sones or lower, because a loud fan gets switched off and left off.
Run it every shower and for 20 to 30 minutes after. A timer switch or a humidity sensing fan does this automatically. The fan must vent directly outdoors, never into an attic, a soffit, or a crawl space. Dumping wet air into your framing only moves the mold problem out of sight.
Bathroom fan sizing cheat sheet
The Home Ventilating Institute rule, applied to typical tiny house bathrooms.
When in doubt, go one size up. An oversized quiet fan beats an undersized loud one every time.
5. HRV and ERV: Fresh Air Without Losing the Heat
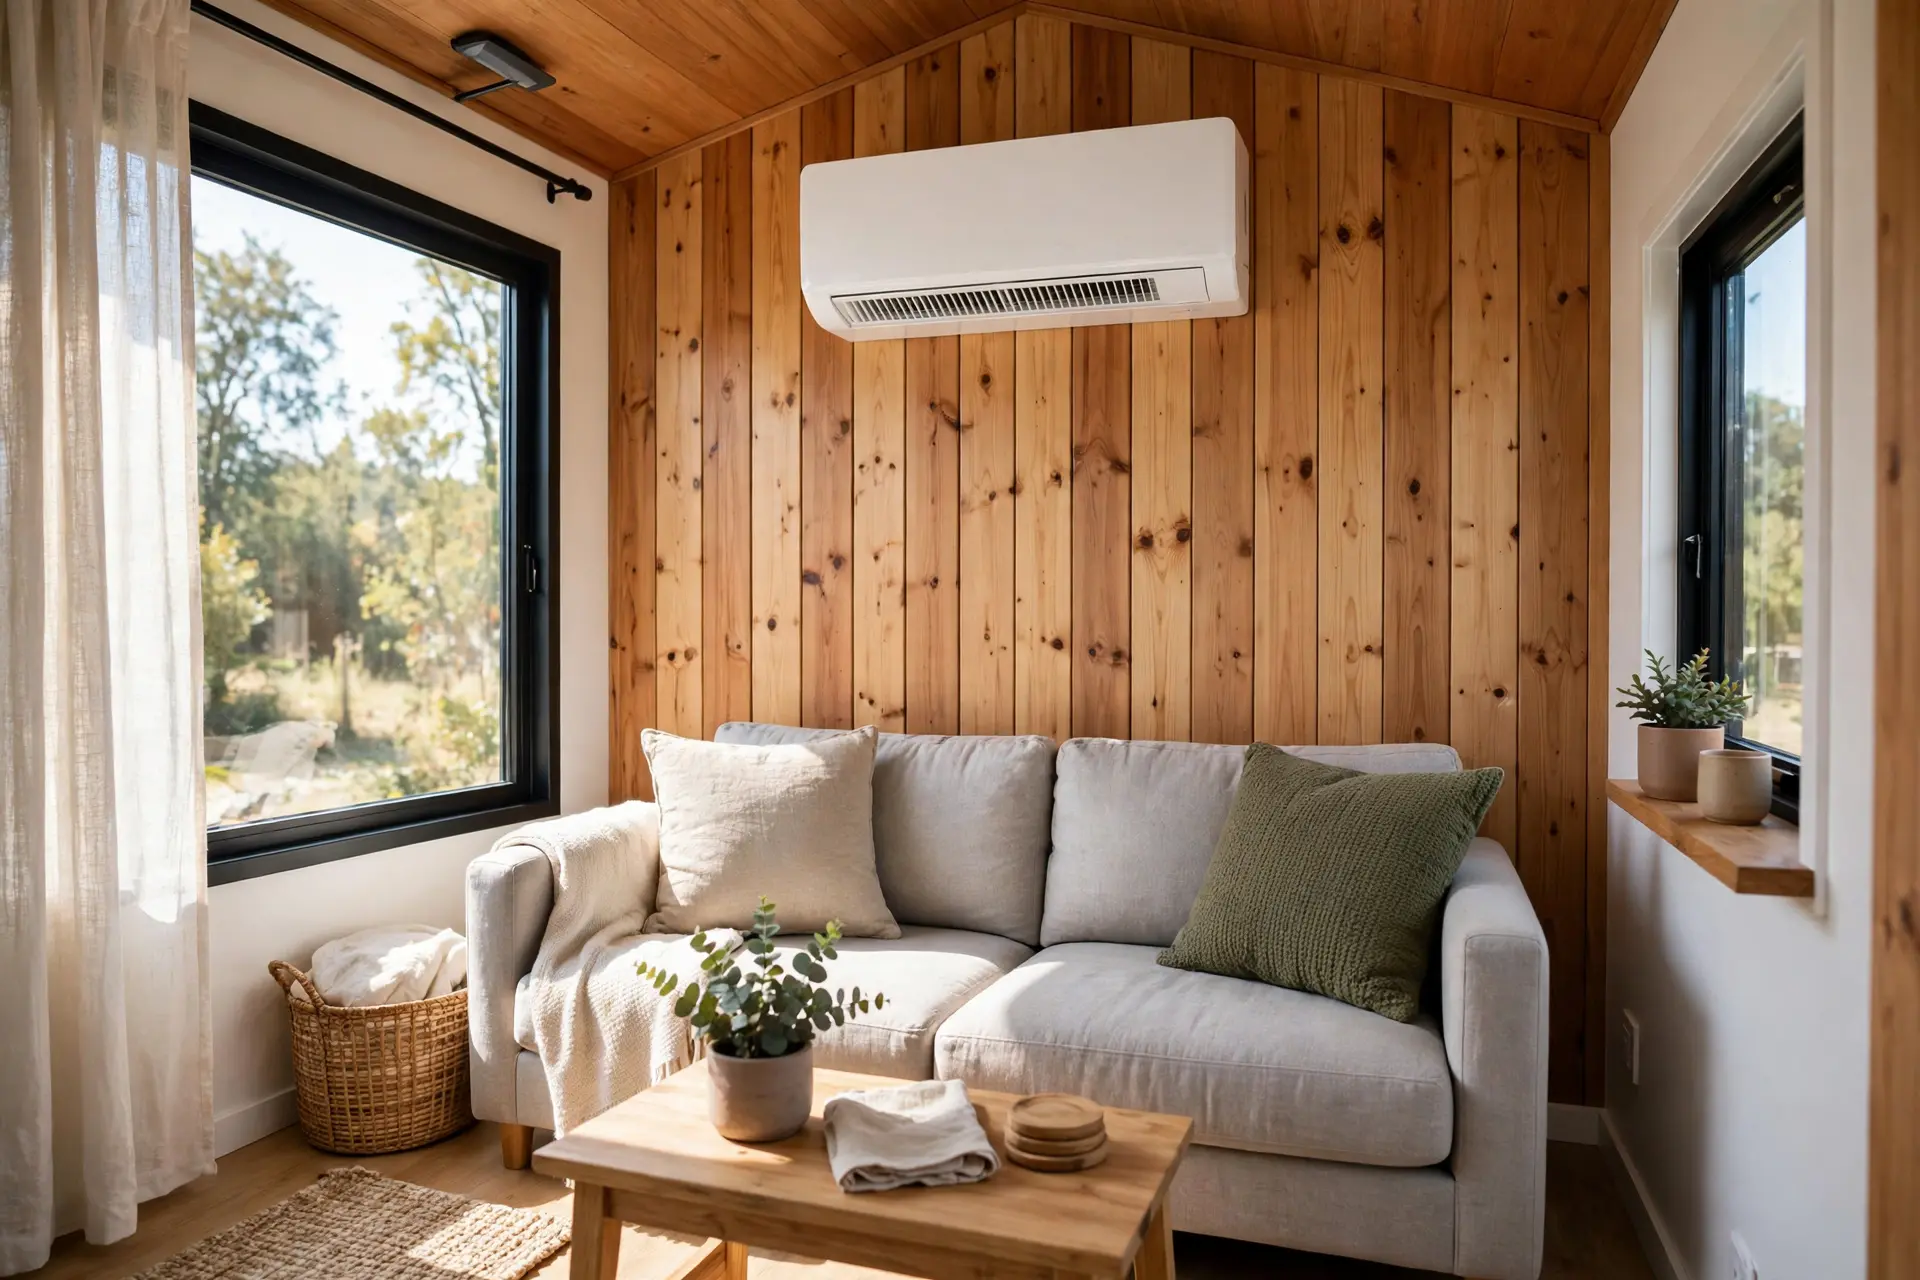
Windows work in mild weather. They fail in January, when opening one throws your heat outside, and in a humid August, when the incoming air is wetter than the air inside. That is where a heat recovery ventilator (HRV) and an energy recovery ventilator (ERV) come in.
Both bring fresh air in and push stale air out, recovering energy from the outgoing air. An HRV transfers heat, which suits cold, dry climates. An ERV transfers heat and some moisture, suiting hot, humid climates better. An HRV suits colder, drier seasons, while an ERV helps where summers are sticky, per this tiny home ventilation guide.
The good news is that you do not need ductwork. Ductless HRV and ERV units mount through a single wall, much like a small air conditioner. They run quietly at low speed, swapping the air all day. Installed cost is typically 1,000 to 3,000 dollars.
Before you spend that money, do the cheap fixes first. Seal obvious air leaks, fix the bathroom fan habit, and check your humidity log. An HRV or ERV is the right answer when a well sealed tiny house stays damp despite good habits, especially where windows stay shut for months.
6. Kitchen Steam and Shower Habits That Make or Break It

The kitchen is the second biggest moisture source in the house. Boiling water, simmering soup, and a dishwasher drying cycle all pour water vapor into a small space. A single pasta pot can steam for twenty minutes straight.
Use lids. A lid on a boiling pot cuts the steam dramatically, and it cooks food faster too. Run the range hood every time you cook, and check whether yours vents outside. Many small hoods just recirculate air through a filter, which catches grease but does nothing about moisture. If yours recirculates, run the bathroom fan and crack a window.
Shower habits matter as much as shower hardware. Shorter, cooler showers make less steam. Keep the bathroom door closed while you shower so the steam stays where the fan can grab it, instead of drifting into the loft. Wipe down the shower walls and the mirror after you finish. It takes thirty seconds and removes water that would otherwise evaporate into the house all day.
Wet towels are a hidden culprit. A damp towel keeps releasing moisture for hours. Hang towels where air moves, near a vent or a cracked window, or take them outside to dry when the weather allows.
7. Dehumidifiers, Mini-Splits, and Drying Clothes Indoors
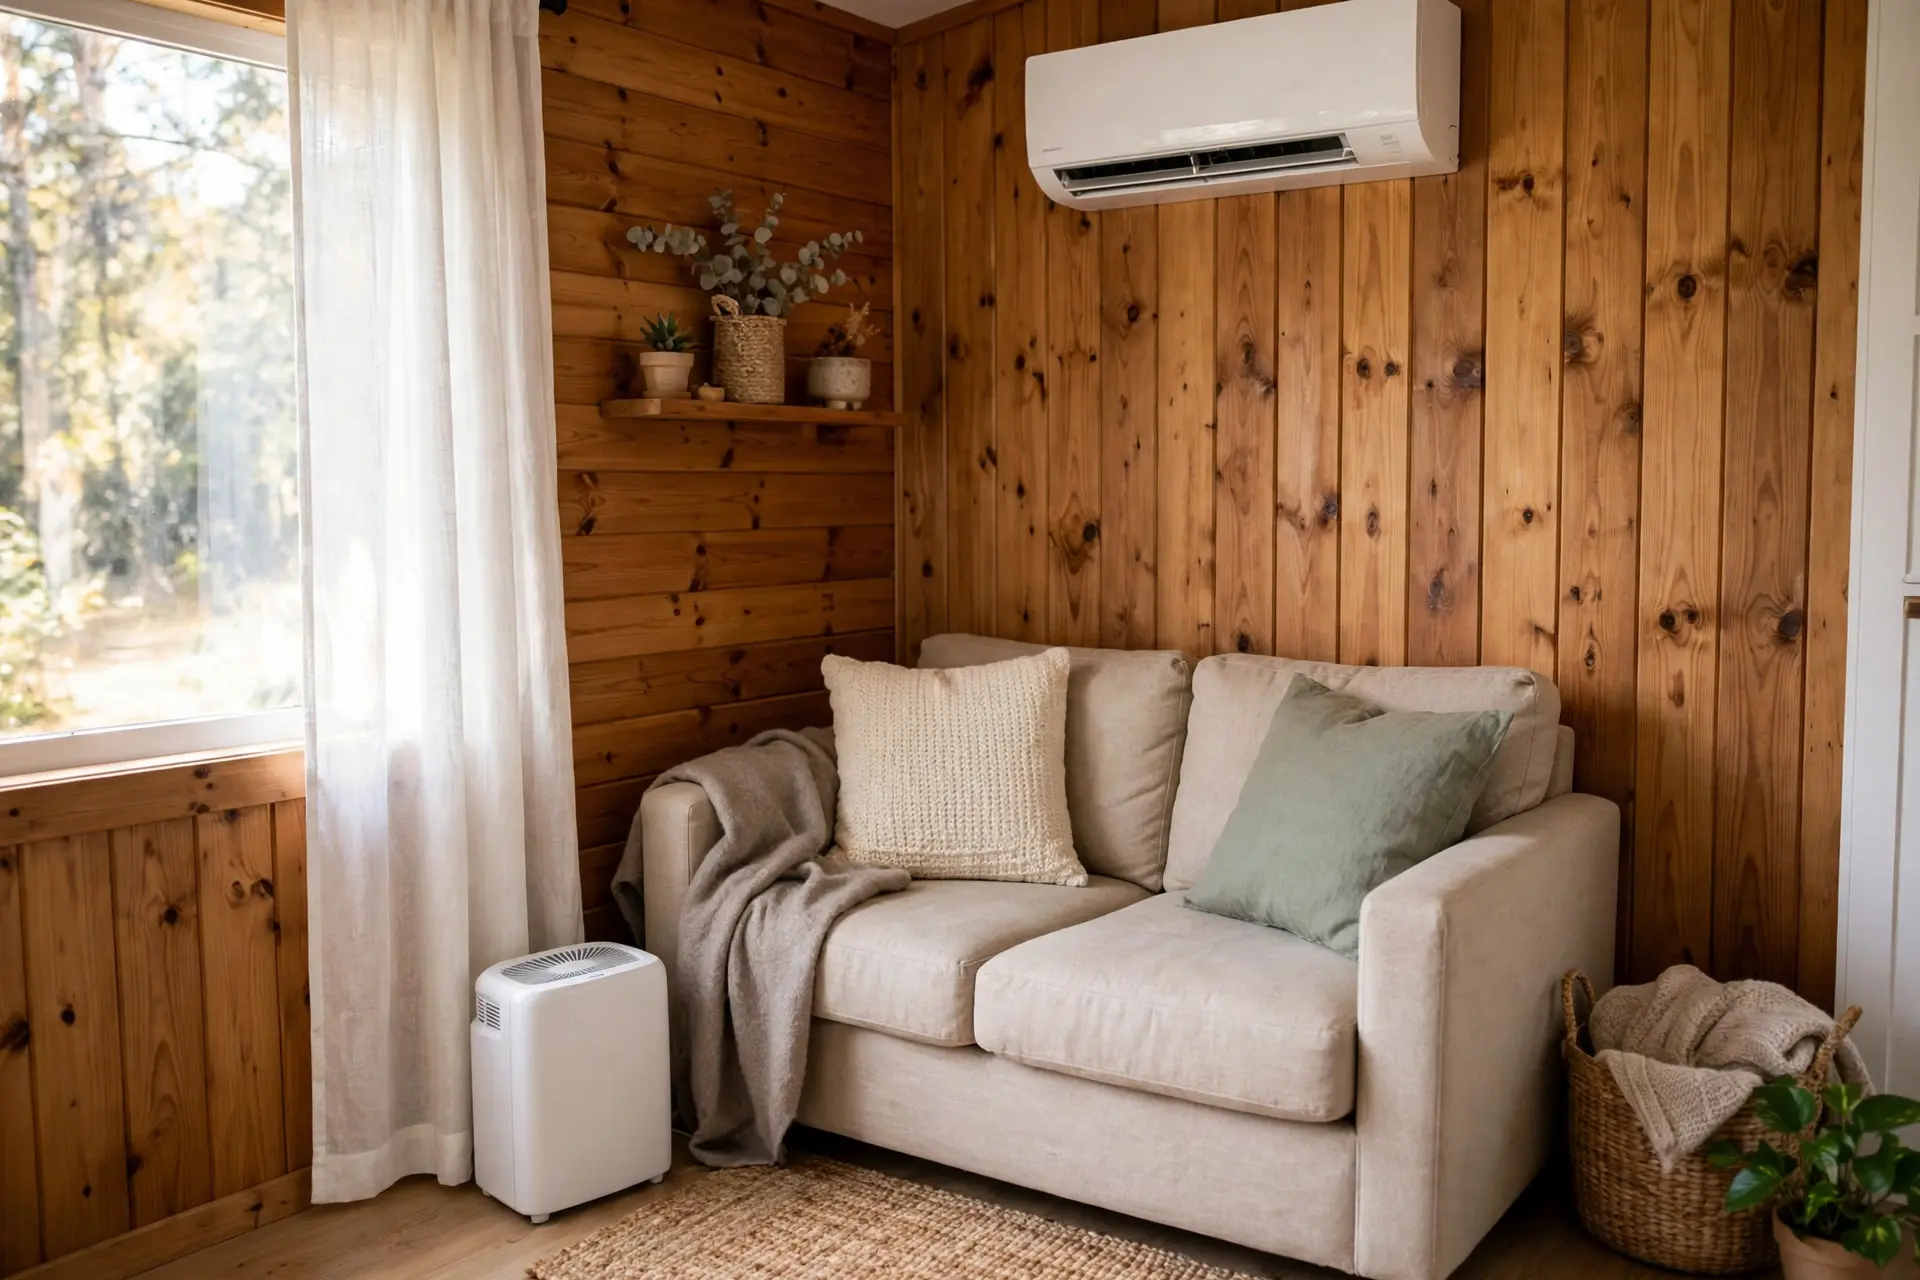
Sometimes ventilation alone is not enough. In a humid climate, or during a rainy week, the air coming in is already wet. That is when a dehumidifier earns its keep.
A dehumidifier pulls water from the air into a tank or drain hose. For a tiny house, a 20 to 30 pint per day unit is usually plenty for a damp space under 2,000 square feet at 50 to 75 percent humidity, per this humidity guide. Set the humidistat to 45 percent, empty the tank daily, or run a hose to a drain.
A mini-split heat pump helps too, in a different way. In cooling mode it wrings moisture from the air while making cold air. In dry mode, if your unit has one, it dehumidifies with less cooling. Keep the drain line clear. A clogged drain stops dehumidification and can cause water damage.
Drying clothes indoors is the moisture bomb most owners forget. One load releases a liter or more of water as it dries. Dry clothes outside when you can. If you must dry inside, put the rack near an open window or fan and run the dehumidifier. Never dry a load in a closed loft overnight.
8. Winter vs Summer, Plus a Simple Daily Routine

Ventilation is seasonal. The same house needs a different routine in January than in July.
Winter is the condensation season. Cold outside air holds almost no moisture, so warming it up dries the house. The problem is windows stay shut and the bathroom fan gets used less. Short bursts of cross ventilation still work in winter. Five to ten minutes is enough, and an HRV brings in dry air without dumping your heat. Foggy windows every morning mean your humidity is too high.
Summer is the humidity season. Opening windows on a muggy day can make things worse by letting wet air in. Ventilate in the cool morning and evening instead, and lean on the mini-split and dehumidifier during the sticky afternoon. A small fan pulling hot air out of the loft helps a lot on summer nights.
The daily routine is simple. Morning: check the hygrometer, open opposite windows for ten minutes, air the loft. After cooking and showering: run the fans, use lids, wipe the shower. Evening: one more short airing, check the reading, run the dehumidifier overnight if you are above 50 percent. Do that daily and the windows stay clear and the walls stay dry.
Your daily dry-house checklist
Five minutes of habits, three times a day, beats any gadget on its own.
Print this list and stick it inside a kitchen cabinet until the routine is automatic.
Condensation in a tiny house feels like a mystery the first winter. It is not. It is a small air volume, a lot of daily moisture, and not enough air exchange. Measure your humidity, ventilate on purpose, size the bathroom fan right, and add an HRV, an ERV, or a dehumidifier only when the cheap fixes have done all they can.
Start this week with the hygrometer and the ten minute morning airing. They cost almost nothing, and they tell you more about your house in seven days than a year of guessing. A dry tiny house is a healthy tiny house, and it is well within reach.