20 Safety Tips for Beginner Solo Hikers (No Bs or Fluff)

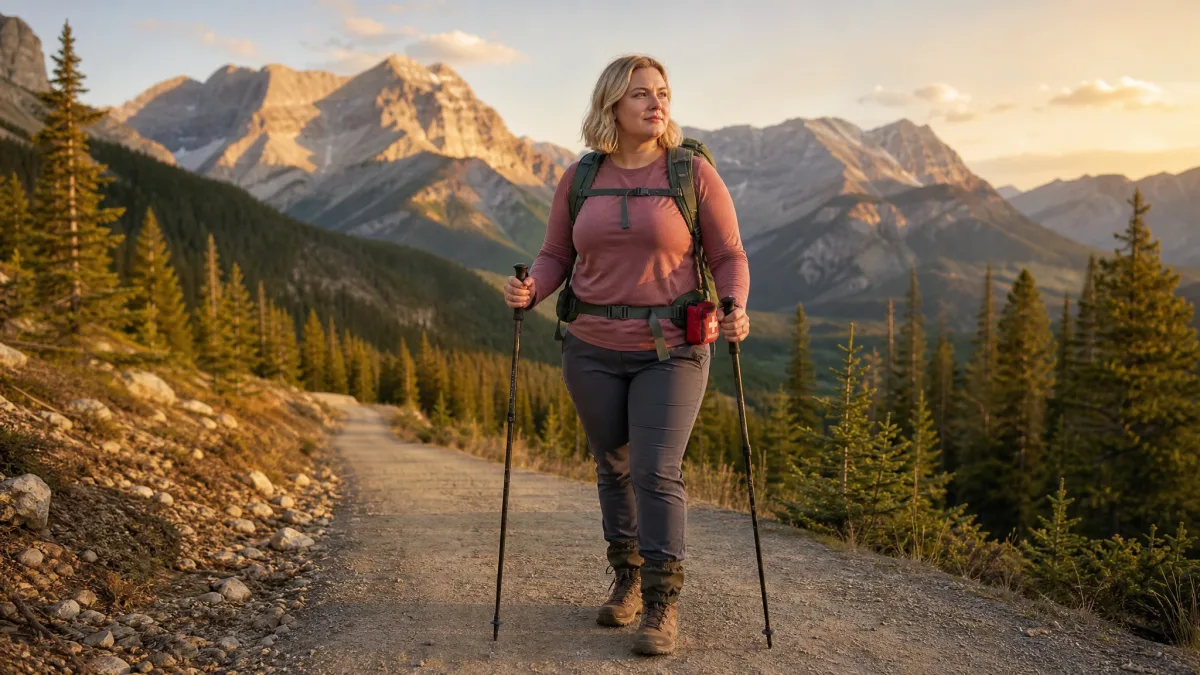
Most solo hiking safety content will have you convinced the wilderness is waiting to kill you. It is not — and the biggest threat most beginners overlook is not a bear. It is a guard dog guarding a flock of sheep.
These 20 tips cover the real risks: the ones that actually strand, injure, or quietly ruin a solo trip. No filler, no abstract advice about ‘being prepared.’ Just the specific habits that work.
Start at tip one and work through. A few of them will surprise you. Most of them take five minutes to set up and then run on autopilot every time you hit the trail.
Quick Tips Before You Start
Cache Your Maps Offline
Open your nav app while connected and zoom through your planned route — it saves the tiles for offline use automatically.
Name an Emergency Contact
Tell one person your route, your expected return date, and exactly what to do if they do not hear from you.
Do the Ankle Warm-Up
Four ankle exercises before each hike dramatically reduce your sprain risk on uneven terrain.
Pack One Extra Day of Food
Always carry at least one day more than you need — two if you are a beginner or heading somewhere remote.
Check the Weather the Morning Of
Conditions change fast at altitude — check again on the day, not just when you planned the trip.
1. Guard Dogs Near Livestock Bite More Often Than Bears
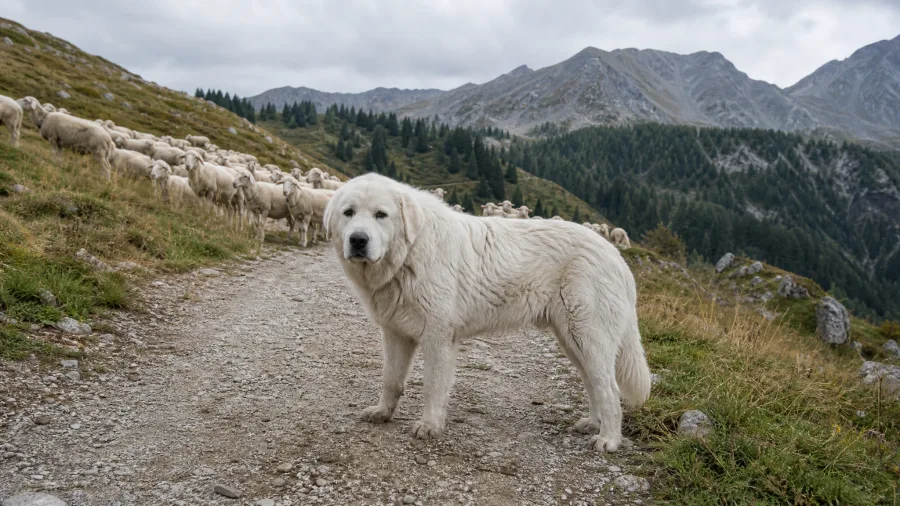
The animal encounter most beginners lose sleep over is a bear. The one that actually bites hikers more often is a dog. When you spot horses, cows, goats, or sheep standing alone on a mountain trail, treat it as a near-certainty that a guard dog is somewhere close – not a possibility, an assumption.
How that dog behaves depends on where you are hiking. In well-trafficked ranges like the Alps and Pyrenees, shepherd dogs are usually trained to tolerate hikers and will size you up without charging. In more remote areas, including parts of central Italy, the same breed can be genuinely hostile to any stranger it does not recognise.
If one approaches looking unfriendly, the protocol is four steps: stop completely, assess whether it is truly hostile or just posturing, back away slowly with no sudden movements, then detour wide around the entire herd. That last part matters more than people realise – cutting back in too soon puts you straight back inside what the dog considers its territory.
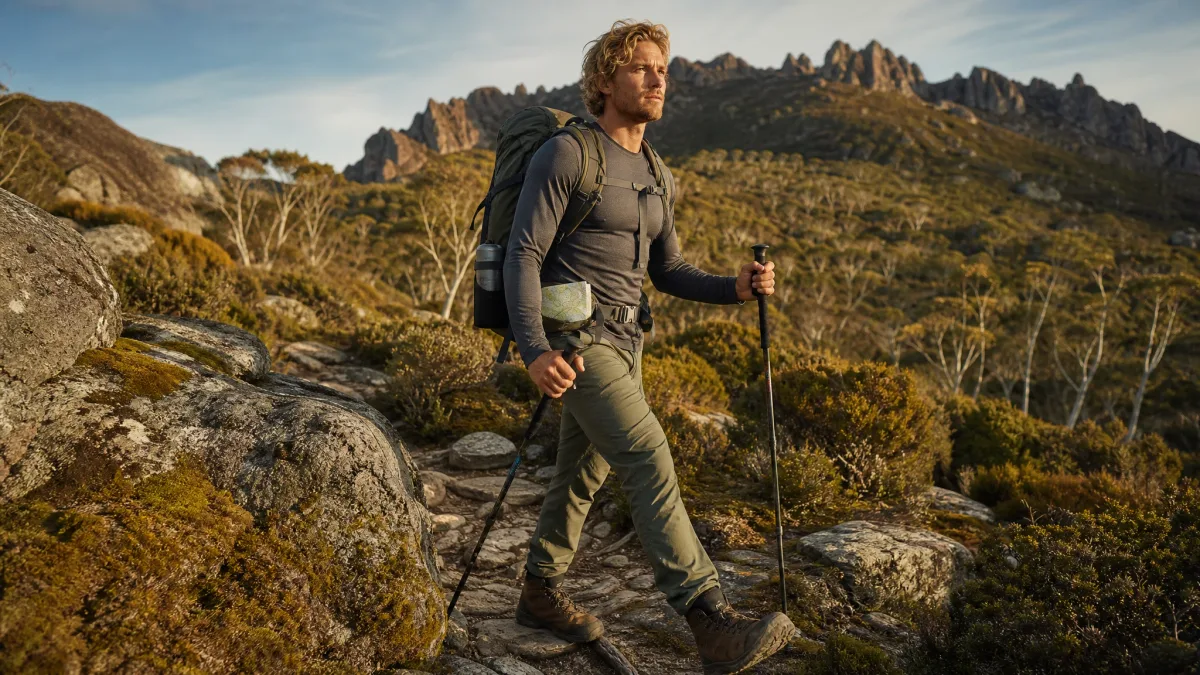
2. Trekking Poles Are Your Best All-Round Safety Tool
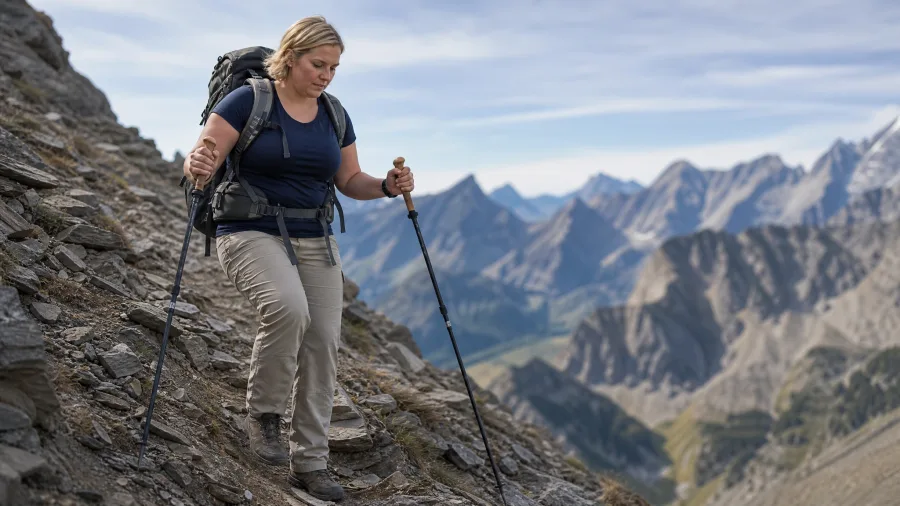
Bear spray sits in its holster until you need it once, maybe never. Trekking poles earn their weight on every single kilometre – and they can handle that guard dog from tip one too, if it decides posturing is not enough.
Two poles give you reach and a physical barrier during any animal encounter, which matters when you are alone and there is no one to step in. Off-trail, they double as tent poles for certain shelter designs, trimming real weight from your pack. And on long descents they absorb a meaningful amount of impact on the knees and ankles.
That last point is the solo-specific reason poles matter. A rolled ankle in a group means someone helps you limp out. Solo, it is a different calculation entirely – one a pair of poles in your hands can help you avoid in the first place.
3. Four Ankle Exercises Dramatically Cut Your Sprain Risk
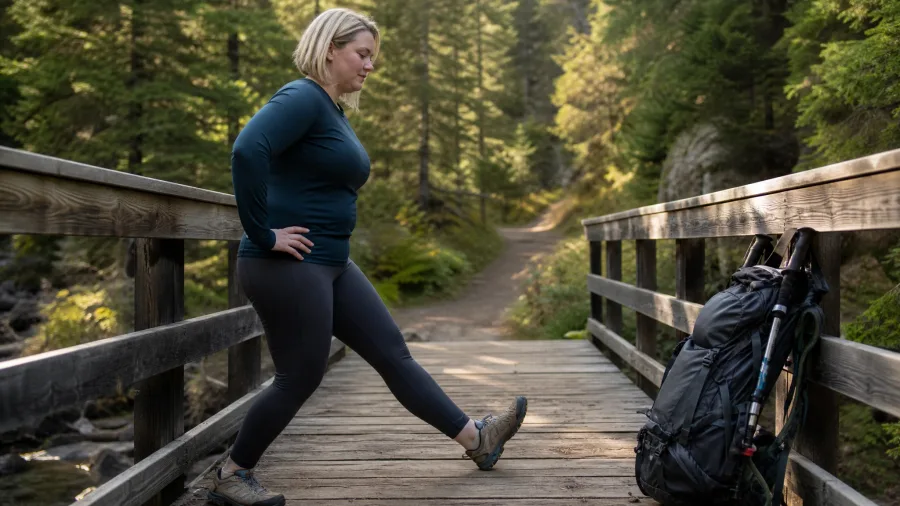
A sprained ankle in a group is an inconvenience. Solo, it is a sit-in-the-dark-and-decide-whether-to-hit-SOS situation. Four exercises done before each hike cut that risk significantly.
20 small bounces for dorsiflexion – the forward flex that keeps you from pitching forward on steep downhill steps. Ten slow stretches for plantar flexion, the push-off motion your foot relies on for every uphill stride. Ten outward stretches for supination, which is the roll to the outside of the foot and the single most common way trail sprains happen. Ten inward stretches for pronation to balance it out.
Do these before each hike, not as a general Tuesday fitness habit. The point is pre-hike activation – warming the ankle stabilisers so they respond faster when you land awkwardly on a loose rock mid-trail. That reaction speed is what actually prevents the injury.
The supination and pronation stretches are the ones most people skip, which is unfortunate because the trail rarely goes straight. It tips sideways constantly, and those are exactly the planes where most ankle injuries occur. Four minutes before you set off is a reasonable trade.
4. A Daily Check-In Contact Is Your Most Important Safety Net
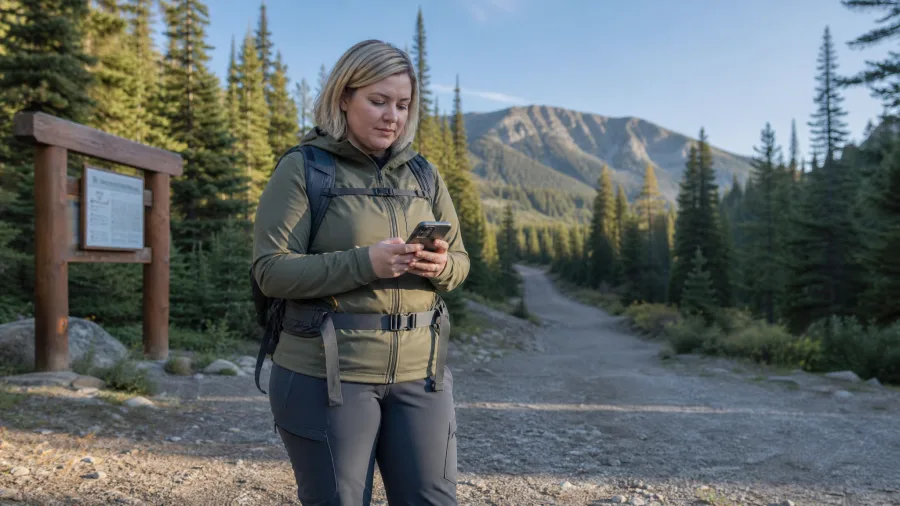
Those exercises help you avoid an ankle injury – this is what covers you when something goes wrong anyway and you cannot walk out. Before your first solo trip, set up a daily message system with one person at home. Agree on a clear trigger in advance: no message by a set time that evening means wait until the following morning; still nothing means they call a rescue team.
That call tells rescuers you are probably lost or your phone is dead, not that you are critically injured. The distinction matters – it sets the right search priority without triggering a full emergency response unnecessarily.
This costs nothing and needs no app or gadget you do not already own. It is the single step worth completing before anything else.
💡 Tip: Give your contact your planned route, trailhead location, and car registration — rescuers can find your vehicle even if your phone GPS is dead.
⚠️ COMMON MISTAKE
Vague Plans Get People Killed
Telling someone you are 'going hiking this weekend' is not an emergency contact plan. Give them the trailhead name, your start time, your expected return, and a written trigger — not a rough idea.
5. Scented Items in Your Tent Attract Night Visitors
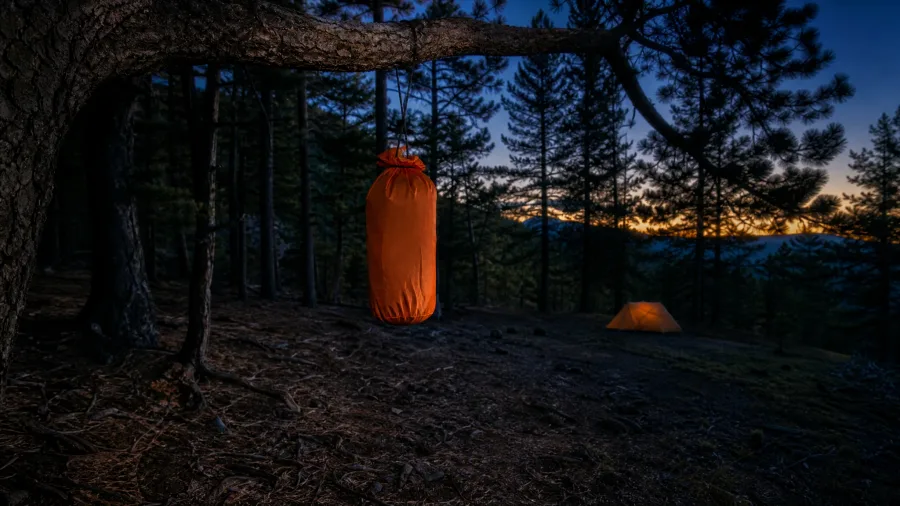
Once you have your check-in contact sorted and your campsite chosen, there is one evening habit that determines whether you sleep undisturbed – and it is easy to skip when you are tired.
Everything with a detectable smell does not stay in the tent with you. That means food, empty wrappers, deodorant, and lip balm – all of it goes into a dry sack hung from a tree branch at least 50 m from your tent. Not 20, not somewhere that feels far enough. Fifty metres is the number that creates genuine separation between you and whatever comes sniffing around at 2 a.m.
In Europe the most likely night visitor drawn by food smells is wild boar, not bears. In North America it shifts toward bears and other scavengers depending on the region. The specific animal changes; the habit does not.
There is one exception worth knowing. If you are camping well above the tree line – where there are no trees to hang from anyway – the wildlife up there tends to be mountain goats and foxes, both shy enough that the hanging step becomes unnecessary. Below the tree line, though, do it every time without negotiating with yourself about how tired you are.
Solo Hiking Safety — Reality Check
6. Hiking Is 647 Times Safer Than Driving a Car
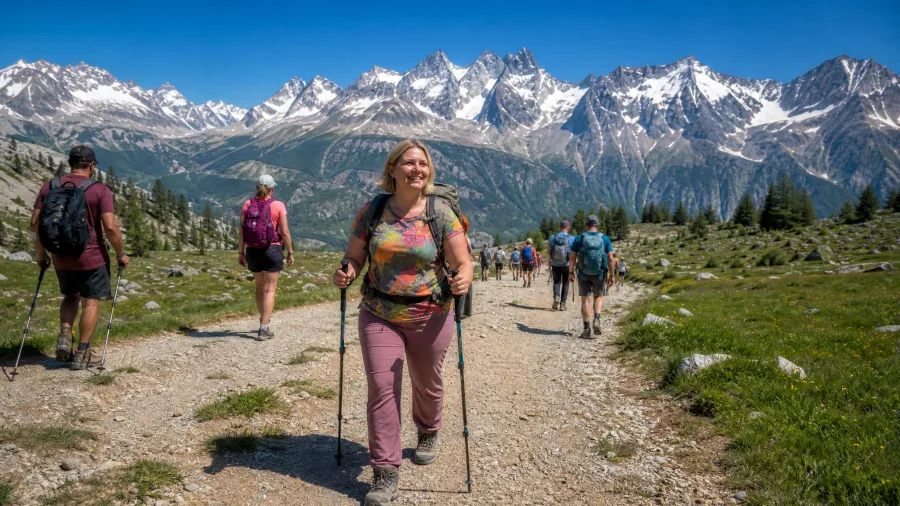
Here is the moment most beginners’ anxiety about solo hiking deserves a hard number. In 2019, 327 million people visited US national parks. Fifty-six died from hiking-related causes – a fatality rate of 0.017 per 100,000 people. The driving fatality rate that same year was 11 per 100,000. Hiking is 647 times safer than the drive to the trailhead.
Over-consuming safety content is itself a real risk. It recalibrates your fear to completely the wrong level, and it stops beginners going at all – which is the opposite of useful.
Read the tips you need, apply them, and then close the tab. The trail is genuinely not waiting to hurt you.
7. Remove Your Pack Before Approaching Any Cliff Edge
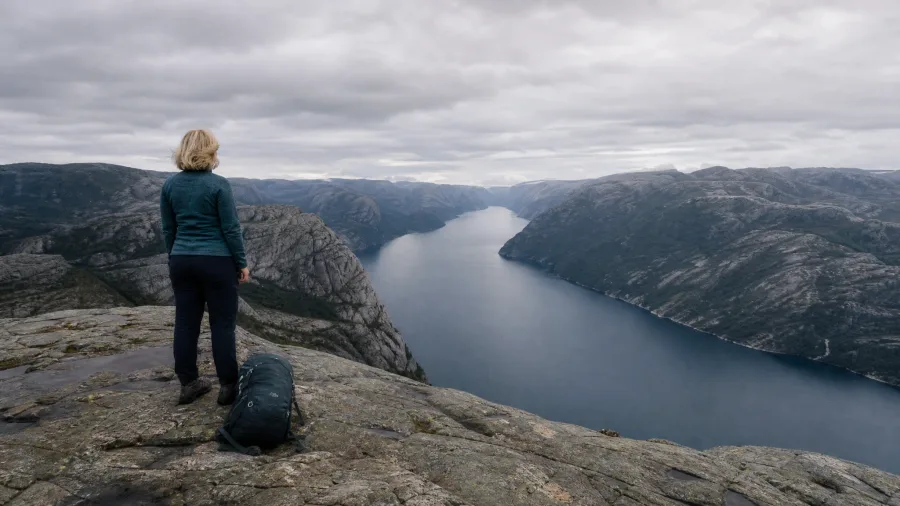
Those numbers do not make cliff edges harmless – and here is the uncomfortable part: the people most at risk near edges are not the nervous ones. Balance was lost once at the edge of a roughly 50 m cliff in Norway, probably from a single loose rock underfoot. No drama, no build-up. Just one misplaced step.
Always remove your pack before approaching any edge. The pack shifts your centre of gravity backward and outward, turning a stumble that would be recoverable on flat ground into something unrecoverable at a cliff. Fearless hikers get closer, move faster, and skip the pack-off step – which is exactly what puts them in more danger, not less.
8. Unmapped Shortcuts Fail Eight Times Out of Ten
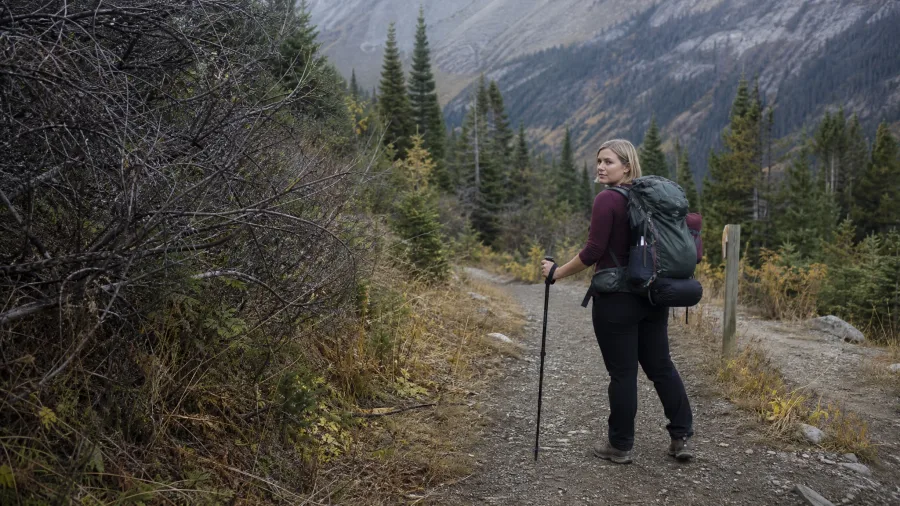
Same answer, different shape. About eight times in ten, it does not work out.
The other eight: too overgrown to push through, too steep to descend safely, or dead-ending with no way back before dark. In the mountains that is not just an inconvenience – a failed shortcut can put you on loose scree above a drop with fading light and no marked path behind you.
The only time it is worth attempting is when you can see the entire path from where you are standing right now, start to finish, and it is clearly manageable throughout. The moment any section disappears around a corner or into dense vegetation, stay on the marked trail. That corner is almost always where the trouble starts.
Official Campground vs. Wild Camp — Solo Hiker Edition
Official Campground
- Shared with strangers you cannot vet
- Visible from roads and main paths
- Harder to maintain a low profile
- Facilities are a genuine convenience
- Legal by default in most areas
Remote Wild Camp
- Invisible from roads, houses, and main trails
- No strangers share your space
- Lower risk profile for solo women hikers
- Check legality before every trip
- Requires better campsite judgement
9. Camping Out of Sight Is Often Safer Than Campgrounds
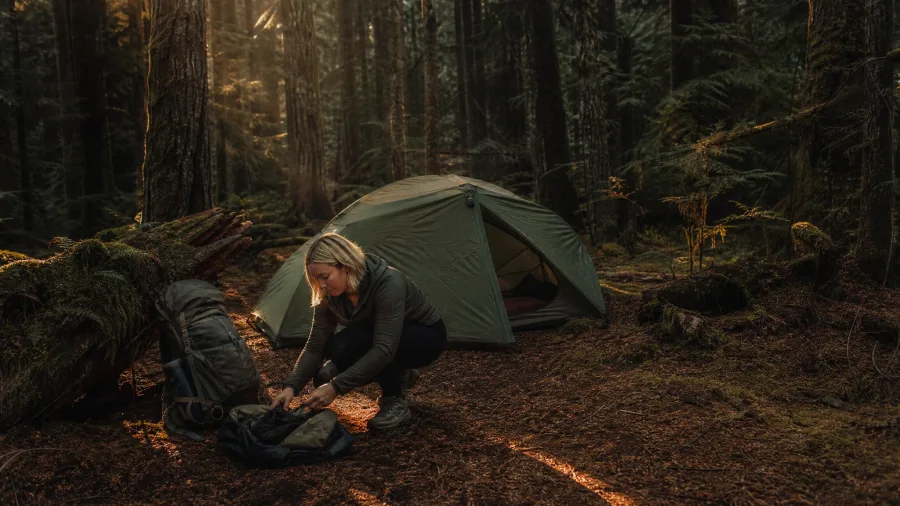
Where wild camping is legal, that remote pitch has a safety benefit beyond wildlife and weather – it removes the variable campgrounds cannot control: who your neighbours are. Most hikers are decent people, genuinely. But a public campground means sharing space with strangers whose intentions are unknown.
Pick a spot not visible from roads, houses, or main trails. Those three criteria are specific enough to apply on the ground before you unpack. Solo women hikers especially should weigh this – not as a reason to avoid going, but as a practical reason to prefer a pitch that nobody can stumble across.
10. Wild Camping Is Illegal in Many Countries and Regions
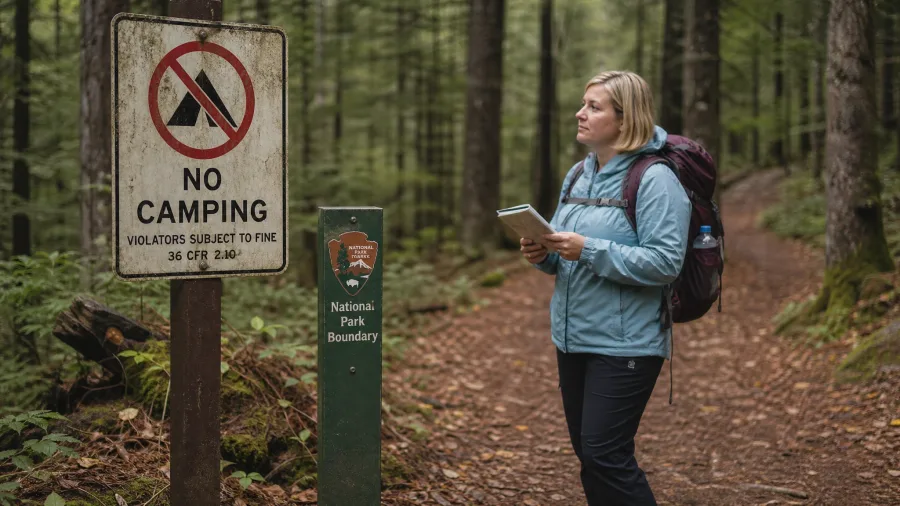
That advice comes with a catch the previous tip cannot carry on its own: pitching wherever you like is not legal everywhere, and the rules vary enough that no single summary covers them all.
Scotland and most of Scandinavia permit wild camping freely under right-to-roam law. Most of England, large parts of continental Europe, and many US national parks and forests prohibit it outright. The range between those two ends is enormous.
Ignoring the rules has real consequences. Rangers can issue on-the-spot fines, confiscate gear, and remove you from the trail mid-trip. The disruption alone can wreck a long-planned hike.
Before any trip, go directly to the official national park, forest service, or land management authority website for your specific destination. Do not rely on what a forum said worked for someone last year. Regulations change, enforcement varies by season, and the only source worth trusting is the managing body itself.
💡 Tip: Search '[destination] + wild camping rules + [year]' on the official land management site, not a hiking blog — the rules change and blogs go stale.
💡 PRO TIP
Noise Is Your Best Animal Warning System
On dense, overgrown trails where you cannot see 10 m ahead, clapping or calling out every 10–20 m is more effective than any spray or whistle. Animals that hear you coming almost always move away before you reach them.
11. Clap Every 10 to 20 Metres on Overgrown Trails
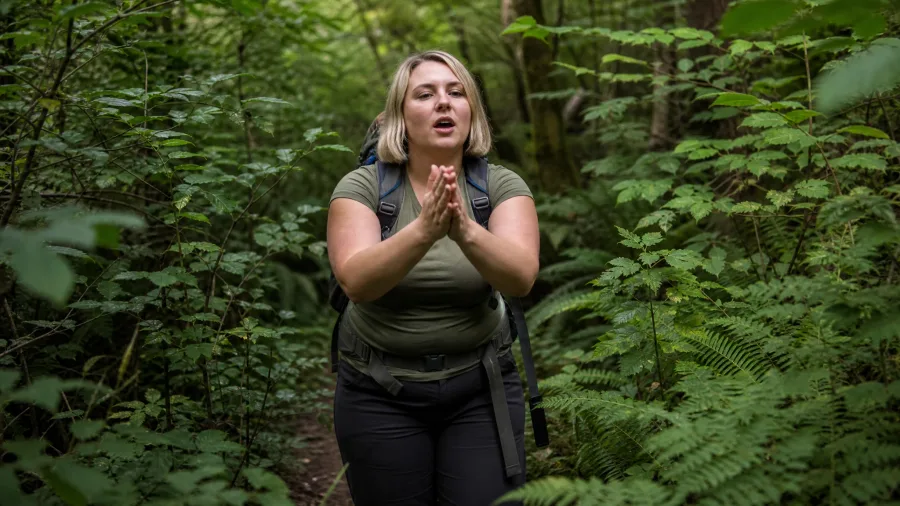
On any trail where dense vegetation cuts your sightline to the next bend, clap your hands or call out every 10 to 20 metres. That is a specific interval, not ‘occasionally’ – count it off until the habit sticks.
This is not a bear-country-only rule. Wild boar, deer, and most large animals can react aggressively when a hiker appears at close range with no warning. The highest-risk situation is surprising an animal with young nearby – that is when they charge instead of flee, and why the volume needs to be real, not a polite clearing of the throat.
The habit feels a little odd until the first time you round a corner and a deer crashes sideways through the brush because it heard you coming. That is exactly the outcome you are aiming for.
12. Three Tent Placement Mistakes Create Overnight Hazards
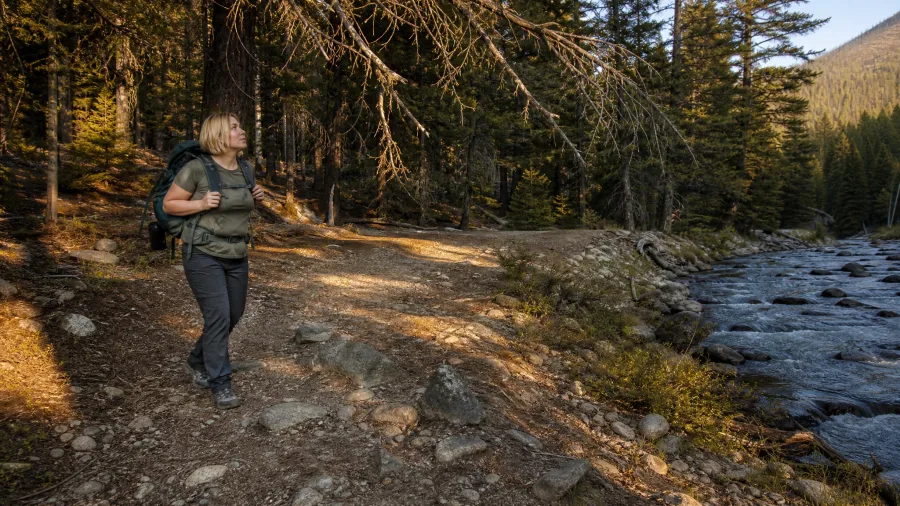
You find a flat spot late in the afternoon and every instinct says just set up and be done. Before you unpack, check for three things that turn a decent pitch into a bad night.
First, avoid water sources and anything that looks like a lightly worn, unmaintained path leading nowhere obvious – that is a wildlife corridor to water, and the animals use it after dark. Second, look up: dead branches and standing dead trees can come down in wind or rain with no warning at all.
Third, and the easiest one to miss when the sky above you is clear – avoid low-lying ground, dry washes, and anywhere close to a stream. A storm upstream you never see can push a flash flood through a dry gully in under an hour. The sky at your campsite is not the whole picture.
🆘 What to Do When You Feel Lost or Hurt Solo
Stop Moving Immediately
Sit down and assess — continuing to move when lost almost always expands the search area for rescuers.
Activate Your SOS or Signal
Use a satellite device if you have one; if you have cell signal, call or text emergency services with your GPS coordinates.
Use a Whistle if You Have No Signal
Three short blasts is the universal distress signal — repeat at intervals and place bright gear in a visible open area.
Decide: Stay or Move
Stay put if you are sheltered and have water; only move if remaining there makes conditions significantly worse.
Wait and Keep Signalling
River levels after rain drop quickly — reassess a crossing every two to four hours rather than forcing a dangerous attempt.
13. Stop Hiking the Moment You Feel Genuinely Tired
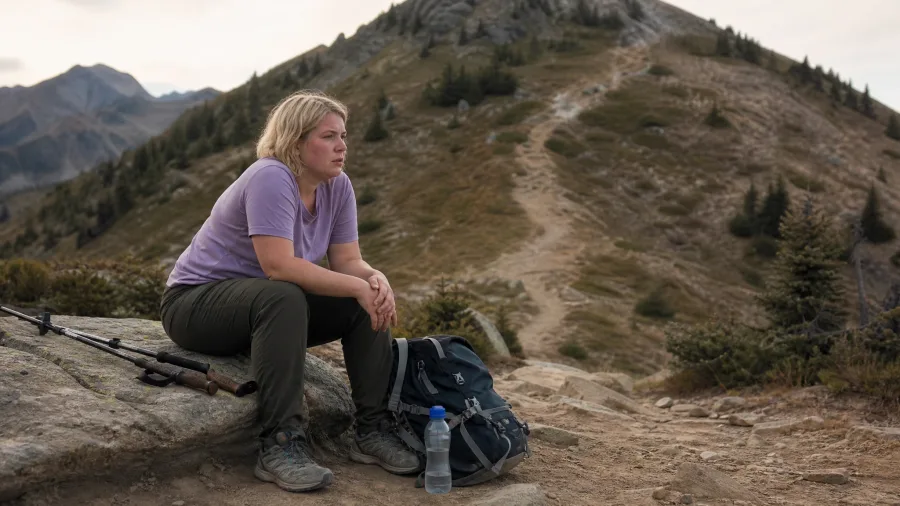
Exhaustion does two things: it raises your direct risk of heat stroke, and it quietly wrecks the judgement that keeps every other accident on this list from happening. Most beginners think stopping early is just about comfort. It is not.
If the planned campsite is still hours away and you are flagging, find the nearest suitable spot and pitch there – even if that means doubling back a short distance to better ground. In a group, someone else notices when your decisions start going sideways. Solo, you are the only check on yourself, so your stop threshold needs to be lower than it would be otherwise.
The planned campsite is a target, not a contract.
14. Never Check Your Phone While Still Walking
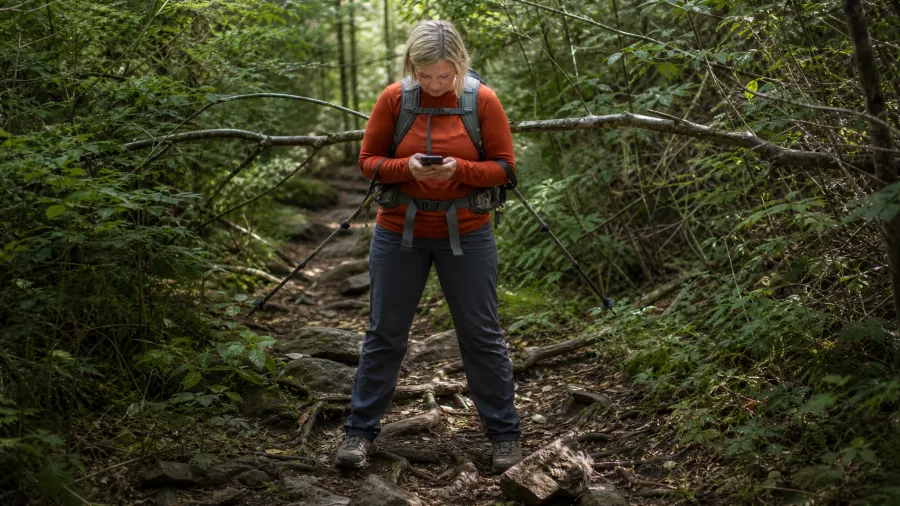
That impaired judgement exhaustion creates shows up in small ways before the big ones – and one of the most common is pulling out your phone to check the map without stopping first. The specific risks are not abstract: stepping on a loose rock and rolling an ankle, walking face-first into a branch at eye height, or stepping directly onto a snake lying across the path.
Stop completely before the phone comes out. Make it automatic from your very first solo hike – not a judgement call each time you want to check your position. The uncomfortable truth is that rough, overgrown terrain is exactly when you most want to glance at the map, and exactly when looking away from your feet carries the highest cost.
Ten seconds standing still costs nothing. An ankle rolled on a remote trail costs a great deal more.
15. Hike in a Group Before Your First Solo Trip
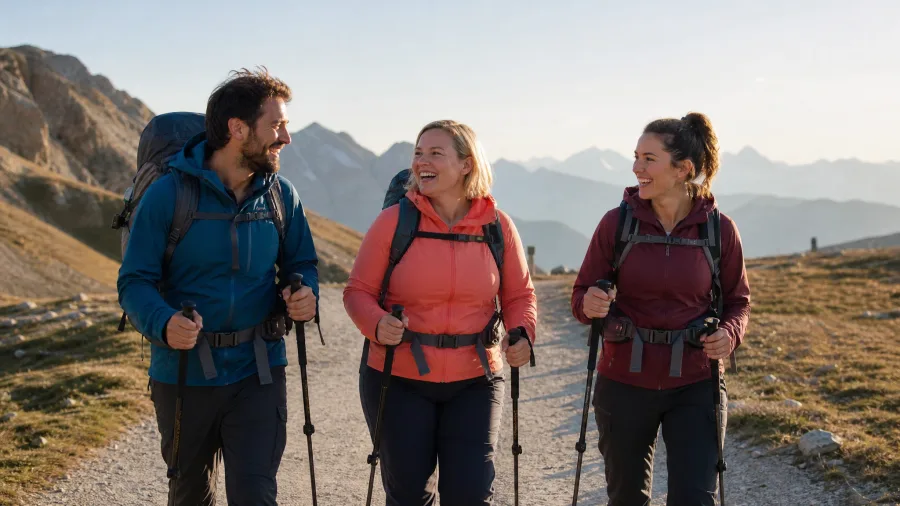
By the time most people are seriously planning a solo trip, their friends have already said no at least twice. Two practical fixes: search Facebook for hiking groups in your area – most cities and regions have active ones that welcome complete beginners with no prior connections needed. Or apply for trail maintenance volunteer positions through your local park service or forest authority.
Both options put you on real trails alongside experienced people, reading terrain and managing pace, without needing a single friend who hikes. That is exactly the situational awareness that is genuinely hard to build from scratch on your own.
16. Solo Hikers Must Monitor Conditions More Carefully Than Groups
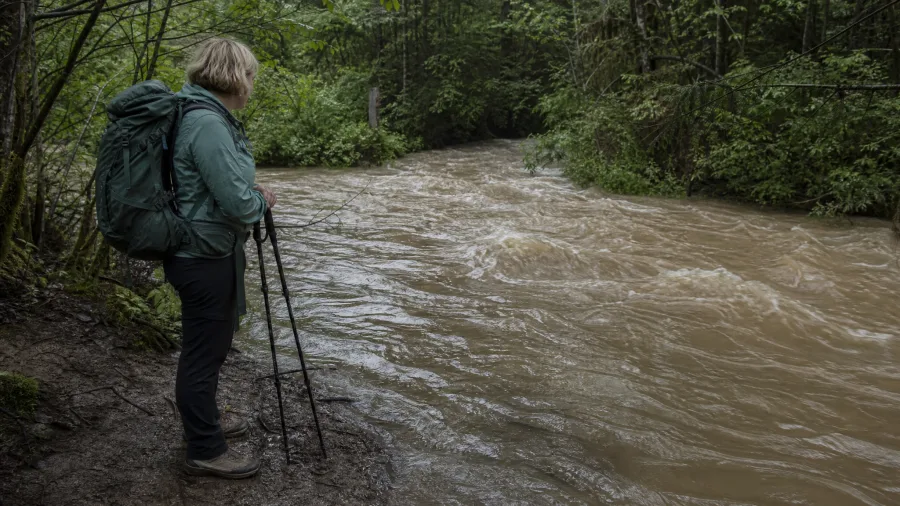
More than most beginners check before they leave.
A group can improvise through a lot – someone leads, someone navigates, someone manages the frightened hiker. Solo, conditions that a group manages as a team become your problem alone. That is the whole reason monitoring matters more when you are on your own.
Avoid high-altitude routes in late spring and sometimes early summer when meaningful snowpack is still sitting on the trail. The trailhead might look completely clear, but the upper sections can be icy and exposed in ways that change the difficulty entirely. Descend below the tree line before a thunderstorm arrives – not while it is overhead. Waiting to see how close it gets is exactly the mistake.
After heavy rain, river and stream crossings shown on the map may be completely impassable. Do not assume the crossing that worked last month is still viable. If the water is above knee height, moving fast enough to pull at your legs while you stand still, murky brown, or there is no clear exit on the far bank – turn back. Any single one of those conditions is enough.
In dry season, check wildfire alerts for the area and verify whether marked water sources along the route are still active. Some dry up entirely over summer. Planning a resupply around a source that no longer exists is a fixable mistake – but only if you check before you go.
💡 Tip: A solo hiker's threshold for turning back at a river crossing should be lower than a group's — there is no one to pull you out if the current takes you.
17. Always Pack at Least One Extra Day of Food
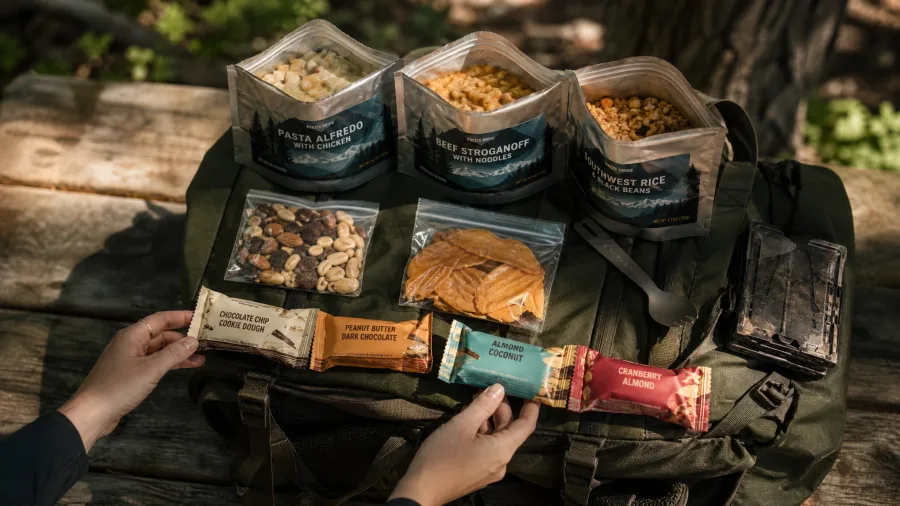
Monitoring conditions means you might end up adding a day on trail – which is why what is in your food bag matters just as much as the route you planned.
The answer here is straightforward: one extra day of food at minimum. If you are a beginner, or heading into genuinely remote terrain, carry two extra days. Both figures matter – know which one applies to you.
Not all of it should require cooking. Gas stoves fail in three real scenarios: fuel runs out, the stove is damaged, and temperatures drop below freezing. No-cook food is insurance alongside your stove, not a replacement for it. Both pieces belong in the pack.
Navigation: Phone Only vs. Phone Plus Backup
18. Offline Maps and a Power Bank Are Non-Negotiable
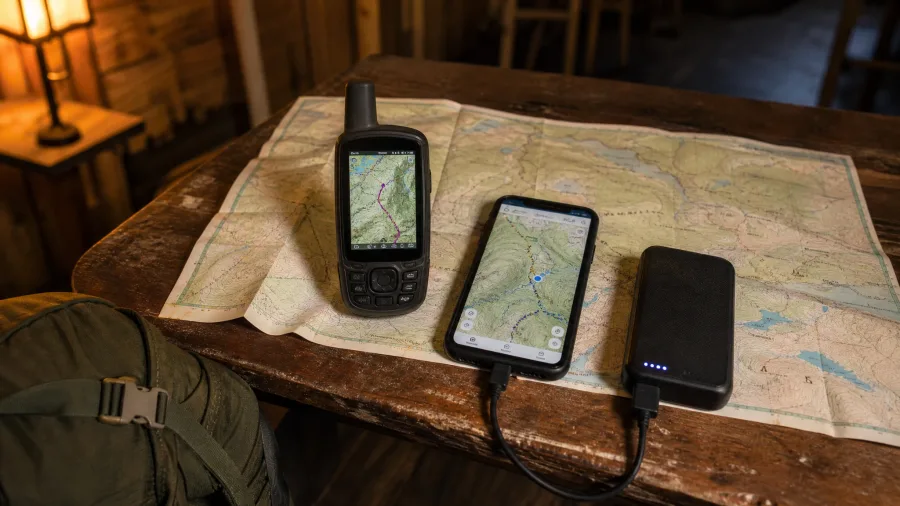
Just as you need food insurance for remote trails, you also need a backup plan for finding your way – and the phone-only setup has one hard vulnerability: a dead battery or cracked screen ends it completely.
Fix that with two habits before you leave home. First, pack a power bank. Second, open your mapping app while you still have Wi-Fi and slowly pan through every section of your planned route. Gaia GPS free version caches the map tiles automatically as you do this, and they stay available offline from that point on. It takes about five minutes per hike.
For a backup device, Garmin, Zoleo, and Spot are the strongest options. They are more durable than a phone, hold charge far longer, and every model includes a built-in SOS button. Most also include satellite messaging that works with zero cell signal – useful when you are deep in a valley and your phone shows nothing.
Paper maps and a compass are a valid fallback, but go in with clear eyes: you need training to use them well, a freshly printed map for each specific hike, and they get genuinely difficult in dense forest or on featureless terrain with few landmarks. Know that before you choose them as your safety net.
19. Trust Your Gut About Campsites and Turning Back
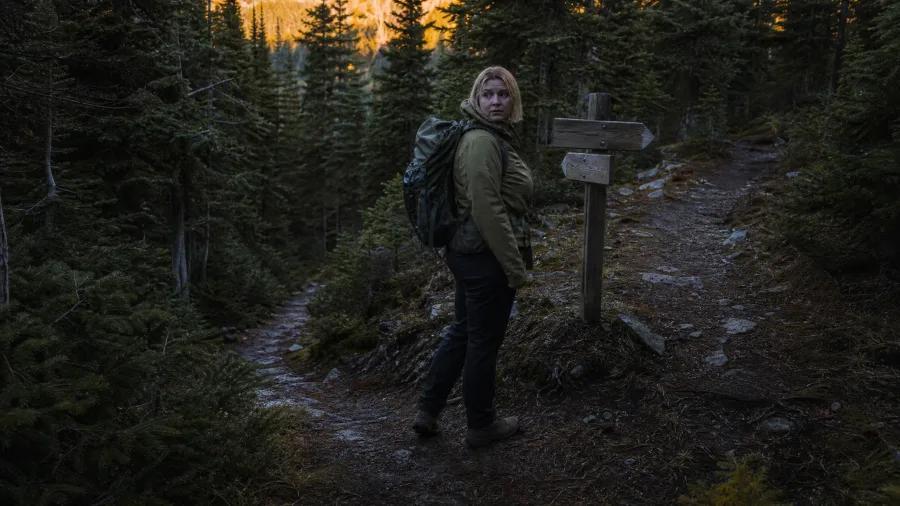
You are scouting a campsite at dusk and something feels off – not a hazard you can name, just a feeling you cannot shake. This tip is going to sound like the fluff the title promised to avoid. Stay with it for one paragraph.
There is no scientific proof here, and that is worth saying upfront. But consistent reports from experienced hikers point to gut feelings in three specific situations – this campsite feels wrong, that trail section feels unsafe, I should turn back now – being worth acting on rather than pushing past. Subconscious pattern recognition processes environmental cues faster than conscious reasoning does.
For a solo hiker, the cost of acting on a false alarm is zero. You find another campsite or you lose an afternoon. The cost of ignoring a signal that turns out to be correct is a very different calculation.
20. Practise Your First-Aid Kit Before You Actually Need It
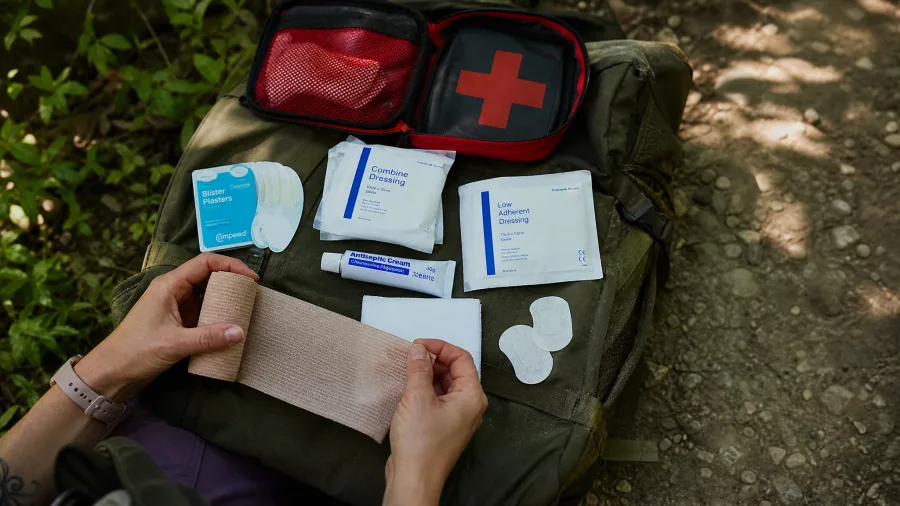
Acting on your instincts is one thing; being able to treat yourself when something actually goes wrong is another. That starts with knowing what is in your kit before you need it.
The core items: blister care, an elastic bandage for sprain compression, wound dressings, antiseptic, pain relief, bleed control, and any personal medication. Check your kit against that list now, not the night before the trip.
The solo-specific requirement most standard kits ignore is that every item must be applicable one-handed or self-applied. Go through the kit at home and physically run through the steps for the three scenarios most likely on a solo hike – sprained ankle, wound care, and heat exhaustion. Do not leave that rehearsal until you are sitting on a trail in pain.
A basic wilderness first-aid course is the ideal. As a minimum, watch guided self-treatment videos covering those three scenarios before your first solo trip. They are free, they take under an hour total, and they are the single preparation most beginners skip.
Knee-Deep Fast Water Means Turn Back, Not Cross
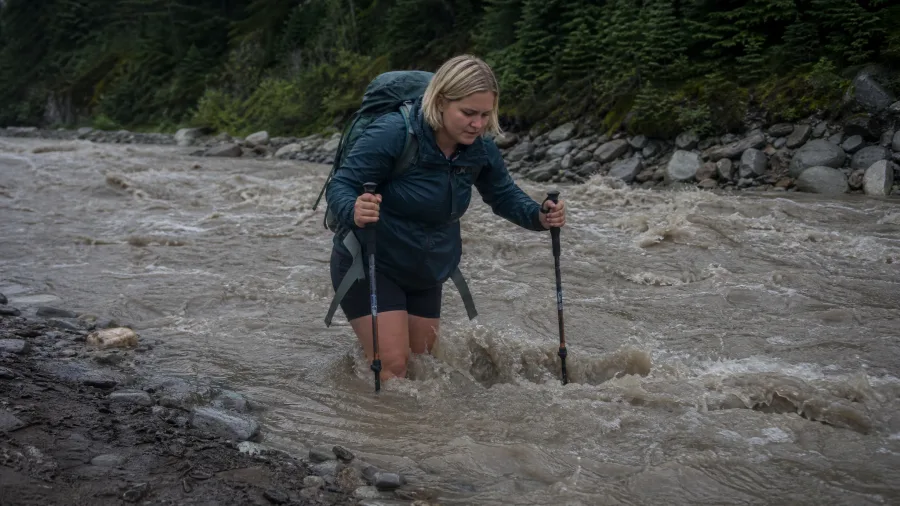
Heavy rain two days upstream can turn an ankle-deep stream crossing into something genuinely dangerous – and it will not look the way you expect. The water might be moving fast but not look especially deep, or it might be murky enough that you simply cannot see the bottom.
The rule is simpler than most people want it to be: if any single one of these conditions is present, you turn back. Water above the knee. A current that tugs at your legs while you are standing still. Water so murky or brown that the bottom is invisible. No obvious safe exit on the far bank. You do not need all four. One is enough.
If the crossing genuinely looks manageable, do three things before you step in. Unbuckle your hip belt completely so the pack can be shed in a second if you go over – a waterlogged pack will pull you under. Use trekking poles for two extra contact points. And cross diagonally downstream rather than straight across, because angling with the current cuts the force it puts on your legs.
When you are unsure, wait two to four hours and check again. River levels after heavy rain can drop surprisingly fast, and a crossing that was dangerous at noon might be fine by mid-afternoon. A solo hiker’s threshold for turning back should always sit lower than a group’s. Nobody is standing on the bank to pull you out.
Stop Moving and Signal First If You Are Lost or Injured
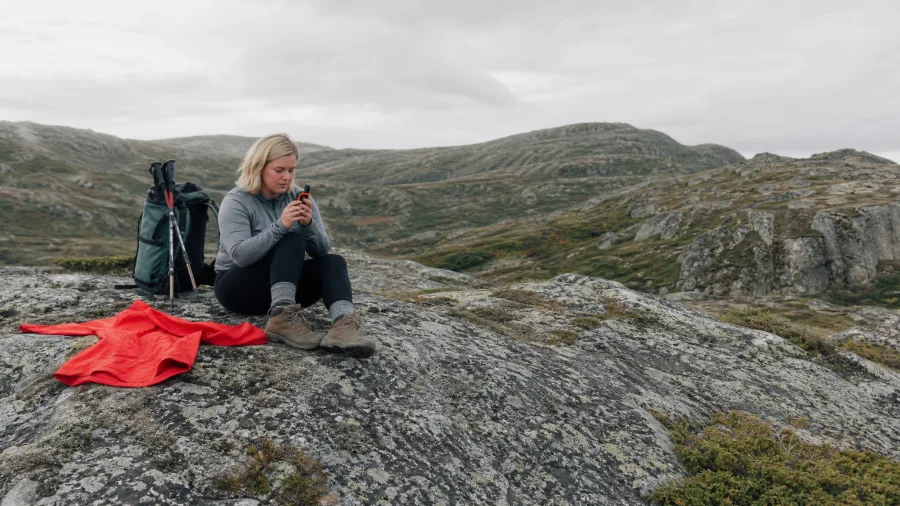
Getting lost or hurt solo has one rule that matters more than any other: stop moving. Sit down. Do not take another step in a direction you are not sure about, because every extra step makes the search area larger and the rescue harder.
Once you have stopped, work through your options in order. Satellite device? Activate SOS – it works without any cell signal and that distinction matters. Phone signal? Call or text emergency services and read out your GPS coordinates exactly. Nothing? Use a whistle. Three short blasts is the universal distress signal. Then put your brightest piece of gear – a rain jacket, a dry bag, anything – in the most open visible spot nearby and keep signalling at regular intervals.
The stay-or-move question trips people up, so here is the short answer: stay put if you have shelter, water, and an active SOS signal going. Only move if staying puts you in worse immediate danger, like rising floodwater or a storm rolling in with no cover at all. Those situations are the exception, not the justification for wandering.
This is also the reason the choice between a satellite messenger and a phone-only setup matters before you leave home, not after you are already lost. A Garmin, Zoleo, or Spot device sends an SOS from a ridgeline with zero bars. A phone does not. That single difference is worth the cost of the device.
Solo Hiking Safety — At a Glance
🥾 Sprain Prevention
4 exercises, pre-hike
🌲 Food Hang Distance
50 m from tent
📡 Best Navigation Backup
Garmin / Zoleo / Spot
🍫 Extra Food (Beginners)
2 extra days minimum
📣 Noise Interval
Every 10–20 m on overgrown trails
📞 Check-In Protocol
Daily message; no reply in 1–2 days = rescue call
Risk Perspective
Hiking is 647 times safer than driving — the trailhead drive is statistically more dangerous than the trail itself.
Frequently Asked Questions
What is the single most important thing to do before a first solo hike?
Set up an emergency contact before you leave. Give one person your trailhead location, planned route, expected return date, and a specific trigger — for example, no message received by a set evening time means call rescue the following morning if there is still no word. This costs nothing and requires no special equipment.
Do I need a satellite communicator or is my phone enough?
For well-marked trails in accessible areas, a phone with an offline map cached in Gaia GPS and a power bank is usually sufficient. For remote terrain, a dedicated device like a Garmin, Zoleo, or Spot adds SOS and satellite messaging that work without any cell signal — that gap is the critical difference in a real emergency.
How do I know if wild camping is legal where I am hiking?
Check the official website of the managing land authority for your specific destination — the national park service, forest service, or equivalent body. Rules vary sharply: Scotland and most of Scandinavia permit it freely; most of England, much of continental Europe, and many US national parks do not. Never assume a general rule applies to your area.
Is it safe to solo hike as a woman?
Yes, and the tips in this article apply equally. One practical adjustment worth considering: wild camping in a spot not visible from roads, houses, or main trails removes the variable of sharing a public campground with unknown strangers. Most fellow hikers are trustworthy, but eliminating the variable entirely is a straightforward option where wild camping is legal.
What should I do if a guard dog approaches aggressively near livestock?
Stop completely and assess whether it is genuinely hostile or just investigating. If it is hostile: back away slowly with no sudden movements. Do not run. Once you have created distance, detour wide around the entire herd rather than cutting back in close — the dog considers the full area around the animals its territory, and re-entering it resets the confrontation.
How much extra food should I actually carry?
One extra day of food is the minimum for experienced hikers on accessible trails. Beginners, or anyone hiking in very remote areas, should carry two extra days. Include food that requires no cooking alongside your stove supplies — gas stoves stop working reliably below freezing and when gas runs low, so no-cook options are insurance, not a substitute.
Twenty Systems, Not Twenty Worries
Solo hiking is statistically one of the safer things you can do outdoors — 647 times safer than driving, by the numbers. Nearly every risk on this list has a simple system that neutralises it before you reach the trailhead.
Start with two things before your first solo trip: set up the daily emergency contact protocol and cache offline maps for your route on Gaia GPS. Those two steps alone cover the most common ways a solo hike goes from manageable to serious.
The rest of the habits — food storage, ankle exercises, the noise protocol, stopping when tired — become automatic within a few outings. You stop thinking about them and start just doing them. That is the point.