Hiking for over 30 Years has taught me this

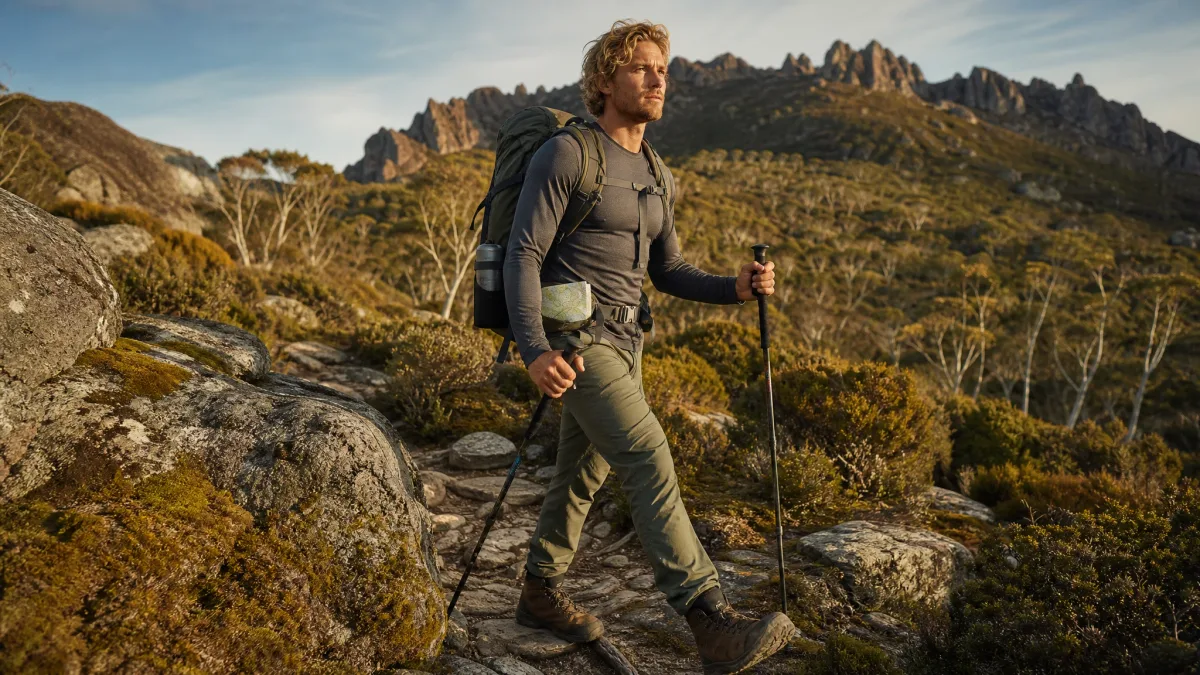
Picture arriving at a remote campsite after eight hours on trail, unpacking in the dark, and finding every single tent pole sitting on your kitchen table at home. That has happened to me. So has the dead stove, the blistered feet, the frozen water filter, and the wrong turn that added three hours to a day that already had nothing left in it.
Over 30 years hiking in Tasmania and across all kinds of backcountry terrain, I have made just about every mistake on this list at least once. Some of them twice.
What follows is everything those mistakes taught me — the gear habits, the food choices, the navigation tricks, and the mindset shifts that make the difference between a hike you remember well and one you would rather forget.
You do not need 30 years to learn these. You just need this list.
Quick Tips Before You Start
Weigh Your Pack
Your loaded pack should sit at or below 20% of your body weight for a comfortable multi-day trip.
Download Offline Maps
Save your route in apps like Gaia GPS or Maps.me before leaving home — mobile signal disappears fast in backcountry.
Wear Your Boots Before the Trip
Walk at least 20 km in new boots on local terrain before trusting them on a remote trail.
Check Three Forecasts
Cross-reference a mountain-specific forecast with a general one — they often disagree, and that gap matters.
Start Hydrated
Drink 500 ml of water before you even step onto the trail — catching up mid-hike is harder than starting topped up.
1. Test Every Piece of Gear Before You Leave Home
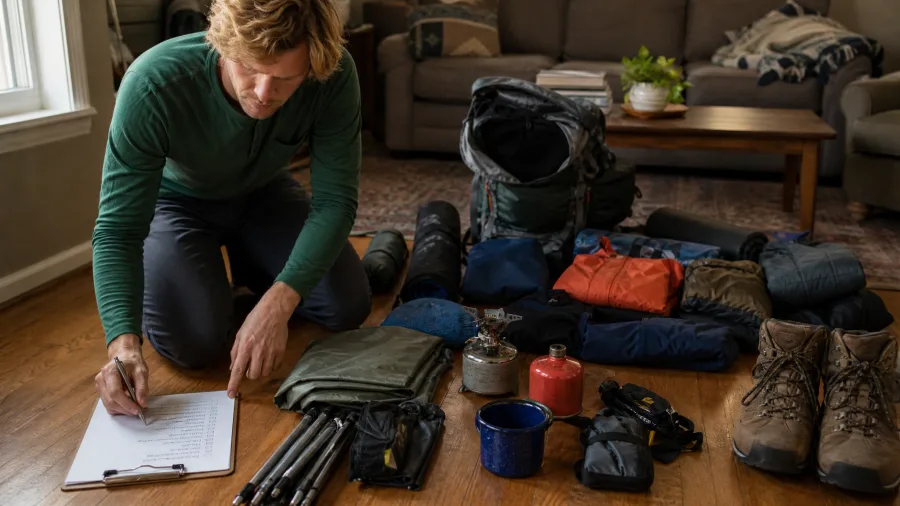
Imagine arriving at a remote campsite after a full day on the trail, pulling your tent bag open, and realising a pole section is missing. It has happened to me, and I promise you the four-letter words echo beautifully across a Tasmanian valley.
The fix is embarrassingly simple: pitch the tent at home before you leave. Lay every pole out, clip every section together, stake it down, and confirm the rain fly actually fits the way it should. While you are at it, light the stove with the exact fuel canister going into your pack – not a spare you grabbed off the shelf and assumed was charged.
Then lace up the hiking boots and walk around the block. That ten-minute circuit will surface a hot spot or a loose heel before it becomes a blister at kilometre three, when you are nowhere near a solution.
Use a written checklist every single time. The one trip you skip it is the trip something gets left behind – that is just how it works. I have watched hikers arrive at camp with bent poles, dead stoves, and boots clearly punishing their feet from the first step. A pre-trip check takes twenty minutes at home. Sorting the same problem in the field can cost you the rest of the trip.
The Day Hike Safety Kit — At a Glance
💡 Light Source
Headlamp + spare batteries
🩹 First Aid
Bandages, blister pads, tape, painkillers
🗺️ Navigation Backup
Topographic map + compass
📡 Emergency Signal
PLB + whistle on pack strap
🧴 Water Backup
Filter or purification tablets
🌧️ Weather Layer
Waterproof shell, always
Non-Negotiable
Every one of these belongs in the pack on every hike, regardless of how short or easy the route looks.
2. Overpacking Makes the Hike Miserable From Kilometre One
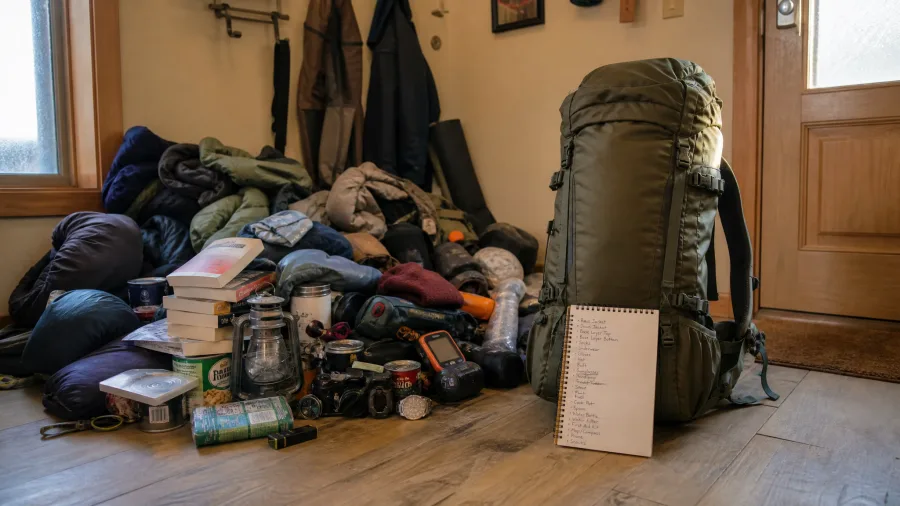
My first few packs looked like I was preparing for a six-month siege rather than a five-day hike – extra clothes for every conceivable weather event, a couple of books, canned food, gadgets I used exactly once.
Your back and hips tell the truth that your optimism ignores. An overloaded pack stops the hike being enjoyable before you have even cleared the trailhead car park.
The shift that actually works is moving to lightweight, multi-functional items and forcing every object to justify its place. A packing checklist helps because it turns a mindless habit into a conscious yes-or-no decision about each item. If you cannot answer why it is there, it stays home.
What a Smart Beginner Kit Actually Costs
Prices indicative — compare current retail before purchasing. Second-hand gear in good condition is a legitimate option for tent and poles.
3. Cheap Boots Are a False Economy on Any Terrain
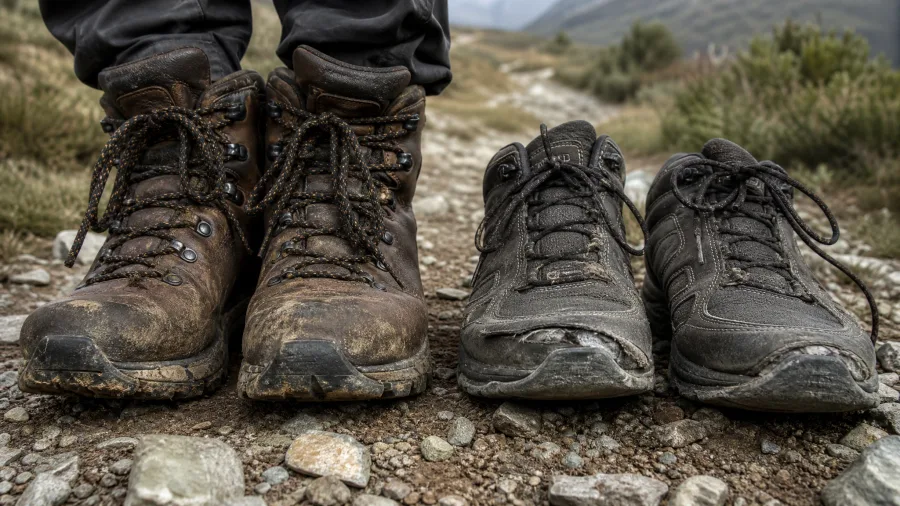
Stripping the pack of dead weight is a great start, but there is one item you should never cut corners on – and that is the boots on your feet.
Poor footwear leads directly to blisters, and blisters end hikes. Visit a proper outdoor retailer and spend time testing multiple pairs — walk circuits around the shop, experiment with different lacing tensions, and make sure the heel sits firmly with no slipping before you buy. Trail runners handle well-maintained paths comfortably enough, but once the terrain turns rocky or you wander off marked routes, you want stiffer, more supportive boots underfoot.
Think about the cost per kilometre. A well-fitted boot that lasts several seasons works out cheaper than replacing a bargain pair mid-trip and spending the rest of it treating the damage they left behind.
💡 Tip: Bring the socks you actually hike in when fitting boots — sock thickness changes the fit more than most people expect.
4. A 3-Person Tent for Two Hikers Changes Everything
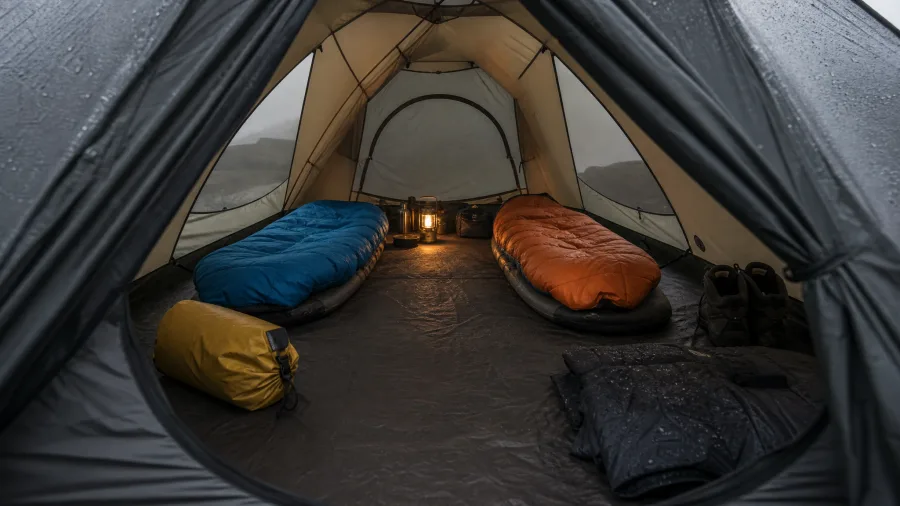
Good boots sort out your feet – but getting the shelter right sorts out everything else, and that is where a lot of hikers are still shortchanging themselves.
Two people and all their gear crammed into a 2-person tent is fine for one dry night. On a rainy rest day when you genuinely cannot go anywhere, it gets miserable fast. Switching to a 3-person tent for just the two of us was the closest thing to upgrading from economy to business class – not that I would know firsthand, but you get the idea. The weight penalty is small; the comfort gain across a week of bad weather is enormous.
The extra floor space holds wet gear without it piling on top of you, and there is actually room to move around.
5. Never Wear Cotton — Layer in Technical Fabrics Instead
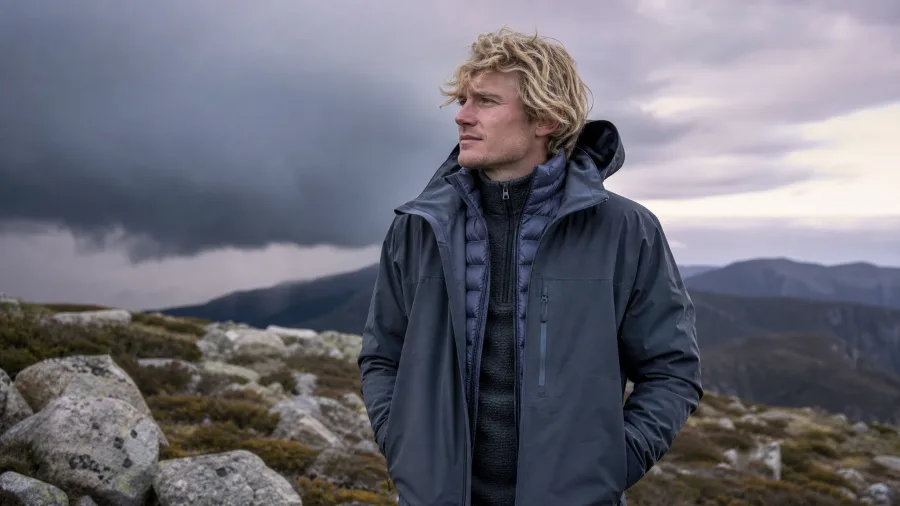
Once the tent is sorted, the next question you are probably asking is what to actually wear inside it – and on the trail when the weather turns ugly.
Four layers, and none of them cotton. Start with a moisture-wicking base layer that pulls sweat away from your skin. Add a fleece mid-layer for insulation, a synthetic or down jacket over that, then a waterproof shell on the outside. Each layer does a specific job, and together they let you adapt to whatever conditions come.
Cotton is the problem because it holds moisture and stays wet. Wet cotton against your skin in cold air makes things worse, not better. Fleece and wool keep their warmth even when damp – in Tasmanian alpine terrain, where a warm morning can turn into a cold, wet front by early afternoon, that difference is a safety issue, not just a comfort one.
I have been caught in every season out there. The hikers who really struggle are always the ones who packed a cotton hoodie and figured that would cover it.
6. Short Breaks Every Hour Prevent the Afternoon Energy Crash
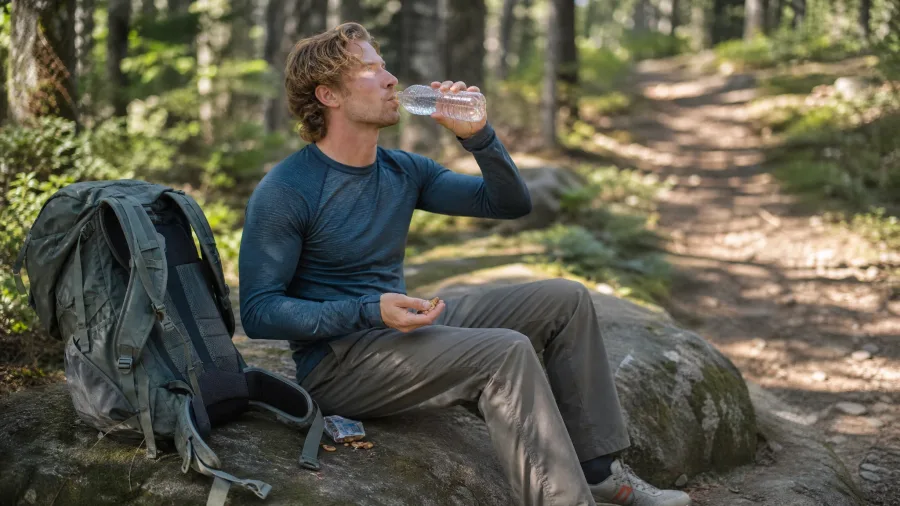
Around the third or fourth hour of a big day, the wheels start to come off – legs get heavy, pace drops, and suddenly every remaining kilometre feels twice as long. That moment is almost always the result of skipping regular stops early on.
A five-minute pause roughly every hour is all it takes. Enough time to sip some water, eat a handful of something, or take a photo. Think of it like pit stops in a race – quick, deliberate, and the reason the engine keeps running smoothly instead of seizing up mid-course.
Those short pauses keep muscles warm and energy levels steady across the whole day. Skip them and you burn through your reserves too early, turning the final kilometres into a grind. Keep them, and you still have something left for a proper long lunch with a good view.
7. Cold Weather Hides Dehydration — Sip Anyway
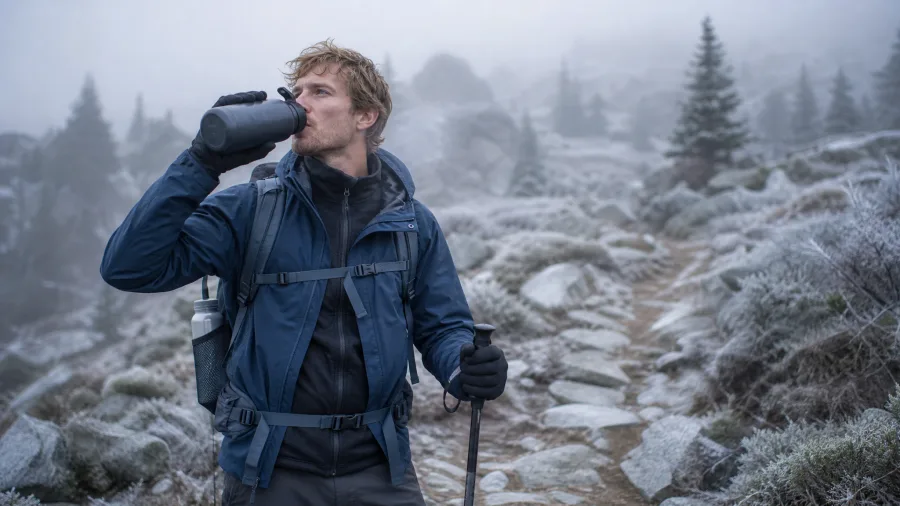
More than you might expect. Cold air suppresses thirst signals, so your body keeps losing fluid while your brain never sends the memo. By the time a headache or cramp shows up, you are already behind.
Think of it like a car that needs fuel in any season, not just summer. Sip small amounts consistently throughout the hike rather than waiting until you feel thirsty. On longer trips, add electrolytes or a simple salt solution to replace what sweat quietly takes out, even on a cold day.
8. Trekking Poles Are an Essential, Not an Optional Extra
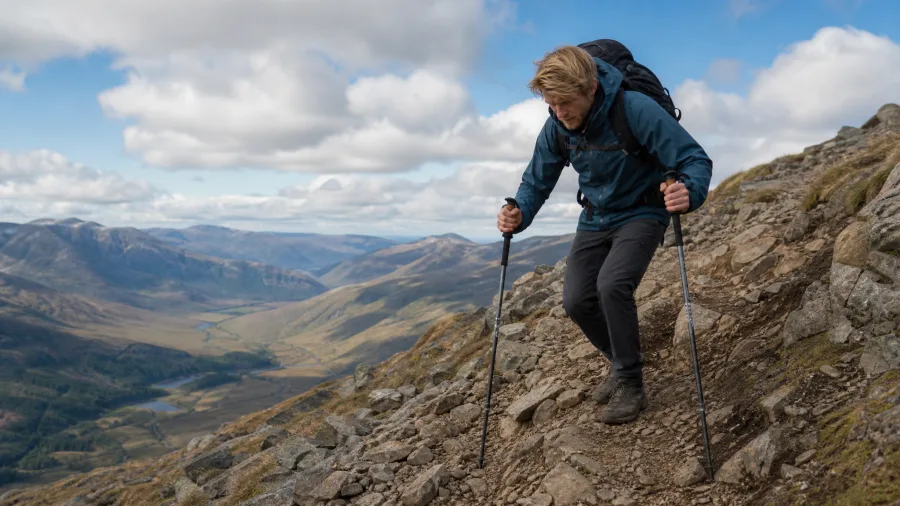
For the first few years on the trail, I assumed trekking poles were for people who needed extra help. That attitude lasted until I spent extended time on steep, rocky terrain and felt exactly what they were compensating for.
On descents, poles reduce the load on your knees with every single step. That is the biggest daily benefit on any multi-day trip – knees that are not trashed by day two. On rocky ground they steady your stance automatically, without you having to think about it. On uphills they share the work across your upper body, so your legs reach the top with something still in them.
I genuinely cannot imagine a trip longer than a day without them now. They are not a nice-to-have.
💡 Tip: Set pole length so your elbow sits at 90 degrees on flat ground — shorten slightly for uphills, lengthen for descents.
9. Trim Your Toenails Before Every Single Hike
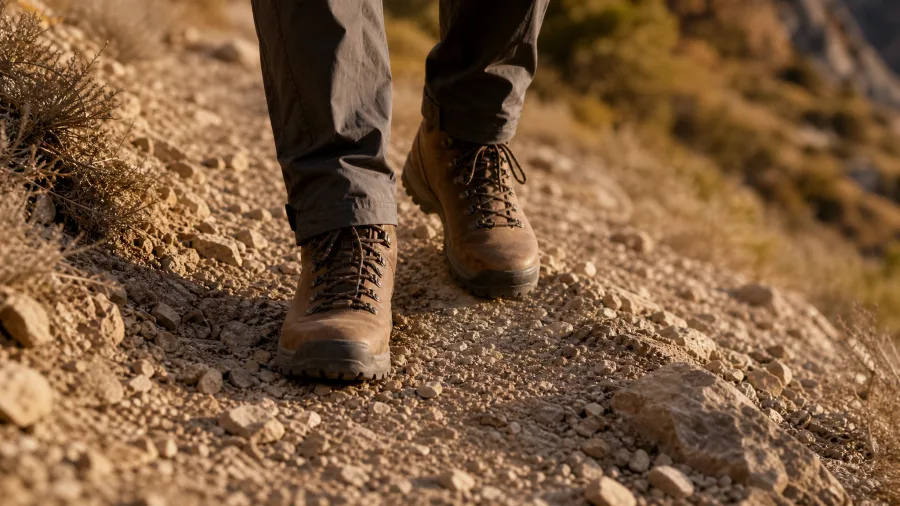
All of that is about gear you buy and carry – but here is the single most effective pre-trip habit that costs nothing and takes two minutes: cut your toenails.
Long nails press against the front of the boot on every downhill step. It sounds minor until you have done a long descent and felt the bruising build underneath the nail. Left unchecked, the consequences run from blood blisters to losing the nail entirely.
I have lost toenails. I have limped for days afterward on trips that should have been brilliant. Every single time it was completely preventable with a pair of nail clippers before I left home.
Add it to the pre-trip routine alongside the gear check – right there on the list. One small thing. And trim them a couple of days before you leave, not the night before, because fresh cuts can be surprisingly sensitive inside a boot on a long day.
⚠️ COMMON MISTAKE
The Detour That Damages the Trail
Stepping around a muddy section feels harmless, but it crushes trailside plants and widens the track over time. Waterproof boots exist precisely so you can walk straight through. Stay on the path.
10. Walk Through Mud Rather Than Around It
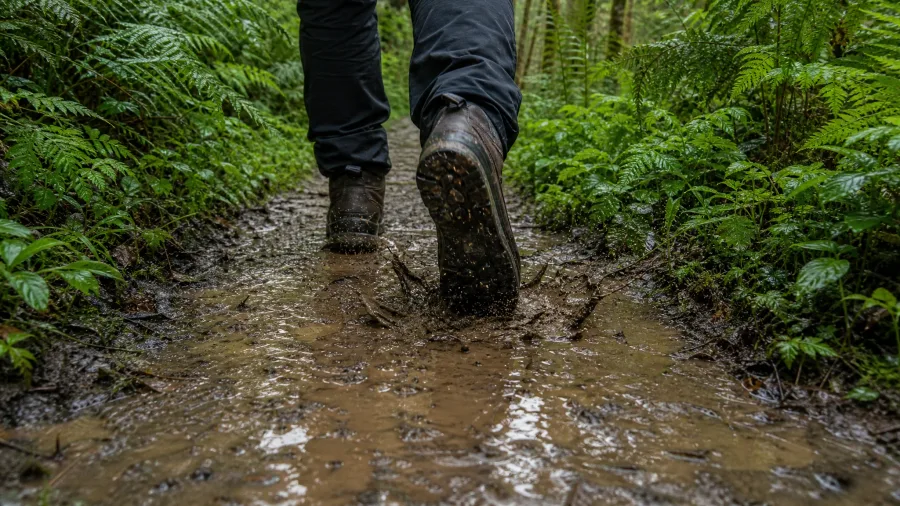
The toenail tip above is about protecting your body from the trail. This one is about protecting the trail from you. Specifically, from that instinct to step off the path the moment things get muddy.
Trails are deliberately routed to handle the damage that hiking causes. When you sidestep a muddy patch, you crush the fragile plants alongside the path and widen the trail in ways that compound over thousands of footfalls. Walk straight through. That is exactly what waterproof boots are built for, and staying on the track keeps the path intact for every hiker who comes after you.
11. Clear Your Tent Site Thoroughly Before You Pitch
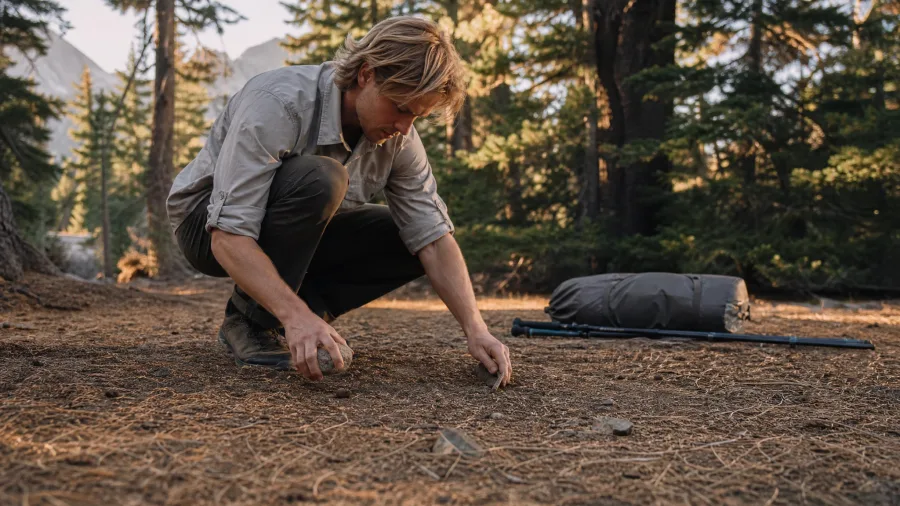
Before you stake a single peg, get down and clear the ground. Remove every rock, stick, and lump of debris from the patch the tent floor will cover – even the small stuff you think you can sleep over.
Check the slope too. A low spot looks harmless in the evening and turns into a shallow puddle after an hour of rain. Hikers who skip both checks either spend the night with something jabbing their spine or wake up cold and soaked – neither is the kind of rest that gets you through a big day.
A careful five minutes now saves a miserable eight hours later.
12. Crack a Vent or Your Sleeping Bag Gets Wet Overnight
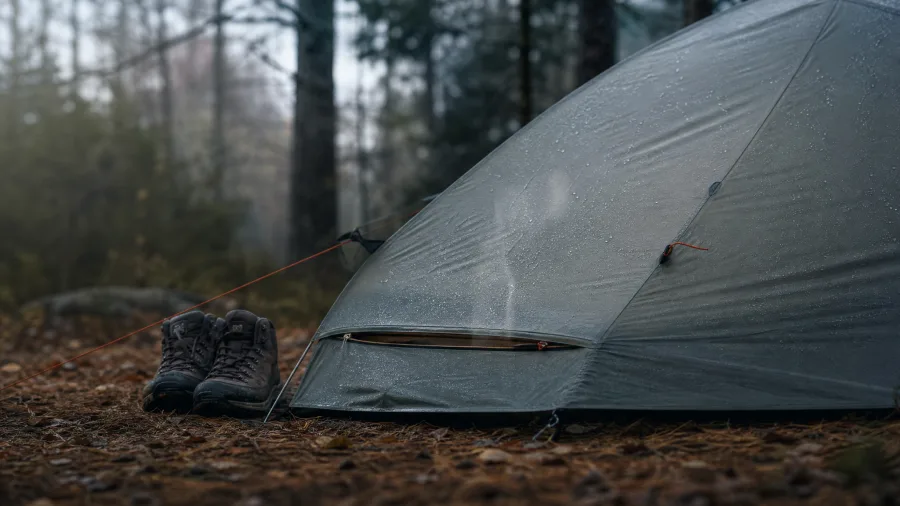
You have sorted the ground – now look up, because the tent itself can undo a good night’s sleep just as easily.
A sealed tent feels warm and snug right up until morning, when you unzip the bag to find everything damp. That moisture came from you: your breath and body heat generate condensation all night, and with nowhere to escape it settles on your gear.
Crack a vent or unzip the rain fly a centimetre or two before you sleep. Even that small gap lets moisture out. A wet sleeping bag loses its insulation and leaves you colder the following night – and on a multi-day trip that compounds fast.
It costs nothing and takes five seconds.
13. Carry a Physical Map and Compass as Navigation Backup
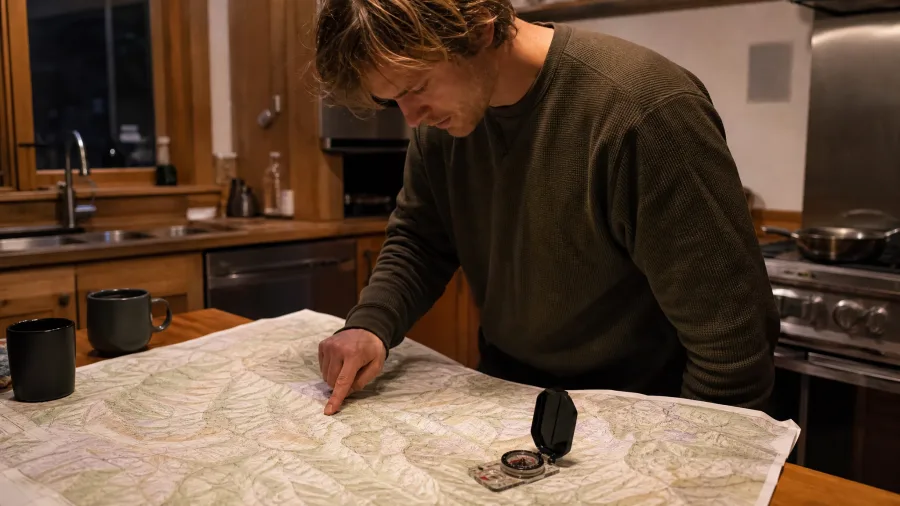
The same logic runs straight into navigation, and this is the one where the consequences of skipping the check are the most serious.
Electronics fail in the field more often than people expect. Batteries die in the cold, screens crack on a rocky scramble, and signal simply disappears in gorges and under dense canopy. None of that matters if you have a topographic map and compass in your pack and know how to use them.
Learn basic map reading before the trip – in your kitchen on a calm evening, not during a stressful detour when the light is already fading. It does not take long to get the fundamentals down.
The difference between a minor course correction and being seriously lost is often just this one skill. The map weighs almost nothing and costs very little. There is no good reason to leave home without it.
The Numbers That Actually Matter on Trail
14. Lightweight High-Energy Food Cuts Pack Weight Without Cutting Fuel
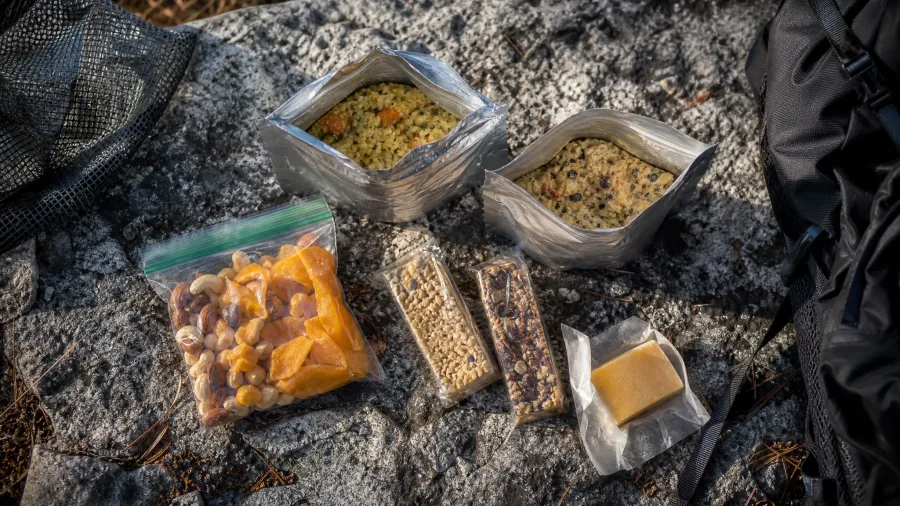
Navigation sorted – now think about what you are actually carrying for fuel, because the pack itself tells a different story from the map.
Early on I carried pasta, curry sauces, and actual cans of food. The pack was punishing, and the nutrition was no better for it. Switching to dehydrated or freeze-dried meals, nuts, dried fruit, and energy bars changed everything. A rough target of 800 g of food per person per day gives you enough to keep energy high without all the dead weight.
Choose by calories per gram: dehydrated meals, nut butters, hard cheese, and bars all qualify. Canned food and fresh produce carry a lot of moisture you will never eat. That moisture is the weight you are paying for with your knees.
💡 Tip: Pack individual day's food into separate Ziploc bags the night before — no rummaging, and you can see exactly what is left.
15. Never Hike Without a Headlamp and Spare Batteries
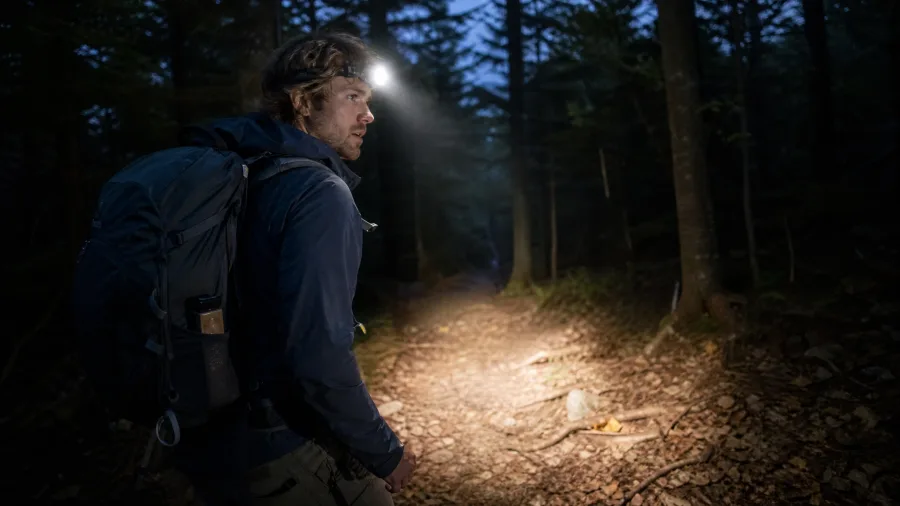
A headlamp is non-negotiable – carry one on every hike, including short day trips, and always pack spare batteries or a small charging bank alongside it.
Day hikes run late because of a navigation error, a twisted ankle, or weather that turned faster than expected. A headlamp transforms that situation from stressful to manageable; without one you are simply stuck in the dark. It is just as useful around camp for cooking, reading the map, and moving between the tent and your pack once the sun is gone.
16. Camp at Least 60 Metres From Any Water Source
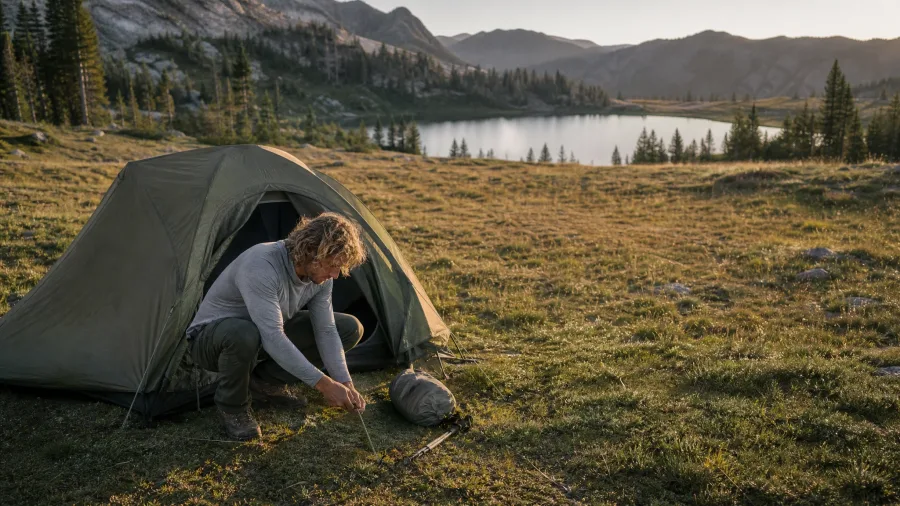
Getting that 60-metre rule right also changes where you pitch – and that matters more than most beginners realise. A spot right beside a stream feels like the obvious choice: running water, beautiful scenery, convenient for refills. Then the midges arrive, the tent walls start dripping with condensation by midnight, and you wonder what went wrong.
The Leave No Trace minimum is 60 metres from any stream or lake. Wildlife depends on those water sources, and the ecosystems at the water’s edge are the most sensitive ground on the trail – your presence there causes real harm, even when it does not look like it.
Nobody carries a tape measure. Instead, count roughly 70 adult paces from the water’s edge and you are there. That distance also puts you clear of the worst insect activity and the cold, damp air that pools directly over moving water at night.
17. Trekking Poles Can Double as Tent or Tarp Poles
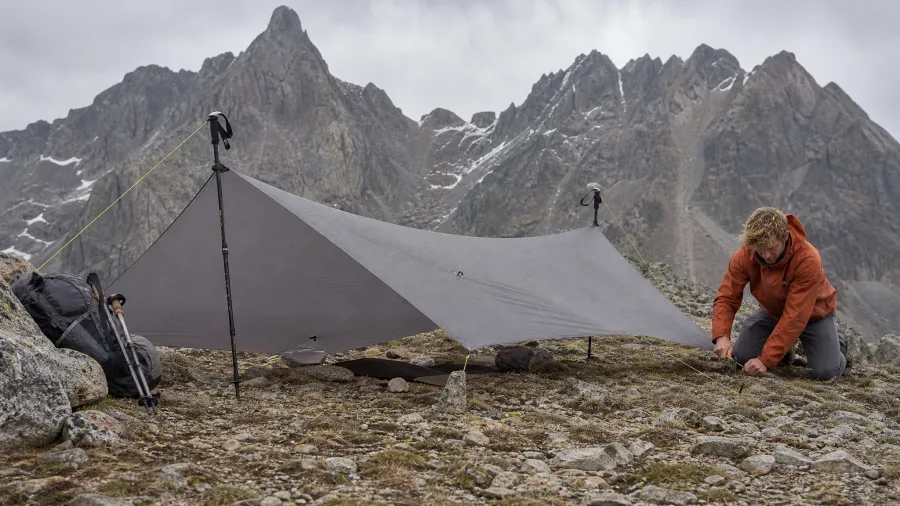
Once you are camped that sensible distance from the water, the wind on exposed ground can become your next problem – and that is exactly where multi-use gear earns its place. One rough night on a windy ridge made me permanently committed to it: I ran a spare trekking pole as a brace for my tent, and what had been a flapping, stressful setup became solid.
Some shelters and tarps are designed to use trekking poles as their primary support, with no separate tent poles required at all. Check the shelter’s specifications before buying to confirm compatibility. Every piece of gear that does two jobs is one less item in the pack, and those savings compound across everything you carry.
Pack Smart vs. Pack Heavy
Smart Pack Choices
- Dehydrated or freeze-dried meals
- Multi-use gear (trekking poles as tent poles)
- Liner socks + one quality hiking sock
- Headlamp with spare batteries
- Physical map + compass as backup
Heavy Pack Mistakes
- Canned food and fresh produce
- Separate gear for every single job
- Multiple pairs of every clothing item
- Phone as sole navigation device
- A full roll of duct tape loose in the bag
18. Keep Critical Items Within Arm’s Reach Before Sleeping
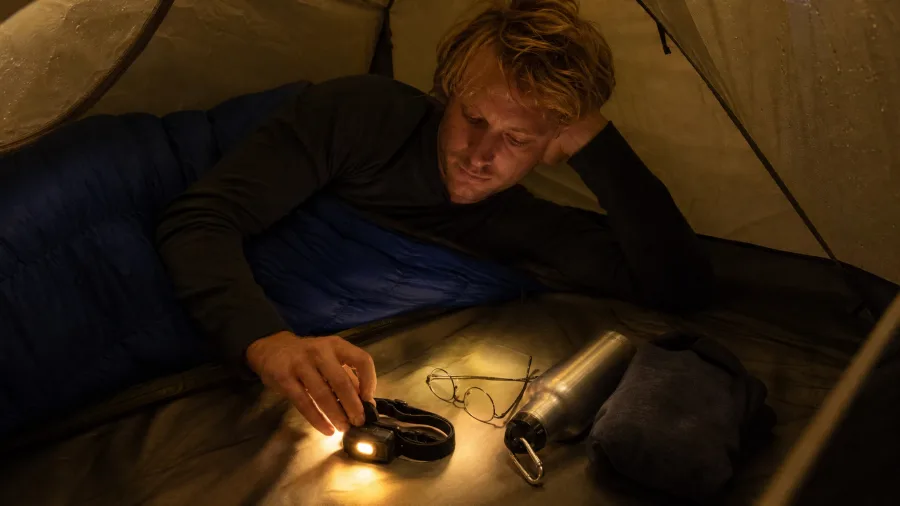
So your shelter is stable and your campsite is sorted – but what happens when something wakes you at 2 a.m. and you need to act fast?
The answer comes down to four things: glasses, headlamp, water bottle, and warm clothes. Every night before I sleep, those go either inside the sleeping bag or directly beside it. Not buried somewhere in the pack – right there, within arm’s reach.
On a freezing night when a guy rope needs checking, or during a sudden storm when your whole setup needs attention, fumbling around in the dark for a headlamp you tidied away loses time and bleeds body heat you cannot afford to lose.
This habit costs nothing and takes about thirty seconds. It has saved me more times than I care to admit, and once you make it part of the routine, you will never go back to just chucking things wherever they land.
19. Check the Map at Every Intersection Before Moving On
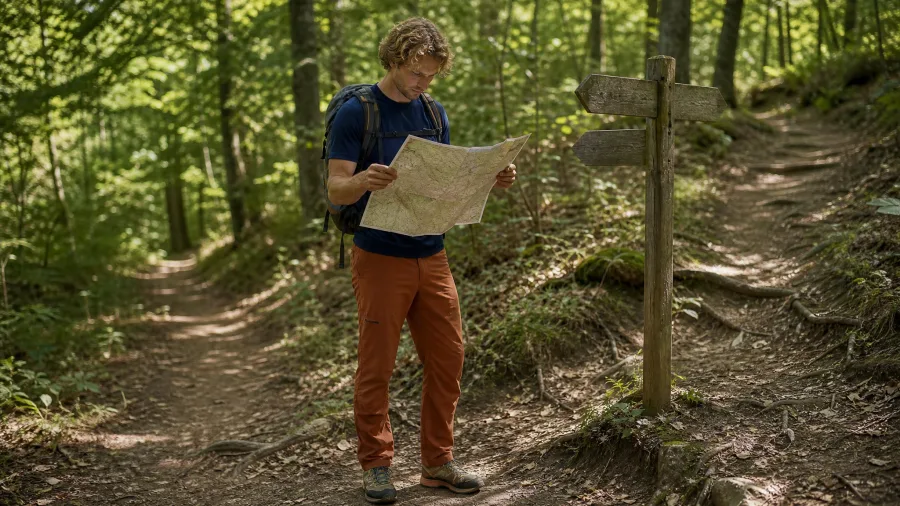
Intersections and open areas are where wrong turns happen. The path looks obvious until it does not, and by then you can be two kilometres in the wrong direction before the doubt sets in.
Stop at every junction and confirm the route on the map before you take another step. Combine that with the habit of looking back to see how the trail reads in reverse, and your navigational accuracy across a full day improves considerably. The trail that looks clear heading forward can look completely different when you need to retrace it.
Hikers who misread or skip signage lose hours – sometimes more. A ten-second map check costs nothing and catches the mistake before it becomes a problem worth rescuing yourself from.
20. Learn to Read Weather Warning Signs on the Trail
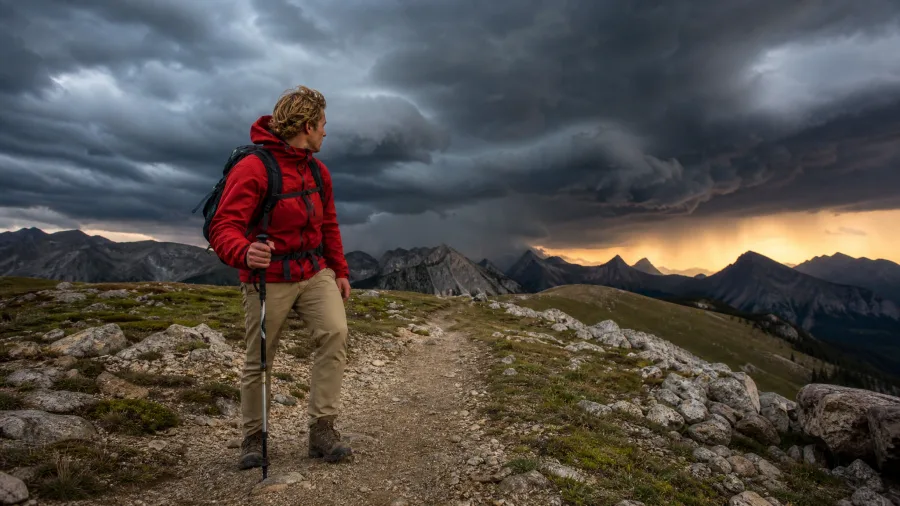
Knowing exactly where you are on the map is one layer of safety – but the mountain does not care how well you navigated if the weather turns and you are underdressed. Checking the forecast before you head out is non-negotiable, but in alpine or coastal terrain especially, the forecast and the actual conditions can split apart very quickly.
Watch for dropping temperatures and dark clouds building on the horizon. Both are early, reliable signals that conditions are shifting. I have been caught in sudden storms after ignoring exactly those two signs, and it is not a lesson you want to repeat.
Always carry a lightweight waterproof layer, no matter how clear the morning looks. The weight penalty when you do not need it is negligible. The cost of not having it when you do is a different story entirely.
21. A Liner Sock Under Your Main Sock Prevents Blisters
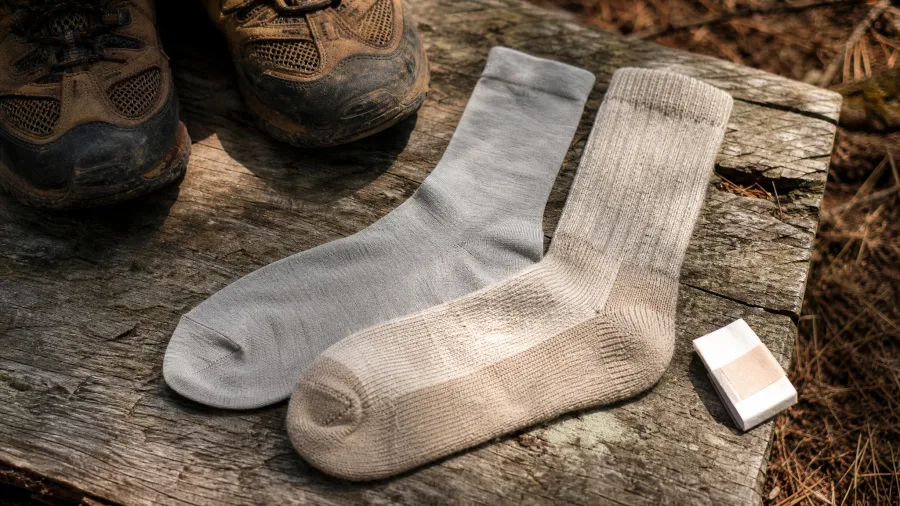
Somewhere around kilometre 15 of a long day, friction wins. It builds steadily between your foot and your hiking sock with every step, and by the time you feel a hotspot, the damage is already starting.
A thin liner sock worn under your main hiking sock intercepts that friction before it reaches your skin. The liner moves against the outer sock instead, and the skin underneath stays out of the whole fight. Combined with well-fitted boots, it makes blisters on a long hike genuinely rare rather than expected.
It costs almost nothing, weighs nothing, and takes about ten seconds to pull on at the trailhead. The only real catch is this: check the liner for wrinkles or bunching at every rest stop.
A concentrated fold pressed against your heel for an hour creates a hotspot faster than any other cause I know. One quick smooth-out at your hourly break costs you nothing. Missing it on a steep descent can ruin the final day of a trip.
Worth noting: a liner sock is not a fix for a boot that is too small or the wrong shape. It redirects friction it cannot eliminate it, so the boots still have to fit properly before any of this works.
💡 Tip: Darn Tough and Bridgedale both make liner sock and hiking sock sets designed to work together — the pairing removes guesswork.
22. Wrap Duct Tape Around Your Water Bottle for Repairs
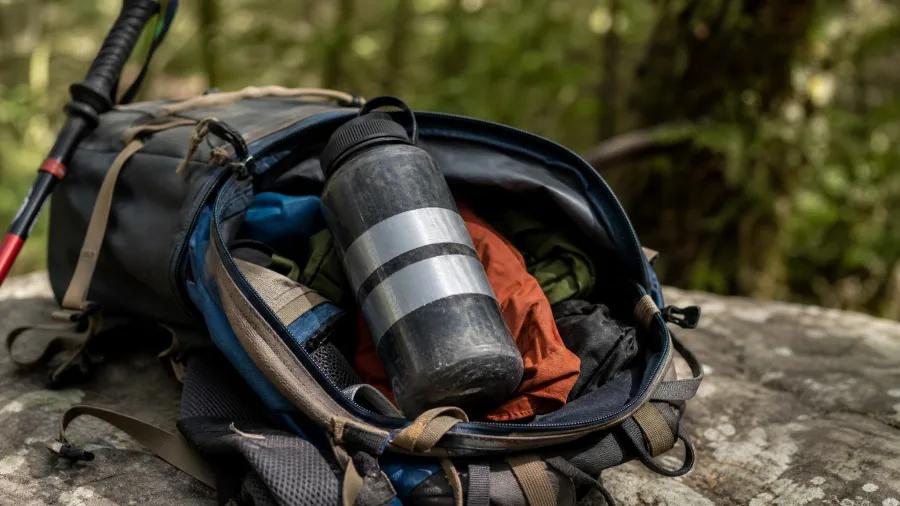
That is where two metres of duct tape earns its place.
Wrap it around the barrel of your water bottle and it is always accessible, never buried under three days of kit at the bottom of your pack. A full roll is bulky and awkward; the bottle wrap gives you exactly what trail repairs actually call for – patching a tear in a rain jacket, fixing a broken harness clip, improvising a blister pad if things go sideways anyway.
Wrap it around a trekking pole handle if you prefer. Either way, it adds negligible weight, takes up no extra space, and is sitting right there the moment you need it.
23. Ziploc Bags Organise, Waterproof, and Pack Out Rubbish
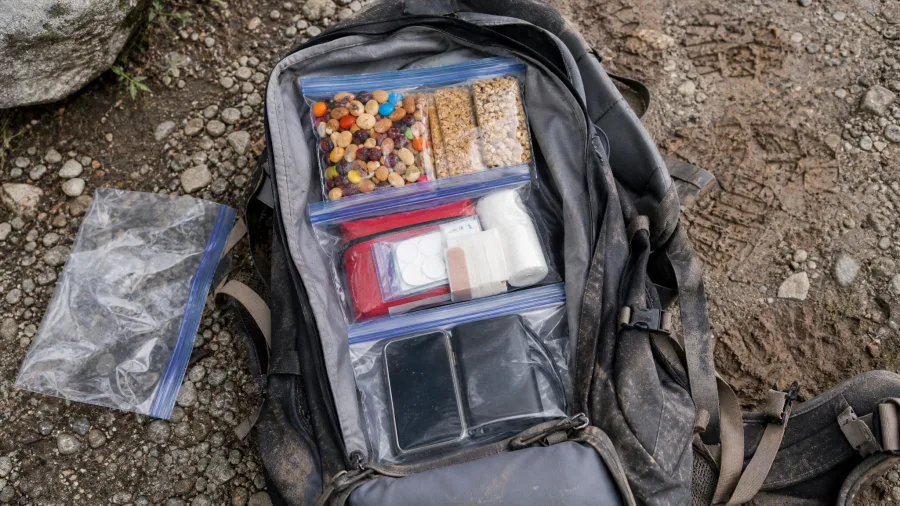
Cheap, lightweight fixes that pull triple duty – that theme keeps coming up, and Ziploc bags are the third one worth adding to the kit before any other purchase.
Group snacks, first aid supplies, and electronics in separate bags and everything becomes findable in any conditions, including inside a dark tent in the rain. On a wet hike they keep matches, batteries, and documents dry when everything else in the pack is damp and miserable.
Use an empty one to collect all your rubbish through the day and pack it out at camp. It is the simplest Leave No Trace habit there is, and it costs nothing extra.
24. Uphill Terrain Uses Different Muscles Than Flat Walking
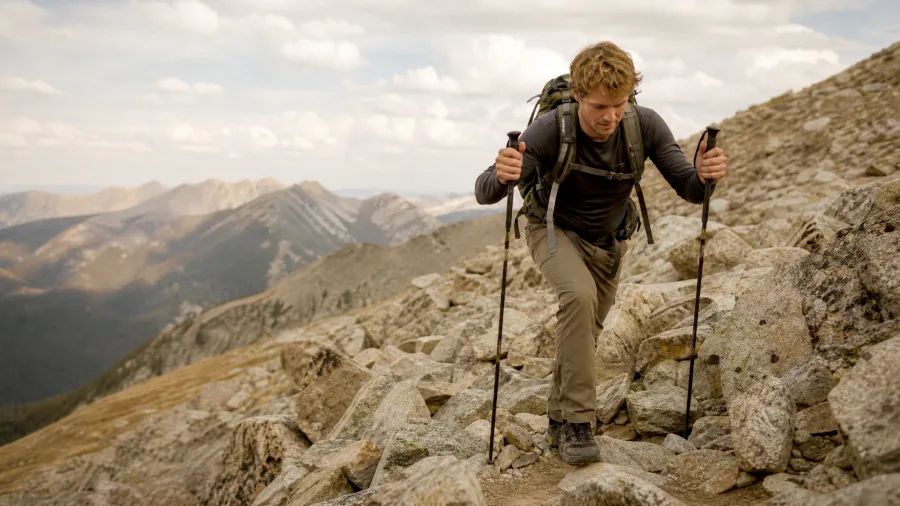
Back in tip six, the point was managing your energy through the day with regular breaks. Uphills are where that whole system gets stress-tested, and I underestimated them badly when I first started out.
Steep climbing is not just slower flat walking. It pulls on different muscle groups, consumes energy at a significantly higher rate, and compounds fatigue over a long day in ways that can leave you completely spent before you reach camp.
Take shorter steps, slow the pace deliberately, and bring the trekking poles into it – they distribute load across your upper body and give the legs some genuine relief on long ascents.
The goal arriving at the top is simple: still have something left. Push too hard on the way up and the afternoon becomes a suffer-fest regardless of what the terrain looks like.
25. Micro-Rests on Hard Climbs Let Your Heart Rate Recover
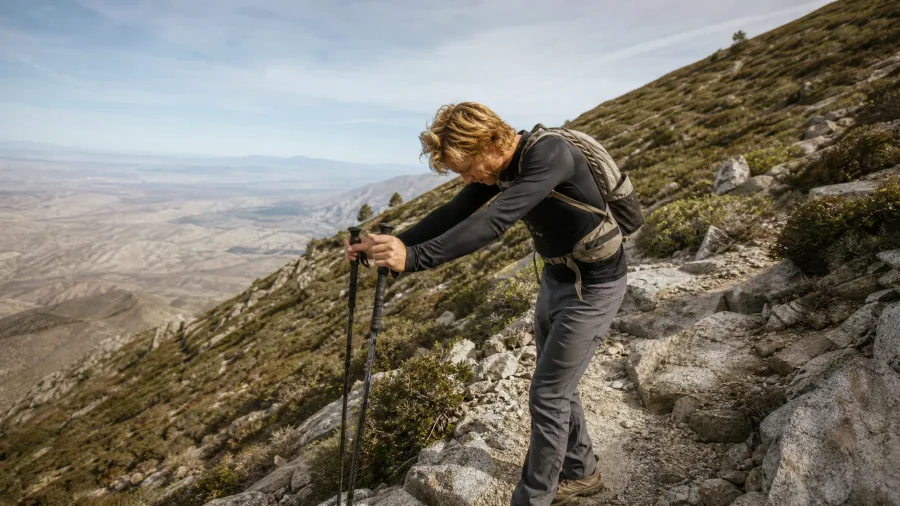
You stop – but only for 20 to 30 seconds.
That window is the sweet spot. It is long enough for your heart rate to drop noticeably before you push on, and short enough that your muscles stay warm and do not stiffen up the way they do after a full five-minute halt. Restarting after a long cold stop costs more than the rest saved.
Use the trekking poles to take a portion of your body weight during the pause without fully stopping movement. Lean into them, breathe, feel the heart rate settle, then go again. The rhythm becomes push hard, brief pause, push again.
I use this on every climb that gets genuinely steep. Over a 500-metre elevation gain the difference is dramatic – you arrive at the top feeling like you managed the climb rather than survived it.
It sounds almost too simple to bother with until you feel it working. Then it becomes second nature inside a single trip.
26. Always Carry a First Aid Kit on Every Hike
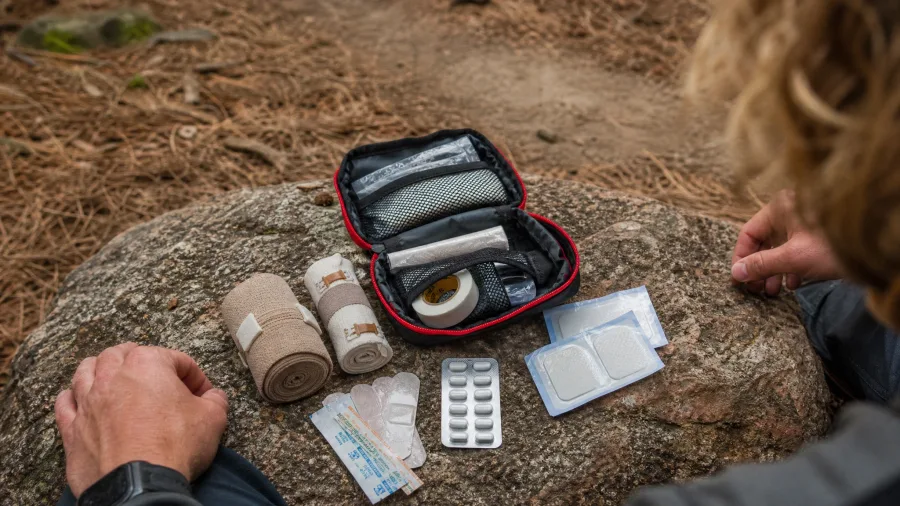
That emergency mindset from the last point extends right down to what you carry on your body. A first aid kit does not need to weigh much – mine fits in a small zip pouch and covers almost everything that actually goes wrong on trail.
Inside: bandages including snake-bite compression bandages, adhesive tape, blister dressings, and painkillers. Easy terrain is not immune to any of this. Cuts, blisters, and ankle sprains happen on gentle tracks just as readily as on technical ones.
Check it is fully stocked before every trip and add any personal medication you need. A kit you have not opened since last season is not a kit – it is a bag of expired supplies with a false sense of security attached to it.
27. Plan Water Sources in Advance, Carry Purification Backup
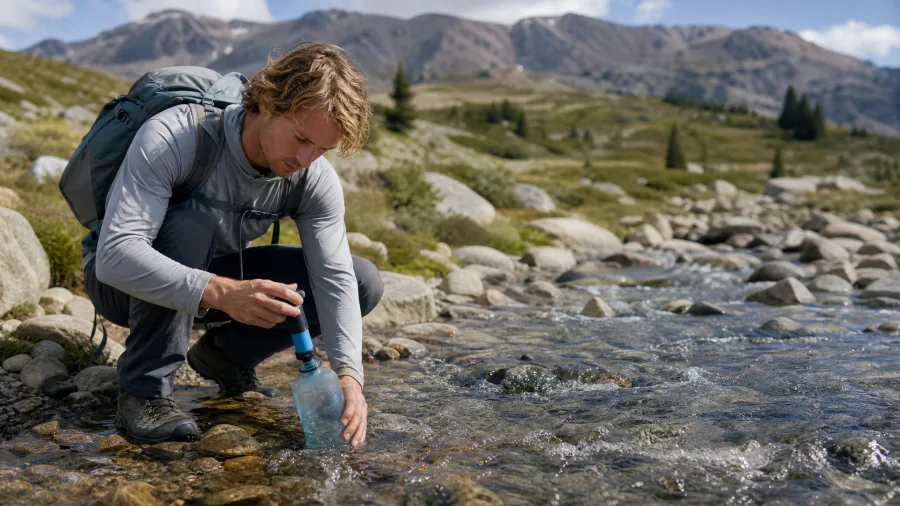
Running out of water in remote terrain is one of the most avoidable serious mistakes you can make – and one of the most dangerous.
Before you leave, check your route map for reliable water sources and mark them. Do not assume they will be obvious on the day. Seasonal variation, drought, and contamination can all make a mapped source useless when you arrive at it. Carry a water filter or purification tablets as backup regardless of how well-watered the terrain looks on paper.
Planning your hydration deserves the same attention as planning your food and your route. Treat it that way, and it becomes a non-issue. Ignore it, and it becomes the only issue.
28. Accessible Snacks Keep Energy Up Without a Stop
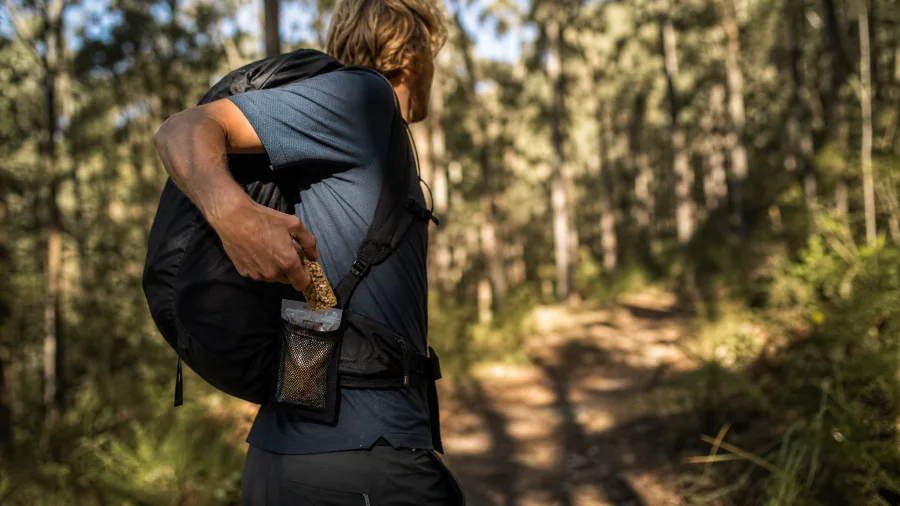
Planning your water and food carefully is one thing – actually getting that food into you while you are moving is a different problem entirely.
Trail mix, muesli bars, or similar snacks belong in side pockets or harness pouches, not the main compartment. Fill them each morning so they are ready from the first step. Eating on the move keeps your blood sugar steady without a full stop, and five seconds of prep prevents ten minutes of pack-rummaging spread across the day.
29. Always Have an Emergency Backup Plan Before Every Trip
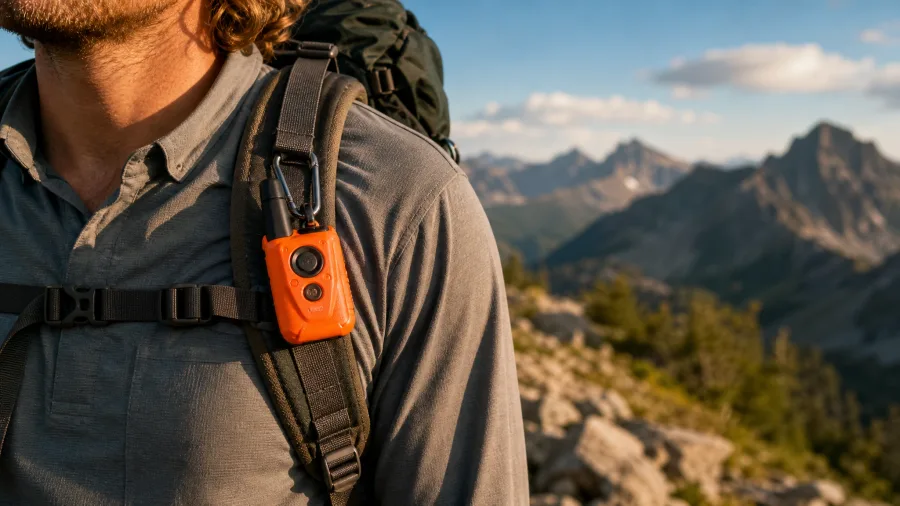
Day two of a remote trip, miles from the trailhead, is exactly when you realise whether you made a plan – because that is when things have a habit of going sideways.
Tell someone your exact route and expected return time before you leave. Carry a personal locator beacon (PLB): it sends a one-way distress signal to search-and-rescue satellites in areas with zero phone coverage, and no subscription is required. Know the nearest exit points from your planned route before you need them, not in the moment when you do.
Having that plan does not just keep you safer. It removes the quiet background anxiety that otherwise follows you through every hard section – and lets you actually enjoy the hike you came for.
30. Adjust Your Pace to the Terrain, Not the Clock
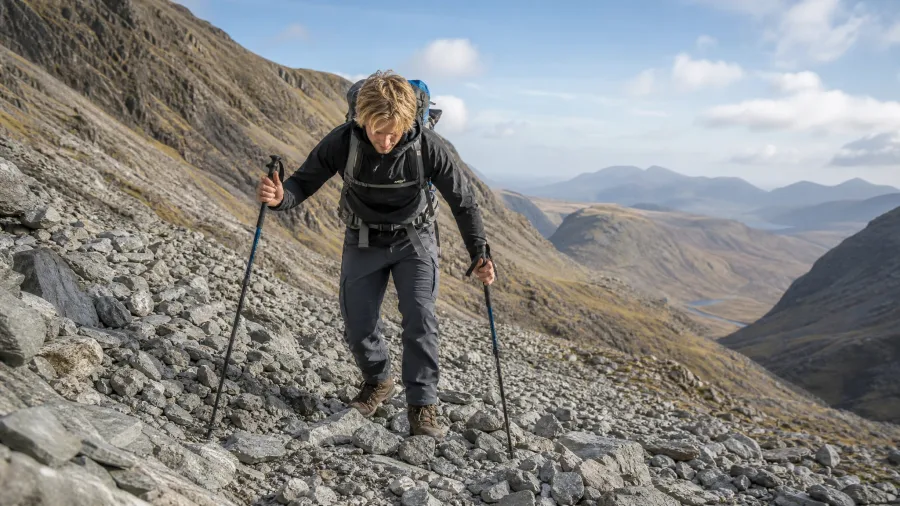
A solid backup plan and a clear head bring you back to the trail itself – and the trail has a way of punishing anyone who stops paying attention to how they are moving through it.
Trying to hold a constant pace across all terrain is what leads to exhaustion and twisted ankles. The speed that feels easy on a flat fire road is the wrong speed on a loose rocky descent. I learned this slowly, and every time I forgot it the trail found a way to remind me.
Slow down on steep, rocky, or loose ground. Full stop. The right pace changes section by section, and reading the terrain ahead of your feet – not the time on your watch – is what keeps you moving safely.
There is a bonus to this too. A slower pace on the hard sections gives you time to actually look up. In my experience, the toughest ground is almost always where the landscape is most worth seeing.
The measure of a good hike is not speed. It is arriving at the end still intact, having covered every metre deliberately.
31. Cold Nights Freeze Batteries — Keep Them in the Bag
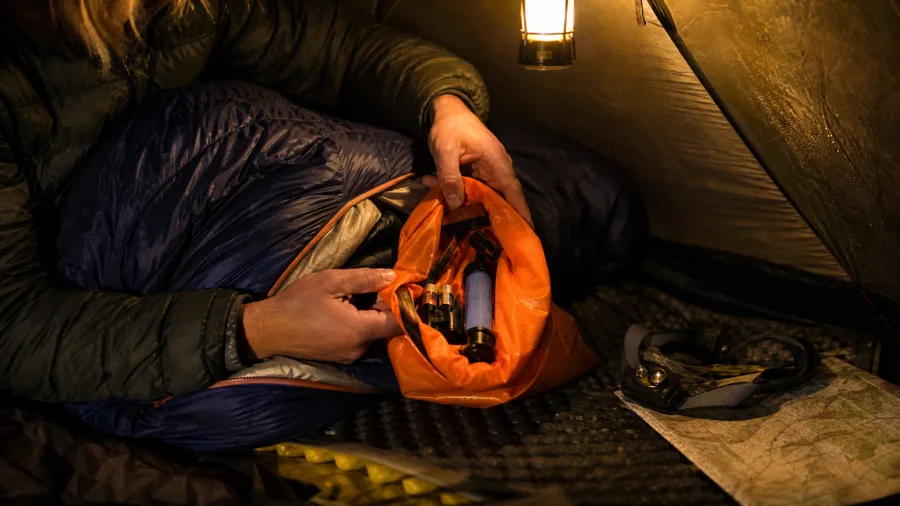
Before you zip up the sleeping bag tonight, take ten seconds and tuck your batteries, water filter, and any electronics into a waterproof bag and slide them inside with you.
Cold air does two specific things: it drains batteries until they produce no power at all, and it freezes the water inside a filter, cracking the ceramic membrane and making it permanently unusable. Neither failure announces itself until morning, when you actually need them.
Waking up to a dead headlamp and a ruined filter at the start of a long day is an expensive lesson. It is also a completely avoidable one for the cost of ten seconds the night before.
32. Downhill Stresses Your Knees More Than Uphill Does
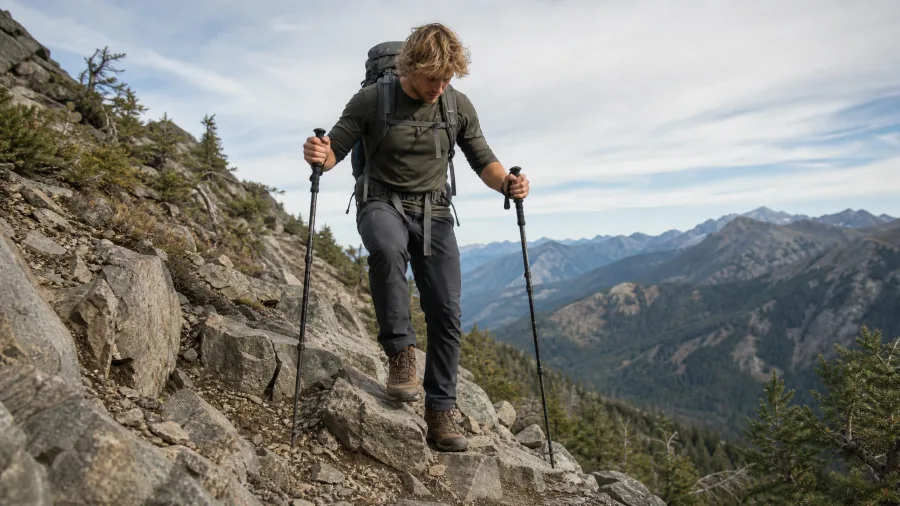
All that focus on uphill technique and pacing – it is easy to treat the descent as the payoff, the part where you finally coast. It is not.
Every downhill step sends repeated impact load straight through the knees, more than climbing ever does. That is why legs that felt fine on the ascent can feel wrecked by the time you reach the valley.
Use trekking poles on any meaningful descent – they distribute that load and naturally slow your pace, which is exactly what you want. Shorten your steps too. Long strides going downhill increase the impact and raise the odds of a slip or a turned ankle significantly.
Rushing downhill almost never saves meaningful time. Control the pace going down the same way you would going up, and your knees will thank you on day three.
33. Learn Five Basic Knots Before Your First Backcountry Trip
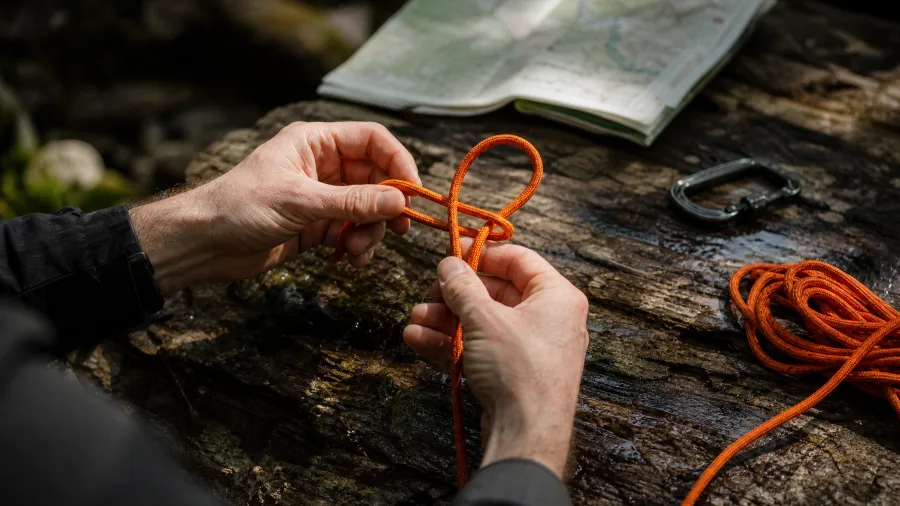
Protecting your knees gets you to camp in one piece – but once something breaks out there, the only shop available is whatever you packed. A knot is often the difference between a functioning shelter and a miserable night.
The core set to know is small: the bowline creates a fixed loop that will not slip under load, the half hitch is your quick securing knot, and the figure-of-eight gives you a reliable stopper. Round out the collection with the reef knot — formed by crossing one end over the other twice, reversing direction each time — for joining two lines of similar thickness, and you have four knots that cover the vast majority of real situations you will actually encounter.
Practice each one until it is automatic. Cold hands, fading light, and rain do not allow consulting a card.
The applications come up more often than you would expect: securing a tarp in wind, repairing a broken shoulder strap mid-trail, hanging a food bag away from animals, fixing a shelter that took a battering overnight. An afternoon of practice at home makes all of it instinctive. The alternative is fumbling with cordage in the dark, which is precisely when you least want to.
34. Choose Rest Spots With Shade, a View, or Wind Protection
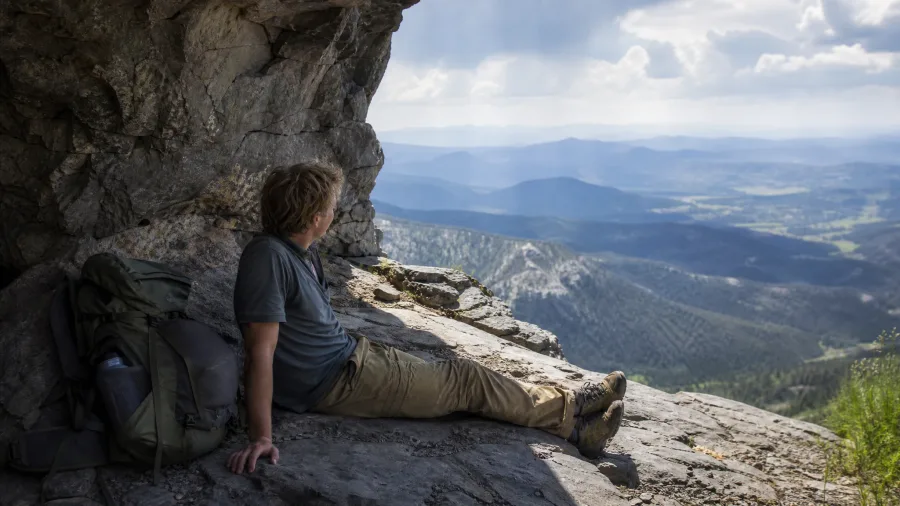
Mid-afternoon on a hard day, there is a moment when your legs have earned a stop – and where you take that stop matters almost as much as taking it at all.
Look for natural wind shelter, shade, or a view worth sitting down for. Avoid low, damp ground and any spot thick with insects – both will turn a five-minute rest into something you want to cut short before you have actually recovered.
An extra minute of walking to find the right spot is always worth the delay. A break that feels like a small reward lifts morale in a way that a damp, exposed patch of ground simply does not, and you will start the next stretch with noticeably more in the tank.
35. A 5-Minute Warm-Up Prevents First-Hour Stiffness
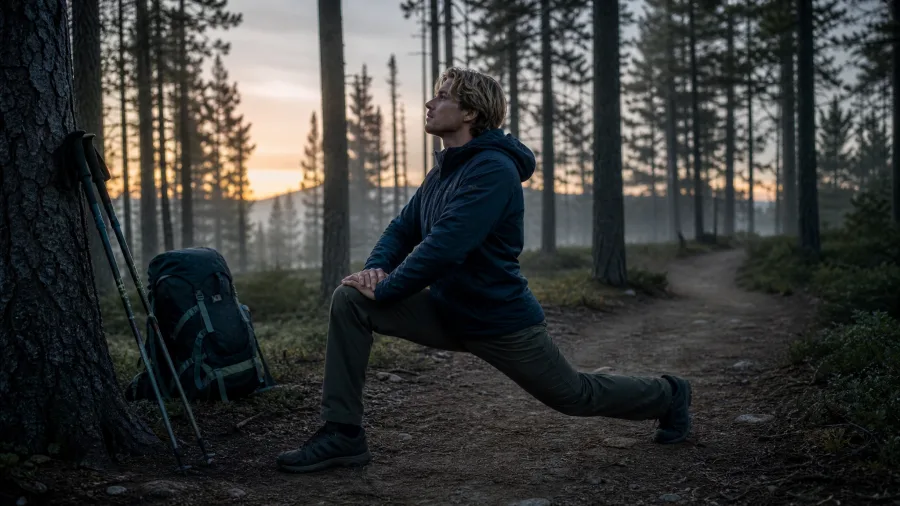
After finding a good rest spot, the question that follows naturally is whether any preparation before the very first step is worth the time. It is.
Five minutes stretching the legs, hips, and back – the areas that stiffen fastest under a loaded pack – makes the opening kilometres noticeably smoother and reduces the risk of an early strain before the muscles have settled into the work.
It matters more before steep or demanding terrain right from the trailhead, and less on a flat, easy warm-up track. But as a general habit, it costs almost nothing and takes the sharp edge off that tight, heavy feeling that can make the first hour a grind.
36. Look Back Regularly to Lock In the Return Route
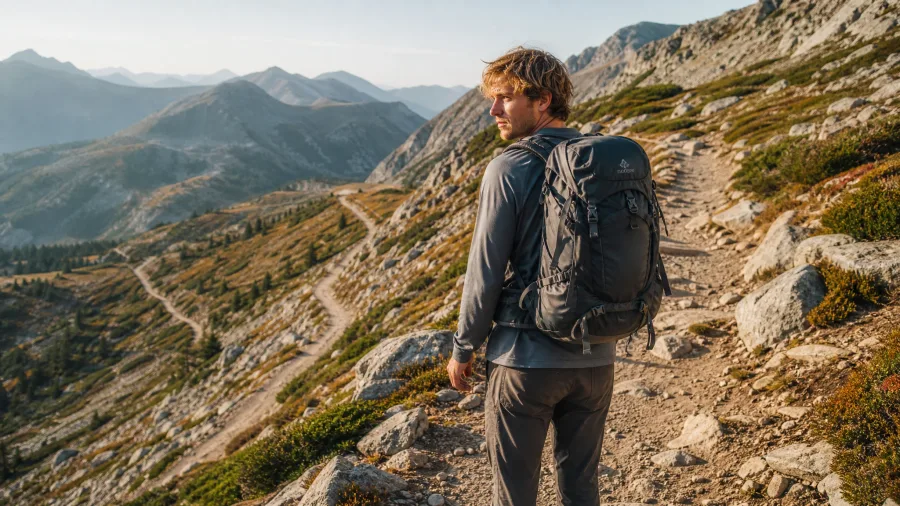
Checking the map at every junction keeps you oriented going forward – but there is a separate problem that map checks do not solve on their own. The trail behind you looks completely different from the trail ahead, and that is the version you need on the way back.
Glancing back every few hundred metres locks in landmarks before they become unrecognisable from the other direction. I have avoided wrong turns on the return leg specifically because of this habit, including once on a route where I was genuinely confident I knew the way.
It also hands you views that face away from your direction of travel – often the best ones on the whole hike. Combine the backward glance with map checks at every junction and you have got navigation covered in both directions.
37. Trail Etiquette Makes the Outdoors Better for Every Hiker
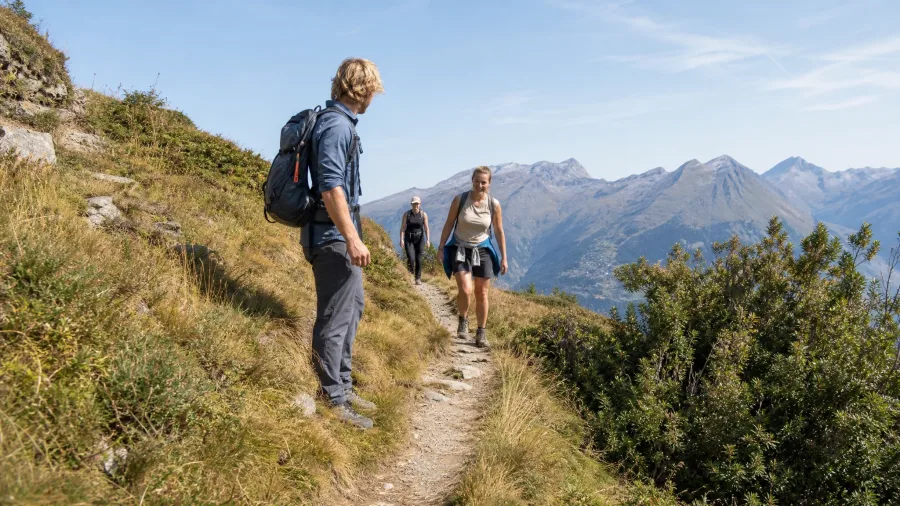
Share the trail the way you would want it shared with you. Uphill hikers have right of way – they are working harder and cannot yield without losing momentum, so step aside and let them through.
Walk single file on narrow paths. Two or three abreast gradually widens the trail and crushes the vegetation on either side. Step aside promptly for faster groups too, rather than making them wait behind you on a tight section.
Keep noise low. Other people came out here for the same quiet you did.
💡 PRO TIP
Airplane Mode: A Simple Battery Hack
GPS and camera both work normally in airplane mode. Background apps and cellular signal searching drain battery faster than any other phone use on trail. Switch before you set out and your phone will last the full day even on a long route.
38. Airplane Mode Saves Battery and Removes Trail Distractions
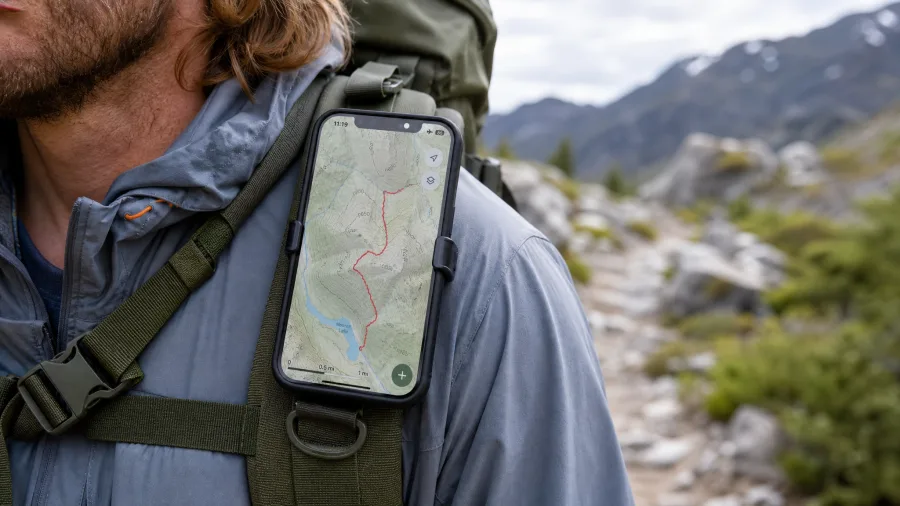
Picture this: two hours from camp, the light is dropping, and your phone is sitting at 8% – not because you used it heavily, but because it spent all day searching for a cell signal it was never going to find.
Switch to airplane mode before you step onto the trail. GPS and the camera both work normally in this mode. What stops is the cellular searching and the background apps that quietly drain the battery without giving you anything in return. Over a full hiking day, the difference can be several hours of GPS use.
The side benefit is real too. No notifications means the trail stays the focus, not whatever is happening back in the world you just left.
39. Group Hikes Need Extra Time and a Slower Collective Mindset
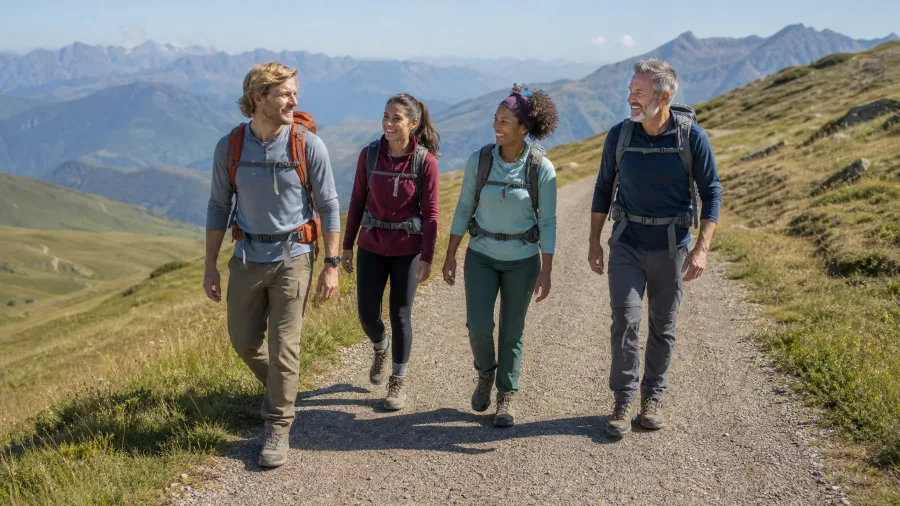
Have you ever watched a group trip unravel because the pace was set by the fittest person in the group?
The frustration builds fast. Slower hikers feel pushed, faster hikers feel held up, and decisions start getting made badly as the stress climbs.
The group’s speed is the slowest member’s speed, full stop. Build extra buffer time into the itinerary, go over the plan with everyone before you set out, and genuinely commit to the collective pace. It is not a compromise you are making – it is simply what group hiking is.
40. A Pack Liner Is What Actually Keeps Your Gear Dry
Earlier I mentioned layering your clothing to manage wet and cold conditions – but all of that falls apart if the dry clothes inside your pack are not actually dry when you need them.
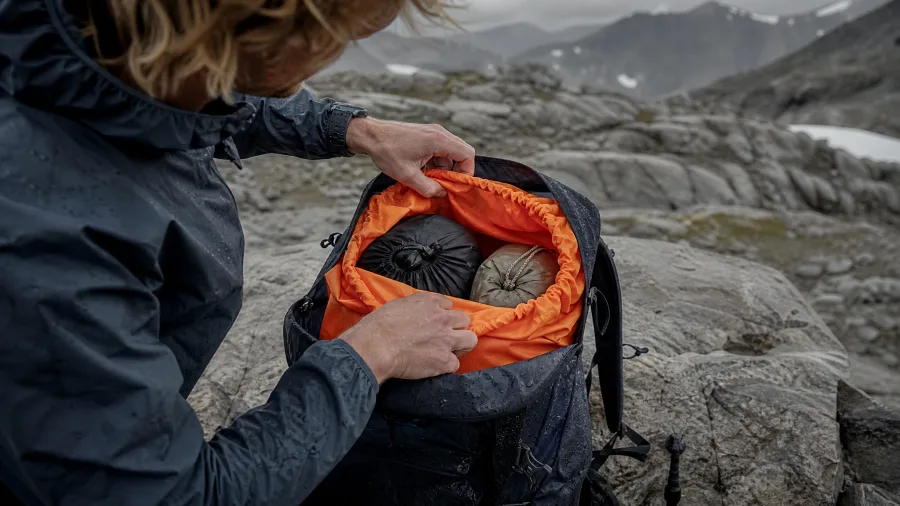
A rain cover is not enough on its own. In heavy rain or when you cross a stream, water forces through the seams and gaps. It happens every time, and you often do not notice until you open the pack at camp.
A pack liner fixes this. Purpose-made liners work perfectly, and a heavy-duty garbage bag does the job just as well for a fraction of the cost. It sits inside the pack and creates a waterproof barrier that is completely independent of whatever the weather does to the outside.
In cold conditions, a dry sleeping bag and dry clothes are not comfort items – they are safety items. A wet sleeping bag on a cold Tasmanian night is a problem that compounds hour by hour.
I use a pack liner on every single trip, without exception. It is not something I weigh up or consider optional. It just goes in with the pack, every time.
🎒 How a Smart Pre-Trip Routine Works
Trim Toenails
Do this 2–3 days before departure so feet are comfortable and nails are not freshly raw inside boots.
Run a Gear Checklist
Go through every item on a written list — do not rely on memory, especially for small critical items like stove fuel and tent pegs.
Pitch the Tent at Home
Confirm every pole, peg, and rain fly section is present and undamaged before the trailhead is an option.
Test the Stove
Light it with the actual fuel canister you are packing to confirm it is charged and functioning.
Pack the Liner and Snack Pockets
Install the pack liner before loading, then fill side pockets and harness pouches with the day's snacks.
Tell Someone Your Route
Share your exact route and expected return time with a contact before leaving — not as an afterthought, but as a firm step.
PLB or Satellite Messenger: What Is the Difference?
Both devices can save your life out there, but they do very different things, and confusing them is the kind of mistake you only want to make before the trip, not during it.
A personal locator beacon – a PLB – sends a one-way distress signal straight to search-and-rescue satellites. That is it. One button, one message: come find me. No subscription required, and registration with your national authority is free. It is the simpler, cheaper tool, and for a beginner doing the occasional remote trip, it covers the critical safety need without any ongoing fees.
A satellite messenger does more. It lets you send two-way messages, check in with family, even share your GPS track. The catch is the monthly or annual subscription that comes with it. That cost makes total sense if you are doing multiple solo trips a year or heading out on extended expeditions where regular contact matters – to you, or to the people at home who worry about you.
For most beginners, the PLB is the right starting point. Simple, reliable, no bills after the initial purchase.
neither device is ready to use out of the box. You need to register it, confirm the activation procedure, and actually test the satellite connection before you leave home. I registered mine well in advance of my first serious backcountry trip in Tasmania and ran through the test process twice. An unregistered PLB sitting at the bottom of your pack is not a safety device – it is just extra weight.
Frequently Asked Questions
How do I know if my hiking pack is too heavy?
A rough guide is 20% of your body weight as the upper limit for a comfortable multi-day load. If your pack is over that and you have not yet left the trailhead, go back through the packing checklist and cut anything without a clear purpose. The items that tend to sneak in are extra clothing, too much food for the actual days you are out, and gear with single uses that something else in the bag already covers.
What is the best first multi-day hike for a beginner in Australia?
Start with a well-marked, well-serviced route with reliable water sources and known exit points. The Overland Track in Tasmania is one of the most famous, but it is also demanding. The Bibbulmun Track in Western Australia has well-spaced huts and clear infrastructure for first-timers. Check trail notes from the managing authority for current conditions and permit requirements before booking.
Do I need waterproof boots or trail runners for a day hike?
It depends on the terrain. Trail runners are lighter and dry faster, which makes them excellent for well-maintained, relatively dry tracks. For rocky, off-trail, or reliably wet terrain, a stiffer waterproof boot gives better ankle support and keeps feet dry on stream crossings and through mud. Match the boot to the specific route rather than buying one type and using it everywhere.
How do I prevent my sleeping bag from getting wet inside the tent?
Two layers of protection: always use a pack liner when the bag is in transit so it arrives dry, and crack a vent in the tent every night to let condensation escape before it soaks into the bag’s fill. A dry bag rated to 10–20 litres inside the pack and a small vent opening in the tent together cover both the wet-from-outside and the wet-from-inside problem.
Is it safe to hike alone as a beginner?
Solo hiking is fine when you are properly prepared: tell someone your exact route and return time, carry a PLB, know your exit points, and start on a well-marked route that matches your current fitness and navigation skill. The risk is not the solo part — it is the unprepared part. Build experience on shorter, easier routes first, and add remote or committing terrain as your skills and kit improve.
Every Step Is the Point, Not Just the Destination
Forty tips, 30 years. The practical ones — the pack liner, the liner socks, the duct tape on the bottle — are easy to adopt before your next trip. Most of them take five minutes or cost almost nothing.
The harder one is the last. Not everyone gets to be out there. Not everyone has the health, the time, or the access to lace up boots and walk into remote country. I remind myself of that regularly, including on the days when my legs are heavy and the weather is doing its worst.
Gratitude does not make a hard climb easier. It changes how you relate to it. The aching kilometres are part of the gift, not a tax on it.
Carry the gear. Learn the knots. But also carry that.