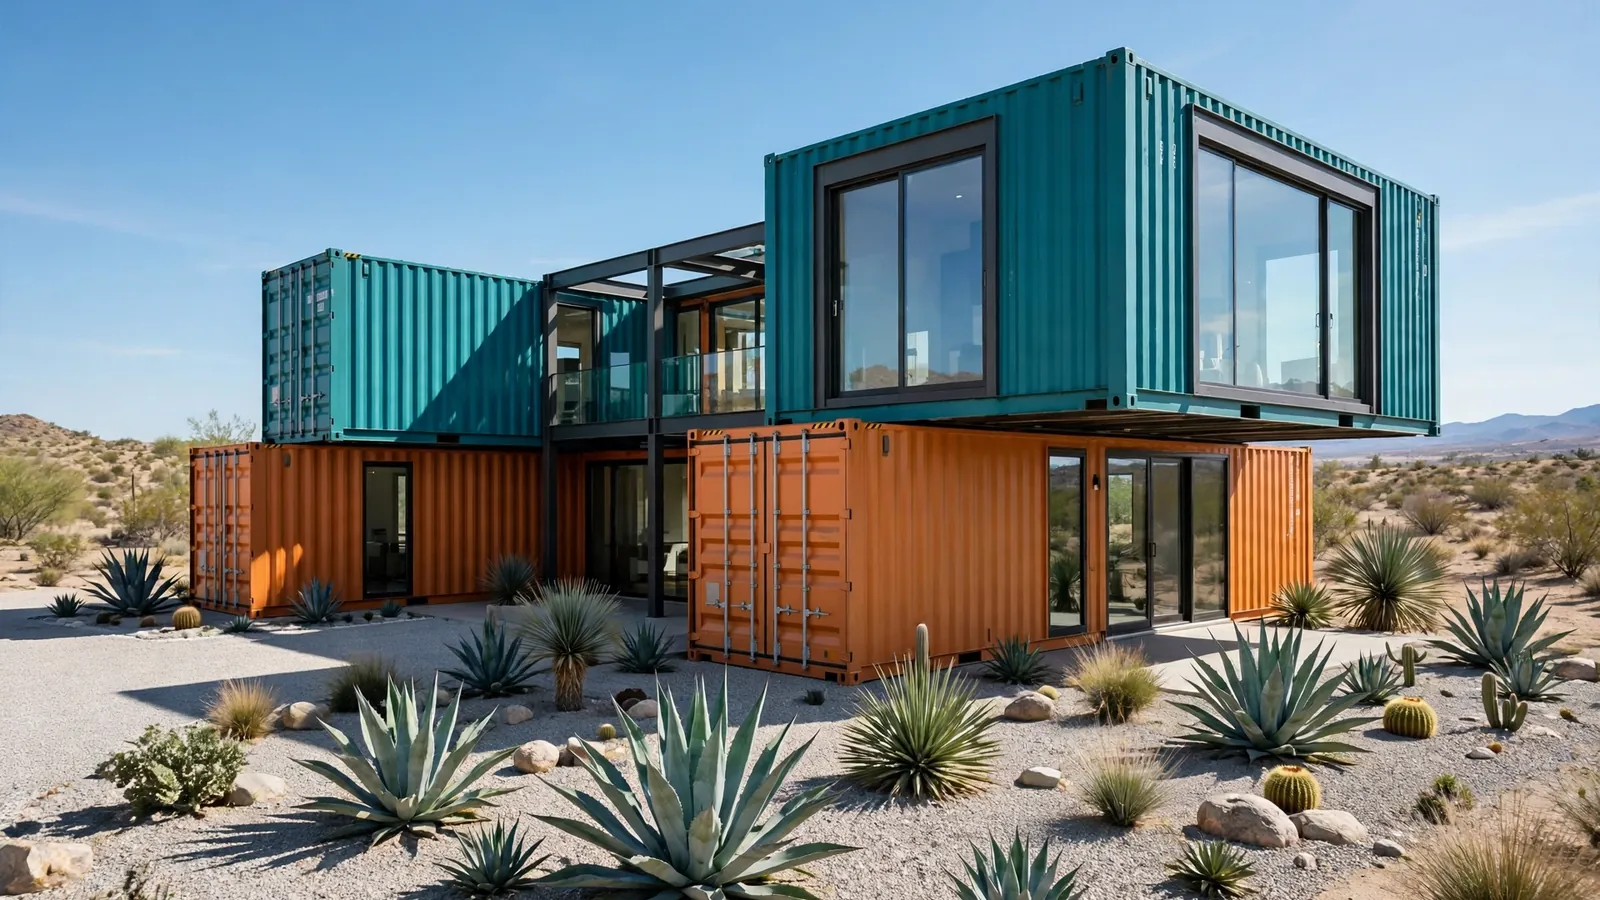
I Built a Container Home for 8K — Here’s the Full Receipt

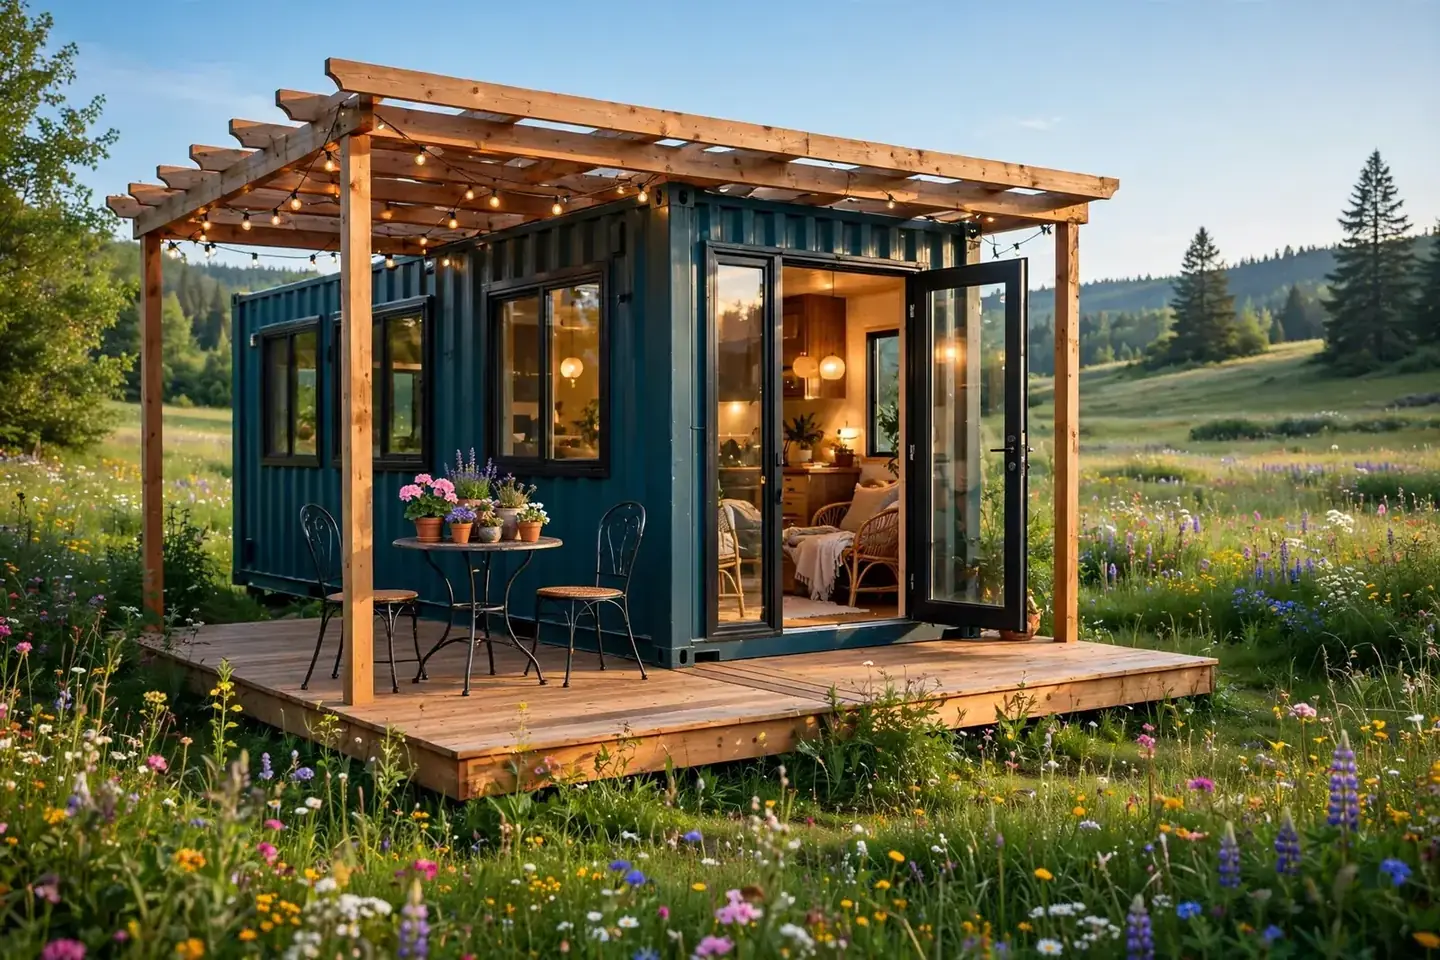
Everyone asked the same question when I told them my plan. How much did it actually cost? I finally have a real answer, with receipts.
This single one-trip 20ft shipping container became a finished, code-permitted 160 square foot home for $38,000. That number covers the steel box, delivery, foundation, insulation, electrical, plumbing, kitchen, bathroom, permits, and every finish you see in these photos.
It does not include the land. The lot belongs to my family, and I will not pretend land costs nothing for most people. But every dollar of the build itself is documented below.
I kept a folder of invoices, texts from suppliers, and notes from weekends of work. Here is the full receipt, line by line, plus what I did myself, what I hired out, and what I skipped to stay under $40,000.
The $38,000 Receipt: Every Dollar
One 20ft one-trip container, 160 sq ft, finished home
The One Decision That Made $38K Possible
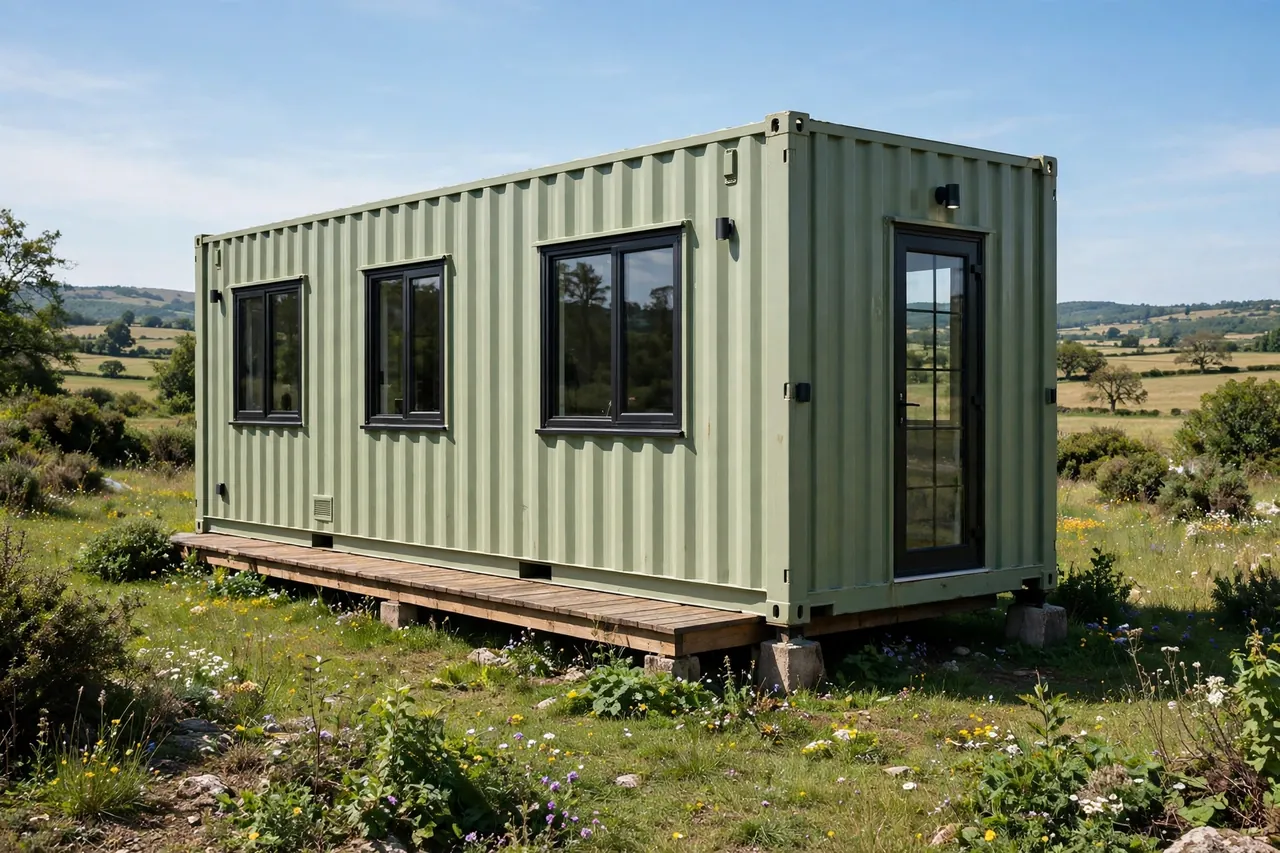
I said no to a bigger box. That is the whole secret.
Every quote I saw for two-container or 40ft builds started around $46,000 and climbed past $90,000 for a one-bedroom, which tracks with national averages of $25,000 to $82,000 for a 320 sq ft build according to Angi. A second container does not just double the box cost. It doubles the cutting, doubles the insulation, doubles the wiring, and adds a structural seam you have to waterproof.
One 20ft container is 160 square feet. That is a studio apartment with a real kitchen and a real bathroom. For one person or a couple, it is enough. It is the size that kept every other line item on the receipt small.
I bought a one-trip container. That term means the box crossed the ocean exactly once before being retired, so the walls are straight, the paint is fresh, and the floor has no chemical spills. One-trip boxes cost $3,000 to $5,000 while used cargo-worthy boxes run $1,500 to $3,000, per a container cost guide. I paid $3,800. The extra couple thousand bought me clean steel and zero surprises.
Small box, clean box. Everything else flowed from that.
Buying the Box
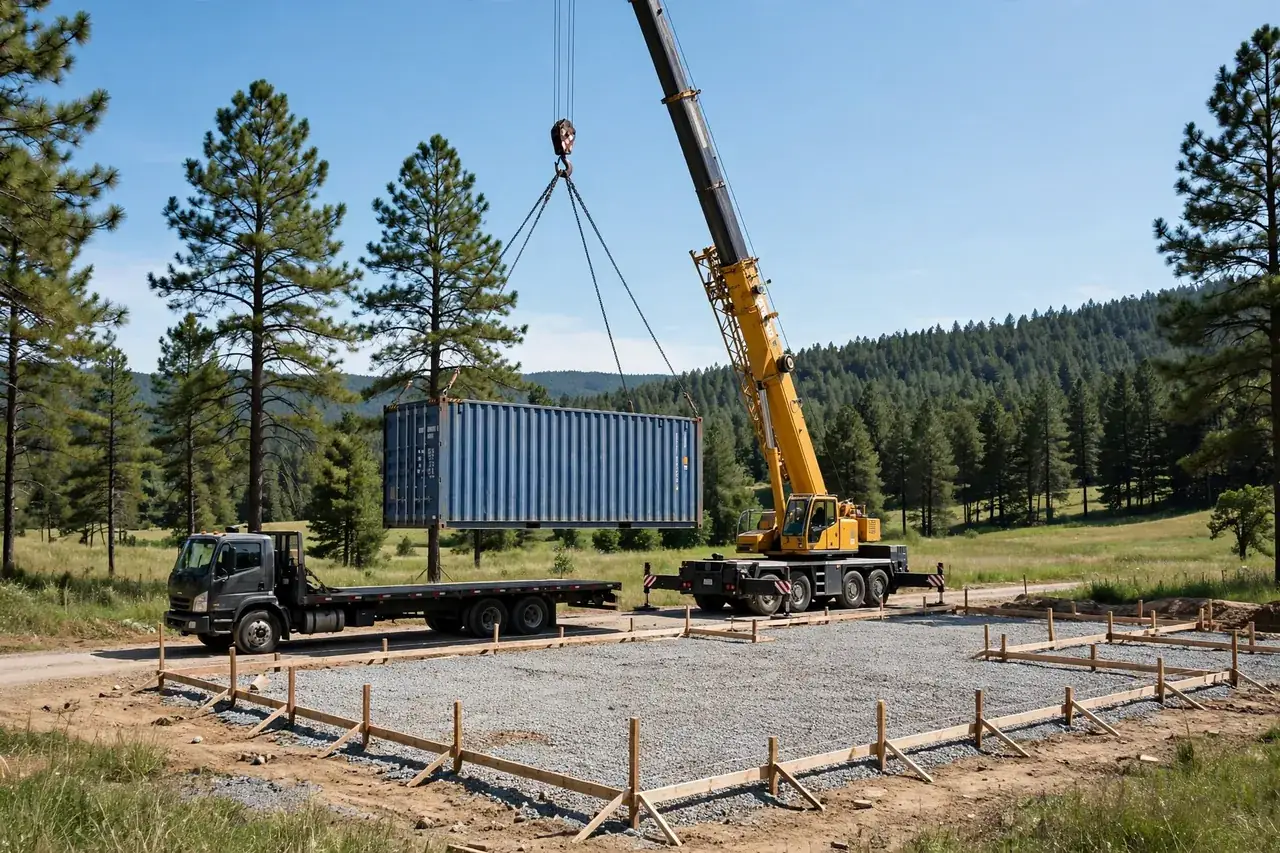
I bought from a depot 40 miles away. Buying local matters more than people think.
Delivery runs $3 to $5 per mile plus a crane or heavy forklift to set the box down. A cheap container 200 miles away can cost more landed than a fair-priced one down the road. Mine cost $3,800 for the box plus $1,200 for the flatbed and a crane day. Total to get steel on my land: $5,000.
Before paying, I checked the door seals, the lock rods, and the corner castings, which are the reinforced steel corners that carry the whole load. I opened and closed the doors. Sticky doors mean a racked frame, and a racked frame means leaks later.
One more thing. Ask for the CSC plate photo before you visit. That is the little metal plate on the door that certifies the box for shipping. It tells you the exact age and whether the unit passed its last inspection. A seller who will not send it is a seller to skip.
Foundation: Piers, Not Slabs
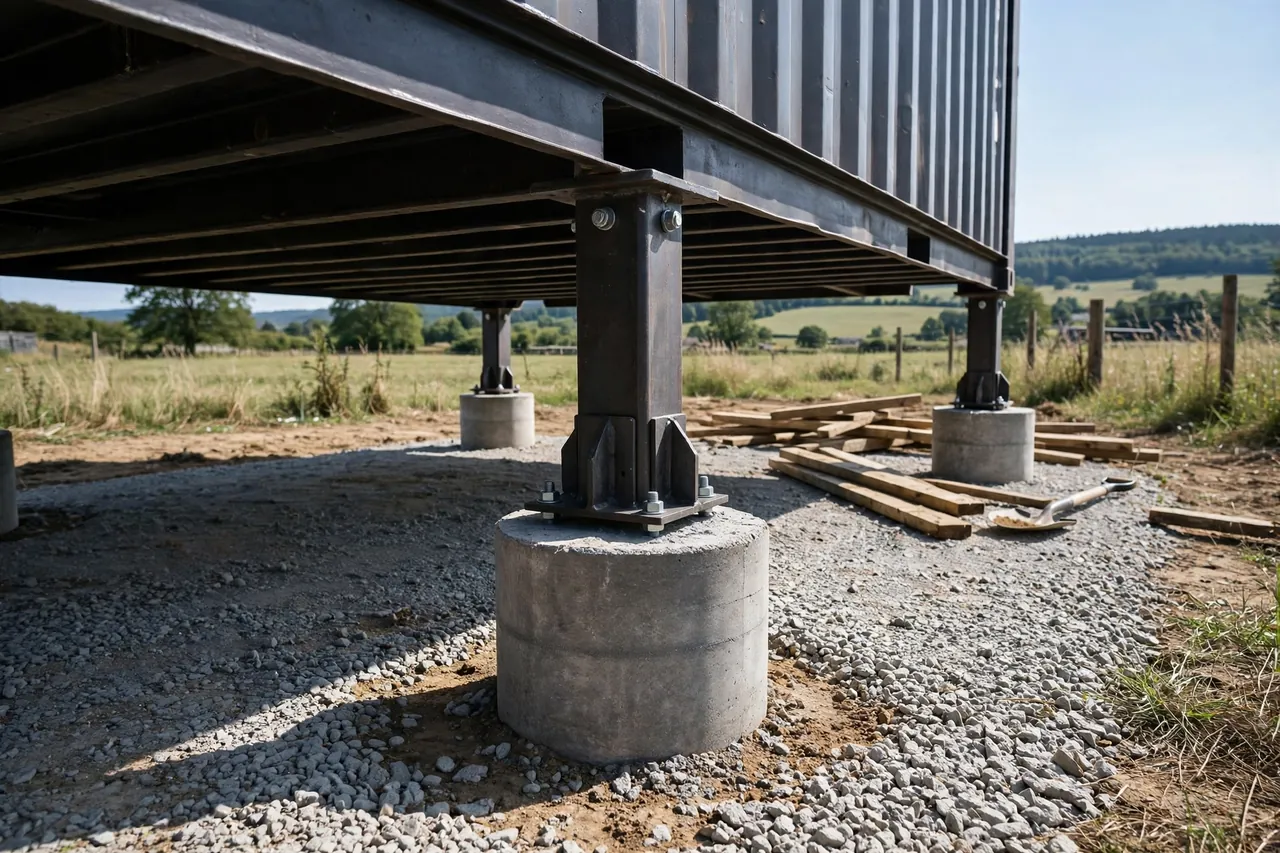
A shipping container only touches the ground at its four corner castings. That fact saved me thousands.
Instead of a concrete slab, I poured individual concrete piers under the corners and two mid-span supports. A pier foundation for a single container typically runs $1,500 to $4,000, while a full slab can exceed $8,000, according to an engineer cost breakdown. My version came in at $3,200, including the gravel pad, the concrete, and the steel tie-downs.
Tie-downs are the metal straps that bolt the box to the piers. They keep wind from lifting a steel sail off its footings. My county inspector asked about them before he asked about anything else.
Footings must go below your local frost line, the depth at which the ground freezes in winter. Shallow footings heave and crack. Call your building department for the number before you dig. I dug the holes myself with a rented auger and hired a small crew for the pour, which kept labor cheap without risking a bad mix.
Cutting Steel: Hire the Sparks
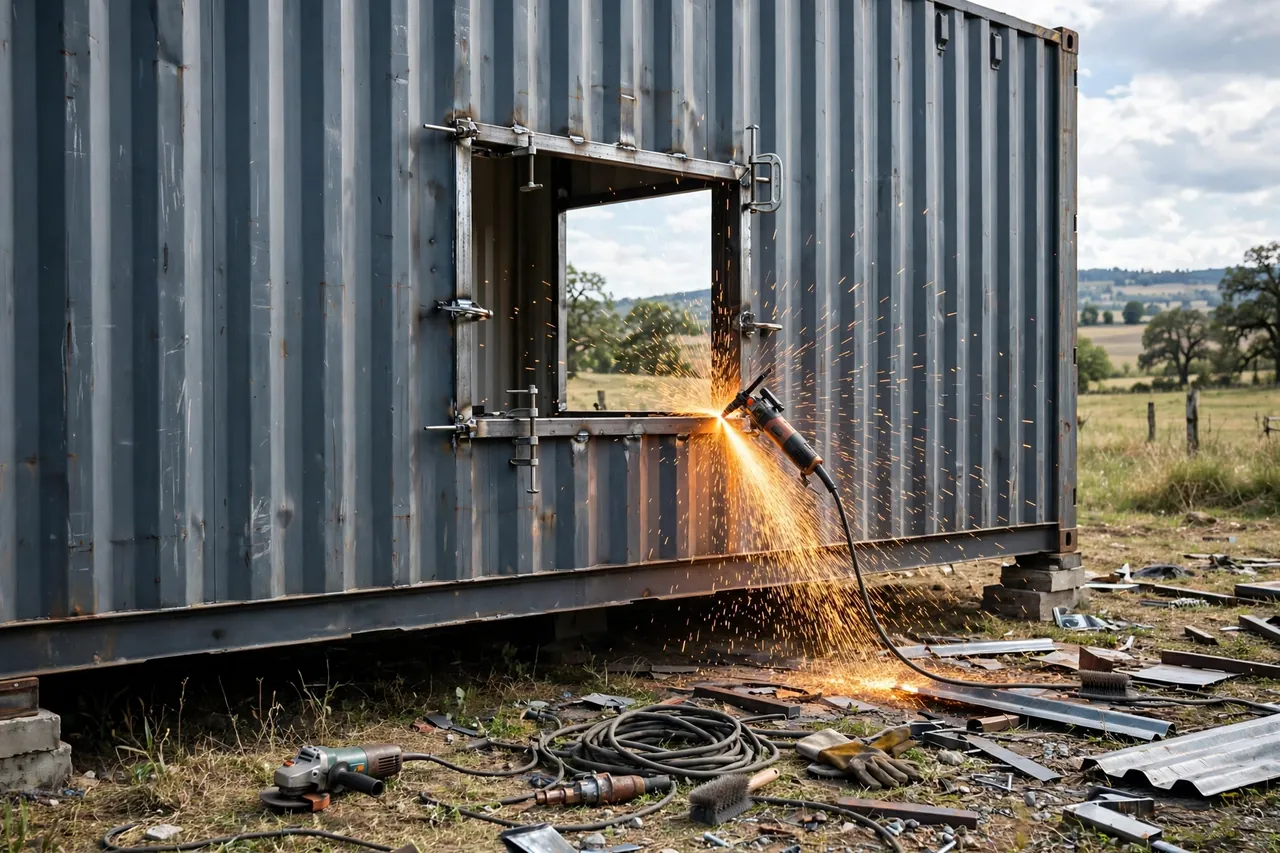
Windows and a door mean cutting holes in a load-bearing steel wall. I hired a certified welder. Full stop.
The corrugated walls are the structure. Every cut removes strength, so a steel tube frame gets welded around each opening to carry the load back down to the corners. Get this wrong and the roof sags or a door binds within a year. A structural engineer reviewed my header sizes for the permit, and the welder followed the drawings exactly.
Cutting and welding cost $2,600 for three windows and the entry door, including the frames. I got three quotes, and they ranged from $2,400 to $4,100. The middle quote won.
This is also where DIY bravado dies. A grinder and a weekend are not the same as a welder who understands load paths. One crooked header would have cost me more to fix than the whole welding bill.
Insulation: The Line I Would Not Cross
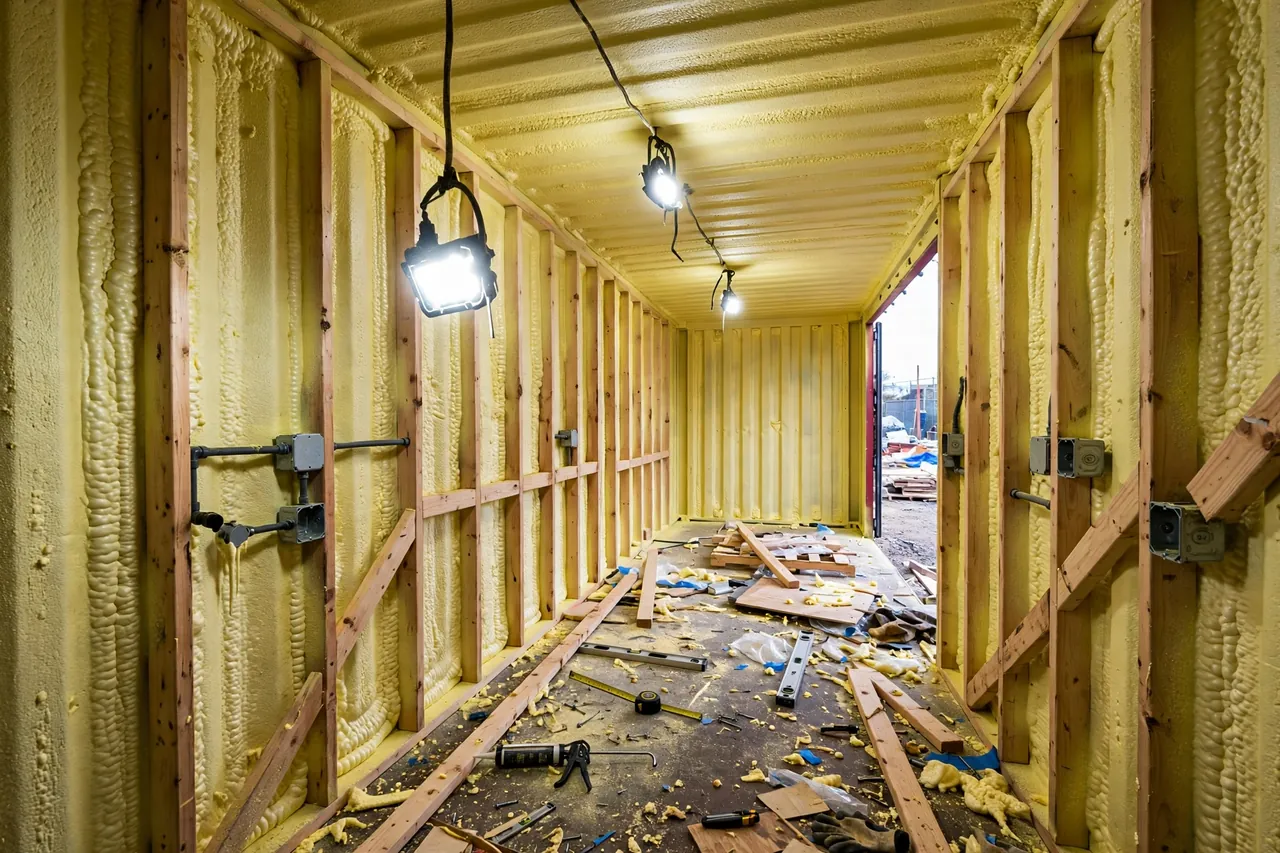
This was the biggest line item on the receipt at $3,900, and I would pay it again tomorrow.
Steel walls sweat. Warm indoor air hits cold steel and turns into condensation, and condensation turns into rust and mold. Insulation in a container is not about comfort first. It is about survival of the box.
I hired a crew to spray 2 inches of closed-cell spray foam on the walls and ceiling. Closed-cell foam is dense, it sticks directly to the steel, and it acts as insulation, a vapor barrier, and an air sealer all at once. There are no seams for moisture to sneak through.
Could I have saved money with rigid foam boards? Yes, maybe $1,500. Every seam between boards is a future moisture path in a steel box, and I was not gambling my walls to save fifteen hundred dollars. Some corners are worth cutting. This one is not.
The 14-Week Build Timeline
Evenings and weekends, one very patient helper
Electrical, Plumbing, and Climate
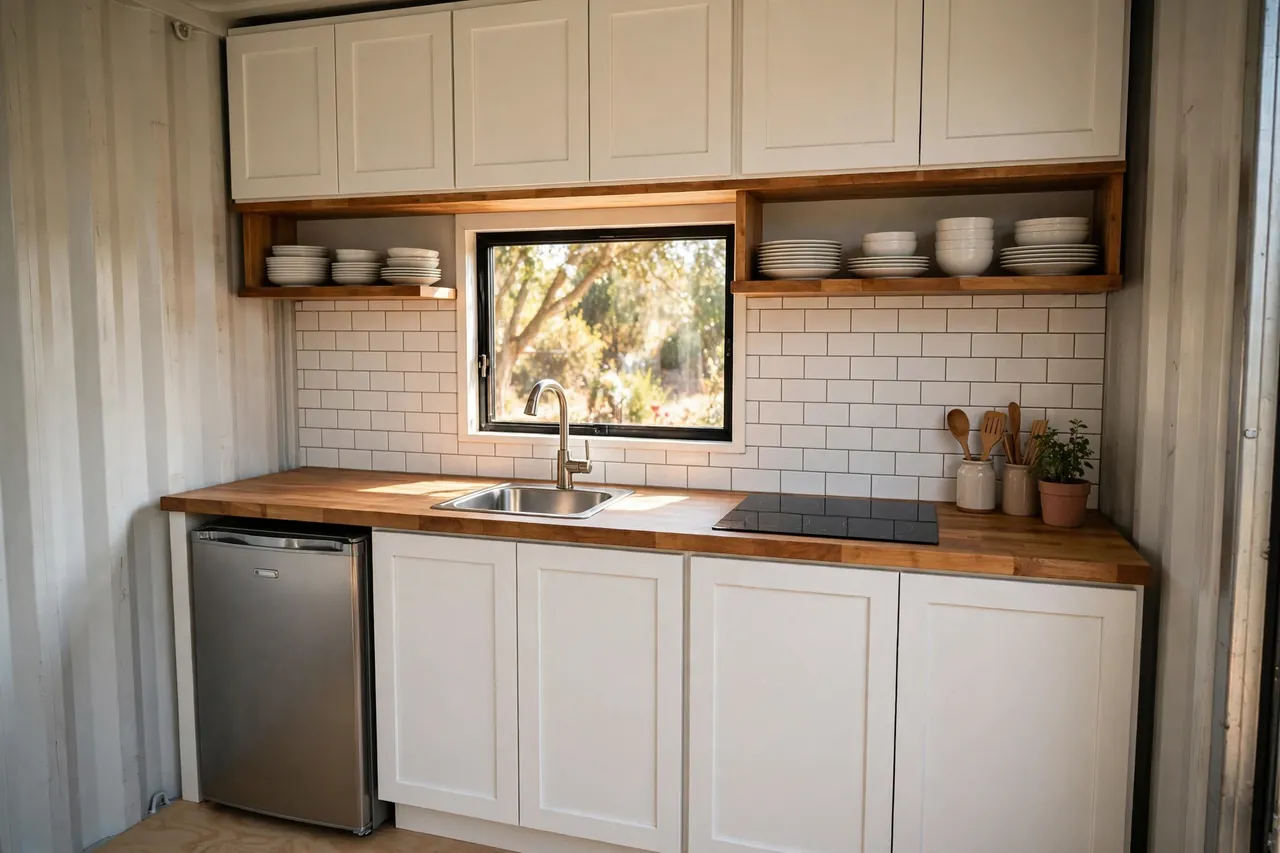
Utilities were three line items and one clear rule. I do the grunt work, licensed pros make the final connections.
Electrical cost $2,400. I ran the wire and set every box myself, then a licensed electrician landed the panel and made the final hookup for $1,100. Most codes require a licensed electrician for panel work anyway, and the inspection passed on the first try because his name was on it.
Plumbing cost $2,800. I used PEX, which is a flexible plastic pipe that connects with simple push fittings and is about as beginner-friendly as plumbing gets. A licensed plumber did the rough-in and the tie-in to the existing septic line, and I set the fixtures.
The mini-split cost $1,800 installed. A mini-split is a wall-mounted heat pump with a small outdoor unit. It heats and cools without any ductwork, which is perfect for 160 square feet. One 12,000 BTU unit handles the whole house.
Could I have gone cheaper with a window AC and a space heater? Sure. The mini-split runs quiet and sips electricity, and my winter power bills stay under $80 a month.
The Living Room
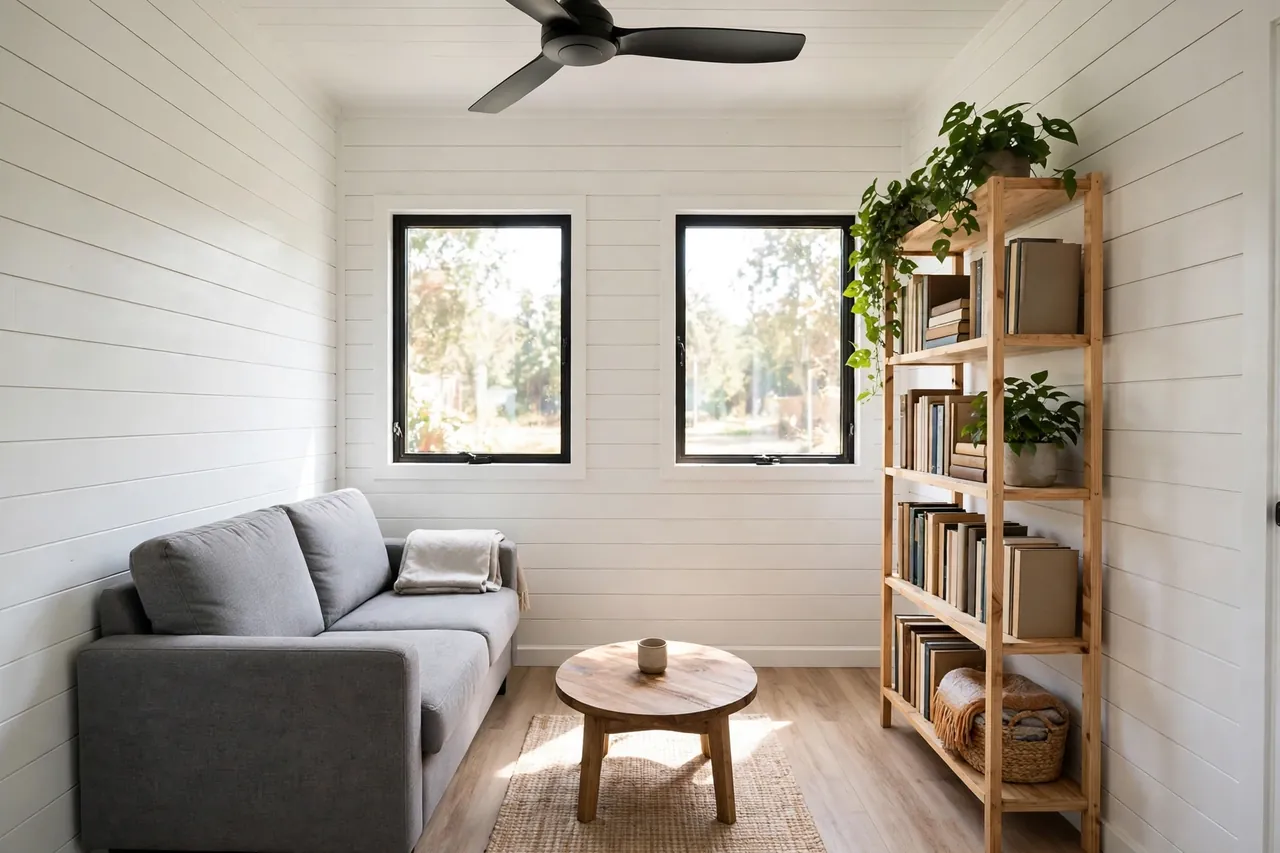
This is where the budget finish strategy shows. Light colors, simple materials, and lots of daylight.
The walls are white shiplap, which are just thin horizontal wood boards with a small gap between them. Shiplap hides imperfect framing, goes up fast, and makes a narrow room feel bright. Framing lumber plus shiplap cost $2,200.
The floor is luxury vinyl plank, or LVP. It clicks together, it is waterproof, and it survives dogs, boots, and dropped pans. I installed all 160 square feet in a weekend. Materials cost $1,200.
Three windows and the entry door cost $2,400, bought during a holiday sale. Daylight is the cheapest square footage there is. An 8-foot-wide room with big windows feels twice as wide as the same room with small ones.
Furniture is thrifted and gifted. A gray loveseat, a round coffee table, and a tall bookshelf fill the room without crowding it. Furniture is not in the $38,000 because most of it I already owned.
The Bathroom
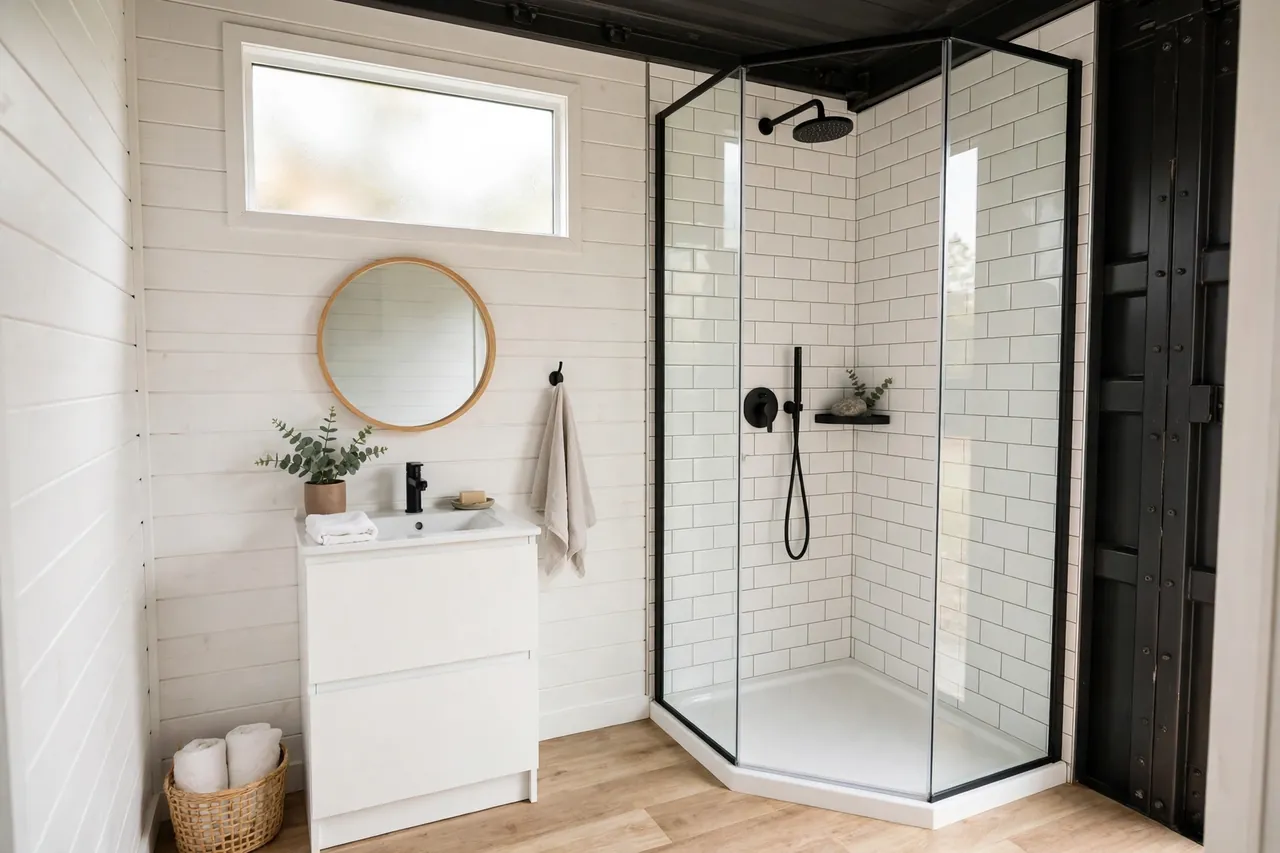
The bathroom is 5 feet by 8 feet and cost $1,600 in fixtures and tile. Small bathrooms punish waste and reward planning.
I used a corner shower kit instead of a custom-tiled shower. The kit is a molded base plus glass panels that goes up in a day. A custom tile shower would have doubled this line item. Subway tile went on the walls because it is cheap, classic, and easy to cut.
The vanity is a stock 24-inch cabinet with a basic top. A round mirror and a frosted window keep it from feeling like a closet. The window matters. Natural light in a bathroom makes it feel twice the size.
The toilet is a standard flush model tied into the existing septic. A composting toilet would have been cheaper and skipped the plumbing, but I wanted a normal bathroom. That was a lifestyle choice, not a budget one, and the plumber confirmed it at rough-in.
The Bedroom, the Deck, and What $38K Skipped
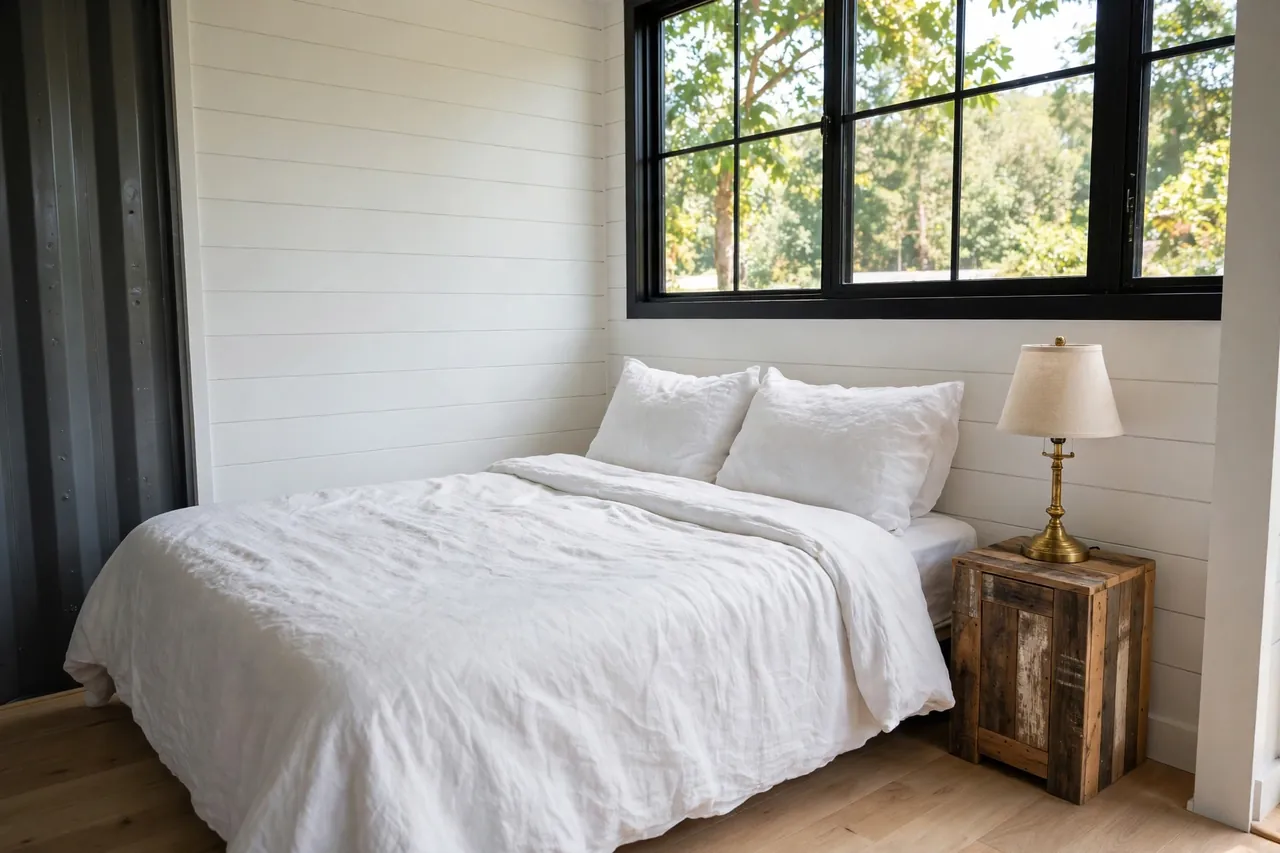
The bedroom end holds a queen bed, a nightstand, and one big window over the pillows. The bed and lamp are furniture, not construction, so they added nothing beyond finishes already counted.
The deck came from the $1,700 exterior line, which also covered marine paint on the steel and a fresh roof coating. A simple pressure-treated deck, built over two weekends, gives the house an outdoor room that doubles the living space in good weather.
Now the honest part. Here is what $38,000 did not buy. No solar panels. No new well or septic, both already existed. No dishwasher, no bathtub, no custom anything. I kept a $2,000 contingency and needed it: one rusted corner post and a lumber price jump.
DIY vs Hired: Where the Money Went
Hired work: $9,000 (24% of budget). The rest was sweat equity.
So would I do it again? Yes, with one change. Start the permit paperwork six weeks earlier. Permits took longer than any part of the build.
The $38,000 number is real, but it is mine. Your county, your soil, and your DIY appetite will move it. Get three quotes for every hired trade, do the finish work yourself, and keep one rule sacred. Small box, clean box, and never cheap out on what keeps the water out.