The Hidden Requirements Behind “Easy” Digital Nomad Visas


Most applicants read the program page, note the income threshold, and file that away as the hard part cleared. That is the wrong document to start with.
The marketing copy for digital nomad visas is produced by tourism boards and economic development ministries whose job is to signal that a pathway exists, not to describe what a consulate reviewer actually checks when your file lands on a desk. ‘No job offer required’ sounds like relief. What it means in practice is that you are solely responsible for proving every dimension of your income, your identity, your health coverage, and your living arrangements through your own records, in formats the consulate specifies.
There are effectively two applications stacked on top of each other: the one the program page describes, and the one the consulate actually evaluates – where document formats, deposit patterns, insurance policy language, and background check timelines determine whether you are approved or stalled.
This article maps every category of requirement the headline number omits, so you know what ‘proof of income’ really means, how long the document chain actually takes, and what renewal will demand before you have committed to a destination, a departure date, or an application fee. By the end you will be able to place yourself – salaried employee or freelancer, paperwork organized or starting from scratch – against the real standard, and know whether you qualify now, what you need to build, and which single document to request this week.
Employee vs. Freelancer: What Each Profile Faces
Salaried Employee
- Income documented in one employer letter, pay stubs, and contract
- Employment history is self-evident from a single source
- Consistent monthly deposits align naturally with bank statement review
- No business registration required
- Lower documentary friction from day one
Freelancer / Self-Employed
- Invoices, client contracts, and 1–3 years of tax returns all required
- Less than 1–2 years of trading history may not satisfy stability standard
- Irregular lump-sum payments trigger additional scrutiny
- Some programs require a formally registered business entity
- Recent career-changers may be disqualified regardless of current income
‘Easy’ Describes Access, Not Qualification
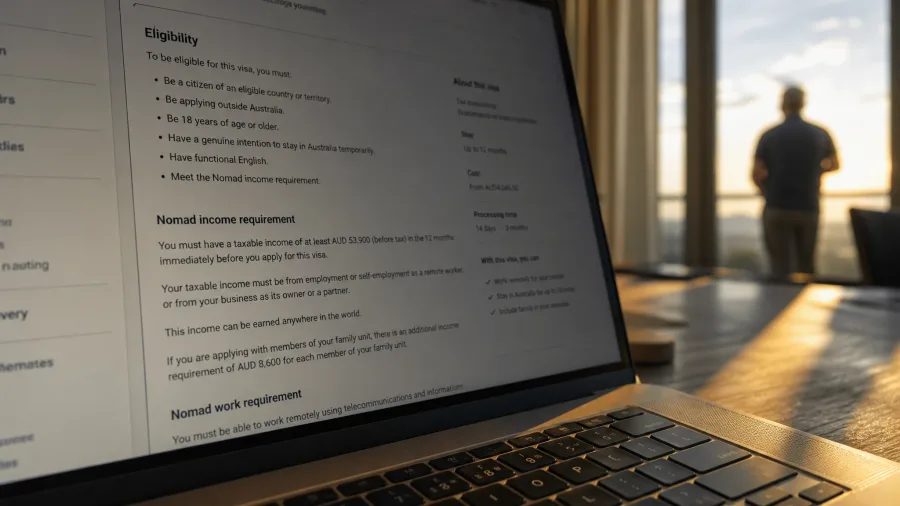
‘Easy’ is a structural claim, not a difficulty rating – it means the pathway is publicly accessible, with no local employer required to sponsor you, no government petition to file on your behalf, and no local sponsor to vouch for you.
That language comes from tourism boards and economic development ministries whose job is to signal that a pathway exists and to attract applicants. Immigration attorneys did not write it. The word is doing marketing work, not legal work, and it says nothing about the weight of the documentary burden you are about to carry.
Removing the job offer from the equation does not make the process lighter. It shifts the entire proof burden onto you. Instead of an employer demonstrating that you are a legitimate, stable worker, you are demonstrating it yourself – through your own records, your own income history, and your own document chain. That standard can be every bit as demanding as any employer-sponsored process, and for freelancers or anyone with irregular income, it can be harder.
Travel blog summaries add another layer of confusion. They go out of date as programs quietly update their rules, and a threshold figure that was accurate eight months ago may no longer reflect what the consulate actually checks. Every number and every requirement in your application plan must be confirmed directly at the official consulate website or government immigration portal before you act on it.
Income Thresholds Climb Once Dependents Are Added

The number on the program page is a floor for one person traveling alone – and it tells you almost nothing about what you actually need to show if anyone else is coming with you.
Bring a partner or a child and the calculation changes immediately. Most programs that permit dependents attach a per-person increment to the base threshold – either a fixed dollar amount or a percentage of the solo floor – for each additional applicant. A family of three applying to a program with a $2,000 monthly solo requirement could easily face a combined household figure of $3,000 or more once those increments are stacked. That gap between the headline number and the real household requirement is where many family applications stall.
The source of your income introduces a second layer. Salary or active contract income often qualifies at face value. Passive income – rental receipts, dividends, distributions from investment accounts – is treated differently under several programs: it may need to clear a separate sub-threshold, or be documented through a distinct set of records entirely. Clearing the income floor on paper but drawing it from the wrong category is a real disqualifier.
These figures do not move together. Thresholds, dependent increments, and income-type rules are updated on separate schedules by different departments. The only number worth planning around is the one currently published on the official consulate page or government immigration portal for the specific program you are targeting – not a blog post, not a comparison tool, and not last year’s application guide.
⚠️ COMMON MISTAKE
Do Not Build Your Budget on the Headline Number
The income threshold promoted on a program page is the per-applicant floor for a single person. Add dependents, factor in the insurance requirement ($800–$2,400 per year), application fees ($200–$1,500), and any document authentication costs, and your real qualifying bar is considerably higher than the number you first saw.
Freelancers Carry a Heavier Documentation Load Than Employees

Where your income comes from doesn’t just shape how you prove it – it determines how large a documentation project you are taking on.
A salaried employee can typically close the income evidence file in a matter of days. One letter from the employer, a handful of recent pay stubs, and the employment contract: three documents from a single source. The employer’s HR department has produced all of them before.
A freelancer assembles a different kind of file entirely. Invoices pulled from multiple clients, contracts for each of those engagements, and tax returns spanning one to three years – all gathered from different places and formatted to show that the income stream existed well before the application date, not just last month. The bar is not just an income level; it is demonstrated stability over time.
Some programs take this further. Rather than accepting informal self-employment, they require proof of a formally registered business entity – a registered sole proprietorship, an LLC, or the local equivalent. If you have been freelancing under your own name without registering a business structure, that requirement alone can add weeks to your timeline before the actual application starts.
The most unforgiving clause for freelancers is the consistency standard. Strong current earnings do not substitute for documented history. A freelancer who switched from employment eighteen months ago, or who has been working part-time while building a client base, may not satisfy the stability requirement even if last month’s invoices look solid. Recent career-changers in particular should check whether their documented trading history clears the one-to-two year minimum before treating the income threshold as the deciding factor.
What the Program Page Says vs. What the Consulate Checks
Bank Statements Must Show Consistency, Not Just a Balance

The pattern of deposits matters as much as the total sitting in the account – and reviewers are trained to tell the difference.
Consulates typically ask for 3-6 consecutive months of statements, and what they’re scanning for is recurring inflows that line up with whatever income source you’ve declared. If your application claims salaried employment, the statements should show regular monthly deposits matching those pay stubs almost exactly. If you’ve declared freelance income, the deposits should trace back to the invoices you’ve submitted. The documents are checked against each other; a mismatch between what the paperwork says and what the account actually received will flag the file for closer review.
A single large transfer landing shortly before you apply is the fastest way to create that mismatch. To a reviewer, it reads as funds moved to manufacture a qualifying balance – not as evidence of ongoing earning capacity. The visa is meant to prove you can sustain yourself abroad indefinitely, and one lump sum demonstrates nothing about what the next six months will look like.
Project-based contractors are the most exposed here. If your income arrives as one substantial payment every six to eight weeks, the monthly pattern that reviewers expect simply won’t be visible. Annotating the statements – attaching explanatory notes that explain the gaps – and supplementing with signed client contracts can provide context, but it doesn’t make the scrutiny go away.
An irregular deposit pattern won’t automatically kill the application. What it reliably does is trigger a request for additional documentation, and that request pauses the application clock from the moment it’s issued. Depending on how long the resubmission takes, that pause can stretch the total timeline by weeks or months – well beyond any official processing estimate.
Health Insurance Must Match the Host Country’s Specific Terms
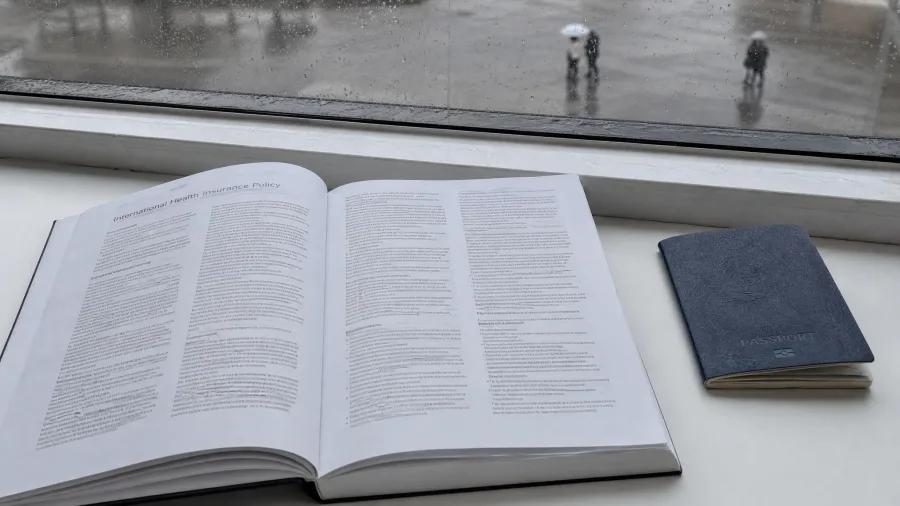
The insurance question is not whether you have coverage – it is whether your coverage hits four specific categories by name: emergency treatment, inpatient hospitalization, emergency medical evacuation, and repatriation of remains.
Your US employer’s health plan almost certainly fails that test on multiple counts. It is tied to your employment status, so the moment you leave to go nomad, it lapses. Even while active, it was never designed to cover the cost of flying you to a hospital in another country or returning your body home – those line items simply do not exist in a domestic group plan. Add the fact that no foreign consulate recognizes a US domestic insurer as an admitted or regulated provider in their jurisdiction, and the plan you have been paying into for years is effectively invisible to a visa reviewer.
A purpose-built international health insurance plan that clears those categories typically runs $800-$2,400 per year for a solo applicant, with age and the tier of coverage doing most of the work on price. That cost sits on top of any application fees – it is not included in the visa cost and it repeats annually.
The subtler trap is that each program sets its own dollar floor for each coverage category, and those floors are updated on their own schedule. An insurer’s certificate may say ’emergency evacuation covered’ without meeting a program’s minimum payout threshold for that category. Reading the insurer’s policy wording against the current official program minimums – not the figure cited on a travel forum – is the only reliable way to know a specific plan will pass review.
Some Programs Require a Local Deposit on Top of Income Proof
Some programs go beyond ongoing income and insurance obligations and require an upfront capital deposit before the visa activates at all.
The mechanism works like this: the applicant deposits a fixed sum into a designated local bank account or posts a government bond, and the visa does not take effect until that deposit is confirmed. The official rationale is a contingency fund – repatriation costs if something goes wrong, or coverage for any unpaid local obligations the holder leaves behind. Whether that framing reassures you or not, the practical reality is that the money is locked for the duration of the visa period and may not be returned in full when you leave.
This requirement tends to appear in programs with lower headline income thresholds – not in the ones aimed at higher earners or structured as formal residency pathways. If the monthly income bar looked attractively low, a mandatory deposit is worth checking for specifically; the lower threshold and the deposit often travel together.
The deposit amount, the bank it must be held at, and the release conditions are updated by immigration authorities independently of every other requirement – and they are rarely on the same page as the income threshold. Treat this as a separate research task: go to the official immigration or consulate source for the specific country, search explicitly for deposit or bond conditions, and verify the current figures before building any part of your budget around the program.
The Real Cost Stack — Before You Travel
📋 Application Fee
$200–$1,500 USD
🏥 International Health Insurance
$800–$2,400/year
🔏 Apostille Per Document
$20–$150 (state-dependent)
🌐 Certified Translation Per Page
$50–$150
🏠 Proof-of-Accommodation Deposit
$500–$1,500 typical
Bottom line
Before your first month abroad, a solo applicant can spend $2,000–$6,000+ in fixed upfront costs — separate from living expenses entirely.
Apostilles Take Weeks and Cost More Than Expected

Document sourcing has its own cost axis, and authentication is where applicants most reliably underestimate both the timeline and the bill.
An apostille is a government-issued certificate attached to an official document – a birth certificate, a background check, an academic degree – that tells foreign authorities the document is genuine and properly issued. It is not a notarization, and a notary cannot produce one; the only source is the Secretary of State office for the state that originally issued the document.
Standard processing through a Secretary of State office runs 2-6 weeks. Expedited private apostille services can compress that to 3-10 business days, but the cost difference is real and adds up fast when several documents need the treatment at once.
The per-document fee for the apostille itself ranges from $20-$150 depending on which state is issuing it. One document at the low end is manageable. Three or four documents – background check, birth certificate, degree, marriage certificate – at the higher end of that range crosses $400 before you have paid for translations, application fees, or insurance.
The timeline problem compounds if a gap appears late. Finding an unapostilled document after the rest of the application is complete does not let you fix it in parallel – the document has to go through the full authentication process from scratch while everything else sits and waits. Discovering that problem at the two-week mark before a planned departure is exactly as bad as it sounds.
Federal Background Checks Take Far Longer Than a Local One
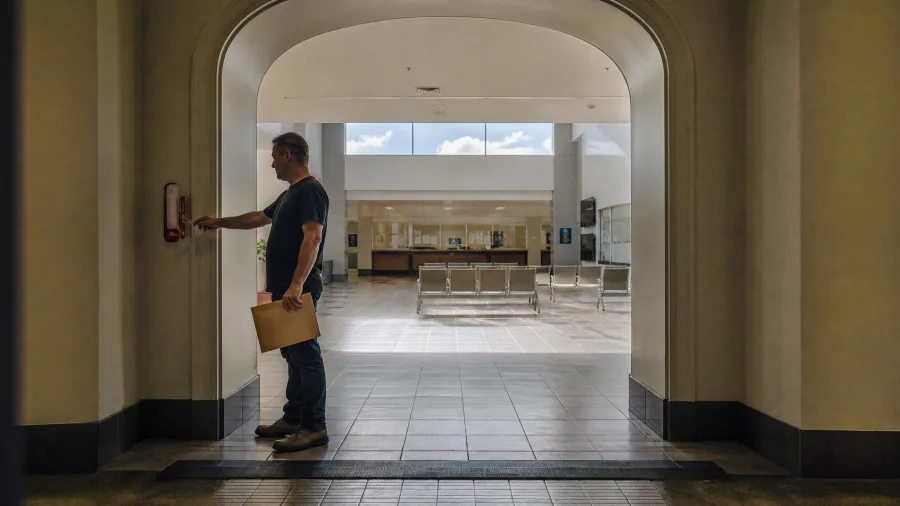
Among all the documents that require apostilling, one has a timeline so long it should be treated as a separate project started before anything else in the application touches paper.
Digital nomad visa programs almost universally reject a state or county police clearance letter. What they require is an FBI Identity History Summary – a federal criminal record check that searches the national database, not just a local one. You request it through an FBI-approved channeler, submit fingerprints, and then wait.
That wait is roughly 8-12 weeks.
Once the Identity History Summary arrives, it needs its own apostille before the consulate will accept it – standard processing adds another 2-6 weeks on top. Running both steps sequentially under normal turnaround puts the realistic total timeline at 3-5 months from the day you submit fingerprints to the day you hold a document you can actually use.
Nothing in the application has a longer or less controllable timeline than this. Processing does not accelerate because your travel plans are firm, because you have already gathered every other document, or because you have paid an application fee. The practical consequence is direct: submit the FBI request first – before buying insurance, before pulling bank statements, before paying any program fee. Every other part of the application can be built around the wait. This one cannot be hurried after the fact.
💡 PRO TIP
Start the FBI Check Before You Decide on a Destination
You do not need to have chosen a country before submitting your FBI Identity History Summary request. The document is valid for multiple applications and the clock starts the moment you submit fingerprints. Waiting until you have picked a program costs you the months you spent deciding.
Proving Accommodation Before Arrival Creates a Catch-22

Documents resolve cleanly when they can be requested, processed, and received by mail – but accommodation proof puts the applicant in a different bind entirely, one where the requirement and the ability to satisfy it are trapped in a circular dependency.
Programs split into two camps here, and the gap between them matters enormously. One camp accepts a hotel confirmation or a dated reservation from a furnished apartment platform – something you can produce in ten minutes from a laptop in the US. The other camp requires a signed local lease, which is where the logic collapses: a reputable landlord in Lisbon or Medellín will not sign a twelve-month contract with someone who has no local rental history, no credit footprint in that country, and no approved visa to show them.
The practical exit from that loop is a coliving space or a serviced apartment operator that issues a formal booking confirmation the moment a deposit clears. That document names an address, carries a date range, and satisfies the ‘proof of address’ field without binding you to a year-long commitment you cannot legally take on yet. Budget $500-$1,500 for a two- to four-week deposit depending on the city and the accommodation tier – this is an application cost, not a moving cost, and it belongs in your financial planning from the start.
The mistake is booking anything before confirming which proof type the specific program accepts. A hotel reservation that works for one country’s consulate does nothing for a neighbor program that requires a lease. Check the official program documentation on this point first.
📅 Realistic Document Timeline From Decision to Submission
Week 1 — Submit FBI Fingerprints
Start the FBI Identity History Summary request immediately through an approved channeler — this step drives your entire schedule.
Weeks 2–4 — Gather Financial Records
Pull 3–6 consecutive months of bank statements, locate tax returns for 1–3 years, and compile client contracts or employer letters.
Weeks 4–8 — Source and Apostille Supporting Documents
Submit birth certificate and any other required originals to the Secretary of State office for apostille under standard 2–6 week processing.
Weeks 10–14 — FBI Document Arrives and Needs Apostille
Once the Identity History Summary arrives (8–12 weeks), immediately submit it for its own apostille before the full package is assembled.
Weeks 14–18 — Purchase Insurance and Book Accommodation
Confirm current coverage minimums, purchase a qualifying international health policy, and secure proof-of-accommodation documentation.
Week 18+ — Submit Application
Submit the complete package and add a 2–3 month buffer beyond the official processing window before planning any irreversible life changes.
Processing Times Routinely Exceed the Advertised Window

Getting every document right does not mean the clock runs on schedule. The figure posted on an official program page is an administrative target – it represents the fastest reasonable outcome under normal conditions, not the median. In practice, applicants during high-volume seasons or in the months after a program updates its rules regularly wait two to three times that figure.
The most common trigger for a longer wait is not a suspicious application. It is a single document detail that does not precisely match: an insurance certificate that lists coverage in slightly different language than the program specifies, or an apostille missing from one supporting document. Either one pauses the entire review – not just that component – and the clock restarts from the moment the resubmission is received.
That pause has real consequences if irreversible decisions were made against the advertised window. Applicants who gave notice at work, let a lease lapse, or bought a one-way ticket expecting approval by a particular date have absorbed those costs when processing ran long. These are not edge cases.
Build your personal timeline around the longest published window, then add two to three months on top of that before treating approval as something you can act on. Booking a flight, ending a lease, or resigning a job before a visa is physically in hand is the one risk in this entire process that is entirely within your control to avoid.
Renewals Carry Requirements the First Application Did Not Mention

Approval opens a new compliance layer, not a quieter version of the same one. Renewal applications for most digital nomad visa programs introduce requirements the first application never asked for: a local tax registration number or proof of enrollment with the host country’s tax authority, entry and exit stamps showing you were actually present, bank statements covering the full visa period, and an updated insurance certificate that meets the current coverage minimums – which may have changed since you first applied.
The stakes at renewal are higher than at the original application. If renewal is denied and you have already ended a lease elsewhere, shipped belongings, or enrolled children in a local school, you face a legal status gap that may require physically exiting the country and starting the application from outside. Resolving that situation costs time and money the original marketing page gave no indication you should plan for.
Renewal goes smoothly for applicants who treated the visa period as a local administrative event, not a remote arrangement. Registering with the tax authority shortly after arrival, keeping a log of every border crossing, and filing all bank statements and insurance documents somewhere retrievable – these habits take an hour at the start and save weeks at renewal.
Renewal conditions are updated independently of initial application rules and are not always posted on the same page. Check the host country’s official immigration authority website directly before the renewal window opens – not the same program summary page you used to apply.
What Changes at Each Stage of the Application Journey
Frequently Asked Questions
Can I use my US health insurance for a digital nomad visa application?
Almost certainly not. US employer-sponsored plans typically terminate when employment ends, exclude emergency medical evacuation and repatriation of remains, and carry no recognized status outside the United States. You will need a qualifying international health insurance policy that explicitly covers all categories the program requires — at roughly $800–$2,400 per year for a solo applicant. Purchase it only after confirming current coverage minimums at the official program source, because those floors are updated independently of other requirements.
How far in advance should I start gathering documents for a digital nomad visa?
Start the FBI Identity History Summary request the week you decide to apply — before choosing a destination, before paying any fee. It takes 8–12 weeks to process and then needs its own apostille (2–6 more weeks), giving a realistic total of three to five months for that document alone. Everything else should run in parallel. Treat the FBI check as the anchor of your timeline, not an afterthought.
Do digital nomad visa income thresholds include dependents?
The threshold shown on the program page is a per-applicant floor for one person. Programs that accept dependents require an additional increment — either a percentage of the base or a flat amount per dependent — and the total required income for a family can be substantially higher than the headline figure. Check the official consulate page for dependent increment rules; they are rarely prominent in marketing materials.
What happens if my income is irregular or comes from multiple clients?
Irregular income does not automatically disqualify you, but it reliably triggers a request for additional documentation. Bank statement reviewers look for recurring inflows that match your stated income source; lump-sum deposits that appear shortly before applying raise immediate questions about whether income is genuine and ongoing. Supplement your statements with signed client contracts, annotate unusual deposit patterns with explanatory notes, and ensure your tax returns support the full picture over one to three years.
Is it worth applying for a digital nomad visa if I just went freelance six months ago?
Honestly, probably not yet — at least not for programs that require one to two years of documented trading history. Your current income may comfortably clear the threshold, but many programs use trading history to establish income stability, and six months does not satisfy that standard. Spend the next six to twelve months building a clean paper trail: consistent invoices, signed contracts, quarterly tax payments, and a business registration if you don’t already have one. Apply once that record exists.
How do I prove accommodation if I haven’t moved yet?
It depends on what the specific program accepts. Some programs accept a hotel booking confirmation or a serviced-apartment reservation printout. Others require a signed local lease, which creates a real problem since most landlords will not sign one before you have arrived. The practical solution for lease-requiring programs is a serviced apartment or coliving space that issues a formal booking confirmation upon deposit — typically $500–$1,500 for a two- to four-week stay. Identify which proof type your program accepts before booking anything.
Two Profiles, One First Step, and the Document That Decides Your Schedule
Your profile determines where the friction lives, not whether friction exists. A salaried employee with three to six months of clean, consistent pay deposits, a current employer letter, and organized tax records carries the lightest documentary load and should prioritize programs that do not require a registered business entity – the application package is compact by default. A freelancer with two or more years of documented, consistent trading history should target programs that explicitly define what self-employment evidence they accept, rather than programs that leave that question vague. Anyone still inside their first year or two of freelance income should treat the next six to twelve months as a document-building period, not an application window. A rejection costs you the fee, the processing time, and the momentum; a well-timed application costs you only the paperwork.
For both profiles, one action belongs this week: submit the FBI Identity History Summary request through an approved channeler. You do not need a destination confirmed. You do not need your income threshold finalized. At eight to twelve weeks of federal processing plus two to six weeks for the apostille, this is the one item in the entire chain that no amount of organization can compress. Every other step – bank statement period, insurance selection, translation, consulate appointment – can be built around the wait while it runs.
The programs marketed as the most accessible are precisely the ones whose secondary requirements most reliably catch applicants who read only the headline. Working through every layer described here does not make the process harder – it makes your expectations accurate. Accurate expectations are what approvals are built on. Start the background check, then move to the income documentation, and by the time that federal document arrives you will know exactly which program it belongs in.
Check Your Document Readiness Before You Check the Income Threshold
Run through the document timeline section of this article and note which items you have in hand today versus which need to be requested. The gap between those two lists is your actual application start date.