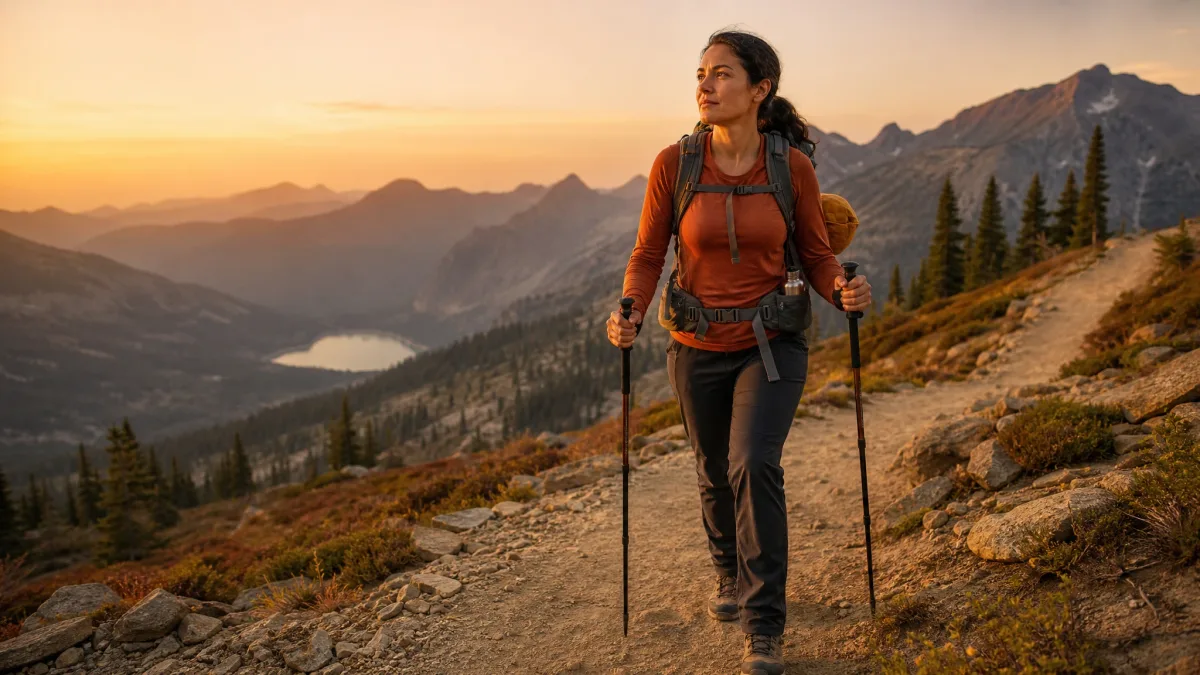
Hiking Safely at 70: Seven Tips and Hiking Gear for Older Hikers

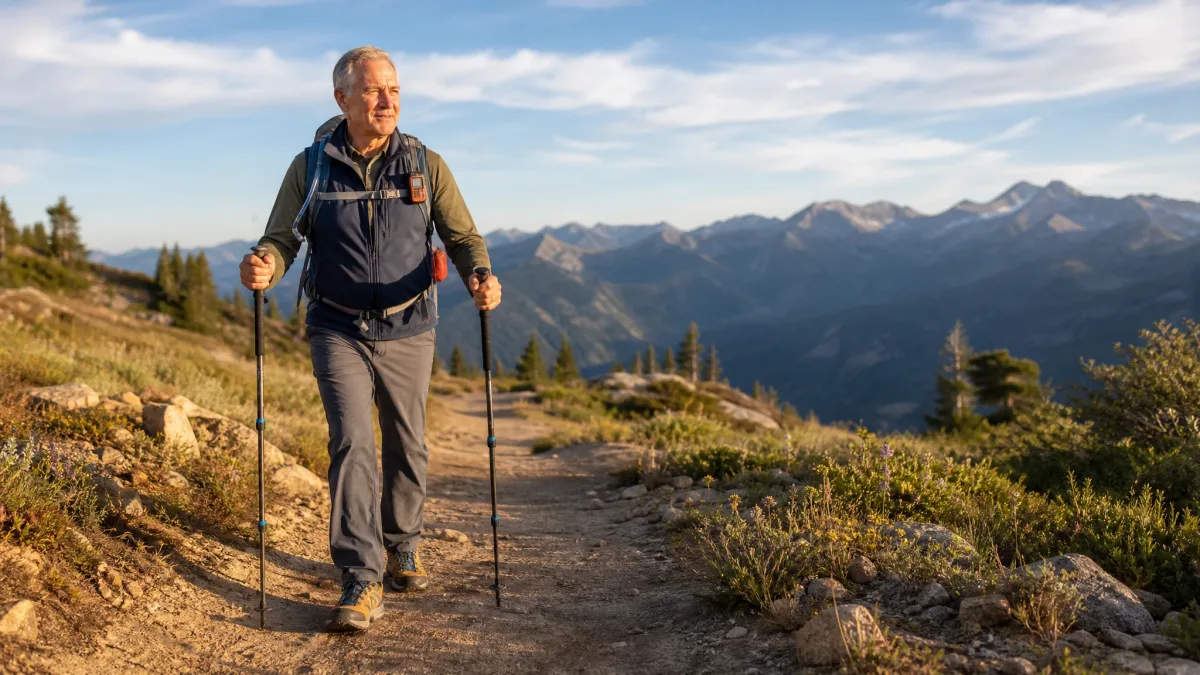
The hiking never stopped. Boy Scouts, twenties, thirties, forties — the trail was just part of life. Then somewhere between the last big backpacking trip and this morning’s coffee, you quietly became a 70-year-old hiker.
The mountain did not change. Your body did, and nobody handed you a revised instruction sheet.
What follows are eight concrete adjustments — footwear, skin, balance, weather, safety, fitness — that close the gap between the hiker you remember being and the conditions your body actually operates in now. Specific gear, real reasoning, no lectures.
Quick Tips Before You Start
Leave a Trip Plan
Print your route, mark your trail, and hand it to someone at home with your expected return time.
Skip Full Boots
Hiking shoes like the Salomon X Ultra 4 give you sole protection without the weight penalty of traditional boots.
Pack Shell and Vest
A rain shell and a lightweight down vest together weigh about 2 lb — take them every time, not just when rain looks likely.
Drink on a Timer
Sip a small amount every 20 to 30 minutes regardless of thirst — older adults lose reliable thirst sensation well before they are dehydrated.
Activate Your GPS
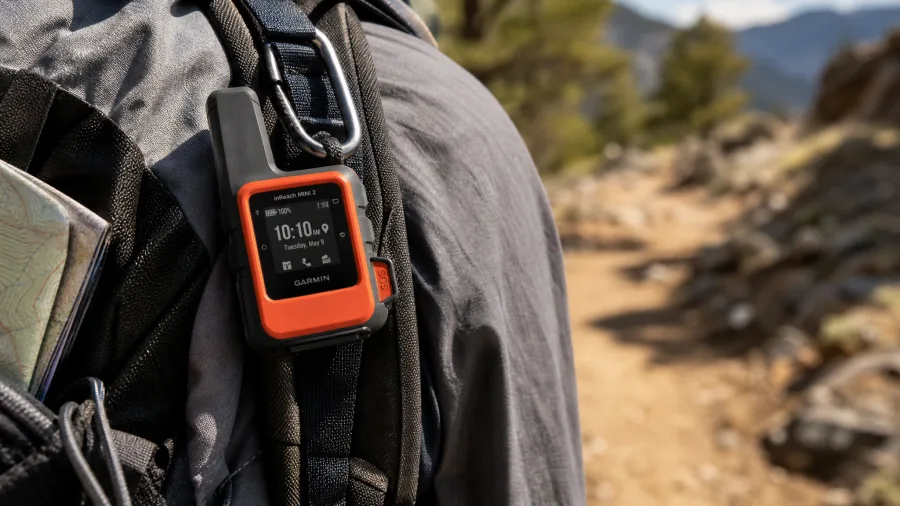
The Garmin inReach Mini 2 needs an active subscription before SOS or satellite tracking work — set it up at home, not at the trailhead.
Do Not Skip Leg Day
Resistance training, especially for your legs and grip, is what determines how much your trekking poles can actually help.
1. Choose Hiking Shoes Over Boots or Trail Runners
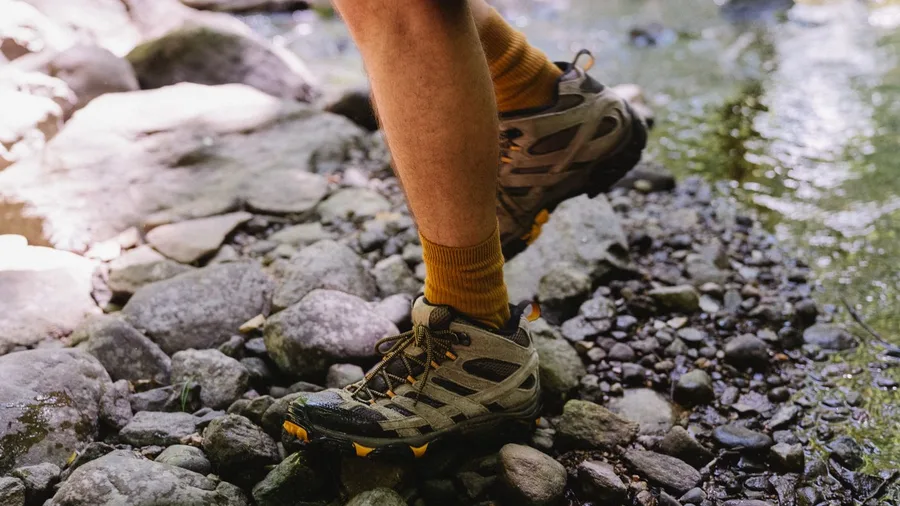
Forget the heavy leather boots you wore in your 40s, and forget the minimalist trail runners your running friends swear by – neither one is the right answer for rocky terrain at 70. Trail runners feel great on a smooth path, but put them on a talus field or a root-covered crest trail and your feet are taking a beating with almost no protection underfoot. Full boots overcorrect in the other direction, punishing your ankles with weight and rigidity you just do not need for a day hike.
The Salomon X Ultra 4 sits right in the middle. The sole is stiff enough to handle sharp, uneven rock the way a boot would, but the overall weight is close to a trail runner. At around $140 at REI or similar outdoor retailers, it is a practical choice rather than a luxury one.
The real key is matching the shoe to your actual terrain. Groomed gravel paths near the trailhead? A lighter shoe is probably fine. Crossing talus, hopping roots, or scrambling on exposed ridgeline? You want that firmer platform. Think of it less as downgrading from boots and more as making a smarter call for the ground you are actually walking on.
2. Older Skin Needs More Than Sunscreen

Skin thins as you age, and that changes the hiking calculation in a way that does not get talked about nearly enough – usually because people do not think about it until they have already scraped themselves on a branch.
A sun hoodie covers your arms completely, doing two jobs at once: it blocks UV and acts as a physical barrier against brush, rocks, and the kind of low-hanging thorns that leave scratches on a young arm and lacerations on an older one. You can pull the hood over a baseball cap in a pinch, but a broad-brim hat is the better everyday choice. More air circulates underneath it, and on an open ridgeline it blocks sun coming in from the side – something a cap brim does almost nothing about.
Your legs need the same thinking. A pair of lightweight hiking pants fills that role without making you noticeably hotter. Cool is one brand worth looking at; Columbia and Outdoor Research offer comparable options in the $50 to $80 range, and most feel only marginally warmer than shorts once you are moving.
a fall on a rocky slope that leaves a bruise at 35 can leave a deep, slow-healing laceration at 70. Covering up is not overcaution. It is just the updated math for the skin you are hiking in now.
💡 Tip: On hot days, wet your sun hoodie sleeves at a stream crossing. Evaporative cooling works better than you expect, even in dry mountain air.
⚠️ COMMON MISTAKE
Do Not Adjust Poles Mid-Trail
Set your trekking pole length before you leave the trailhead: elbow at 90 degrees, grip in hand, tip on the ground. Stopping mid-hike to fiddle with the adjustment locks wastes energy and often means you hike half a mile at the wrong height without realising it.
3. Trekking Poles Do More Than Ease the Uphill
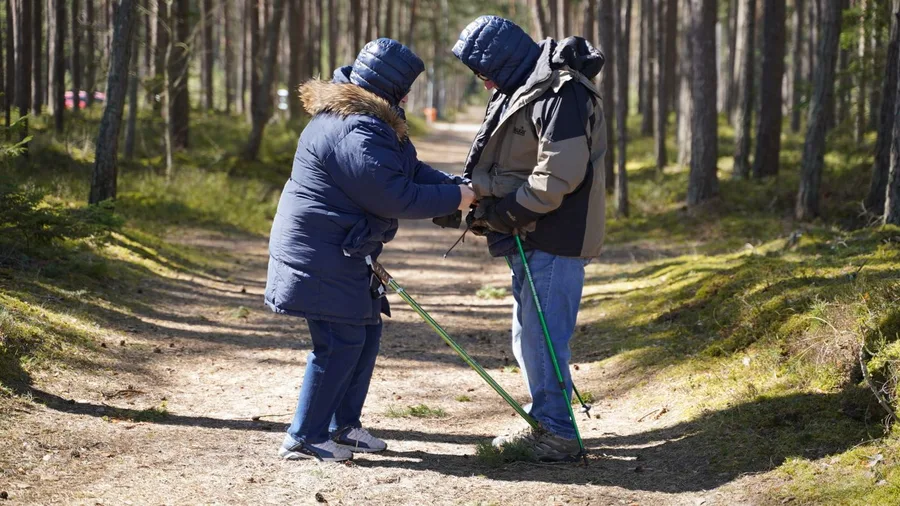
Sorting out your footwear and skin protection gets you to the trailhead in good shape – but once you are on the trail, the next thing your body will quietly thank you for is two extra contact points with the ground.
Balance declines gradually with age, and most people notice it first not on a smooth path but on a log crossing or a slippery stream rock. Trekking poles turn those sketchy moments into manageable ones. On uphills they shift load from your legs to your arms and shoulders, which genuinely flattens the perceived effort over a long climb and leaves your legs with something in reserve for the descent.
Set them to elbow height before you leave the trailhead – grip in hand, tip on the ground, elbow at roughly 90 degrees. Getting the length right before you start matters more than any brand decision.
There is one catch worth naming: poles are only as useful as the arms holding them. Grip strength and shoulder stability from regular resistance training are what let the poles do real stabilising work. Weak shoulders make poles a prop you lean on awkwardly; strong ones make them a tool that genuinely extends your range. That connection to fitness comes up again later, and it is worth keeping in mind now.
4. Mountain Weather Turns Fast: Pack Shell and Vest

Poles handle the terrain under your feet – but what happens when the sky turns dark at 2 p.m. and the temperature drops 20 degrees in 40 minutes? That is a normal summer afternoon in the mountains, not a worst-case scenario.
The Patagonia Torrentshell 3L, at around $149, is what stands between you and a genuinely dangerous situation when that storm rolls in. It keeps you dry when the rain hits and cuts windchill when the cold follows right behind it. A lightweight down vest worn underneath adds core warmth without any real bulk.
Together, shell and vest weigh roughly 2 lb – about what a full water bottle weighs. That is the weight argument against carrying them, and it does not hold up.
Hypothermia risk rises faster as you age, and wet plus wind on an exposed ridge can get you there quicker than you expect. These are not items you pack on days when rain is in the forecast. They are items you pack every time, tucked in the bottom of your daypack, and most days you will not touch them. On the day you do need them, you will be very glad they are there.
The Gear That Matters Most — By the Numbers
5. File a Trip Plan and Carry a GPS Communicator
Carrying those two pounds of weather protection matters most when something goes wrong out there – and that is exactly when you also need someone to know where you are.
Before any solo hike, print a trail map, draw your planned route on it, and hand it to someone at home along with your expected return time. That piece of paper costs nothing. If you do not come back when planned, it gives search-and-rescue a defined starting point rather than a vague description of the general area you said you were heading to.
The Garmin inReach Mini 2 handles the other half of the job. It has an SOS button that works with zero cell coverage, and it connects to a satellite-based portal where your contacts can watch your position move in real time. At around $349 the device is not cheap, but on a solo hike in remote terrain it is worth every dollar.
One thing to know before you buy: the inReach Mini 2 requires an active subscription plan before either the SOS function or the live tracking work. The device alone sitting in your pack does nothing. Check garmin.com for current plan options – a month-to-month plan suits occasional hikers, while an annual plan makes more sense if you are out several times a month.
The paper trip plan and the GPS communicator cover each other’s failure modes neatly. The paper works when the battery is dead; the GPS works when the paper blows off a summit rock. Use both every time.
💡 Tip: Set up the inReach location-sharing link for your contacts before your first hike, not at the trailhead. Then do a test walk near home to confirm the satellite fix is solid and your contacts can actually see you moving.
Trip Plan: What Works vs. What Does Not
Do This
- Name the specific trailhead, not just the park or forest
- Give your contact a hard deadline — 'call SAR if I'm not back by 4 p.m.'
- Test the inReach tracking link on your contact's phone before you leave home
- Choose month-to-month subscription if you hike fewer than four times a month
- Carry the device in an outer pocket, not buried in your pack
Skip These
- A vague landmark like 'somewhere near the ridge' as your turnaround point
- Leaving your deadline as 'sometime Sunday afternoon'
- Buying the inReach Mini 2 ($349) and skipping the subscription — SOS is dead without it
- First-time device setup or app pairing on the trail
- Counting on a downloaded offline map as your only backup — batteries die
6. A Waterproof Ditty Bag Covers the Likely Emergencies
Picture it: 4 p.m., you are 45 minutes from the trailhead, and your headlamp is sitting in the car because the bag it lives in felt like too much to bother with today.
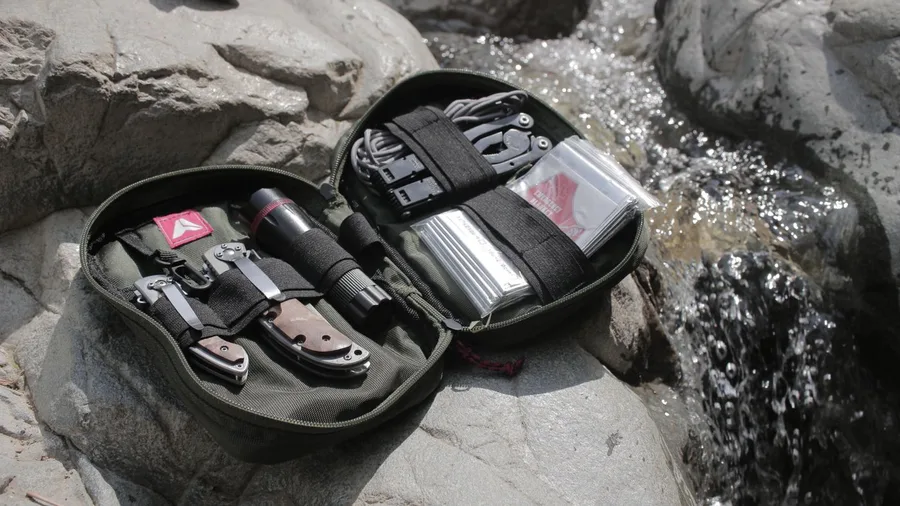
A waterproof ditty bag at around $12 solves that entirely. It keeps everything in one grab-and-go kit you just drop in your pack every time, no thinking required. The contents that earn their place: a compact first aid kit, a thermometer, a compass, a mosquito head net, mosquito repellent, sun guard, a headlamp, and a water filtration system.
The headlamp covers unplanned late returns, and they happen more often than you expect when you are moving a little slower than you used to. The filtration system is your backup on longer days when you misjudged how much water you needed.
The one firm rule here: if the kit lives in the car, it is completely useless on the trail.
Waterproof Ditty Bag — What Each Item Actually Does
🩹 First Aid Kit
Choose trail-sized, not a full home kit — weight and bulk are the reason people leave it behind
🌡️ Thermometer + Compass
Thermometer catches early hypothermia warning; compass works when your phone battery dies
🦟 Mosquito Defense
Head net weighs almost nothing; pack both — repellent alone fails in heavy bug country
🔦 Headlamp
Check batteries before every trip — a dead headlamp on a dark trail is worse than no headlamp
💧 Water Filtration System
Insurance on day hikes over 4–5 miles where resupply is uncertain or your pace slows unexpectedly
☀️ Sun Guard
Elevation raises UV exposure fast — reapply every 2 hours, not just at the trailhead
Skip This Mistake
Do not split items across multiple small bags — one $12 waterproof ditty bag means the whole kit transfers in seconds, nothing gets left behind.
7. Solo at 70, Stick to Maintained Trails

This is the advice experienced hikers push back on the most, so it is worth being straight about why it matters. In your 30s, going cross-country – scrambling ridges, cutting across talus, rambling wherever the terrain looked interesting – carried a risk margin you could live with. A twisted ankle two miles off-trail was painful but probably survivable on your own. That margin has genuinely shrunk.
Maintained trails give search-and-rescue a defined corridor to work from the moment someone files your trip plan and you do not show up. Off-trail, that advantage disappears completely, and the window for a good outcome narrows fast.
This is specifically a solo calculation, not a permanent verdict on your abilities. Hiking with a partner changes things – one person can go for help while the other stays put. Sticking to maintained trails when you are alone is not giving up the mountains. It is just the version of the adventure that has a reliable exit.
💡 PRO TIP
Resistance Training Is Not Optional
Your legs carry you up the hill. Your grip and shoulders determine how much your trekking poles actually stabilise you. Leg-press work, step-ups, and grip exercises three times a week will make a noticeable difference on the trail — not just for comfort, but for handling the moments when something goes wrong.
8. Get as Fit as Your Doctor Approves First

Staying on maintained trails keeps the risk manageable, but all of that planning only goes so far if the body is not ready for the day.
Cycling, swimming, brisk jogging, and daily walking all build the aerobic base that makes a long climb feel like work rather than a crisis. Add resistance training on top of that – specifically for your legs and your grip – and the trekking poles shift from a crutch to a genuine asset. Do not skip leg day. That is not a throwaway line: strong legs are what get you back down safely when the knees are heavy at mile six.
Before you ramp up any new training routine or take on a demanding trail, get your doctor’s sign-off on the exertion level you are planning. That conversation is quick, and it keeps the whole thing on solid ground.
💡 Tip: Get your doctor's sign-off on both your training plan and your target trail before you start. A demanding trail after six weeks of preparation is realistic; attempting it cold is not.
Getting Trail-Ready: A Six-Week Build
Thirst Is Unreliable at 70: Drink on a Schedule
Thirst perception weakens with age in a way that is genuinely worth understanding, not just knowing about.
At 30 or 40, feeling thirsty was a reliable early-warning system. At 70, you can be significantly dehydrated before thirst kicks in at all. The early signs – fatigue, mild confusion, slight dizziness – are easy to chalk up to normal exertion, and that is exactly the problem. They mimic what a hard uphill feels like, so you keep hiking instead of drinking.
The fix is to stop waiting for the signal. Drink a small amount every 20 to 30 minutes regardless of how you feel. Set a phone timer if you need the reminder – it is an embarrassingly simple habit that prevents a genuinely serious outcome.
This is also where the water filtration system in your ditty bag earns its place as a real backup rather than a theoretical one. Carry more water than you think you will need, and treat the filtration system as the plan that kicks in when you misjudged the day – not as something you will figure out if you ever get desperate enough to actually use it.
Set Up Your Garmin inReach Before Leaving Home
The Garmin inReach Mini 2 costs around $349, and if it sits in a junk drawer because setup felt like too much work, that money bought you nothing.
Before the SOS function or satellite tracking do anything at all, the device needs an active plan through the Garmin Explore platform. Garmin offers both month-to-month and annual options, and the pricing changes, so check garmin.com directly rather than trusting any figure you read here. Month-to-month works fine if you get out occasionally; the annual plan is better value if you are hiking several times a month.
Once your plan is active, set up the location-sharing link for whoever is holding your trip plan at home. It takes about ten minutes in the app, and when it is done, those people can watch a dot moving across a map in real time – which is exactly the point of carrying the thing.
Do all of this at home, not at the trailhead with cold fingers and no WiFi. Then take a short test walk around the neighborhood: confirm the device has a solid satellite fix, check that your contact’s screen updates as you move, and sort out any questions while you still have easy access to help.
If the technology still feels like a wall, ask a family member or an outdoor-retailer staff member to sit down with you and walk through it in person. A device that never gets turned on is no help at all when you actually need it.
Frequently Asked Questions
What are the most important hiking tips for seniors over 70 just getting back on the trail?
Sort out footwear first — the Salomon X Ultra 4 or similar hiking shoes give you the protection your feet need on uneven terrain without the weight of full boots. Then file a trip plan before every hike and get your Garmin inReach Mini 2 set up and subscribed. Those two habits cover the most serious failure modes before you worry about anything else.
Do I really need trekking poles if I have been hiking without them for decades?
Balance declines gradually, and most people underestimate how much until they are on a log crossing or a slippery rock step. Trekking poles add two extra contact points exactly when the terrain is most unpredictable. Set them to elbow height before you start, and pair their use with regular resistance training — weak grip and shoulders limit how much stabilising the poles can actually do.
Is it safe to hike alone at 70?
Solo hiking at 70 is manageable on maintained trails with the right safety setup: a paper trip plan left with someone at home, a Garmin inReach Mini 2 with an active subscription for live tracking and SOS, and a waterproof ditty bag with a first aid kit and headlamp. Off-trail solo travel removes the search-and-rescue corridor that a maintained trail provides — save cross-country travel for hikes with a partner.
How much water should I carry on a day hike at this age?
Carry more than you think you need, because thirst is no longer a reliable guide at 70. Plan on drinking a small amount every 20 to 30 minutes on a timer rather than waiting until you feel thirsty. A water filtration system in your ditty bag is a genuine backup for longer days — treat it as part of your water plan, not an emergency-only item.
What fitness should I have before attempting a serious trail at 70?
Aim for a base of daily walking, plus cycling or swimming for aerobic fitness, before tackling any demanding trail. Add resistance training — especially leg work and grip strength — three times a week. Get your doctor’s sign-off on both the training plan and the specific trail you have in mind. Six weeks of consistent preparation makes a real difference to how the hills feel on the day.
What is the minimum emergency kit for a day hike at 70?
A waterproof ditty bag around $12 with these contents: compact first aid kit, thermometer, compass, mosquito head net, mosquito repellent, sun guard, headlamp, and a water filtration system. The headlamp is frequently overlooked but earns its place on any hike where you might return later than planned. The whole kit needs to live in your pack — not in the car.
Two Things to Do This Week, Six to Build From There
If you do nothing else before your next hike, sort out two things: get the right footwear and file a trip plan. The Salomon X Ultra 4 or a comparable hiking shoe fixes the underfoot protection problem immediately. The paper trip plan with your route and return time, handed to someone at home, costs nothing and changes the outcome of a bad day on the trail completely.
From there, build the rest in order. Week one: assemble the ditty bag and get your inReach subscription active. Weeks two and three: start resistance training alongside your cardio. Week five: do the inReach test walk and confirm your contacts can see you moving. Week six: hit the trail with the full kit.
The mountain has not changed. You have the experience, the judgment, and — with these adjustments — the gear to match it.
Ready to Check Your Kit?
Run through the Quick Tips section at the top of this article and tick off what you already have. Footwear and trip plan first — the rest follows.