It Took Me Years To Learn These Backpacking Secrets!

Backpacking has no single universal rulebook — but there are a handful of avoidable mistakes that will quietly ruin every trip you take until you catch them.
I spent years making most of them. Sore shoulders by mile three. Lying awake on a sleeping pad that felt like a yoga mat on concrete. Arriving at camp soaked and cold enough that I put the camera down and focused entirely on getting into a sleeping bag. None of that had to happen.
These six fixes changed how I experience the trail. Some of them are gear adjustments you can make this week. Some are mindset shifts that sound almost too simple. All of them are things I wish someone had told me on my very first trip.
Start at the top or skip to wherever your pain point is — either way, at least one of these is going to change something for you.
Quick Tips Before You Start
Measure Before You Buy
Pack size is torso length — know your measurement before you order anything.
One Dry Pair of Socks Per Day
Pack them in a dry bag and never touch them until camp.
Sort Gear After Every Hike
Two piles: used and unused. Repeat this enough times and the pack lightens itself.
Go Wider on the Pad
A 25-inch quilted pad fits most tent footprints and will transform your trail sleep.
Refresh Your DWR Each Season
Wet-out test your rain jacket before the trip, not the morning after it fails.
Plan for Hard, Not Easy
Expecting a brutal day is the single cheapest thing you can do to enjoy it more.
1. Pack Size Is About Torso Length
Those S/M/L labels on backpacks have nothing to do with how big you are overall. They describe torso length – and a large person can absolutely have a short torso while a smaller person has a long one. The only way to know which size you actually need is to measure.
You can do it at home with a soft tape measure and a helper. Press your thumbs to the top of your hip bones with your thumbs pointing toward each other – that ridge is your iliac crest, and it is your base point. Then tilt your head forward until you feel the bony bump that pops up at the base of your neck, which is your C7 vertebra. Measure between those two points: under 16 inches is a small frame, 17 to 18 inches is medium, 19 inches or longer is a large.
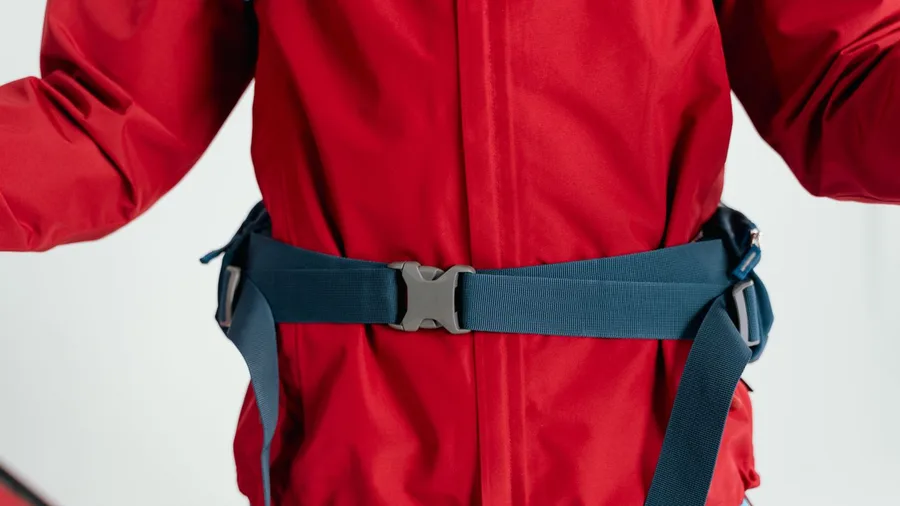
Once you have the right size and you load the pack, check where the shoulder strap attachment sits. It should land about two inches below the tops of your shoulders. Too low and your shoulders absorb punishment they were never meant to take; too high and the pack pulls away from your back, shifting weight to all the wrong places.
Always fit a loaded pack – an empty one will lie to you. Loosen every strap first, then tighten in this exact order: hip belt first, shoulder straps second, load lifters third. If the pack has an adjustable torso, dial it in only after the pack is loaded and on your back, because that is the only way to see where the straps actually land.
Pack Fit — The Numbers That Matter
2. Bad Trail Sleep Is a Gear Problem
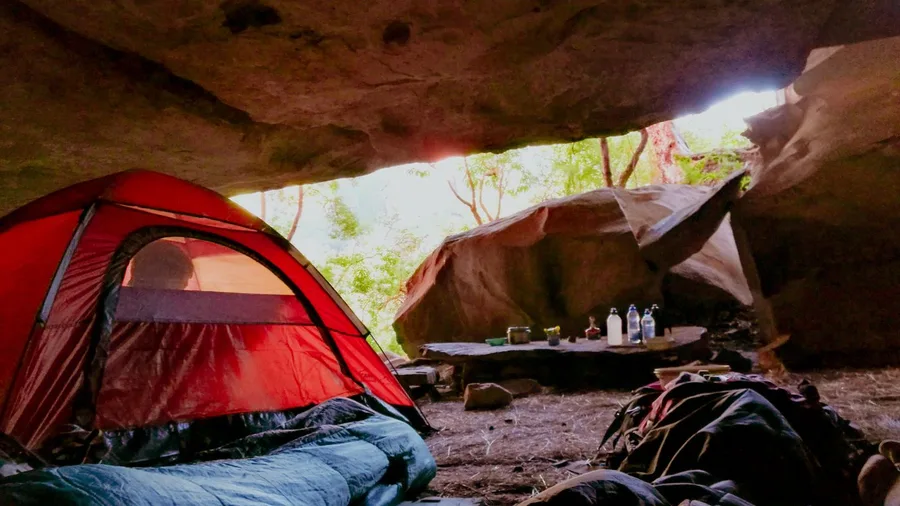
You have hiked hard all day, legs burning, and then you spend half the night staring at the tent ceiling wondering why none of this feels like the photos. I did that for an embarrassingly long stretch before I accepted that it was almost entirely a gear and campsite problem.
The first culprit is usually the sleeping pad. A lot of tents are designed around a 20-inch pad, and honestly, 20 inches is not wide enough. Every time you roll over you are fighting the edge, waking up just enough to break the sleep cycle. Switching to a 25-inch pad with a quilted top fixes most of it – the quilting breaks up the pressure points that a smooth surface creates, and you will notice the difference on the very first night.
I made the move from a sleeping bag to a quilt years ago and never went back. A quilt is less restrictive, handles a wider range of temperatures, and honestly just feels more like sleeping in your own bed. For my pillow setup, I combine an inflatable camping pillow with a down topper draped across it, then pack my down jacket into a stuff sack and wedge it between my knees. It sounds overly fussy the first time you hear it, but waking up genuinely rested on day three of a trip is a completely different experience.
Campsite choice matters just as much as what you are sleeping on. Find the flattest ground available and position your head slightly uphill – even a small slope stops the blood-to-the-head feeling that jolts you awake at 3 a.m. If outside noise is the issue, foam earplugs weigh almost nothing. And if your brain simply refuses to shut off after a hard day, a low dose of melatonin or Benadryl is a legitimate tool, not a sign of weakness.
💡 Tip: Set up your sleeping system at home once before the trip — figure out the quilt cinch cord and the pillow arrangement in your living room, not in the dark at 9,000 feet.
Sleeping Pad: 20-Inch vs. 25-Inch
20-Inch Pad
- Built to match tent floor specs, not your actual body width
- Shoulder and hip bones hit the seam between pad and ground
- Smooth surface concentrates pressure at the same points all night
- Sleep cycle breaks every time a roll puts you half off the edge
25-Inch Pad
- Five extra inches is the difference between hip on foam and hip on dirt
- Quilted baffles distribute weight so no single point takes the load
- Measure your tent's interior width first — many can't fit 25 inches flat
- If it's tight, angle it slightly off-center toward the door side
3. Cut Unused Gear Before Buying Lighter Gear
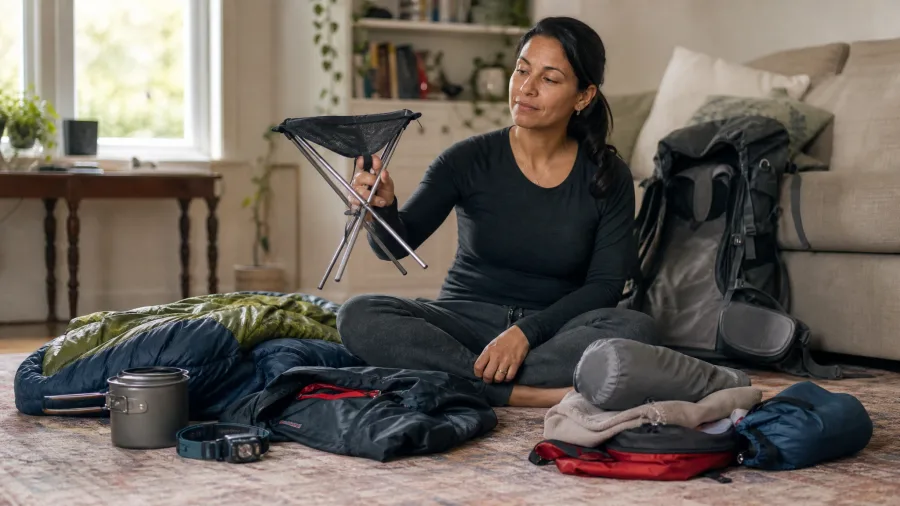
Better sleep puts you back on trail feeling human – but none of that matters as much if the pack that got you there weighs 34 pounds. Extra weight is not just uncomfortable: it accelerates fatigue, grinds down your knees and hips over miles, and costs you more energy per step than the same distance with a lighter load.
The free fix is a sorting habit. After every single hike, I would dump everything out and make two piles: gear I touched and gear I did not. Used gear stayed on the packing list. Unused gear got one honest question: do I actually need this, or do I just like having it along? If the answer was clearly no, it came out of the rotation right then. If I genuinely thought I might need it, it got one more trip – and if it sat in the unused pile again, it was done.
A realistic beginner pack for a three-day trip runs 30 to 35 lbs. Run this audit consistently and you can land somewhere between 22 and 28 lbs without buying a single new piece of gear. That is the whole point – the money comes later, once you actually know what your kit needs. Once the sorting has done its job, there is nothing left to cut, and you stop needing to do it.
⚠️ COMMON MISTAKE
Do Not Buy Lighter Before Cutting First
Spending money on ultralight gear before auditing what you already carry is the most expensive mistake in backpacking. Run the two-pile sort for a full season first. What is left after that is worth upgrading.
4. Expecting Hard Is What Makes It Enjoyable
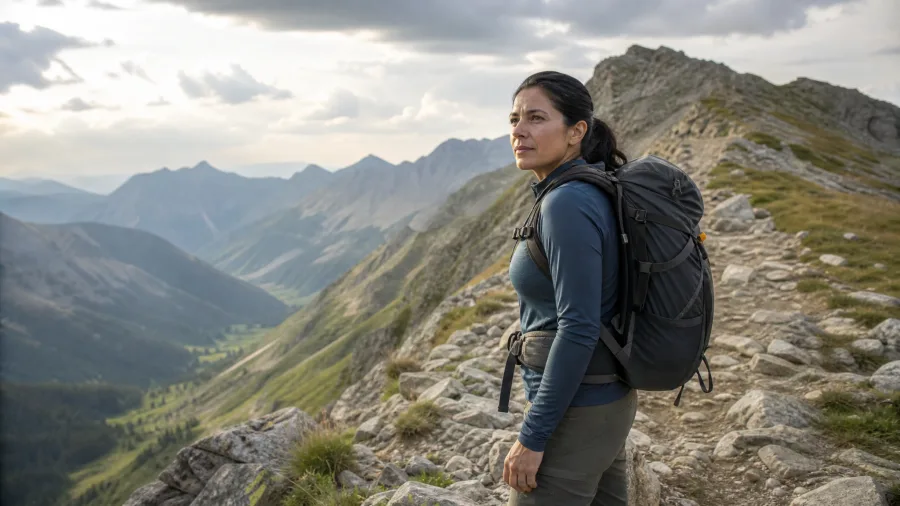
So the pack is lighter and the sleep is sorted – then hour four of a climb hits and you start wondering why you paid money to do this to yourself. That question has an answer, and it is almost entirely about what you expected going in.
Backpacking is roughly 90 percent mental. A normal good day on trail includes thousands of feet of elevation gain, real sunburn risk, mosquitoes, and feet that ache by afternoon. That is not a bad trip – that is what you signed up for. Go in expecting exactly that, believing you can handle it, and you almost certainly will. Go in expecting something easier and discover it is hard, and you will hate every single step. The expectation is the one variable you can actually control before you leave the trailhead.
That said, mindset is not magic. It works best when it is backed by real experience and a well-built kit – the kind that comes from starting on shorter, less technical routes and building up gradually. Expecting hard is what makes a brutal day into a good story. But the skill to actually handle what comes at you takes time to build, and no amount of positive framing replaces that.
5. You Will Get Wet — Prepare for It
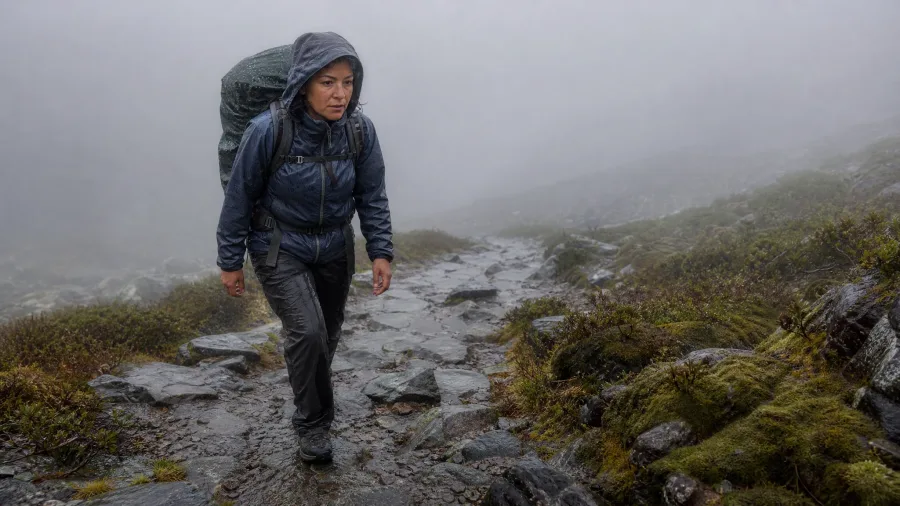
That mental toughness from the last point only holds up when the preparation behind it is real – and on most mountain trips, real preparation means planning to get soaked.
I have one night I will not forget: we hit camp wet and cold enough that I put the camera away. Getting the tent up and getting into sleeping bags was the only priority. That is hypothermia territory – core body temperature below 95 degrees Fahrenheit – and wet clothing accelerates the drop even on a summer day at altitude. It does not announce itself. It just creeps in until someone is shivering and confused.
The goal is not to stay dry. That is rarely possible. The goal is to make getting wet survivable. Pack one dry pair of socks for every day on trail and keep them sealed in a dry bag. Wear quick-drying base layers, not cotton. Carry proper rain gear – a real jacket, not a poncho. Keep your sleep system compressed and wrapped in a waterproof liner inside your pack so that even if everything else gets soaked, you have a dry place to recover.
For any trip where the forecast shows cold and wet together, add a full dry change of clothes sealed in a separate bag. It is extra weight, and on a clear-sky trip you will never open it. But on the night everything else is drenched, it is the only item in the pack that actually matters.
💡 Tip: Do the wet-out test at home: sprinkle water on your rain jacket. If it spreads and soaks in instead of beading up, DWR has failed and you need to reapply before you leave.
Wet-Weather Prep: Before You Leave the Car
6. Multi-Day Mountain Routes Come Later
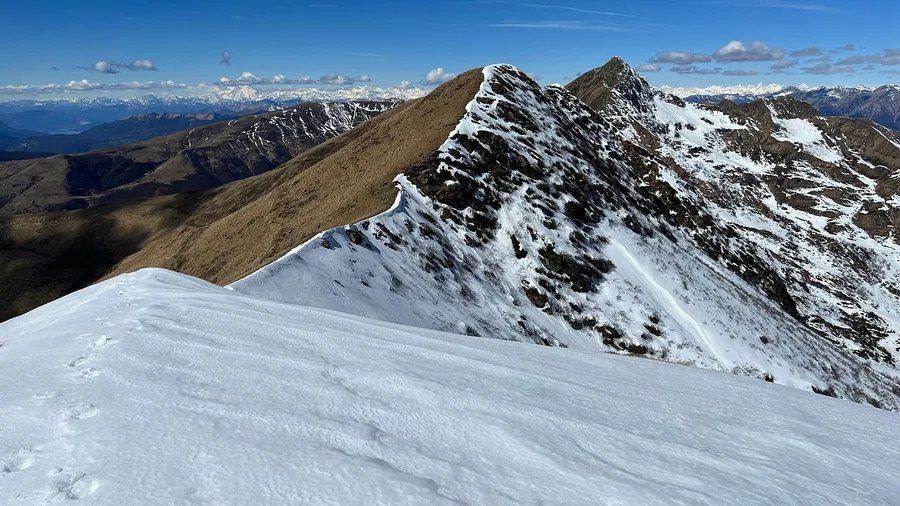
All the right gear and the right mindset only take you so far if the route itself is beyond where your experience actually sits right now. That is the part nobody wants to hear, but it is the most honest thing I can tell you.
Start with one or two overnights in an area you already know reasonably well. Get comfortable sleeping out for a night before you start stacking elevation gain, unpredictable afternoon storms, and back-to-back big-mile days on top of each other. A multi-day mountain route with serious climbing and weather that can turn in an hour should never be a first or second trip – not because it sounds scary, but because the decisions those conditions demand are ones you build through repetition, not intention.
Push one variable at a time. Longer duration first, then harder terrain, then more remote routes. Adding all three at once is how a hard day becomes a dangerous one. Mental preparation has real limits – it rests on a floor of accumulated skill and experience, and that floor genuinely takes time to build. There is no shame in starting small. Everyone who looks comfortable out there started exactly where you are.
🥾 The Progression Ladder: Start Here, Go There
One-Night Familiar Area
Target a round trip under 8 miles total. The goal is rehearsing your system — setup, sleep, pack-out — not covering ground.
Two-Night Same Zone
Resupply nothing; carry everything from the trailhead. This is where you find out if your 30-35 lb load needs auditing before you ever add harder terrain.
New Area, Moderate Miles
Choose a trailhead with a reliable forecast window of at least three days. Low elevation means afternoon storms are slower to turn serious while your weather-reading is still developing.
Add Elevation Gain
Introduce 2,000+ ft days on a route where you can bail to the trailhead in under half a day. Altitude and sustained climbing stress gear and body in ways flat miles never reveal.
Multi-Day Mountain Route
Skip this until the previous steps feel unremarkable, not just doable. Remote terrain punishes the gap between 'I managed it' and 'I was in control of it.'
How to Pick the Right Quilt Temperature Rating
The number on a quilt’s label is the lower comfort limit – roughly the coldest temperature at which an average sleeper stays warm through the night. If you run cold, that number will lie to you.
The fix is straightforward: choose a rating 10 to 15 degrees Fahrenheit below the expected overnight low for where you are headed. If your destination regularly drops to 35°F at night, shop for a quilt rated at 20 to 25°F, not one rated right at 35°F. The buffer exists because your body, your pad, and the conditions will rarely align perfectly the way a lab rating assumes.
Here is the catch quilts have that sleeping bags do not. A quilt loses insulation wherever it presses against your sleeping pad, because compressed down stops trapping air. That means the rating only holds if your pad has enough R-value to back it up. A summer pad sitting around R-2 will undercut a 20°F quilt on a cold October night no matter what the tag says.
Most quilts also have a cinch cord or draft collar at the shoulders to close the gap a mummy bag handles with a hood. Practice cinching it at home before your first cold night out. Fumbling with it in the dark at 2 a.m. in 30-degree air is a miserable way to learn.
For the actual temperature, get it from the forecast for your specific trailhead or the nearest mountain weather station, checked the evening before you leave. A monthly average from a travel website is not close enough – mountain temperatures swing hard between seasons and sometimes between adjacent valleys.
What DWR Is and How to Restore It at Home
DWR stands for Durable Water Repellent – the factory finish that makes rain bead up and roll off your jacket or tent fly instead of soaking into the fabric.
When that finish starts to fail, the jacket wets out: water spreads flat across the surface instead of beading. The shell underneath may still be technically waterproof, but the soaked outer layer conducts heat away from your body and you end up cold and clammy even without being truly drenched. I have felt that on a mountain afternoon and it is deeply unpleasant.
Restoring DWR is easier than most people think. Two methods exist: a wash-in treatment you add to the washing machine like detergent, or a spray-on applied to damp fabric after washing. Brands like Nikwax and Grangers make both, and they run about $12 to $18 at most outdoor retailers.
The step most people skip is heat activation, and it is why the coating ends up patchy. After either method, tumble dry on low heat or run a warm iron over the garment through a towel. Skip that step and the DWR bonds unevenly and fails again fast.
One last thing: never wash waterproof-breathable gear with regular laundry detergent. It strips DWR faster than hard use does. Use a dedicated technical wash like Nikwax Tech Wash, and refresh the DWR at the start of each season or any time the wet-out test shows the beading has stopped.
DWR Restoration — At a Glance
💧 Wet-Out Test
Flick water on jacket — if it sheets rather than beads into droplets, DWR is gone
🧴 Wash-In Method
Run a second rinse cycle first to remove detergent residue, then add treatment
🌀 Spray-On Method
Hang damp garment, spray until evenly saturated, wipe off pooling before heat step
🔥 Heat Activation
20 min tumble dry on low, or iron on low through a clean dry towel — no direct contact
🚫 Safe Detergent
Nikwax Tech Wash or equivalent technical cleaner — one cap, cold water, gentle cycle
📅 When Spray Beats Wash-In
Spot-treat high-wear zones (shoulders, cuffs) mid-season without a full wash
Easy to miss
Both methods need heat to bond — without it, the treatment sits on the surface and washes out after one rain.
Frequently Asked Questions
How do I measure my torso for a backpack at home?
Stand up straight and find the top of your hip bones — place your thumbs there pointing toward each other. That is your base point. Tilt your head forward until the C7 vertebra pops up at the base of your neck, and measure between the two points with a soft tape measure. Under 16 inches is a small frame, 17–18 inches is medium, and 19 inches or longer fits a large-frame pack.
Why do my shoulders hurt even though I bought the right pack size?
The most common reason is a fitting sequence done on an empty pack. Always load the pack before adjusting. Loosen everything, then tighten in this order: hip belt, shoulder straps, load lifters. The hip belt should carry around 80 percent of the weight — if your shoulders are screaming, the hip belt is probably too loose.
Is a sleeping quilt actually warmer than a sleeping bag?
A quilt at the same temperature rating performs comparably to a bag, but it loses insulation wherever it contacts your sleeping pad because compressed down stops trapping heat. Pair a quilt with a pad that has adequate R-value for the conditions and the rating holds. The advantage over a bag is versatility and the absence of that trapped, mummy feeling that wakes light sleepers.
How do I know if hypothermia is a real risk on my trip?
The threshold is a core body temperature below 95°F, and it does not require freezing temperatures to happen. Wet clothing accelerates heat loss dramatically, which means a 50°F mountain afternoon with a soaked base layer can create real danger. Check overnight lows at the trailhead specifically — not a regional average — and carry dry layers sealed in a waterproof bag whenever rain or water crossings are likely.
How much weight can I realistically cut without buying new gear?
A typical beginner’s 3-day pack runs 30–35 lbs loaded. Running the two-pile gear audit after every hike — used pile stays, unused pile gets evaluated — most people settle into a range of 22–28 lbs over a season or two, without replacing a single item. The audit only takes about 15 minutes after you unpack and it compounds quickly.
When am I actually ready for a harder, longer backpacking trip?
When one and two-night trips in moderate terrain feel genuinely comfortable — not just survivable — you are ready to push one variable at a time. Add duration first, then elevation gain, then remote terrain. Never stack all three on the same trip before you have handled each one separately. Feeling ready in your head is not the same thing as having the experience base.
Fix Pack Fit First, Then Work Down the List
Before your next trip, do one thing: remeasure your torso and re-fit your pack with a full load. That single fix eliminates more trail suffering per minute of effort than anything else on this list.
After the trip, run the two-pile audit. Dump everything out, sort it honestly, and pull anything that did not get touched. Do that three or four times across a season and your pack will weigh noticeably less without you spending a cent.
Everything else — better sleep, mental preparation, wet-weather readiness — layers on top of that foundation. And the progression ladder is non-negotiable: comfortable overnights first, harder conditions only once those feel easy. The trail will still be there when you are ready for the bigger routes.
Start With the Pack Fit Section Right Now
Grab a soft tape measure and run the iliac-crest-to-C7 measurement before you do anything else. It takes three minutes and fixes the problem most backpackers blame on every other piece of gear.