10 Airport Secrets Frequent Flyers Won’t Tell You

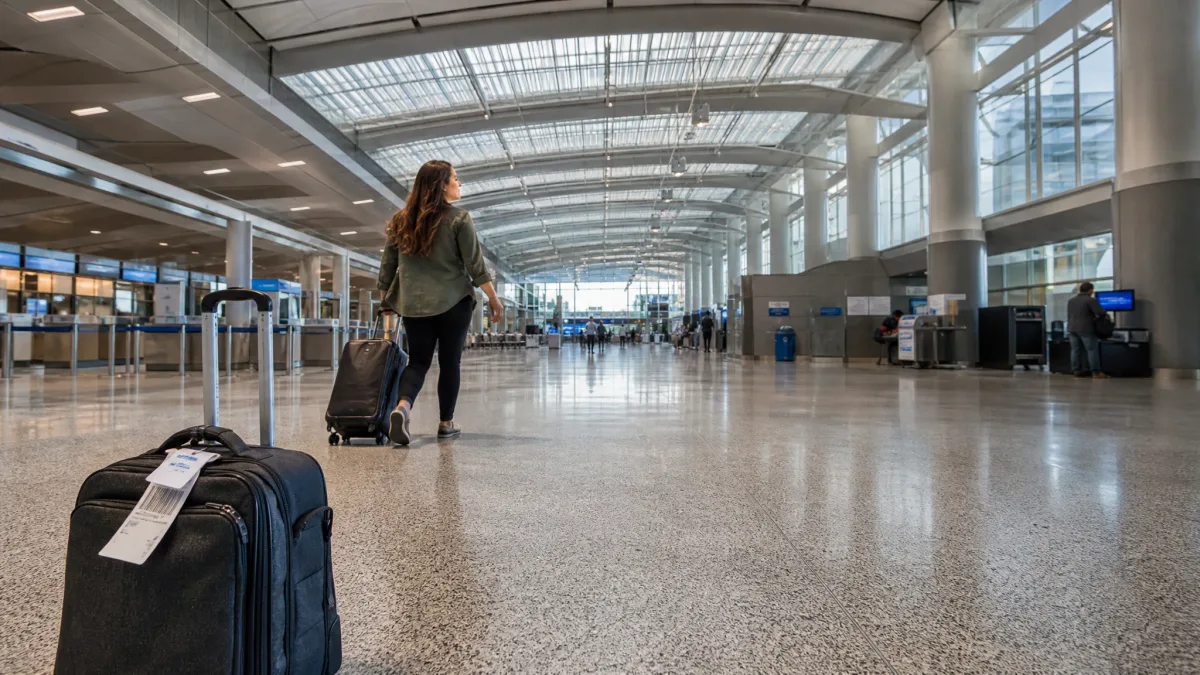
Why is the person two rows ahead of you already through security, already seated in a lounge with a drink, while you are watching the clock and eating a $7 bag of pretzels near a charging port on the floor? It is not a platinum card. It is not a company travel budget. It is three or four small decisions made before they left the house.
Most airport stress is not caused by airports. It is caused by habits built around worst-case scenarios that stopped applying the moment you started checking in on your phone and traveling with a carry-on.
Ten tactics – about when to arrive, where to stand, what to ask and who to ask it of – can cut time, cost and friction on the very next trip. This list moves through the airport in the order you will actually use it: security and arrivals first, then the terminal, then the gate.
By the end you will know which two or three are worth acting on before your next departure, and exactly how to do each one.
Quick Tips Before You Start
Download the MyTSA App
Check live security wait times at your specific checkpoint before leaving the house.
Pack Like a PreCheck Member
Even without PreCheck, keeping liquids and laptops accessible speeds up every security lane.
Look Up Your Airport Map
Find the quiet room, the refill stations and the gate cluster before you land — not after.
Back-Calculate Your Arrival Time
US domestic boarding closes 10–15 minutes before departure — work backwards from that, not from a round number.
Check Lounge Day-Pass Prices in Advance
Walk-in passes at major US airports typically run $35–$60; buying online ahead of time avoids a sold-out door.
Moving Through the Airport
The first half of any airport experience — getting from the kerb to the gate — is where most of the stress and most of the lost time happens. The tactics here are about timing and positioning, and none of them require anything more than a phone and a small shift in habit.
Work through these in order: they follow the physical sequence from curbside check-in to baggage claim.
1. Two-Hour Early Arrival Is Often Unnecessary
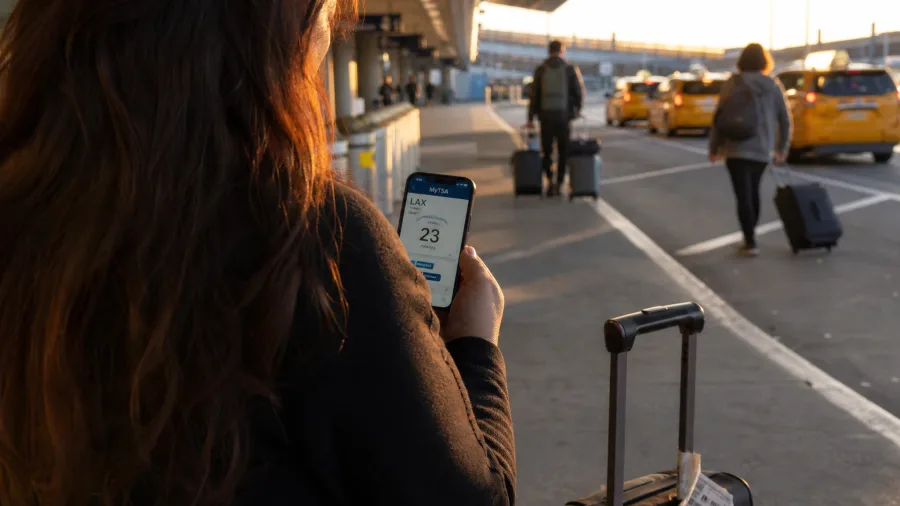
The two-hour rule is a relic – built for an era of checked bags, paper tickets and security lines that bore no resemblance to what PreCheck lanes look like today. If you are carrying on, have a mobile boarding pass and hold PreCheck status, that round number has nothing to do with your actual situation.
The right way to calculate it: US domestic boarding closes 10 to 15 minutes before departure, so work backward from that hard deadline. Before you leave the house, open the MyTSA app, pull up your specific airport and checkpoint, and read the live wait time. That single lookup turns arrival time into arithmetic instead of anxiety – and on a Tuesday morning at a mid-size airport, the math might tell you 45 minutes is genuinely fine.
Three situations where the old rule still holds: you are checking a bag at a busy hub, you are on any international departure, or you are flying from an airport whose layout and queue patterns you have never seen before. In all three, build back in the buffer. The cost of getting it wrong is total – airlines do not cover a missed flight that resulted from your own late arrival, and no gate agent, no matter how sympathetic, can reopen a door that closed two minutes ago.
💡 Tip: The MyTSA app is free, shows real-time checkpoint wait times and is the single most useful pre-departure lookup most travelers never make.
2. PreCheck Lanes Sometimes Open to Non-Members
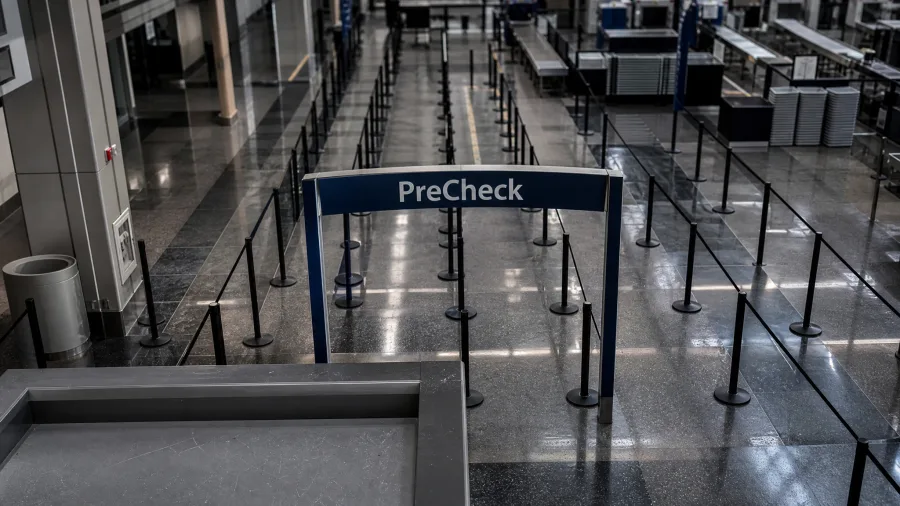
TSA officers can wave a standard-screening passenger into an underused PreCheck lane – but that decision belongs entirely to them, and it is a real-time capacity call, not a loophole you can invoke. The move is simple: position yourself near the PreCheck entrance, stay ready, and wait for an officer to make direct eye contact and signal you in. Do not step across the line uninvited, and do not ask. An unrequested attempt stalls the lane and ends the conversation.
This only works if you are already packed like a PreCheck traveler – laptop in the bag, liquids out of sight, nothing that requires a separate bin or a secondary screening. Someone who pulls up with gear spread across four trays is not getting waved through. The $85 five-year PreCheck membership removes the guesswork entirely and pays back in time saved across roughly three trips. For anyone who clears international arrivals even once, Global Entry at around $100 for five years covers the outbound PreCheck lane and adds pre-arrival apps for fast immigration that take under two minutes – a dollar more per year for both problems solved.
Airport Myths vs. What Actually Happens
3. The Fastest Customs Line Is Not the Shortest
Count the open booths, not the number of people queuing. A line of three passengers feeding a single slow officer will routinely outlast a line of twelve moving through three experienced officers in parallel – the instinct to target the shortest queue is the wrong instinct.
Global Entry skips the judgment call entirely. Around $100 for five years, the kiosk process runs under two minutes, and you are out before most of the plane has reached the hall. If that cost is a stretch, download CBP One – it is free, accepted at many major US airports, and cuts the standard queue without any membership required. Worth doing before the next international departure, not after.
One factor overrides every line-choice tactic: walking up without a completed customs declaration form adds delay that no amount of lane strategy recovers. Fill the form on the plane, before you land. The experienced traveler treats Global Entry and correct paperwork as a single system – the kiosk never fails the person who arrives prepared.
4. Where You Stand at Baggage Claim Matters
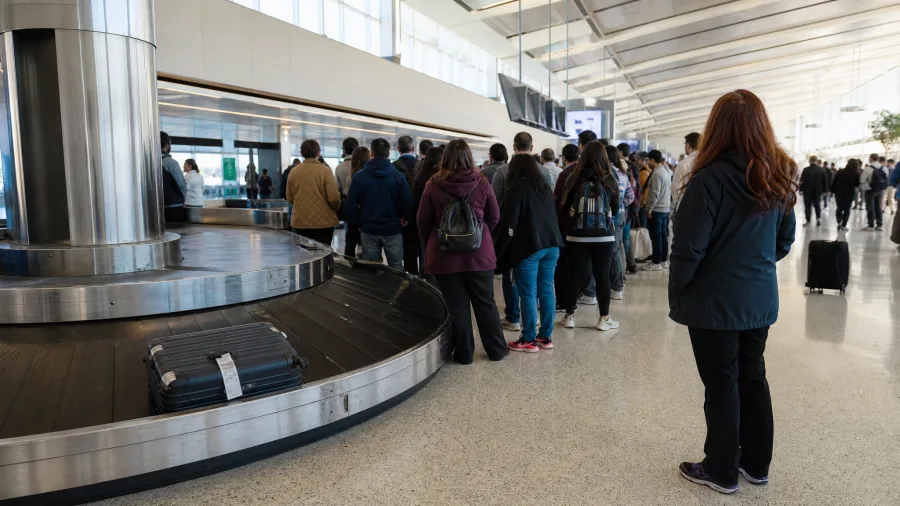
You land, deplane, and the instinct hits immediately: move fast, get to the belt, claim your spot. Resist it. From the moment the wheels touch down at most large US hubs, roughly 20 to 30 minutes will pass before the first bag drops onto the carousel – the sprint through the terminal earns you nothing but a better position in a crowd that is going to stand there regardless.
The crowd presses forward and then freezes, shoulder to shoulder, everyone shuffling sideways so the next person can reach their bag, everyone grabbing at an awkward angle over someone else’s arm. Two steps back changes the whole experience: you can see the full belt, spot a bag three positions out, and walk in cleanly when it reaches you. That distance also reveals something useful – bags that have already lapped the carousel get pushed to the side wall, where they sit unclaimed and easy to retrieve with zero competition. The one exception is a tight connection with a checked bag that needs to be re-tagged at a transfer desk; in that case, front-of-belt position is genuinely worth the elbow contact. For everyone else, those 20 to 30 minutes are better spent pre-booking a car, confirming a connecting gate, or locating the transfer desk on the airport map – the carousel will still be turning when you look up.
💡 Tip: The one exception: a tight connection with a checked bag that must be rechecked at a transfer desk — in that case, front-of-belt position is worth the crowd cost.
⚠️ COMMON MISTAKE
Do Not Sprint to the Carousel
Racing from the gate to baggage claim saves almost no time at major hubs, where the average wait after landing is 20–30 minutes. Walk calmly and use the wait productively — the bags will not beat you there.
Comfort and Savings in the Terminal
Once you are past security, the airport becomes a waiting game — and how you wait matters more than most travelers realize. The three entries in this section cover the spaces, the costs and the food options that most passengers walk straight past.
None of these require elite status. They require knowing the options exist.
5. Most Airport Lounges Sell Walk-In Day Passes
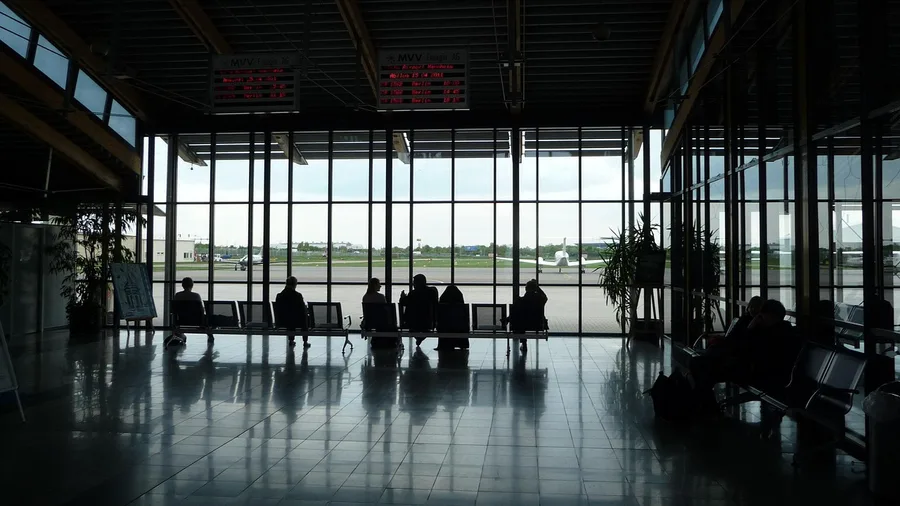
The terminal is the environment most travelers accept as-is – hard chairs, gate-cluster noise, a $6 bottle of water – when a different environment is one transaction away. A lounge day pass at most major US airports runs $35 to $60 at the door, no premium credit card required. Priority Pass sells single-visit access too, for travelers who want to try it once before committing to anything annual.
What that $35 to $60 actually buys is worth naming precisely: a hot meal, full bar access at most locations, Wi-Fi that does not time out or throttle, a guaranteed seat, and at some larger lounges, a shower. That is a different category of airport experience, not just a nicer chair.
The break-even math is straightforward. If a long layover already has you spending $15 on coffee and $12 on a terminal sandwich, the gap between that and a day pass is narrow – and the lounge replaces both the food spend and the noise, for two or three hours rather than twenty minutes at a gate counter.
The catch that walk-up travelers discover too late: lounges operate at capacity, and a busy hub on a Friday afternoon will turn away day-pass buyers at the door. Buy online that morning – most lounges list availability through their own site or through Priority Pass – rather than showing up and hoping. This matters most at hub airports like Atlanta, Chicago O’Hare or Dallas-Fort Worth, where traffic peaks hard in the middle of the day.
The day pass is genuinely the right tool for an occasional traveler, a long unplanned layover, or anyone testing whether a lounge membership is worth it before paying annually. It is a worse fit for families with young children who need space to move, or anyone on a tight connection who will not be in the terminal long enough to use what they paid for. Two or three lounge visits a year, and a Priority Pass membership or a travel card with lounge access will cost less per visit than the walk-in rate – the day pass opens the door, but it is not the long-term answer.
Airport Lounge Day Pass — At a Glance
💵 Walk-in cost (US major hubs)
$35–$60
🍽️ Typically includes
Hot food, drinks, Wi-Fi, seating
🚿 Showers available at
Select larger lounges
⚠️ Risk at peak times
Capacity refusal — buy online
✅ Best for
Layovers of 4+ hours
Break-even check
If a coffee and terminal sandwich already costs $20–$30, the day pass is a modest premium for several hours of comfort.
6. Quiet Rooms Exist in Most Major US Airports

The thing to know before you go looking: the room will not have a sign pointing to it from the main terminal corridor. Almost every large US airport has an interfaith room, meditation space or designated quiet zone, and almost none of them appear on the standard directory boards near baggage claim or the main concourse. If you wait until you are already inside the terminal and tired, you will not find it. Look it up before you leave – search the airport code plus ‘quiet room’ or ‘interfaith room’, or open the airport’s official map or an app like GateGuru. The terminal and floor number come back in under a minute.
What you find when you get there: low light, seating, and no gate announcements piped in. Some locations have cots or reclining chairs. The cost is nothing – open to every traveler regardless of ticket class, airline or membership status. These rooms see almost no foot traffic, not because they are hard to qualify for, but because most travelers simply do not know they exist. The scarcity is informational.
The honest comparison to the paid lounge: a quiet room delivers silence and recovery space; it does not deliver hot food, alcohol or fast Wi-Fi. For a short layover or a budget traveler who needs 45 minutes away from the gate noise, it is the right tool. For a three-hour connection where you want a meal and a reliable connection for a video call, the lounge earns its $35 to $60. Knowing which one you need – and finding the free version when that is enough – is exactly the kind of decision most travelers never get to make because they did not know the free option existed.
Lounge Day Pass vs. Airport Quiet Room
Lounge Day Pass
- Hot food and drinks included
- Fast, reliable Wi-Fi
- Showers at some locations
- Costs $35–$60 at the door
- Can sell out at peak times
Quiet Room
- Completely free, no membership
- Low light, no gate PA system
- Almost never crowded
- No food or Wi-Fi
- Not signed — requires a quick search
7. Post-Security Food Is Not Always More Expensive
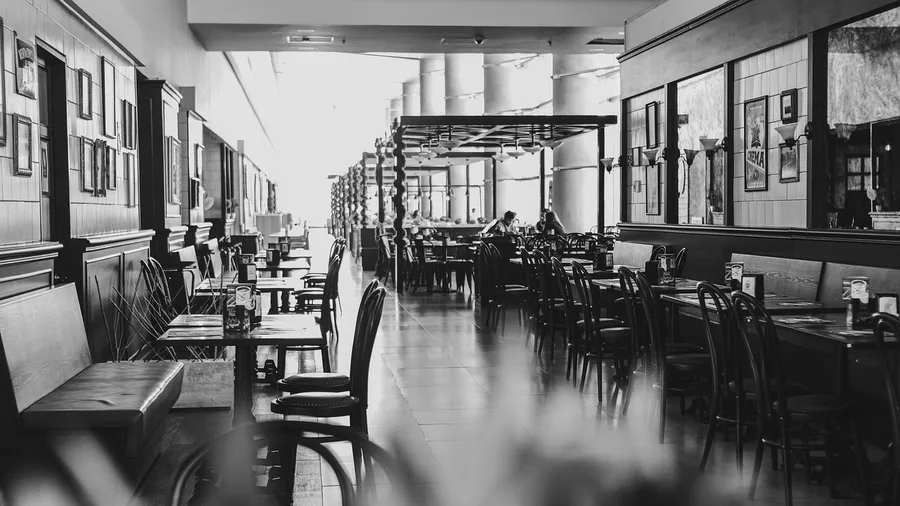
The smell that hits you past the security checkpoint at most major US airports – coffee, warm bread, grilled meat from a sit-down chain – is not the smell of a price gouge. Several large US airports now enforce city-pricing rules that require airside sit-down restaurants to match their street menu prices exactly. The Chipotle or Chili’s inside the terminal charges the same as the one on the street outside. Most travelers assume otherwise, and that assumption costs them money before they even check a price.
The actual overcharging is concentrated and specific. Grab-and-go kiosks near gate clusters – the branded news-stand selling a $7 bottle of water or a $4 granola bar – operate outside those city-pricing mandates and price accordingly. The sit-down chain twenty gates back is the better deal; the kiosk ten feet from your departure gate is not.
Two habits close most of the gap before you spend anything. A reusable water bottle fills free at post-security refill stations, which are now standard in most large US terminals – that single swap eliminates what is consistently the most inflated item in any gate-area kiosk. The second habit: buy any food you want before you hit the final gate corridor. Prices inside that last stretch, surrounded by your flight and no alternatives, are reliably higher than the same items twenty minutes of walking away.
Several major hubs also have airport food apps that let you browse prices and pre-order before you commit to a queue. It works the same way checking a restaurant’s menu online does – you know what you’re paying before you walk in, and you skip the line when you arrive. The app does not guarantee the cheapest meal in the building, but it makes the cost visible in advance rather than readable only on a receipt.
The practical division is simple: sit-down chains airside operate close to street prices; anything sold in a branded kiosk steps from the gate does not. Avoiding all terminal food out of habit means skipping the reasonable options and never testing whether the expensive assumption is still true. It mostly is not – at least not everywhere, and not for a traveler who knows which part of the terminal to use.
💡 Tip: Pack a collapsible water bottle in your carry-on and fill it at any post-security refill station — it is the single cheapest habit change with the most consistent return.
💡 PRO TIP
The 24-Hour Seat Map Check
Open the airline app exactly 24 hours before departure when online check-in unlocks. Some carriers release premium-blocked exit rows and bulkhead seats at that moment — the traveler who checks first gets first pick, at no extra cost.
Working the Gate and the Crew
The gate is where the flight is actually assembled — seats reassigned, upgrades confirmed, connections flagged. Most passengers walk to their assigned seat and sit down. Frequent flyers treat the gate desk and the crew as two tools that are available if you know how to use them.
These three entries cover what each can actually do for you, and when to ask.
8. Gate Agents Can Rebook and Upgrade Without a Fee
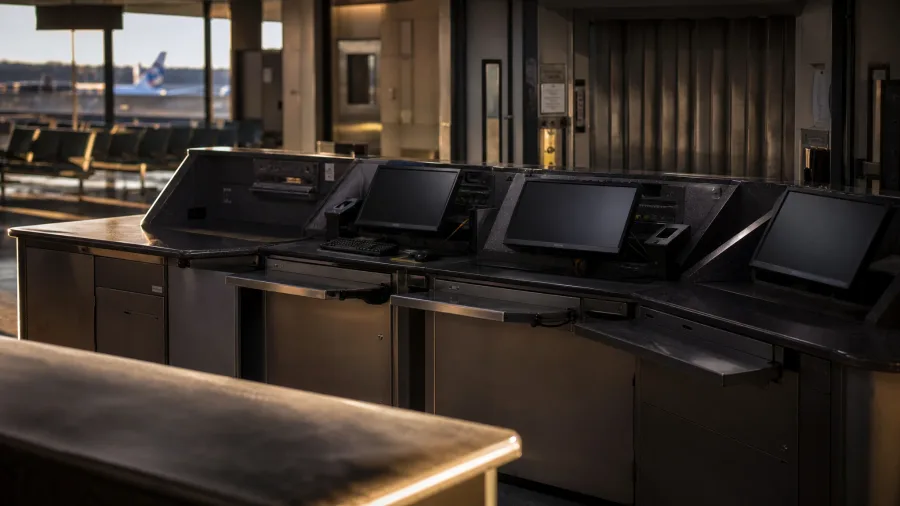
Three things a gate agent can do for you right now, without calling a supervisor: move you into an empty seat in a premium cabin on an undersold flight, waive a same-day standby change fee, or issue a meal or hotel voucher when the airline’s own operation causes a delay. Those tools exist at most US carriers, and they cost you nothing to ask for. The window that matters is 45 to 60 minutes before departure – walk up then and the agent has open seats to assign, time to process a change, and no boarding queue pressing against the desk. Show up at the gate as boarding starts and none of that is available anymore.
What works is specific and calm: something like ‘Any room in the front cabin today?’ or ‘Given the situation, is the change fee something you can waive?’ takes under ten seconds to say. What does not work: a long explanation, a visible frustration, or asking for something the agent has no authority to give – they cannot override the elite upgrade queue, issue a cash refund, or pull seats from another carrier’s inventory. Knowing that boundary keeps the conversation short and productive. The frequent flyer edge here is not a status card or a special handshake. It is simply showing up early, asking plainly, and making the whole interaction easy for the person on the other side of the desk.
Gate Ask: Timing Makes the Difference
9. Exit-Row and Bulkhead Seats Go to Those Who Ask
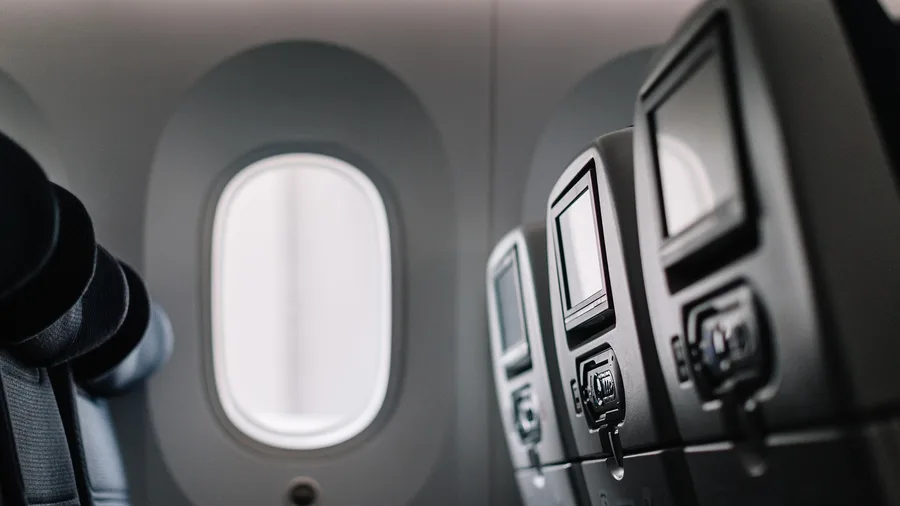
You open the seat map at check-in and the exit row is greyed out – blocked, apparently unavailable, the good legroom going to someone else by default. Except it is not gone yet. Airlines hold those rows to sell as a premium or reserve for elite-tier members, but if the seats are still empty when the gate agent opens the flight, they are free to assign. The travelers who end up there are the ones who simply walked up and asked. The same logic applies 24 hours out: pull up the seat map exactly when online check-in opens, because some carriers release their premium-blocked rows at that moment and the first person to check gets first pick.
At the gate, the ask has a specific shape. Go when the agent first opens the flight, not at boarding. Name the seat clearly – ‘Is the exit row available?’ – and if there is a practical reason, say it plainly: a long flight, a bad back, whatever is true. One requirement the agent must confirm before assigning an exit row: you have to be willing and able to help in an emergency evacuation. That is a federal requirement, not a formality – hesitate or hedge and the seat goes to the next person. Answer yes, mean it, and sit down with three times the legroom you paid for. Both moves, the app check and the gate ask, take under two minutes and cost nothing. The gap between travelers who land these seats and those who do not is entirely informational.
10. Telling Crew About a Tight Connection Triggers Real Help
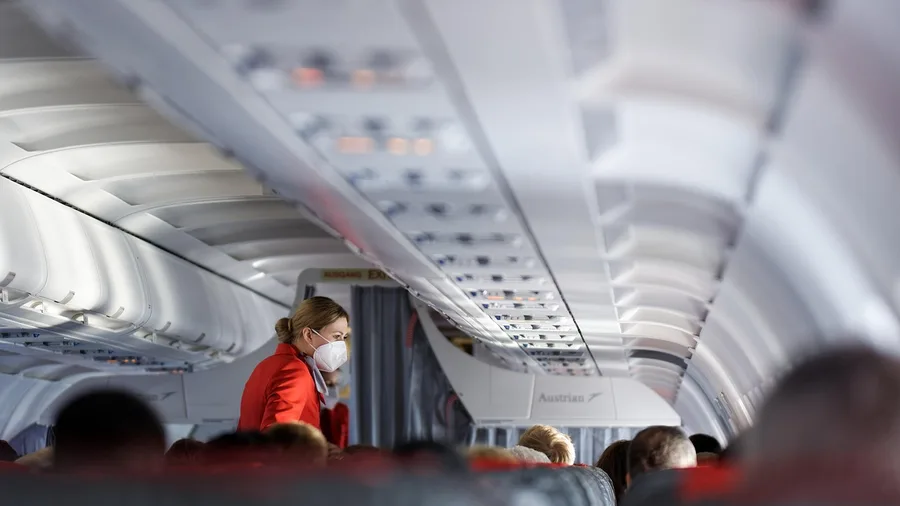
The crew on your current plane has more leverage over your next one than you probably realize.
A flight attendant who knows your situation before the descent can radio ahead to the arrival gate, ask operations to hold the connecting door open by a few minutes, and get a cart and escort waiting at the jetbridge with your name on a card. None of that happens if you mention the connection at minute fifty of a fifty-five-minute approach, when the cabin crew is buckled in and the operations window has closed. Say something at boarding, or at the latest during the first drink service – the earlier the crew hears it, the more runway they have to make calls that actually change the outcome.
Run a backup search on the airline app at the same time the crew is working the phone. Pull up two or three realistic alternate routings – different departure times, different connecting cities – so that if you arrive at the customer service desk after a missed connection, you walk up with specific options rather than a blank stare. The desk agent can move faster when they are confirming a route you found than when they are building one from scratch for you. One honest limit: if the aircraft is running ninety minutes late and your connection window is already under thirty minutes at a large hub with a concourse change, no amount of crew coordination recovers that gap. In that case, the app search is the only move worth making.
💡 Tip: Tell the crew at boarding, not during descent — by the time the seat-belt sign goes on for landing, the window to contact the destination gate has already closed.
✈️ From Boarding to Connection: What to Do and When
At boarding
Tell the flight attendant your connection time and destination gate number. Two pieces of information — not one — give them enough to make a useful call to operations.
First drink service
Last realistic window to flag the crew if you missed boarding. After this, operations contacts at the destination gate start closing. Still worth trying; no longer guaranteed to work.
Cruise phase
Run your own backup search on the airline app. Look for alternate routings with at least 90 minutes of buffer and note the flight numbers — not just times. You need specifics at the rebooking desk.
Descent begins
Crew buckles in and the operational window closes. If you have not spoken to a flight attendant by now, crew coordination is off the table. The app is your only live option from this point.
At the jetbridge
If the crew radioed ahead, a cart or gate agent may be waiting. Give them your connecting gate immediately — not your name, not your boarding pass. The gate number moves the conversation faster.
Frequently Asked Questions
Is TSA PreCheck actually worth the $85?
Yes, for almost any traveler who flies domestically more than twice a year. The five-year membership costs $85 and eliminates the standard screening queue — no removing shoes, laptops or liquids. At busy hubs the time saving per trip can be 20–40 minutes. If you also fly internationally even once, Global Entry at approximately $100 includes PreCheck and adds expedited customs re-entry, making it the better purchase.
Can you really get into an airport lounge without a credit card?
Yes. Walk-in day passes at most major US airports cost $35–$60 at the door, and Priority Pass sells single-visit access without requiring full membership. The break-even point is a long layover where terminal food and coffee already runs $20–$30. Buy the day pass online in advance rather than walking up at peak times, when lounges can and do turn walk-ins away due to capacity.
How far in advance should I arrive for a domestic US flight?
It depends on your specific situation. A PreCheck holder with a carry-on and a mobile boarding pass flying a familiar airport can safely arrive 60–75 minutes before departure. A passenger checking bags, flying an unfamiliar airport, or departing at a major hub during peak morning hours should use the full two hours. The MyTSA app shows live checkpoint wait times and makes this a calculation rather than a guess.
Do gate agents actually upgrade passengers who ask?
They can, and they do — but timing is everything. Approach the gate desk 45–60 minutes before departure when the agent has bandwidth and upgrade inventory is still open. Ask directly and briefly: ‘Is there any chance of an upgrade on this flight?’ At boarding, the cabin assignments are effectively locked and the same agent is managing a queue. The window is narrow and real.
Is there anywhere quiet to sit in an airport that does not cost money?
Yes — most large US airports have an interfaith room, meditation space or quiet zone. These rooms are free, open to all travelers and almost never crowded. They are not signed from the main terminal, but searching ‘[airport code] quiet room’ or ‘interfaith room’ before you leave finds the terminal and floor in under a minute. They will not feed you, but they deliver silence and seating when the gate area is overwhelming.
What should I do on the plane if I know I am going to miss my connection?
Tell a flight attendant at boarding or early in the flight — not during descent. Crew can contact the destination gate through operations, request a hold, and arrange a cart at the jetbridge. While the crew handles that, use the airline app to identify alternate routings so you arrive at the customer service desk with options already mapped. If your connection buffer is under 30 minutes at a large hub requiring a concourse change, focus entirely on the alternate routing — a hold is unlikely.
Two Actions Worth Taking Before Your Next Departure
Three tactics deliver the highest return for a traveler acting before the next trip, and none of them require elite status. Download the MyTSA app now and use it to calculate an actual arrival window instead of defaulting to two hours. Search your departure airport code plus the words quiet room – note the terminal and floor before the day you need it. And if any international travel is on the calendar, apply for Global Entry: around $100 for five years, includes PreCheck, clears both the outbound security lane and international arrivals in under two minutes.
The two-hour default and the assumption that fast lanes, good seats and agent goodwill belong to someone else are the same habit – built on information that was never accurate to begin with.
That person two rows ahead of you is not luckier. They walked up to the PreCheck lane, asked a gate agent about the empty row at the front, and already know which floor the quiet room is on. Every one of those moves was available to you on the last trip. The only difference is knowing which door to walk up to and what to say when you get there.
Check Your Airport's Quiet Room Location Right Now
Search '[airport code] quiet room' or 'interfaith room' before your next departure — the location is in this article's tip and takes under a minute to find. It is the zero-cost move most travelers never make.